Mastering the Art of Ribs: From Oven to Grill
Are you ready to take your BBQ skills to the next level? Look no further because today we’re going to teach you the secret to creating mouthwatering, fall-off-the-bone ribs. Whether you’re hosting a backyard cookout or simply craving a delicious meal, knowing how to cook ribs perfectly will definitely impress your friends and family. In this guide, we’ll walk you through the steps to cook ribs in the oven and then finish them off on the grill for that irresistible smoky flavor. So, let’s get started!
Choosing the Perfect Ribs
Before we dive into the cooking process, let’s talk about choosing the right ribs. You have two popular options: baby back ribs and spare ribs. Baby back ribs are smaller, leaner, and more tender, making them a great choice for beginners. Spare ribs, on the other hand, have more fat and connective tissue, resulting in a richer flavor. Whichever type you choose, make sure they are fresh, with a pinkish color and minimal odor.
Preparing the Ribs
Now that you have your ribs, it’s essential to prepare them properly. Start by removing the membrane from the bone side of the rack. This tough membrane can prevent the flavors from penetrating the meat and hinder the tenderness. Use a butter knife to loosen one end of the membrane, then grab it with a paper towel and peel it off completely.
Next, it’s time to season your ribs. You can keep it simple with a classic dry rub or get creative with a marinade. Whichever route you choose, make sure to coat both sides generously. A popular dry rub consists of brown sugar, paprika, garlic powder, onion powder, salt, and black pepper. For marinades, try a combination of your favorite spices, herbs, and a liquid, like apple cider vinegar or Worcestershire sauce. Let the ribs sit in the rub or marinade for at least 30 minutes to allow the flavors to meld.
Cooking in the Oven
Now, let’s move on to the oven cooking process. Preheat your oven to 275°F (135°C). Place the ribs bone-side down on a baking sheet or a wire rack set inside a baking pan. Cover the ribs tightly with aluminum foil, ensuring no steam can escape, as this will help create a tender result. Cook the ribs in the oven for approximately 2-3 hours until they are tender but not falling apart.
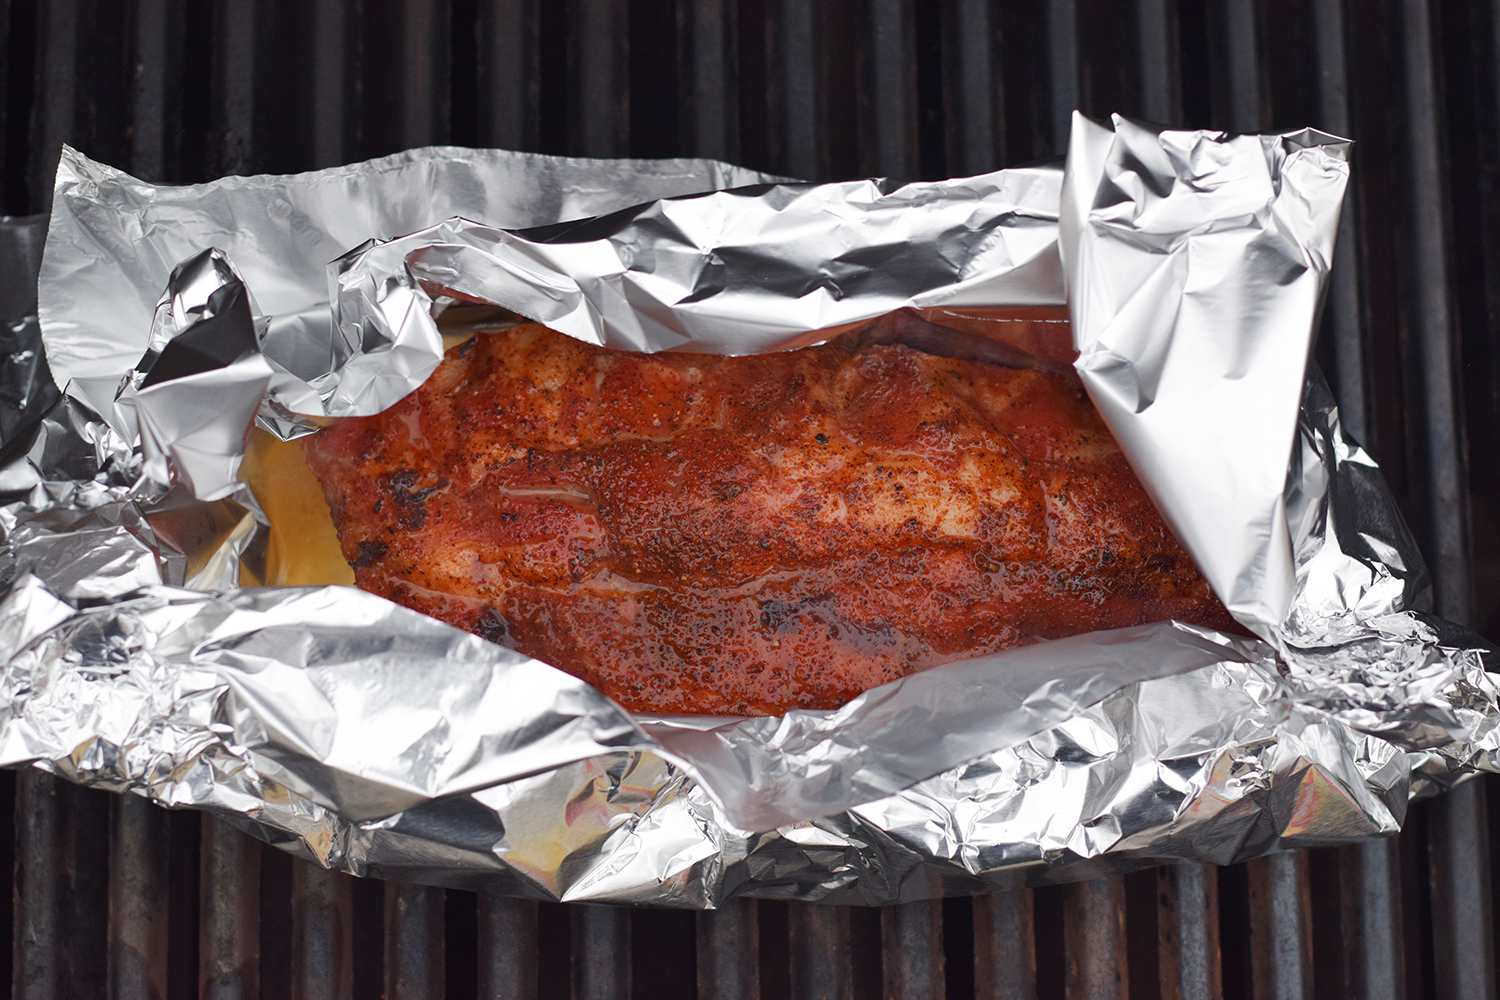
Finishing on the Grill
Once the ribs are perfectly cooked in the oven, it’s time to give them that delicious smoky char on the grill. Preheat your grill to medium-high heat. Gently transfer the ribs from the baking sheet to the grill grates, bone-side down. *Brush the ribs with your favorite BBQ sauce* and let them grill for about 5-7 minutes, or until caramelized and slightly charred. *Flip the ribs and repeat the process for the other side*. Keep a close eye on them during this step to avoid burning or dryness. Remove the ribs from the grill and let them rest for a few minutes before serving.
Serving and Enjoying
Now that your ribs are cooked to perfection, it’s time to dig in! Slice the rack into individual ribs and serve them with your favorite BBQ sauce on the side. These ribs pair well with classic barbecue sides such as cole slaw, cornbread, or baked beans. Invite your friends over, fire up the grill, and be ready to bask in the compliments for your culinary skills!
Remember, practice makes perfect, so don’t get discouraged if your first attempt isn’t flawless. Experiment with different seasonings and cooking times to find your signature style. With some patience and a little effort, you’ll soon become a rib connoisseur. So, grab your apron, put on your chef hat, and let’s get cooking!
Explore More Delicious Rib Recipes and Cooking Techniques
Once you've mastered the technique of cooking ribs in the oven and then finishing them on the grill, a plethora of tantalizing recipes await your culinary prowess. For those who enjoy the sweet and savory combination, the Maple and Brown Sugar Baby Back Ribs recipe is a must-try. Its rich, caramelized glaze complements the smoky flavors achieved through grilling. If you're inclined towards bold, international flavors, the Korean BBQ Ribs offer a delightful blend of sweetness and umami that's hard to resist. For a more herbaceous take, the Garlic and Herb Marinated Ribs are infused with the aromatic goodness of fresh herbs, making them a refreshing option for any dinner table. Each recipe utilizes the oven-to-grill method, ensuring ribs that are not only delicious but also perfectly cooked.
Was this page helpful?
Read Next: How To Cook Yellowfin Tuna In Oven
Related Articles
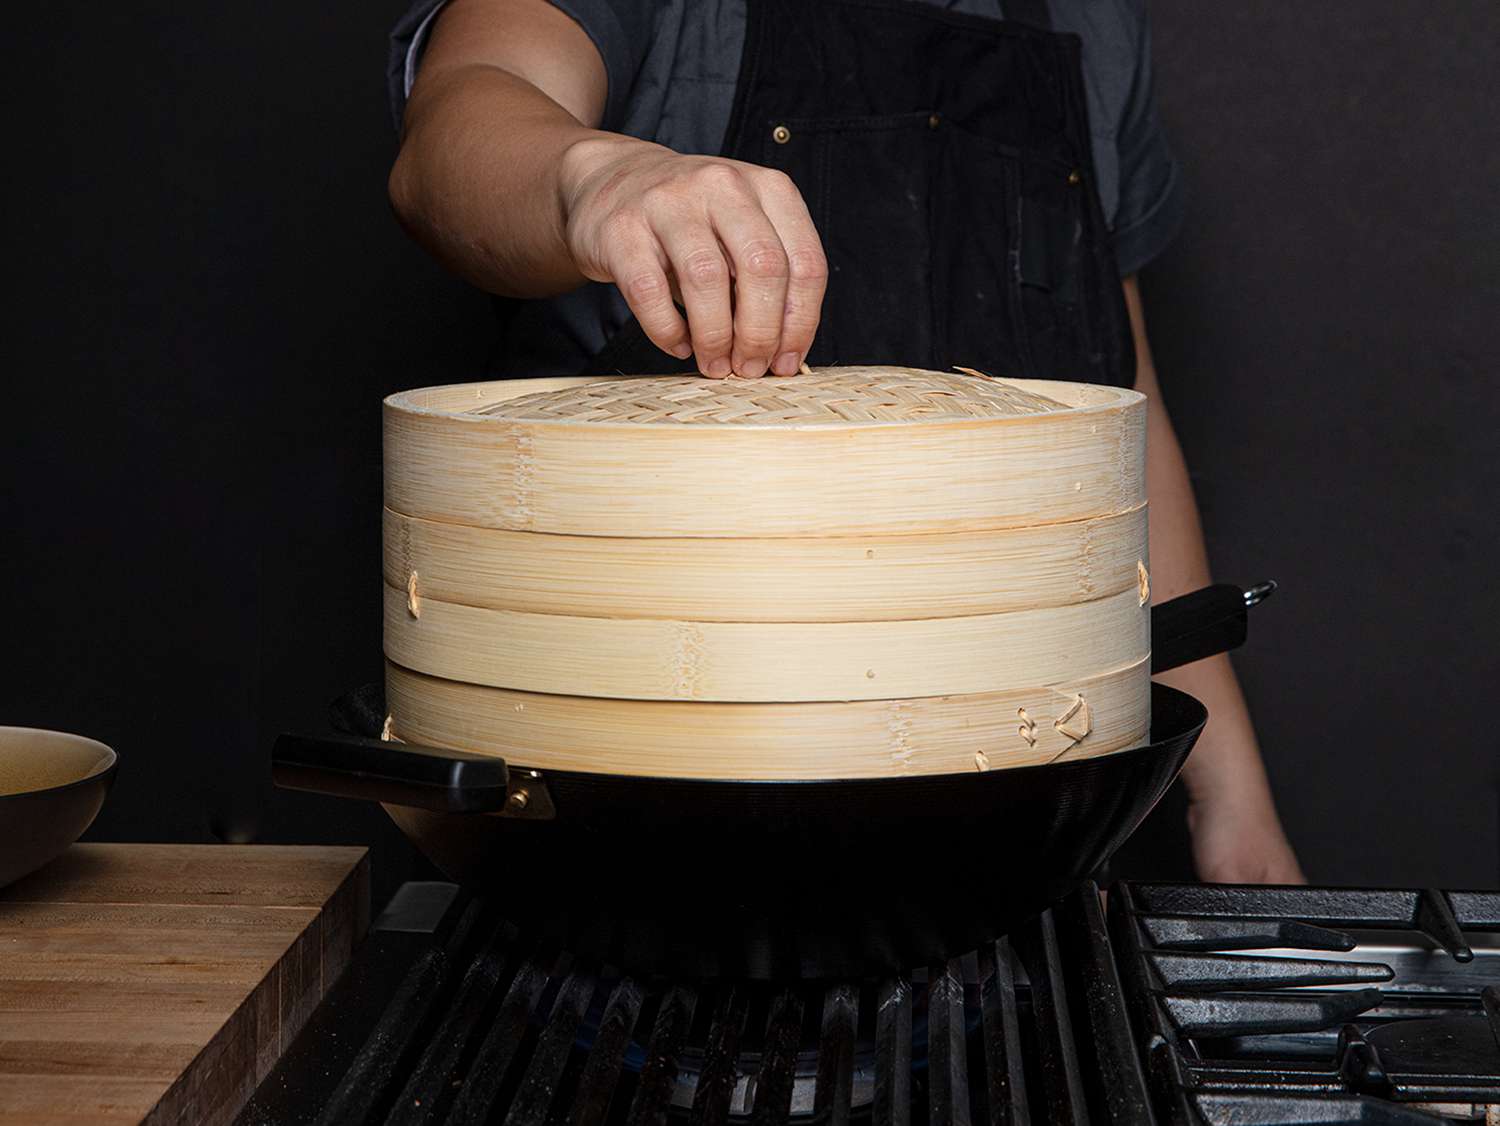
How To Cook With Bamboo Steamer
How To Cook Vegetables In Instant Pot Without Steamer Basket

How To Cook Half Boiled Egg
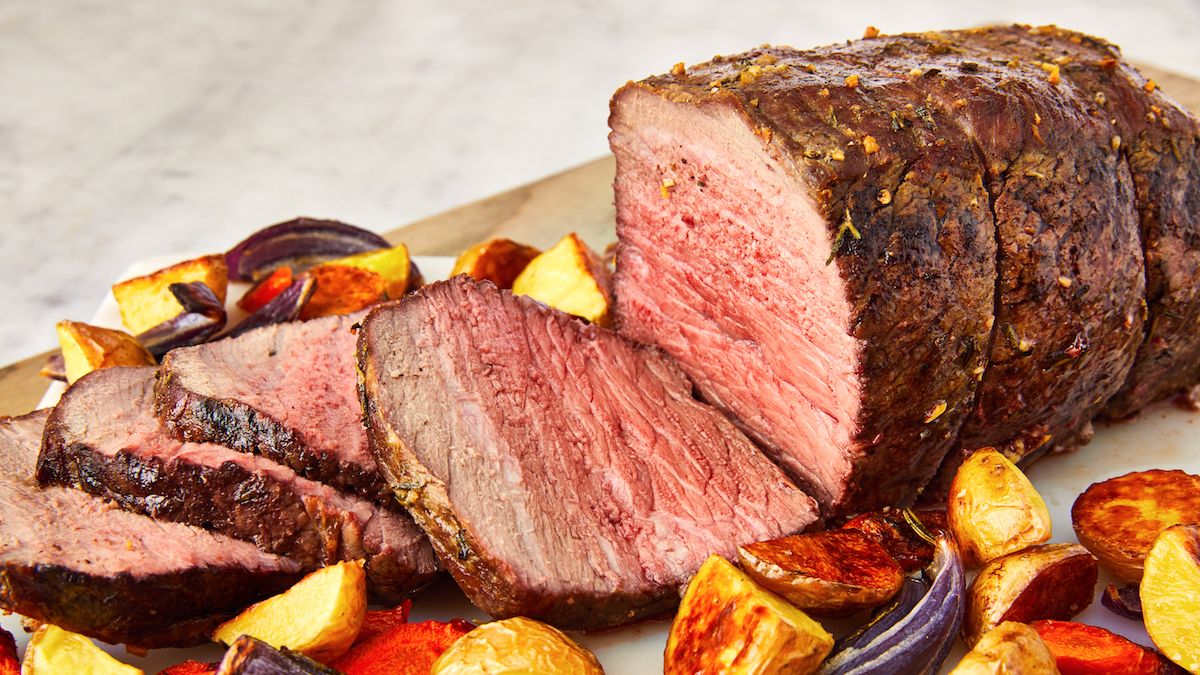
How To Cook A Beef Round Tip Roast
How To Cook Ribs On Gas Grill In Foil Indirect Heat
How To Cook Marinated Chicken In Instant Pot
How To Cook Mackerel Patties
How To Cook Red Meat
How To Cook Venison In An Instant Pot
How To Cook Lechon Belly In Oven
How To Cook Chicken Wings In The Oven Without Wire Rack