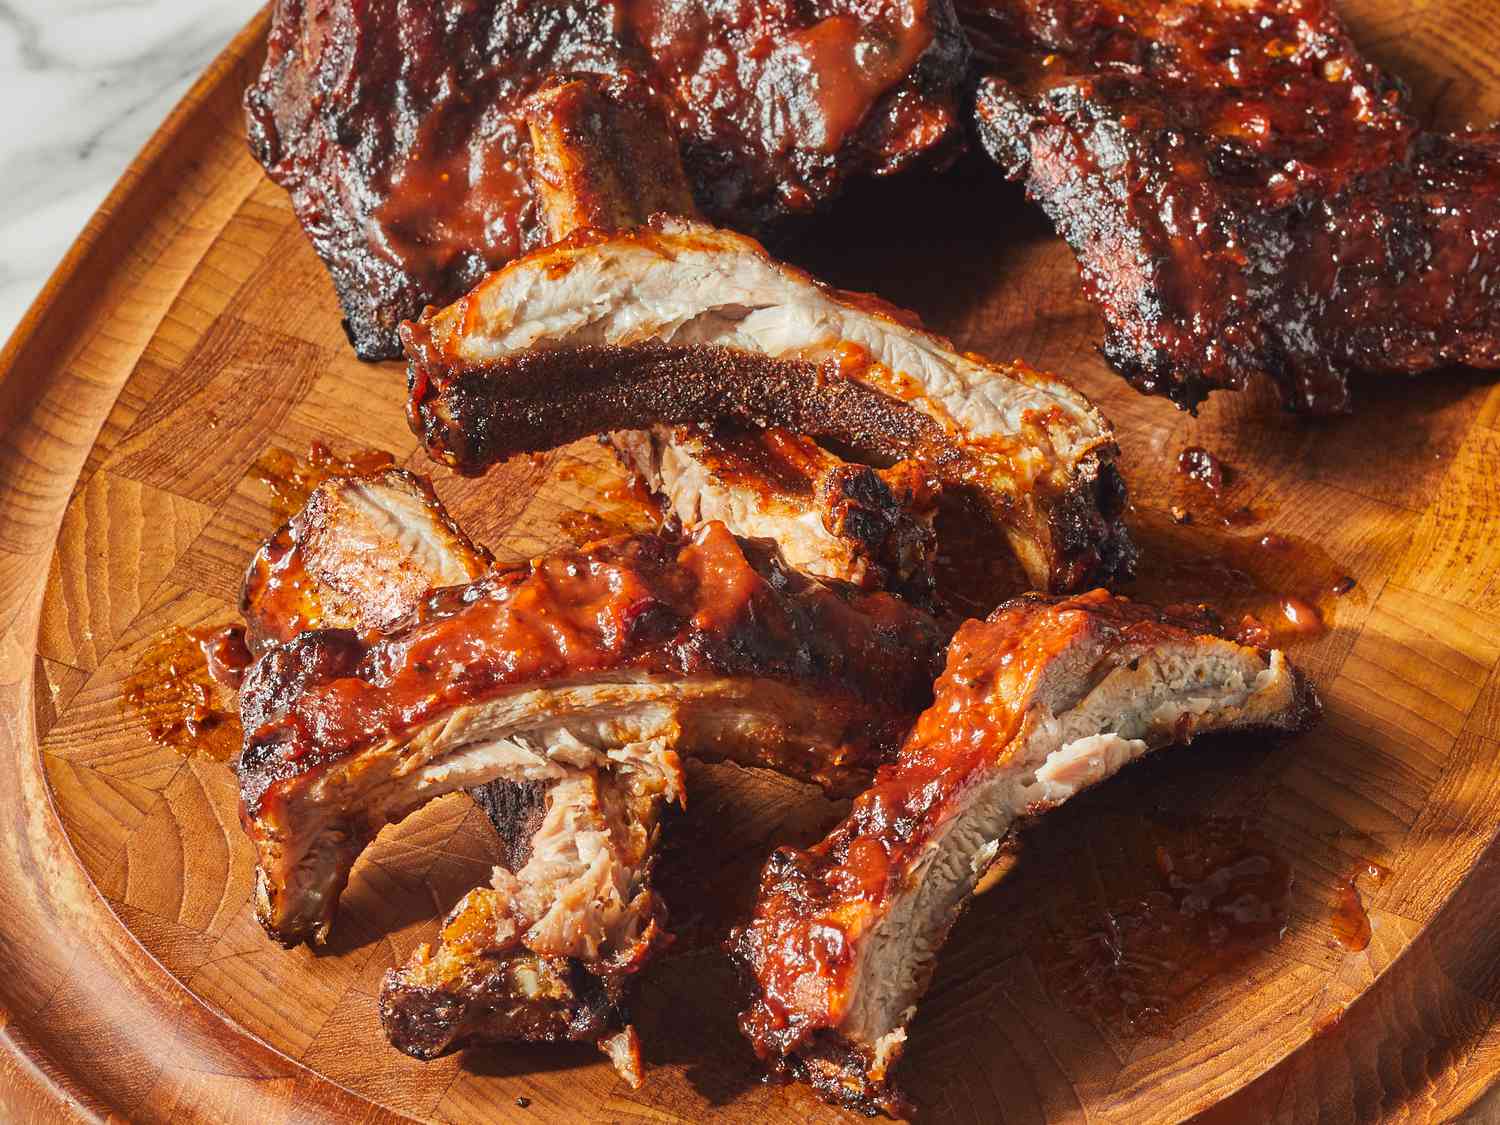
Unlock the Deliciousness: Cooking a Fresh Pork Shoulder Picnic like a Pro
Are you ready to embark on a culinary adventure and create a mouthwatering masterpiece? Look no further than a fresh pork shoulder picnic. This versatile cut of meat is perfect for slow cooking, resulting in tender and flavorful dishes that will impress your friends and family. In this guide, we will take you through the steps to cook a fresh pork shoulder picnic to perfection.
1. Choose the Perfect Pork Shoulder Picnic
Before you dive into the cooking process, it’s crucial to select the right cut of meat. When purchasing a fresh pork shoulder picnic, look for:
- Well-marbled meat: The fat marbling ensures a juicy and tender result.
- Even thickness: Look for a shoulder picnic with consistent thickness, which allows for more even cooking.
2. Prepare the Pork Shoulder Picnic
Now that you have the perfect cut of meat, it’s time to prepare it for the cooking process. Follow these steps:
- Trim excess fat: While some fat is essential for flavor and moisture, removing any excessive fat will prevent your dish from becoming greasy.
- Season generously: Rub your pork shoulder picnic with a blend of your favorite spices, such as paprika, garlic powder, onion powder, salt, and pepper. Let it sit for at least 30 minutes to allow the flavors to penetrate the meat.
3. Slow Cook the Pork Shoulder Picnic
Slow cooking is the key to achieving a tender and succulent pork shoulder picnic. Follow these steps for a flavorful result:
- Preheat your oven to 325°F (163°C).
- Place the seasoned pork shoulder picnic in a roasting pan or Dutch oven with the fatty side facing up.
- Cover the pan tightly with foil or a lid and transfer it to the preheated oven.
- Cook for approximately 4 to 6 hours, or until the internal temperature reaches 195°F (90°C).
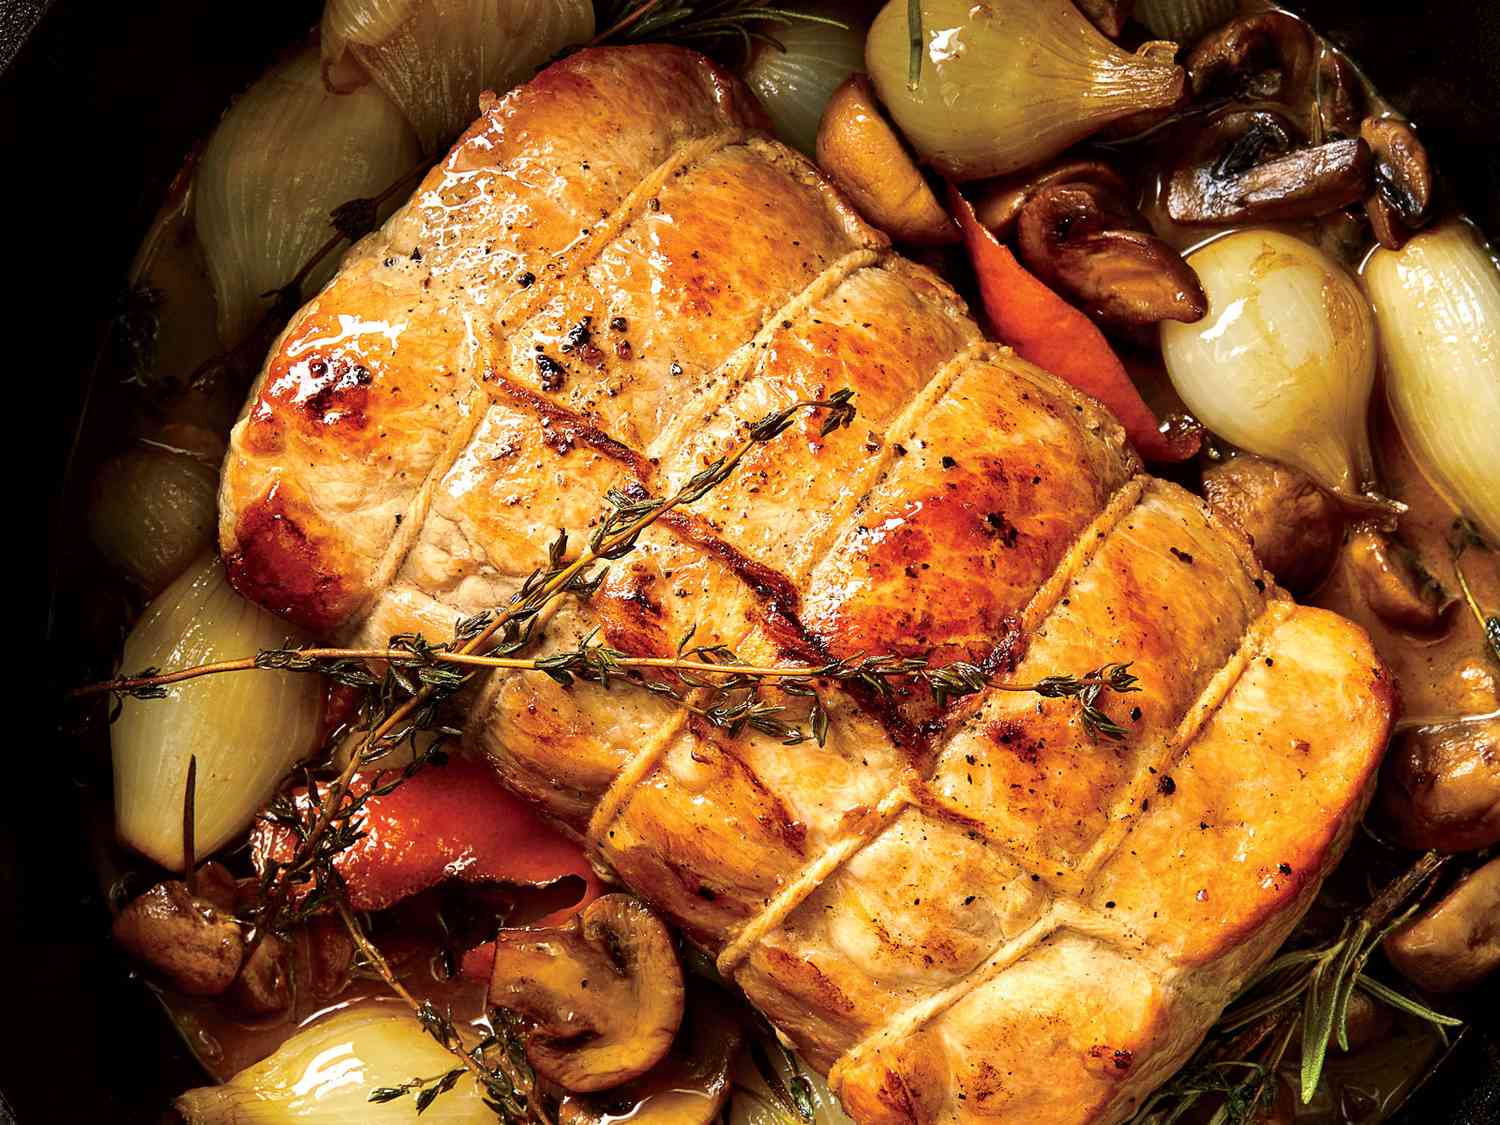
4. Achieve a Perfectly Crispy Exterior
After the pork shoulder picnic has reached the desired temperature, you can elevate your dish by adding a crispy crust:
- Increase the oven temperature to 400°F (205°C).
- Remove the foil or lid from the pan and return it to the oven, allowing the exterior to crisp up for approximately 15 to 20 minutes.
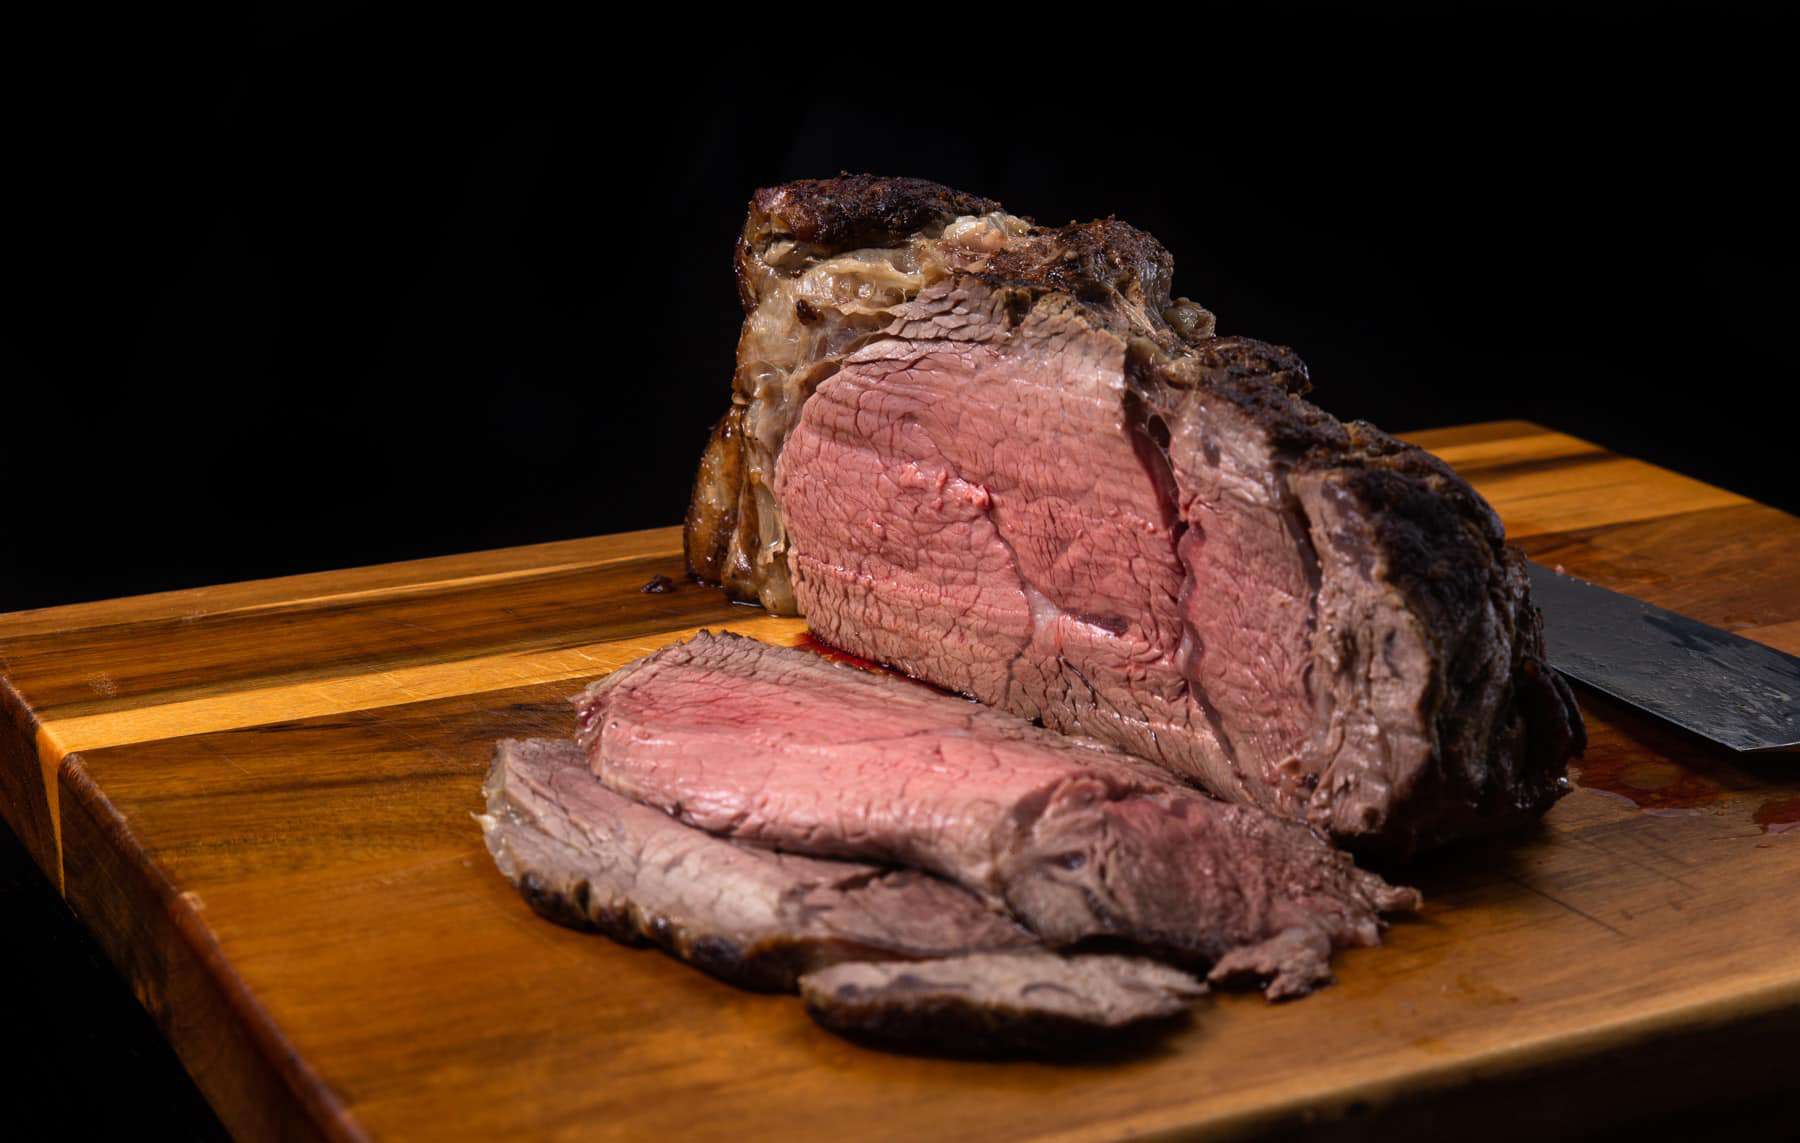
5. Let it Rest and Serve
Once your fresh pork shoulder picnic is out of the oven, it’s essential to let it rest before carving. This allows the juices to redistribute, resulting in a moist and delicious final product. Let it rest for at least 20 minutes before slicing.
When it’s time to serve, carve the pork shoulder picnic into thick, juicy slices, and pair it with your favorite side dishes like roasted vegetables, mashed potatoes, or homemade coleslaw.
There you have it—a step-by-step guide on how to cook a fresh pork shoulder picnic like a pro. Bring out the flavors in this incredible cut of meat by slow cooking it to perfection. Your taste buds will thank you!
Explore More Delicious Pork Shoulder Recipes
After mastering the basics of cooking a fresh pork shoulder picnic, the culinary adventure continues with a variety of recipes that utilize this versatile cut. For those looking to infuse some international flair into their meals, the Moroccan Spiced Pork Shoulder Recipe and Korean Style Pork Shoulder Recipe are highly recommended. The spices in the Moroccan recipe add a robust flavor that complements the pork’s natural richness, while the Korean style offers a tantalizing balance of sweet and savory that is sure to please any palate. For a classic American approach, the Southern Pulled Pork Sandwiches Recipe is a must-try. This dish transforms the pork shoulder into a tender, melt-in-your-mouth experience that's perfect for gatherings. Each recipe not only showcases different techniques and seasonings but also enhances your cooking repertoire, making every meal an occasion to savor.
Was this page helpful?
Read Next: How To Cook Frozen Shredded Chicken
Related Articles
How To Cook Top Round Roast In Instant Pot
How To Cook Pork Loin In Dutch Oven
How To Cook Frozen Green Beans In Microwave
How To Cook Ribs In Air Fryer Oven
How To Cook Venison Steak On Gas Grill

How To Cook Spaghetti In A Pan

How To Cook Brown Rice In Chicken Broth
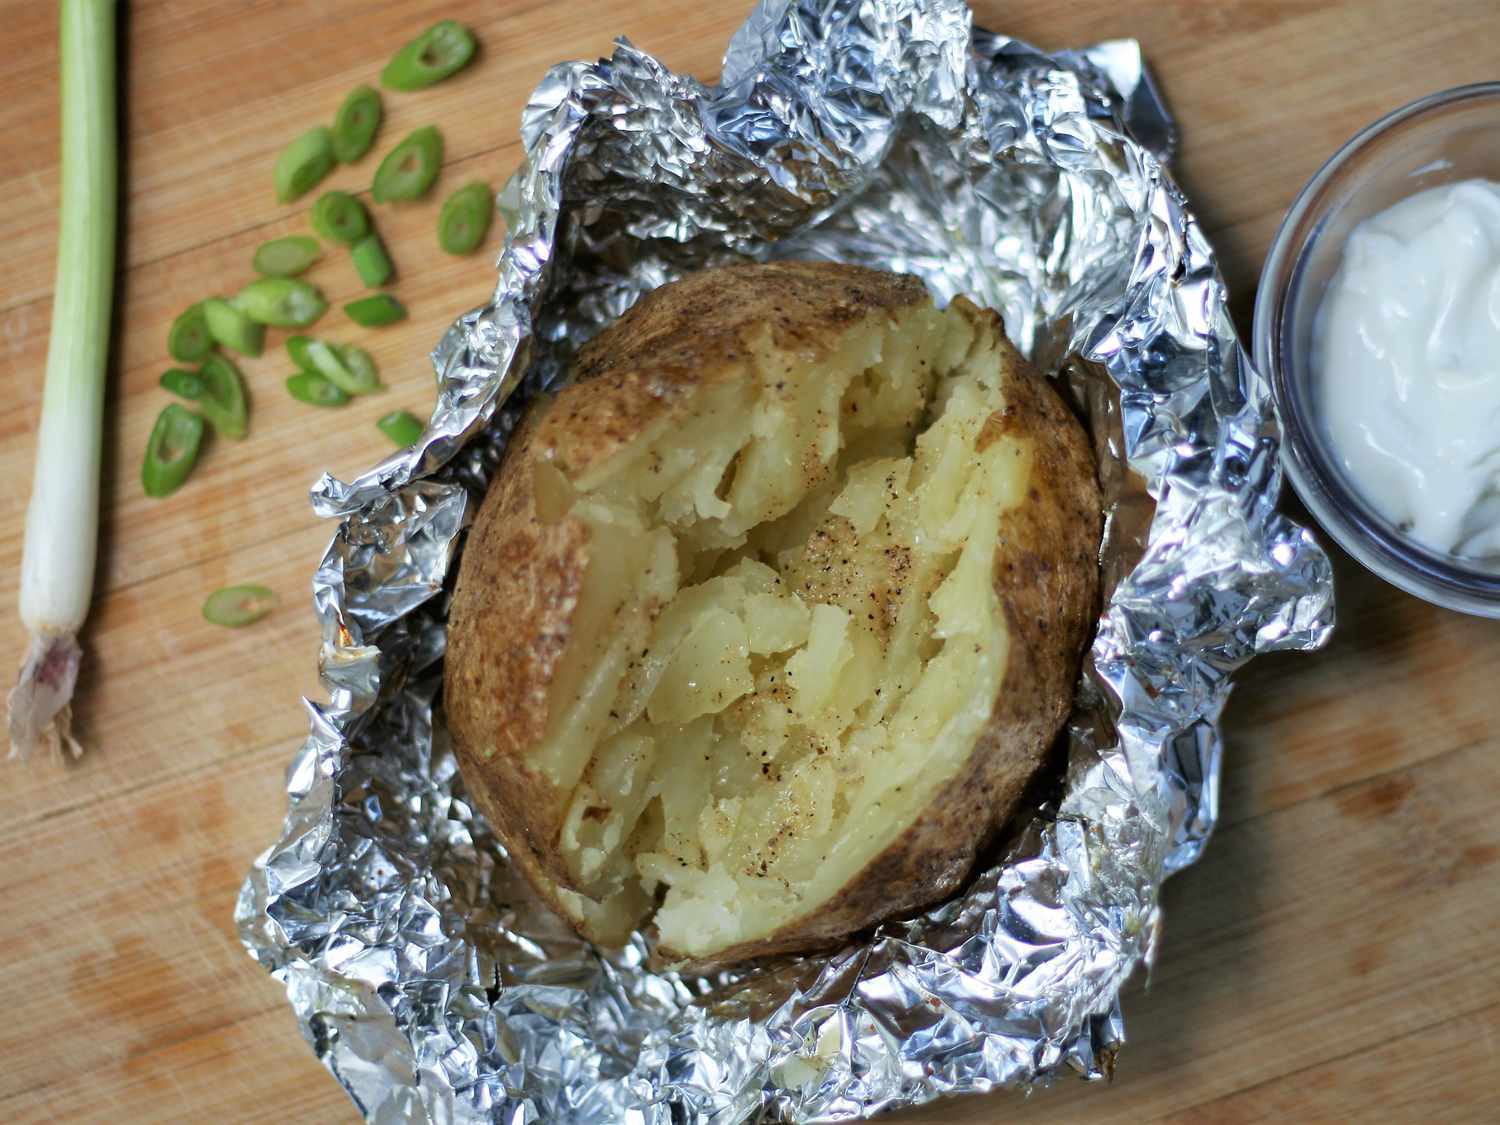
How To Cook A Baked Potato In The Oven With Aluminum Foil
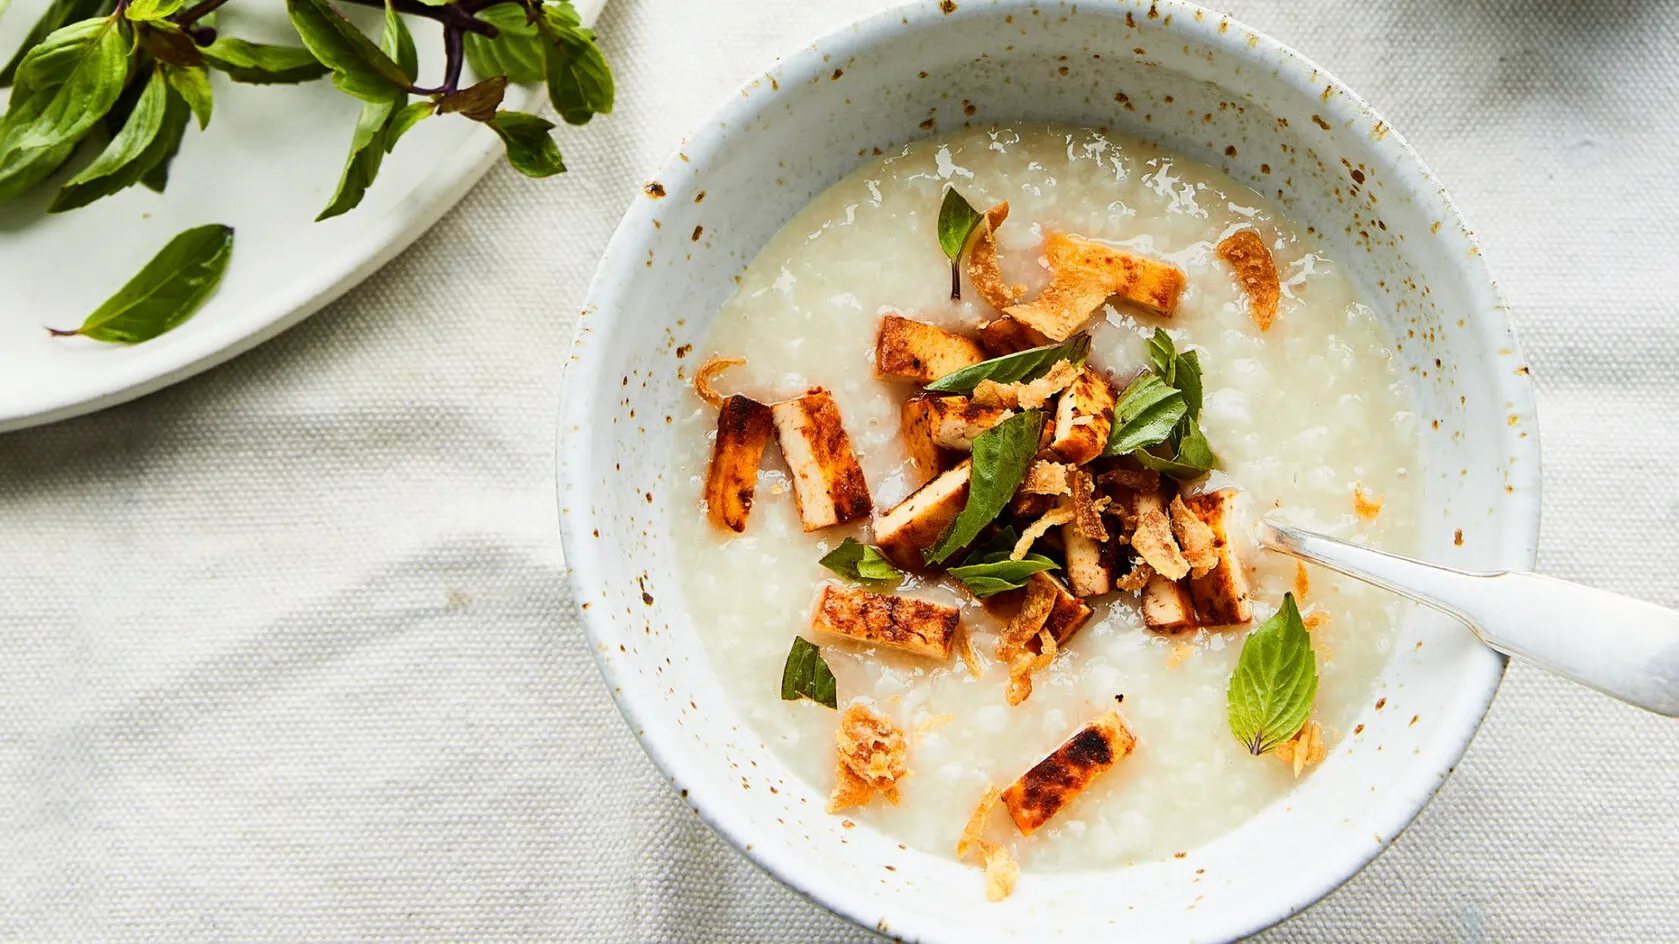
How To Cook Porridge In A Rice Cooker
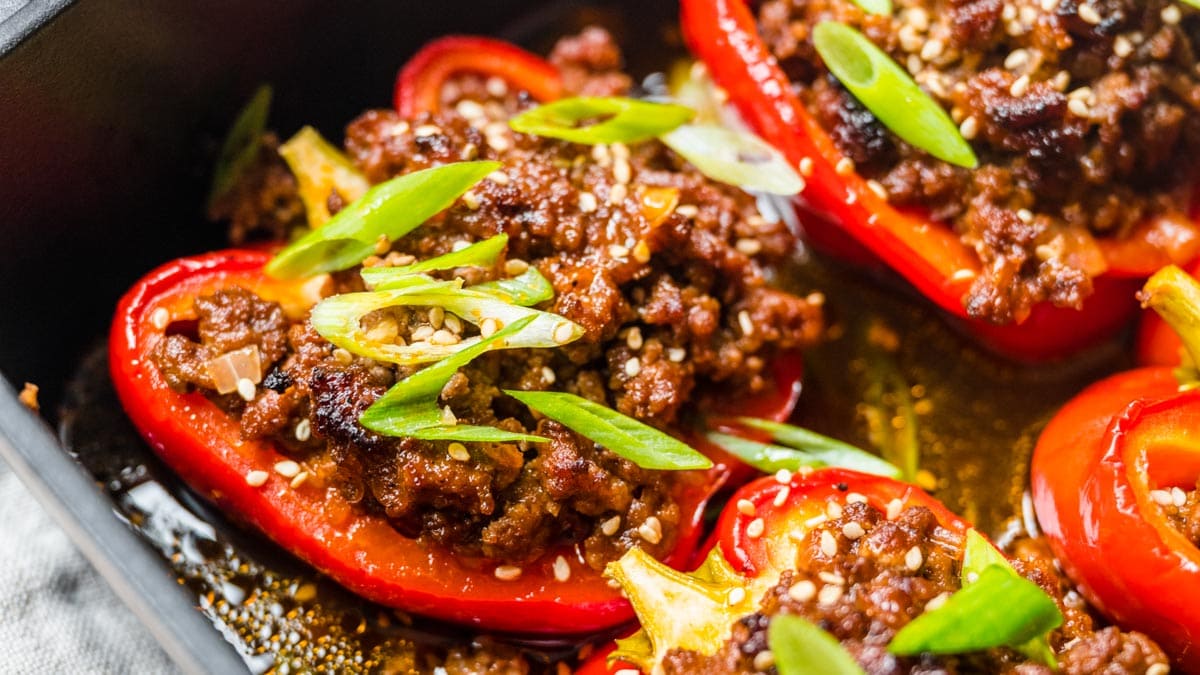
How To Cook Stuffed Peppers With Raw Meat
How To Cook A Whole Turkey In An Air Fryer Oven