Cooking Frozen Ham Hocks: Unlocking Flavor and Tenderness
Greetings, food enthusiasts! Today, we’re going to delve into the wonderful world of cooking frozen ham hocks. Whether you’re a seasoned chef or a home cook looking to try something new, this guide will show you how to transform these humble cuts of meat into succulent, flavorful dishes that will impress your family and friends. So grab your apron and let’s get cooking!
The Benefits of Cooking Frozen Ham Hocks
Ham hocks are known for their rich, smoky flavor and fall-off-the-bone tenderness. When you cook frozen ham hocks, you preserve their natural juices and flavors, resulting in a more delicious and satisfying dish. Plus, cooking them from frozen allows for a slow and gradual thaw, which helps the meat retain its moisture and texture.
Preparation and Thawing
Before getting started, it’s important to properly thaw your frozen ham hocks. Here’s a simple step-by-step guide:
- Place the frozen ham hocks in a large bowl or container.
- Refrigerate for 24-48 hours, allowing the hocks to thaw slowly. This will prevent the growth of bacteria.
- Once thawed, remove the ham hocks from the refrigerator and let them sit at room temperature for about 30 minutes before cooking. This will allow for more even cooking.
Cooking Methods
Now that your ham hocks are thawed and ready, it’s time to explore some cooking methods to maximize their flavor and tenderness:
1. Slow Cooking
Slow cooking is a great way to bring out the natural flavors of ham hocks. Here’s how you can do it:
- Preheat your oven to 275°F (135°C).
- Season the ham hocks with your favorite herbs and spices, such as garlic, thyme, and black pepper.
- Place the ham hocks in a roasting pan or Dutch oven, along with aromatic vegetables like onions, carrots, and celery.
- Cover the pan tightly with aluminum foil or a lid.
- Cook the ham hocks for about 3-4 hours or until the meat is tender and easily pulls away from the bone.
2. Pressure Cooking
If you’re short on time but still want to enjoy tender ham hocks, using a pressure cooker is the way to go:
- Place the thawed ham hocks in the pressure cooker.
- Add your desired seasonings, such as bay leaves, paprika, and mustard seeds.
- Add enough liquid, such as broth or water, to cover the ham hocks.
- Secure the lid and set the pressure cooker to high pressure.
- Cook for approximately 45-60 minutes, depending on the size of the ham hocks.
- Once cooked, allow the pressure to release naturally before opening the cooker.
Serving Suggestions
Now that your ham hocks are perfectly cooked, it’s time to serve them up! Here are some delicious serving suggestions:
- Shred the meat and serve it over a bed of creamy mashed potatoes.
- Pair it with sauerkraut and roasted potatoes for a hearty and satisfying meal.
- Add the ham hocks to soups, stews, and beans for added depth of flavor.
With these cooking tips and creative serving ideas, you’ll be able to appreciate the full potential of frozen ham hocks. So next time you come across these flavorful cuts of meat, don’t hesitate to give them a try. Happy cooking!
Was this page helpful?
Read Next: How To Cook Bulgur Wheat In Rice Cooker
Related Articles
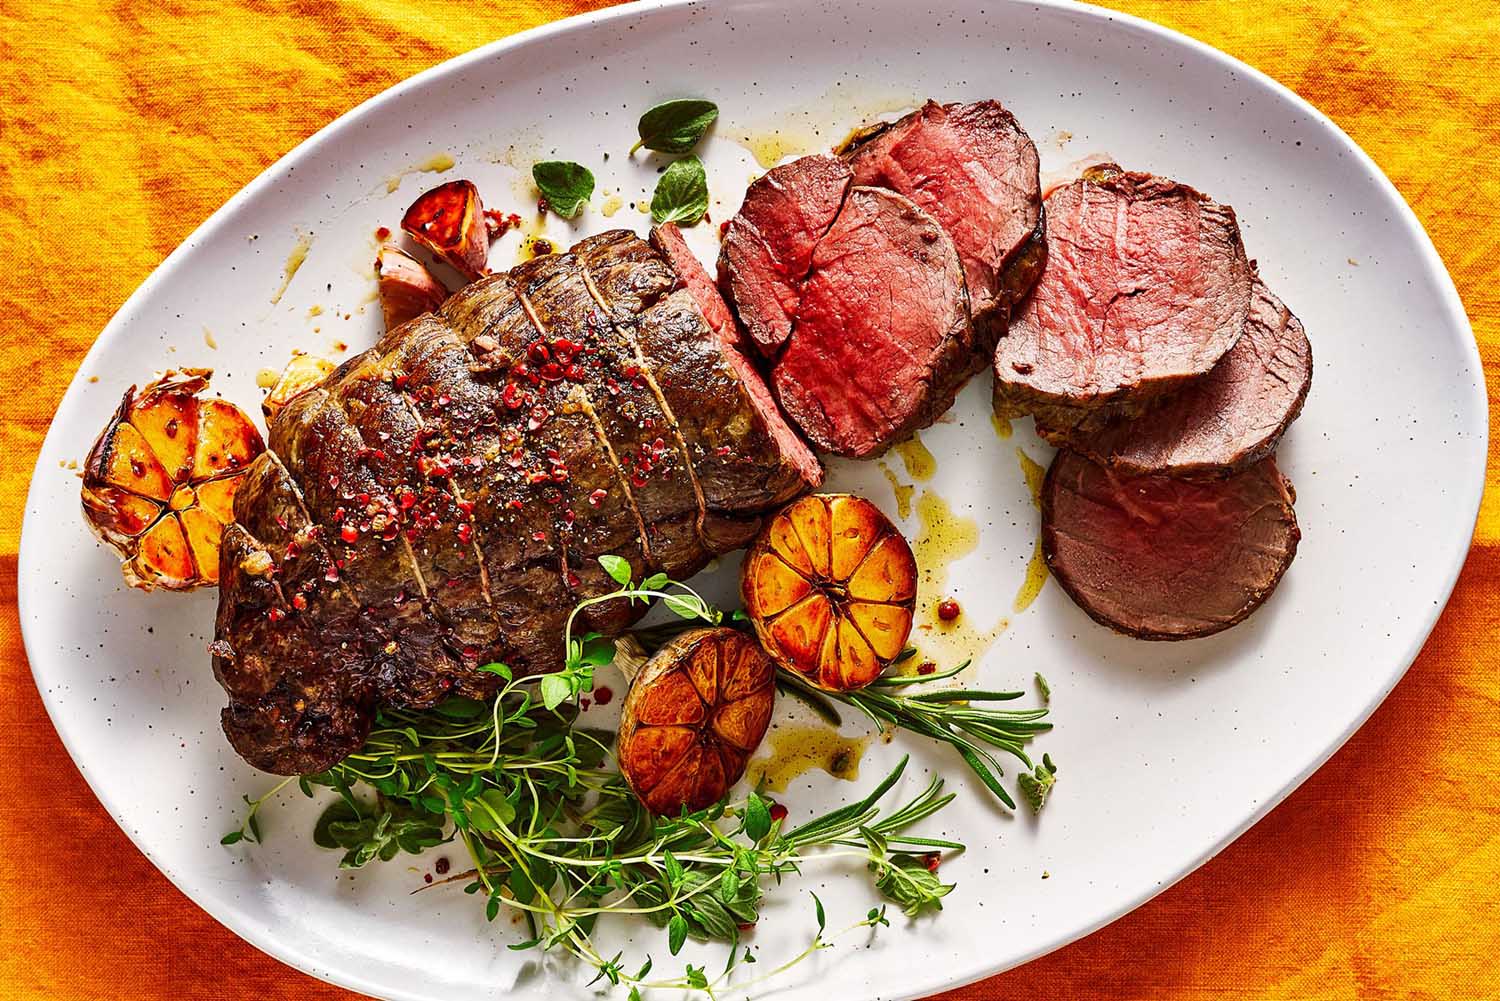
How To Cook Beef Tenderloin Tails In The Oven

How To Cook Orzo Water Ratio
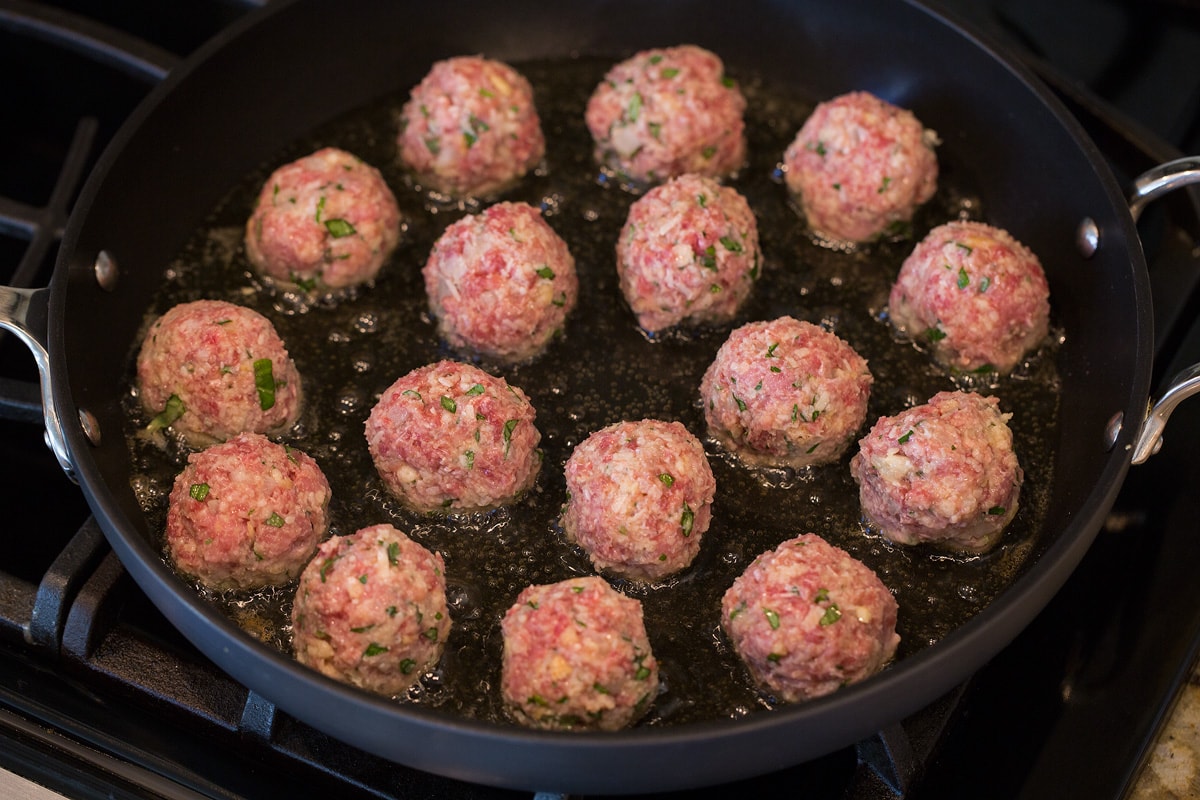
How To Cook Meatballs On Stovetop
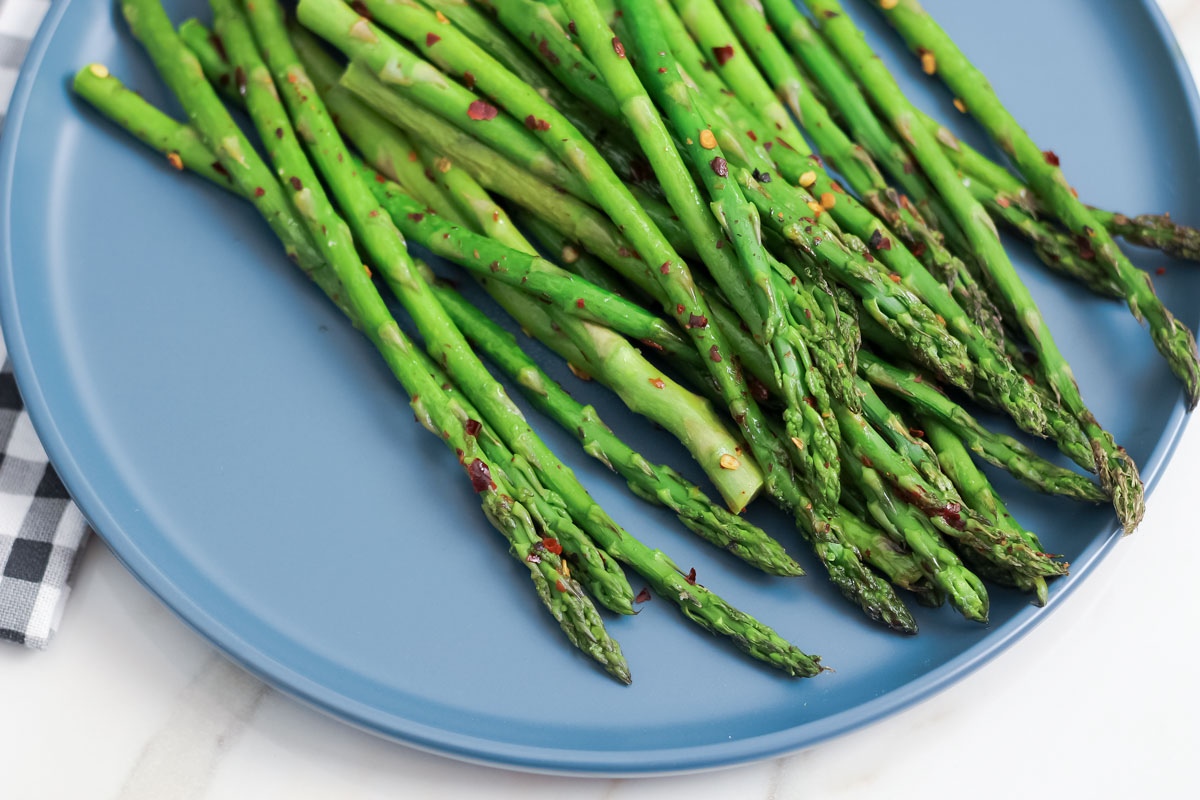
How To Cook Asparagus In Ninja Air Fryer

How To Cook Steak Indoors Without Smoke
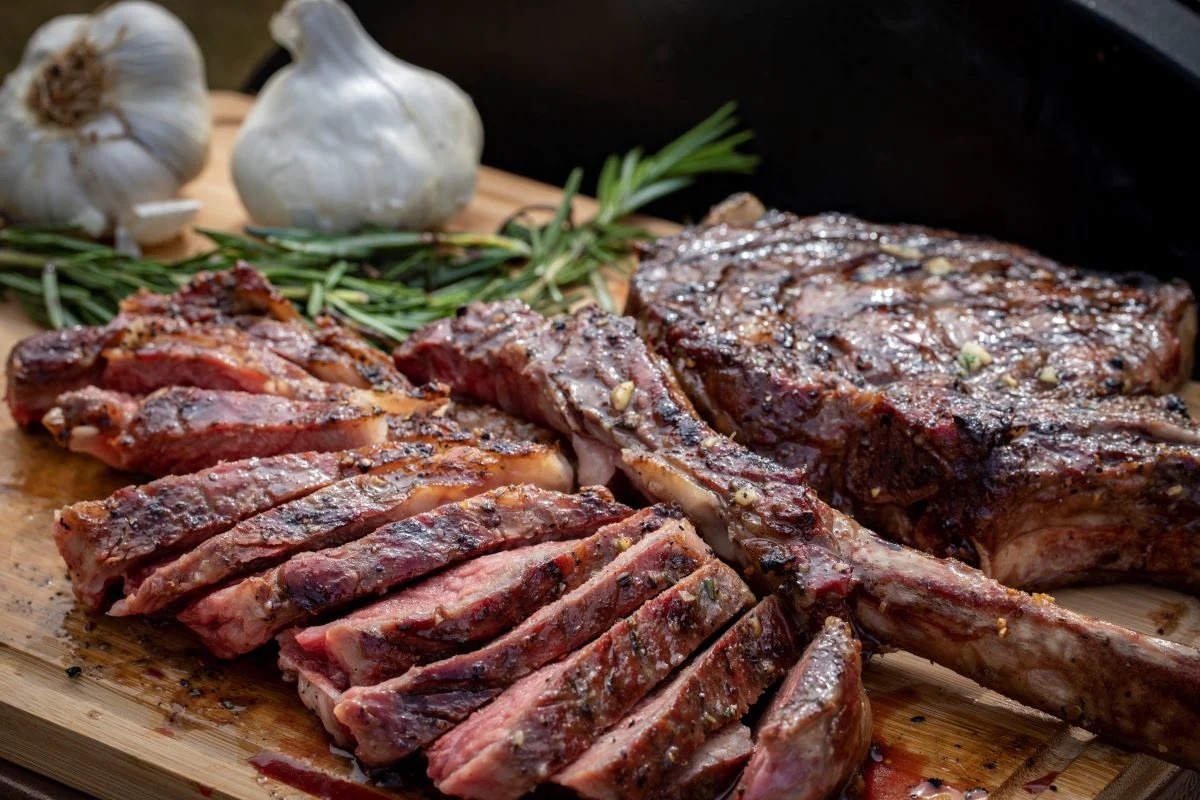
How To Cook A Tomahawk Steak On A Pit Boss Pellet Grill
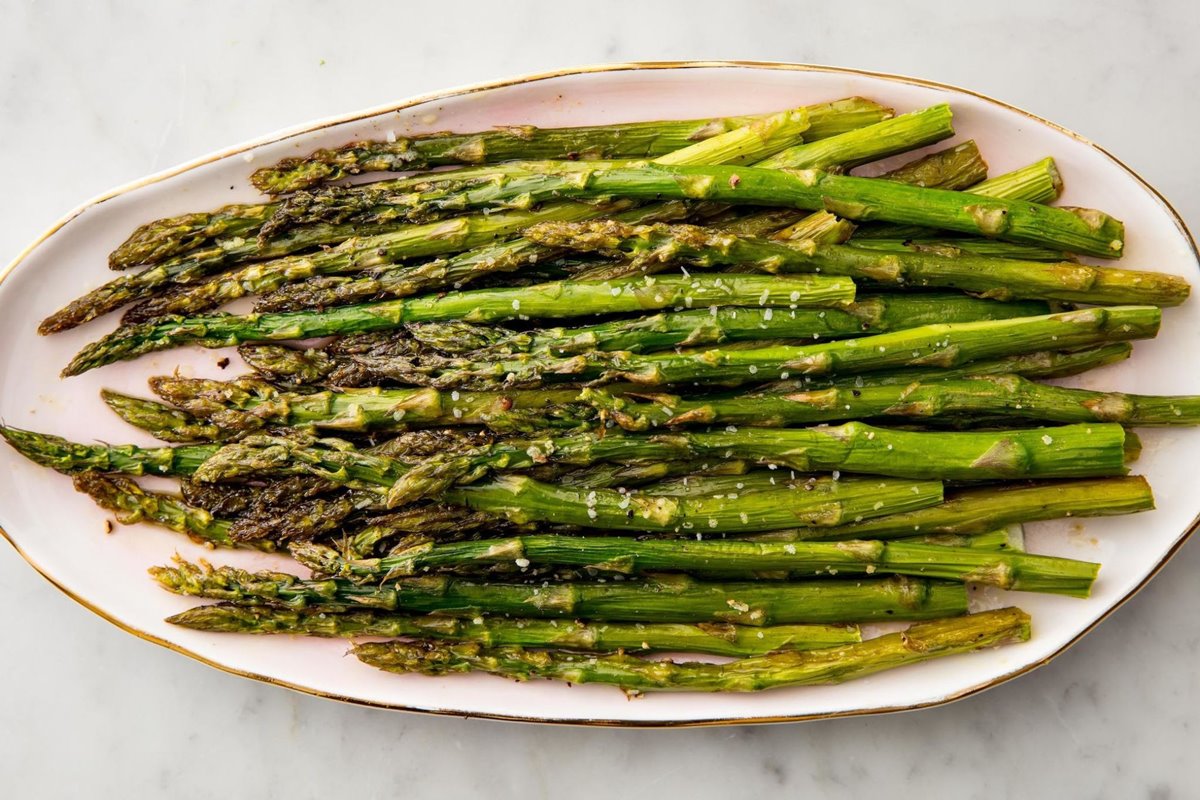
How To Cook Asparagus In Toaster Oven
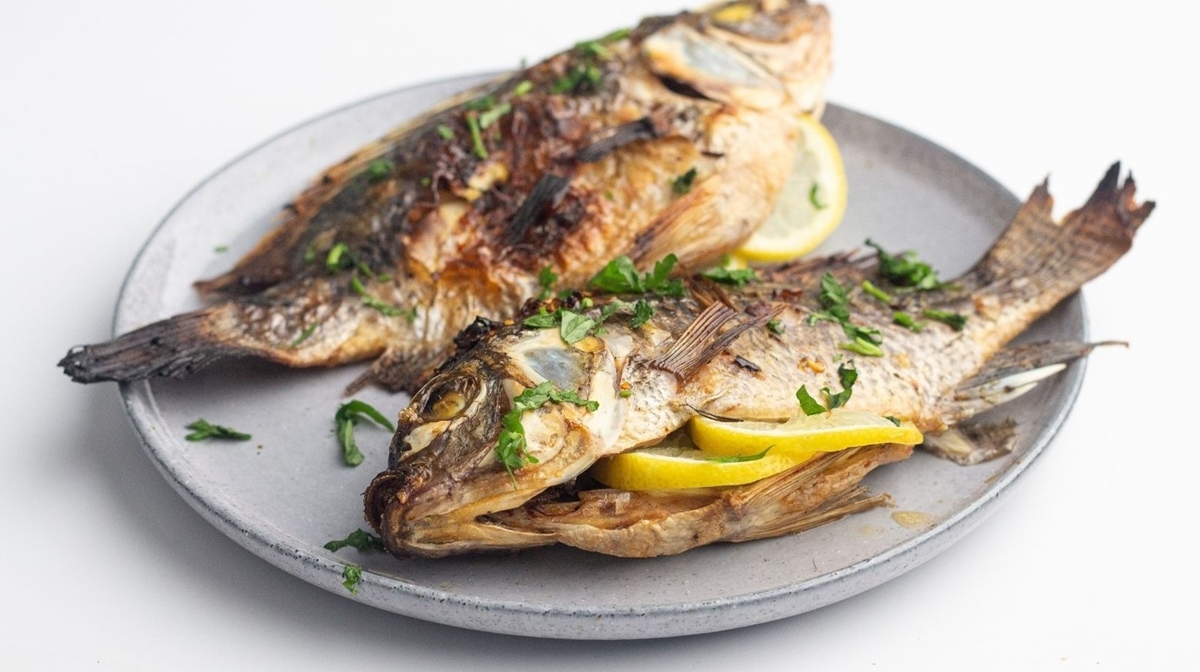
How To Cook Whole Tilapia In The Oven
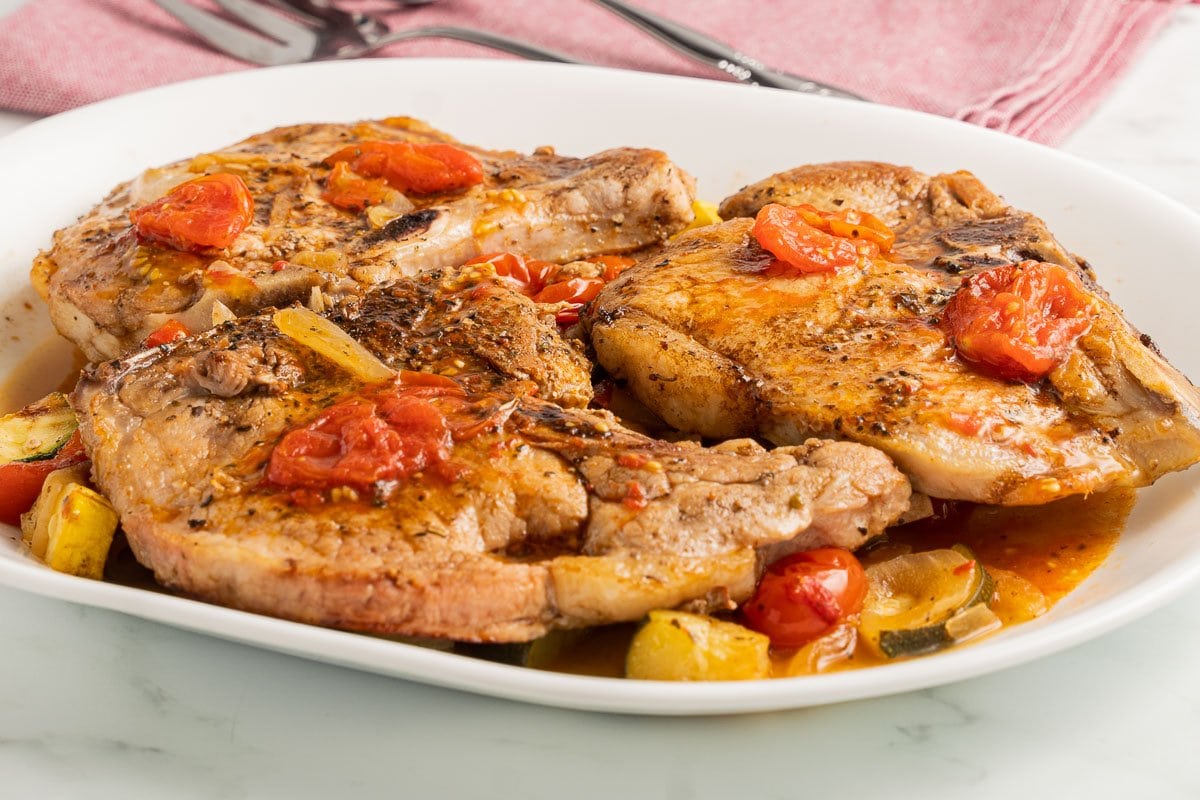
How To Cook Pork Chops In Dutch Oven

How To Cook Turkey Hot Dogs

How To Cook Potatoes For Dogs
