Master the Art of Cooking Chicken Breast in a Convection Oven
If you’re looking for a delicious and healthy way to prepare chicken breast, look no further than your trusty convection oven. This kitchen appliance can work wonders when it comes to cooking meat, helping you achieve perfectly tender and juicy chicken every time. In this article, we’ll guide you through the process of cooking chicken breast in a convection oven, ensuring a delectable outcome that will leave you wanting more.
Gather Your Ingredients
Before you embark on your culinary adventure, make sure you have all the necessary ingredients at hand. For this recipe, you’ll need the following:
- Chicken breasts
- Olive oil
- Salt and pepper
- Your favorite herbs and spices (optional)
Prepping the Chicken Breast
To ensure optimal results, it’s essential to properly prepare your chicken breasts before cooking. Here’s what you need to do:
- Start by preheating your convection oven to 400°F (200°C).
- Next, pat the chicken breasts dry with a paper towel. Moisture on the surface can prevent proper browning.
- Drizzle a little olive oil over the chicken and rub it in to lightly coat each piece. This will help lock in moisture.
- Season the chicken breasts with salt, pepper, and any other herbs or spices you desire. Be generous with the seasoning to enhance the flavors.
Cooking Time and Temperature
Now that your chicken breasts are prepped, it’s time to cook them to perfection. Follow these steps:
- Place the seasoned chicken breasts on a baking sheet or in a baking dish. For better airflow and even cooking, use a wire rack on top of the baking sheet.
- Insert the baking sheet into the preheated convection oven on the center rack.
- Set the oven temperature to 375°F (190°C). The convection feature will circulate hot air around the chicken, ensuring even cooking and browning.
- Cook the chicken for approximately 20-25 minutes or until the internal temperature reaches 165°F (74°C). Use a meat thermometer to check the doneness.
Resting and Serving
Once the chicken breasts are cooked to perfection, resist the temptation to dive in right away. Allow the meat to rest for a few minutes to lock in the juices. Then, get ready to enjoy a flavorful and tender meal.
Serve your beautifully cooked chicken breast with your favorite sides, such as roasted vegetables, steamed rice, or a fresh salad. The possibilities are endless, so get creative with your choices!
Now that you have mastered the art of cooking chicken breast in a convection oven, you can prepare a delicious and healthy meal any time you desire. Experiment with different herbs and spices to add variety, and impress your family and friends with your culinary skills. Happy cooking!
Was this page helpful?
Read Next: How To Cook A Bone-In Pork Roast In The Oven
Related Articles
How To Cook Steak Like Texas Roadhouse
How To Cook Prime Rib Steak In Cast Iron Skillet
How To Cook Navy Beans Southern Style
How To Cook Tuna Steak In Cast Iron
How To Cook Stuffed Cod
How To Cook Lobster For Pasta
How To Cook Chicken Drumsticks In A Slow Cooker
How To Cook Mashed Sweet Potatoes In Microwave
How To Cook Purple Rice In Rice Cooker
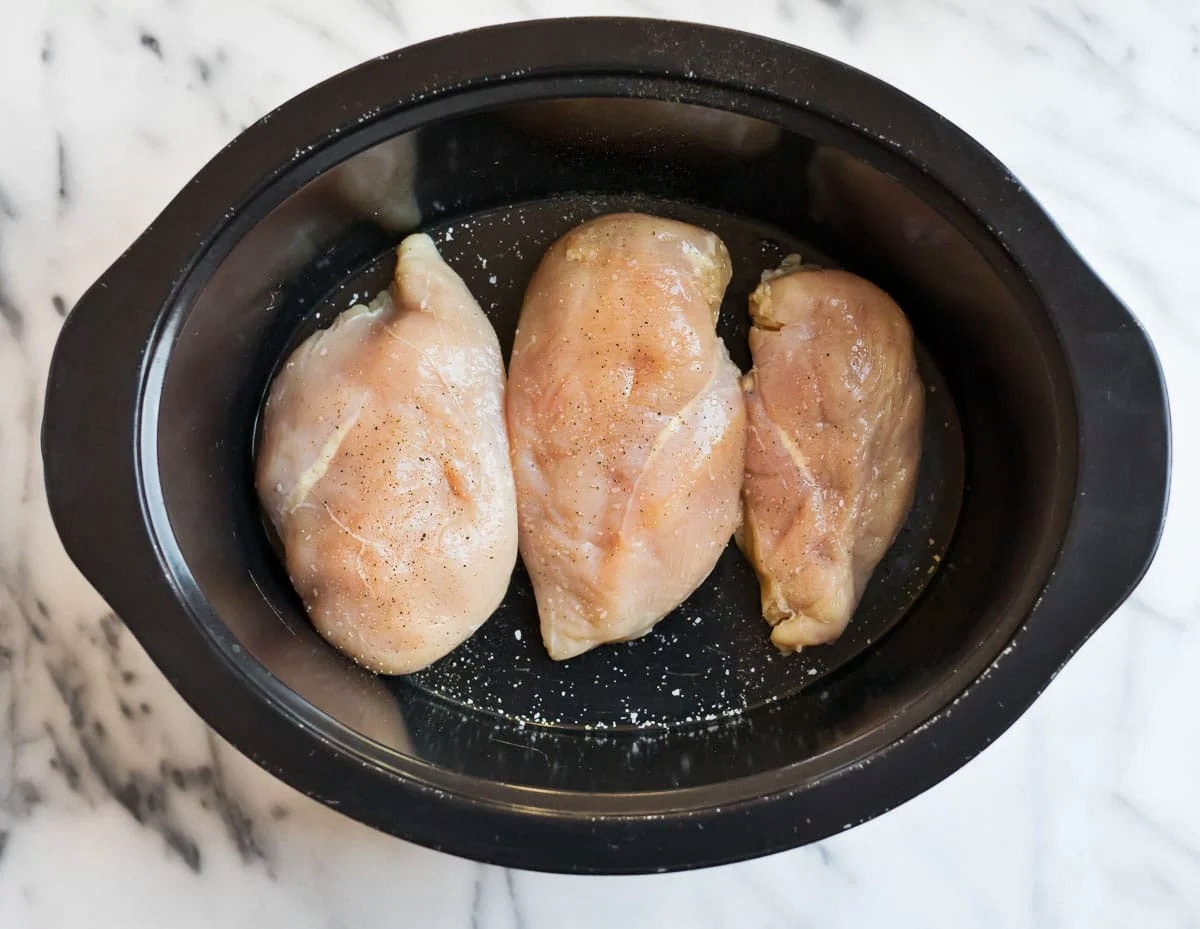
How To Cook Raw Chicken In Crock Pot
How To Cook Lobster Tails On The Grill In Foil