Unlock the Secret to a Tender Rump Roast: Expert Tips Revealed!
Are you tired of serving a tough and chewy rump roast? Well, fret no more! We’re here to share our expert tips and tricks to ensure your rump roast comes out tender and delicious every time. With a little know-how and some simple techniques, you’ll be impressing your family and friends with your culinary prowess. Let’s dive in!
Choosing the perfect rump roast
The first step in cooking a tender rump roast is selecting the right cut of meat. Look for a roast with marbling throughout, as this will contribute to its tenderness and flavor. Aim for a roast that is bright red in color and firm to the touch. If possible, opt for a rump roast that is well-aged, as this will further enhance its tenderness.
Pro Tip: Purchase your rump roast from a reputable butcher who can guide you in choosing the best quality cut.
Seasoning for success
Before you start cooking, take a moment to season your rump roast. Generously coat it with a flavorful dry rub or your favorite spice blend. This will not only add delicious flavor but also help to tenderize the meat. Common seasonings for a rump roast include garlic powder, dried herbs like thyme or rosemary, and a touch of black pepper.
Pro Tip: For maximum tenderness, let your seasoned rump roast sit at room temperature for about 30 minutes before cooking. This allows the flavors to penetrate the meat and helps to ensure even cooking.
The art of searing
One secret to achieving a tender rump roast is searing it before slow-cooking. Heat a heavy-bottomed skillet over medium-high heat and add a small amount of oil. Carefully place your seasoned roast in the hot pan and sear it on all sides until browned. Searing helps to lock in the juices and adds a beautiful caramelized crust to the meat.
Pro Tip: For an extra burst of flavor, add some freshly minced garlic and a sprig of rosemary or thyme to the skillet while searing your roast.
Slow and steady wins the race
After searing, transfer your rump roast to a slow cooker or a roasting pan with a tight-fitting lid. The gentle, slow cooking method helps to break down the tough fibers in the meat, resulting in a tender roast. Add a cup or two of beef broth or red wine to the pan to keep the roast moist during the cooking process.
Pro Tip: To infuse additional flavors, you can add diced onions, carrots, and celery to the roasting pan. These aromatics will not only enhance the taste but also contribute to a delicious, flavorful gravy.
Temperature is key
For a perfectly tender rump roast, it’s important to cook it at the right temperature. Set your slow cooker or oven to a low temperature, around 275°F (135°C). Slow-cook the roast for several hours, allowing it to gradually reach its ideal internal temperature. Use a meat thermometer to ensure it is cooked to your desired level of doneness.
Pro Tip: For a medium-rare rump roast, aim for an internal temperature of 135°F (57°C). Increase the temperature for a more well-done roast.
Rest and carve
Once your rump roast has reached the desired internal temperature, remove it from the heat source and let it rest for about 15 minutes. This allows the juices to redistribute throughout the meat, resulting in a moist and tender roast. Use this time to prepare a luscious gravy using the flavorful drippings from the roasting pan.
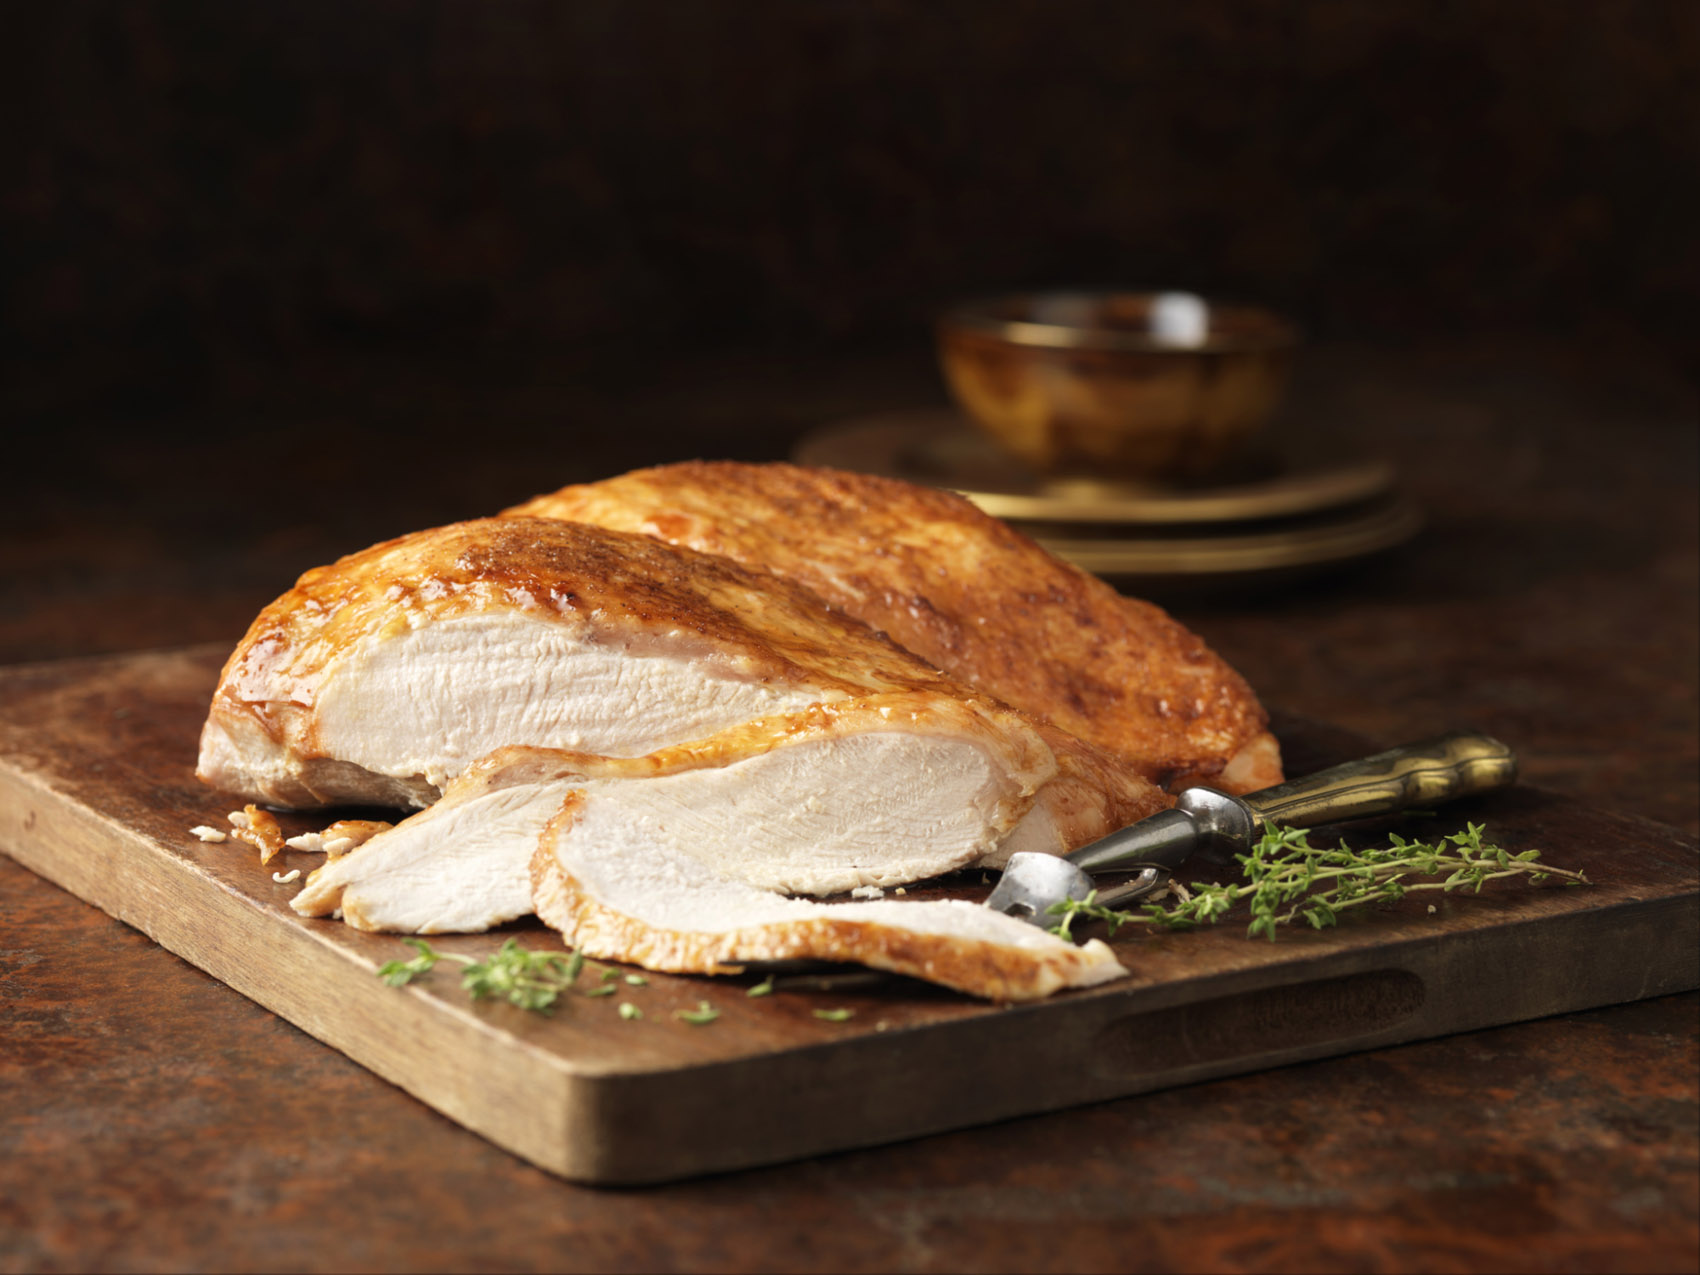
When it’s time to carve, cut the rump roast against the grain into thin slices. This will further enhance its tenderness and make it easier to chew. Serve alongside your favorite sides and bask in the glory of a perfectly cooked, tender rump roast!
Pro Tip: Leftover rump roast makes incredible sandwiches or can be used to elevate your favorite pasta dishes or salads.
Now that you’re armed with these expert tips, go forth and conquer your rump roast cooking adventures. Remember, choosing the right cut, seasoning well, searing, slow-cooking, and carving against the grain are the secrets to a tender and mouth-watering rump roast. Follow these steps, and soon you’ll be known as the Rump Roast Master among your friends and family!
Was this page helpful?
Read Next: How To Cook White Navy Beans
