Brining Duck: A Delicious Way to Enhance Flavor
Brining is a simple yet effective technique for enhancing the flavor and juiciness of duck. By immersing the duck in a solution of salt, sugar, and aromatics, you can infuse it with moisture and flavor, resulting in a tender and delicious final dish. If you’re new to brining or looking to perfect your technique, read on for a step-by-step guide on how to brine duck.
Step 1: Choose the Right Duck
When brining duck, it’s important to start with a high-quality bird. Look for fresh, plump ducks with firm, moist skin. Whether you’re using a whole duck or specific cuts, such as breasts or legs, selecting the best-quality duck will set the stage for a successful brining process.
Step 2: Prepare the Brine Solution
The key to a successful brine is the brine solution itself. In a large pot or container, combine water, salt, sugar, and any desired aromatics such as herbs, spices, and citrus zest. The general ratio for a basic brine is 1 cup of salt and 1/2 cup of sugar per gallon of water, but feel free to adjust the seasonings to suit your taste preferences.
Step 3: Submerge the Duck
Once the brine solution is ready, place the duck in the container, ensuring that it is fully submerged. If you’re using a whole duck, you may need a larger container to accommodate the bird. Cover the container and refrigerate it for the appropriate brining time, which will vary based on the size and type of duck you’re using.
Step 4: Brine for the Right Amount of Time
The brining time for duck can range from a few hours to overnight, depending on the size and cut of the bird. As a general rule of thumb, whole ducks may require 12-24 hours of brining, while duck breasts or legs may need 2-4 hours. Be mindful not to over-brine, as this can result in overly salty meat.
Step 5: Rinse and Pat Dry
After the duck has finished brining, remove it from the brine solution and rinse it thoroughly under cold water to remove any excess salt. Pat the duck dry with paper towels to ensure that the skin will crisp up during cooking.
Step 6: Cook and Enjoy
Once the duck has been brined, it’s ready to be cooked using your preferred method. Whether you choose to roast, grill, or pan-sear the duck, you’ll notice the difference in flavor and juiciness that the brining process imparts. Serve the duck with your favorite sides and enjoy the delicious results of your brining efforts.
Brining duck is a simple yet impactful way to elevate the flavor and texture of this rich and flavorful bird. By following these steps and experimenting with different brine ingredients, you can discover the perfect brine for your culinary creations. So, the next time you prepare duck, consider incorporating the brining process for a truly memorable dining experience.
For anyone eager to master the art of brining duck, there are several standout recipes to consider. Brined Five-Spice Duck offers a fragrant and flavorful experience with its aromatic spices, perfect for a special dinner. Brined Duck Breast with Cherry Port Sauce pairs the richness of duck with a sweet and tangy cherry port sauce, making it an elegant main course. For those who love traditional flavors, Brined Duck à l'Orange provides a classic combination of citrus and savory notes. Adventurous cooks might enjoy Brined Duck Tacos with Hoisin Sauce, where the brined duck adds a succulent twist to a beloved street food favorite. Each of these recipes utilizes the brining technique to ensure a juicy, tender result that's sure to impress.
Was this page helpful?
Read Next: How To Brine A Pheasant
Related Articles

How To Brine A Ham For Smoking
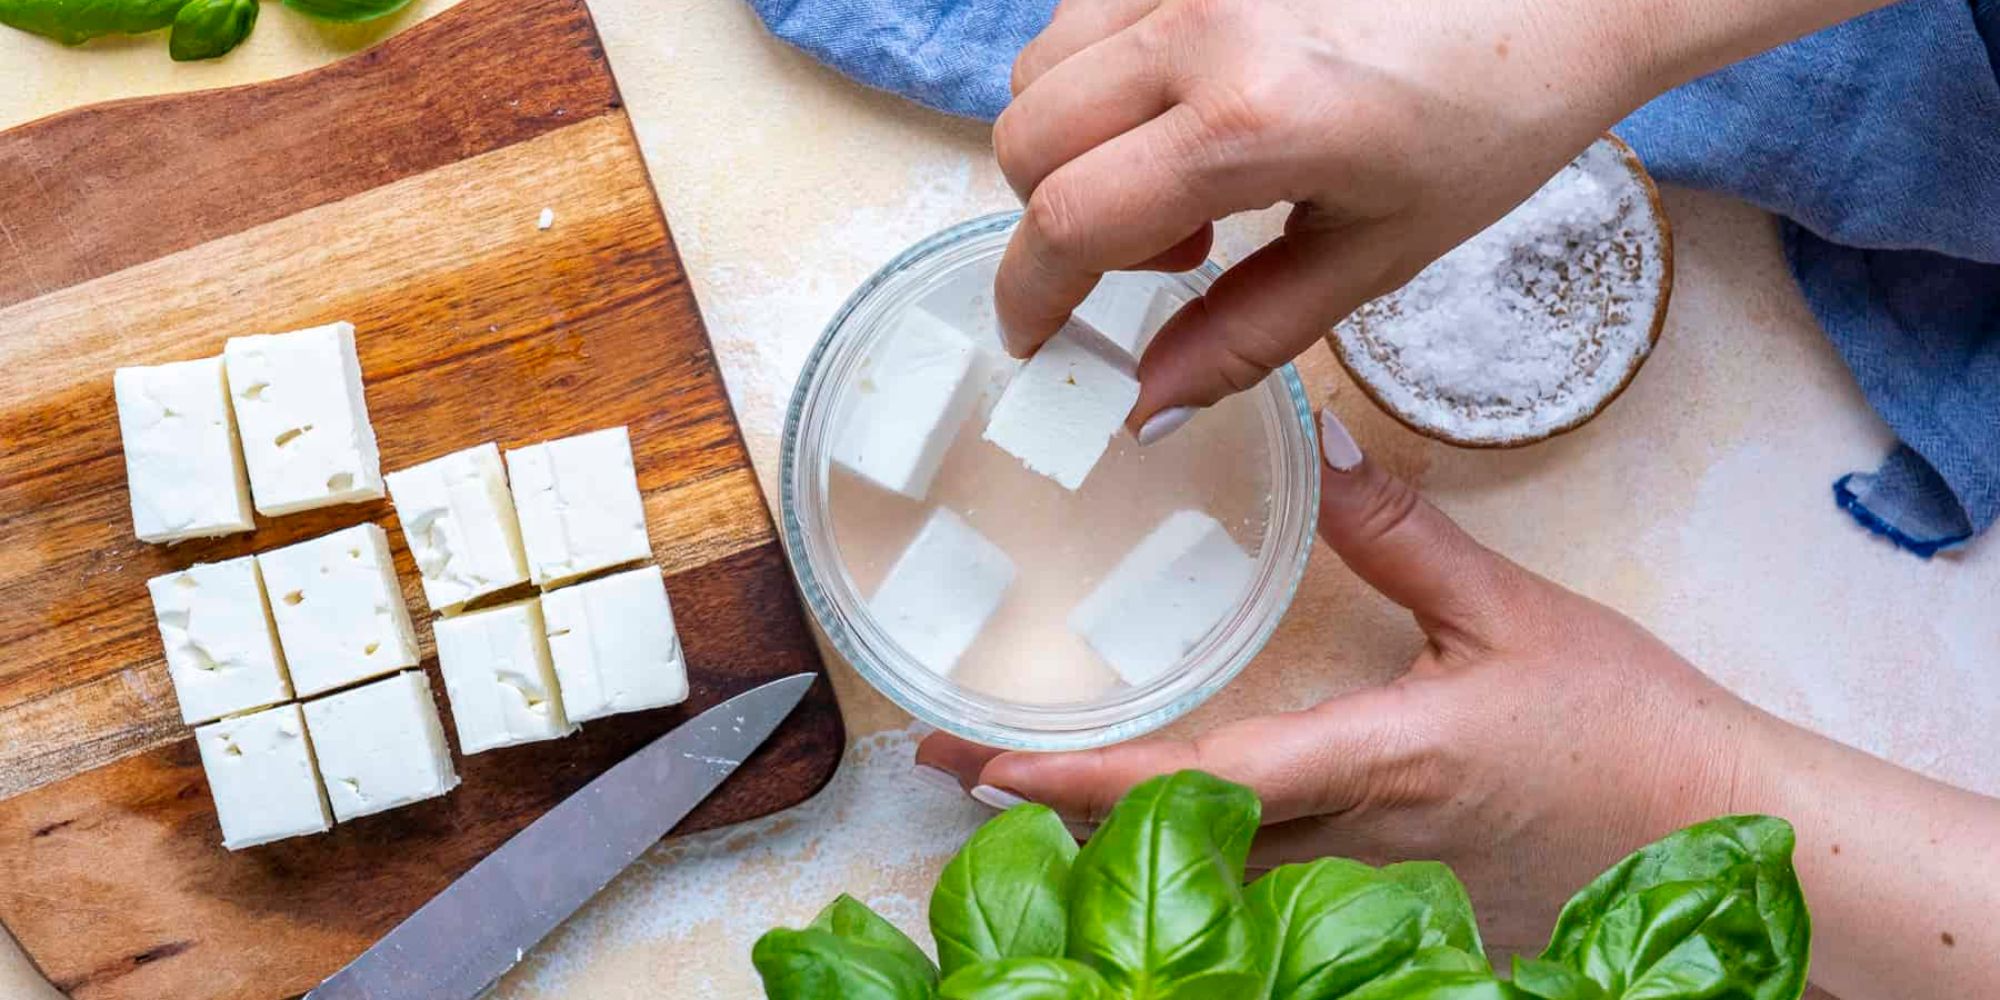
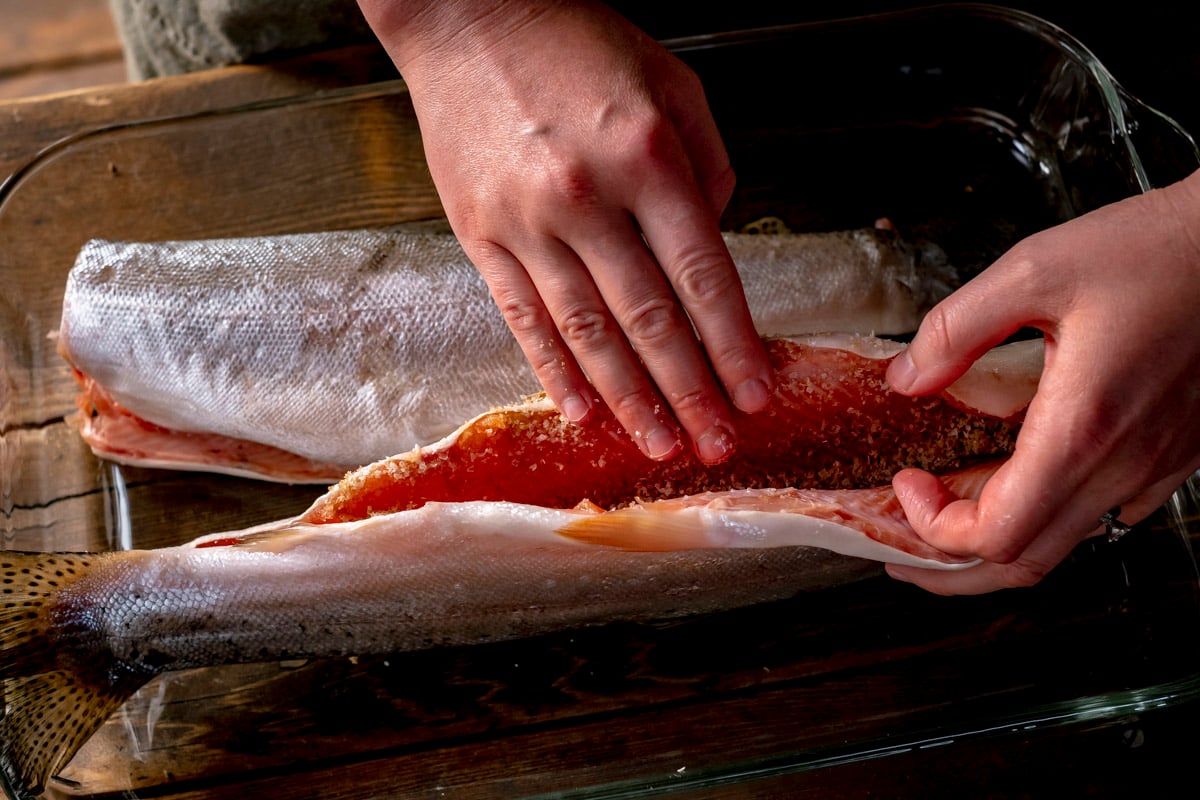
How To Brine Feta
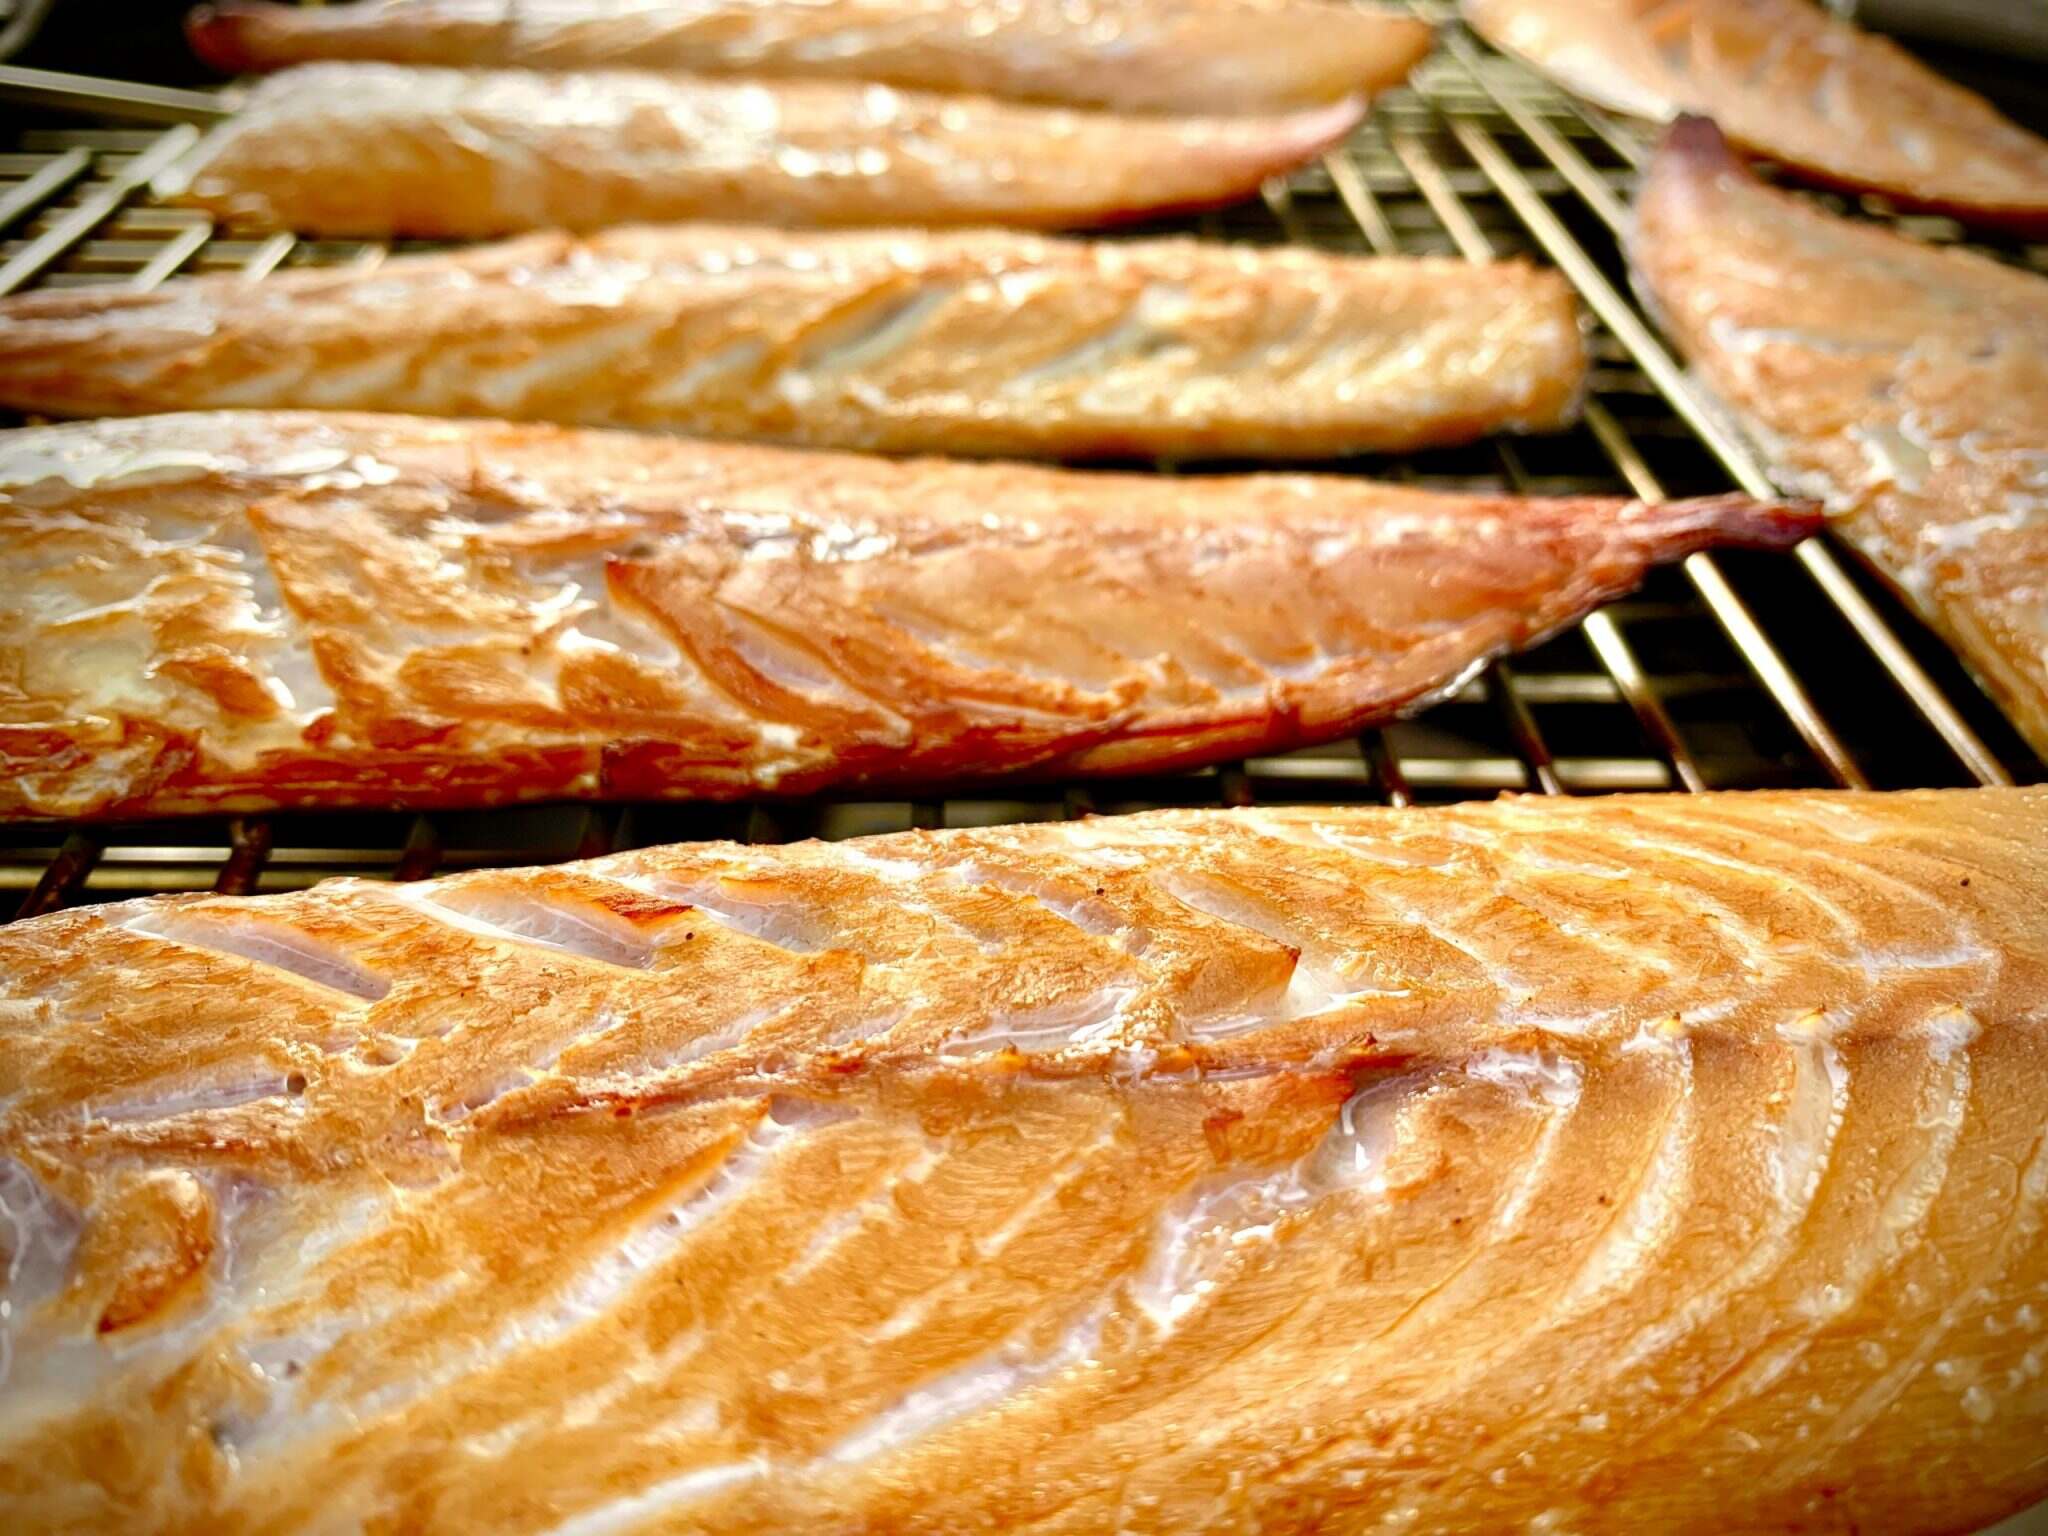
How To Brine Mackerel
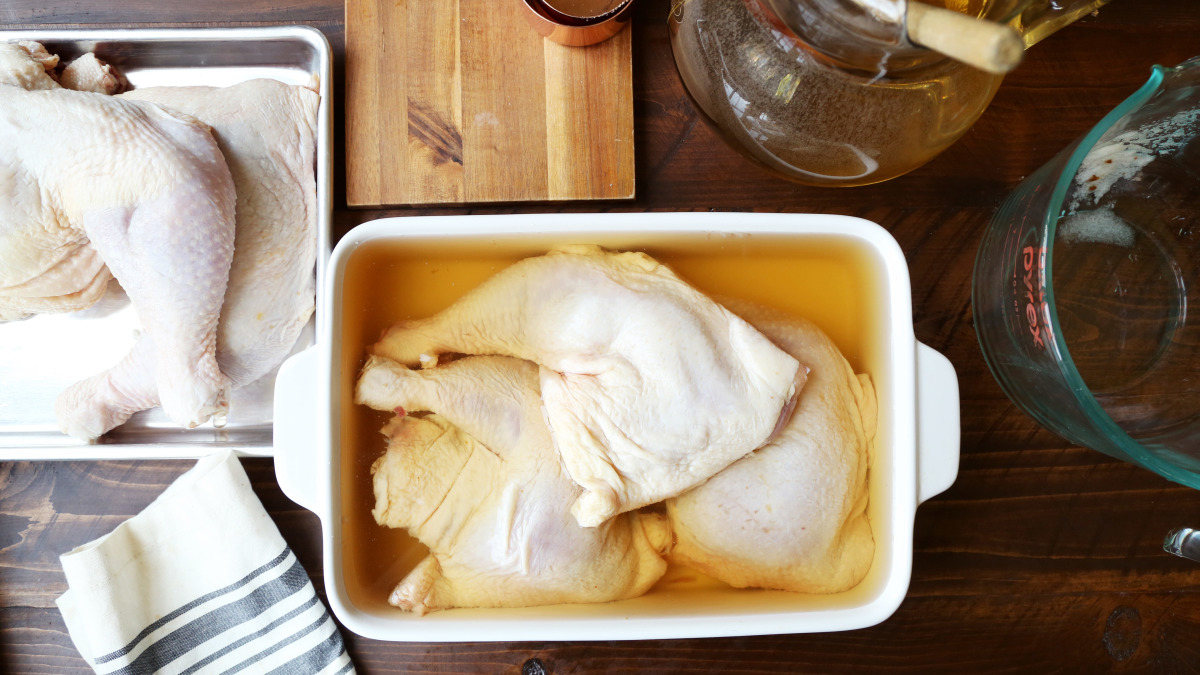
How To Brine Cut Up Chicken
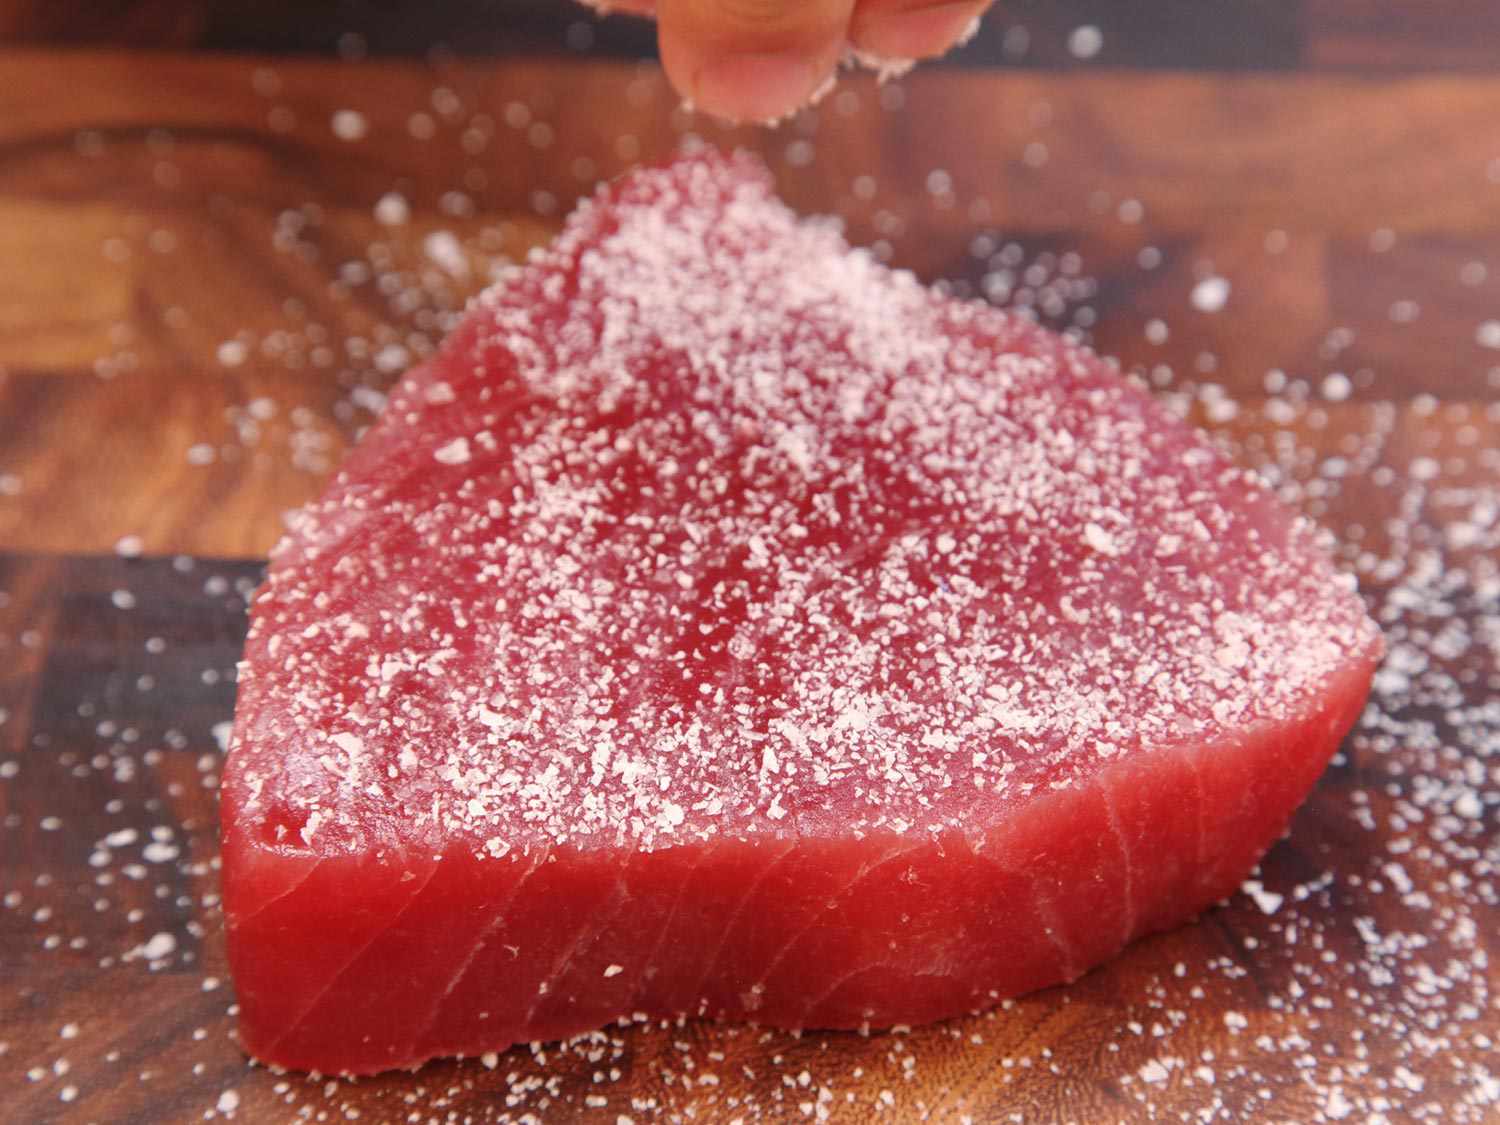
How To Brine Tuna Steaks
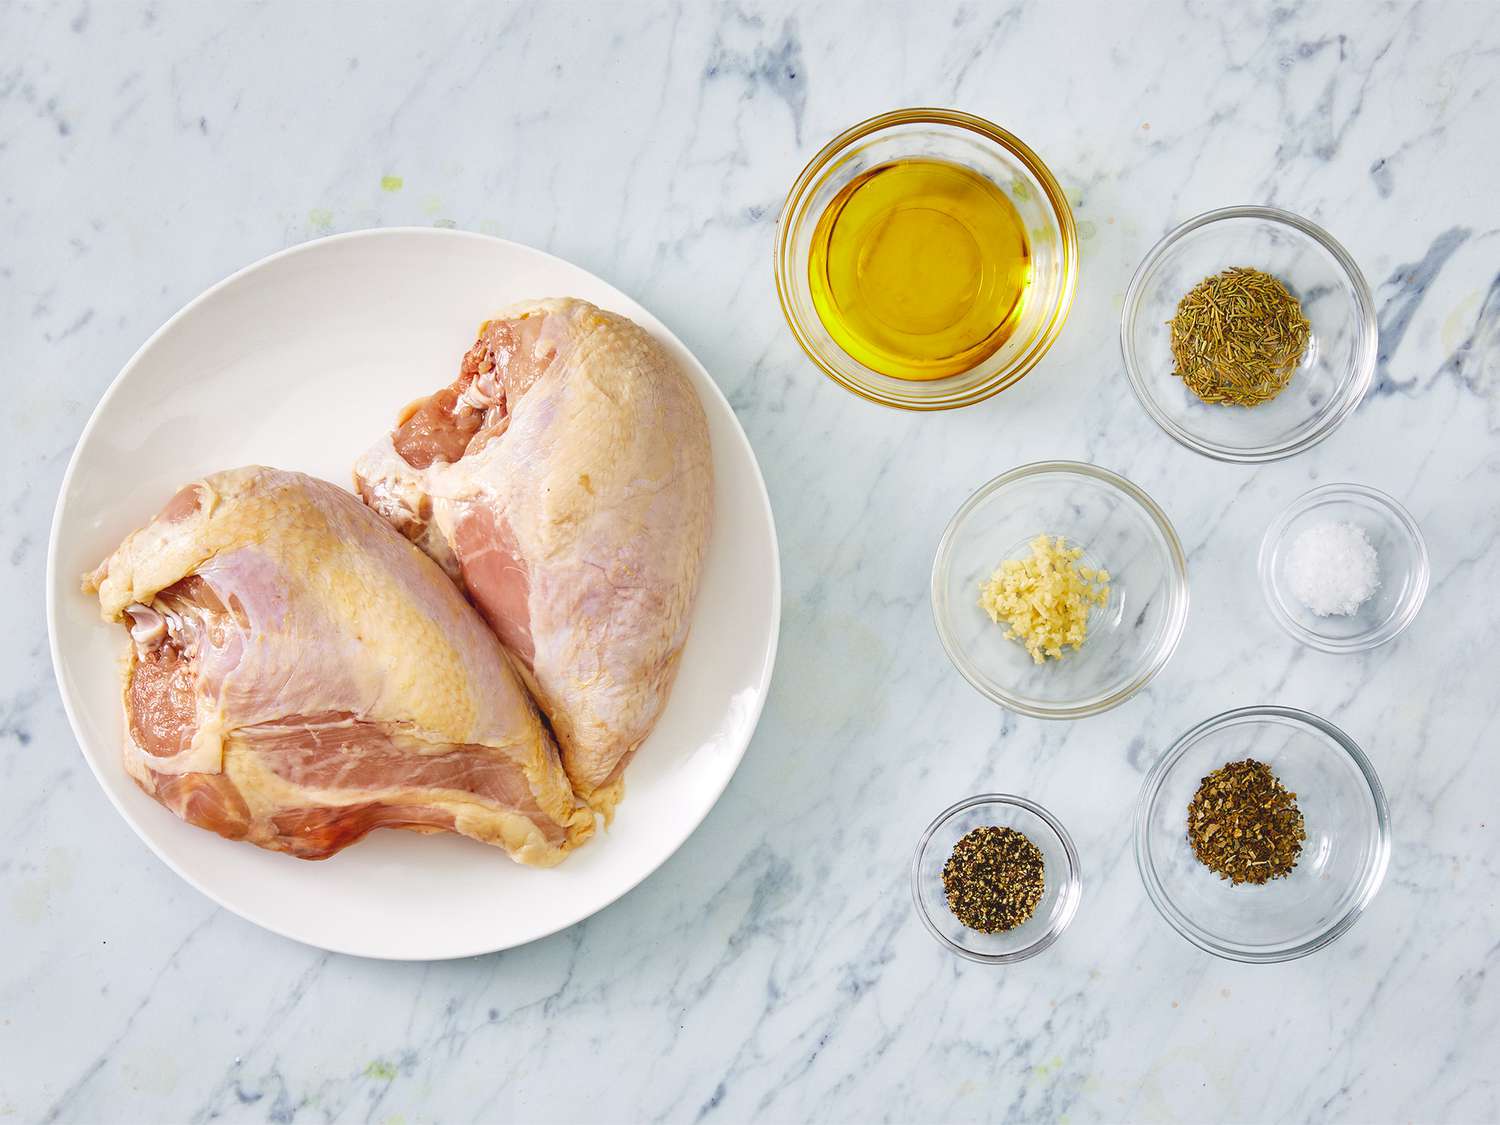
How To Brine Split Chicken Breast
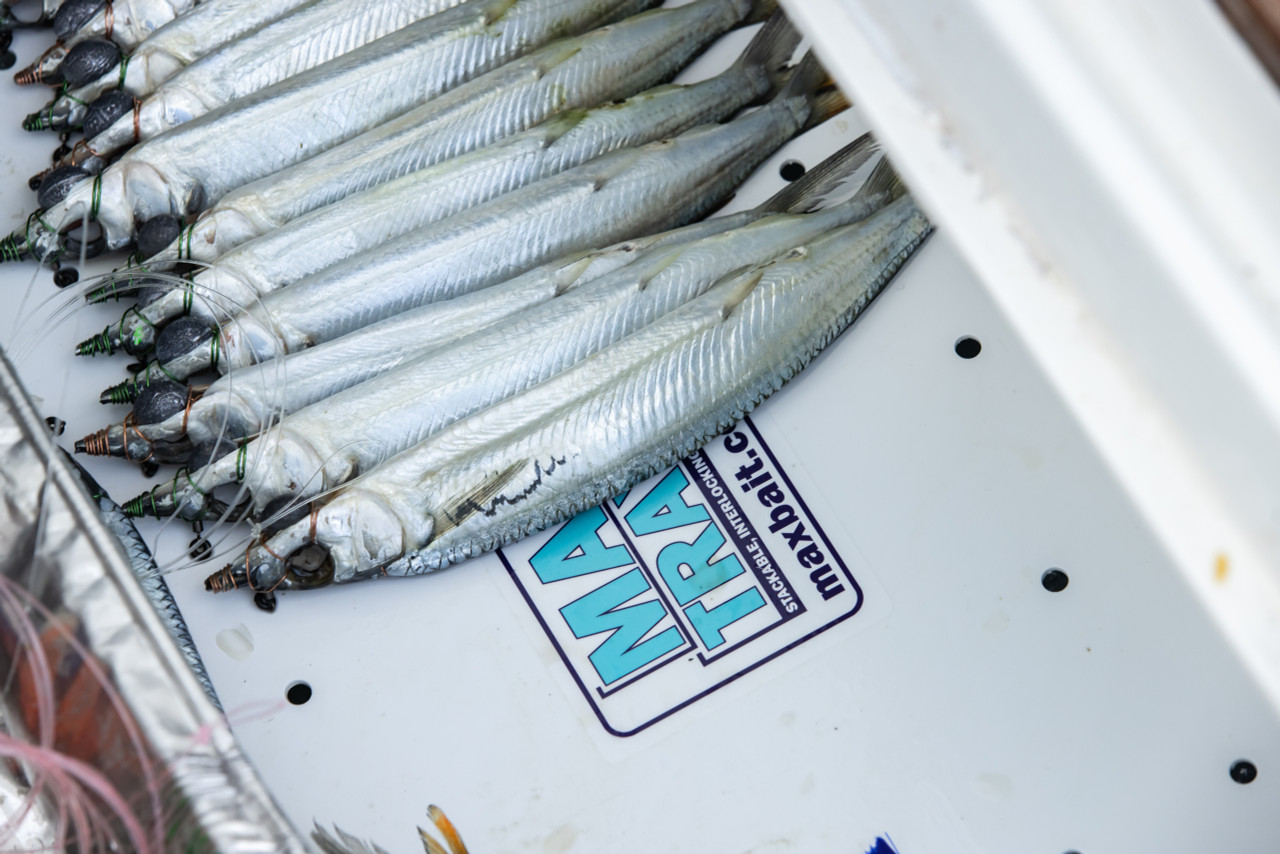
How To Brine Fish Bait
How To Brine A Ham For Smoking

How To Brine Without Salt
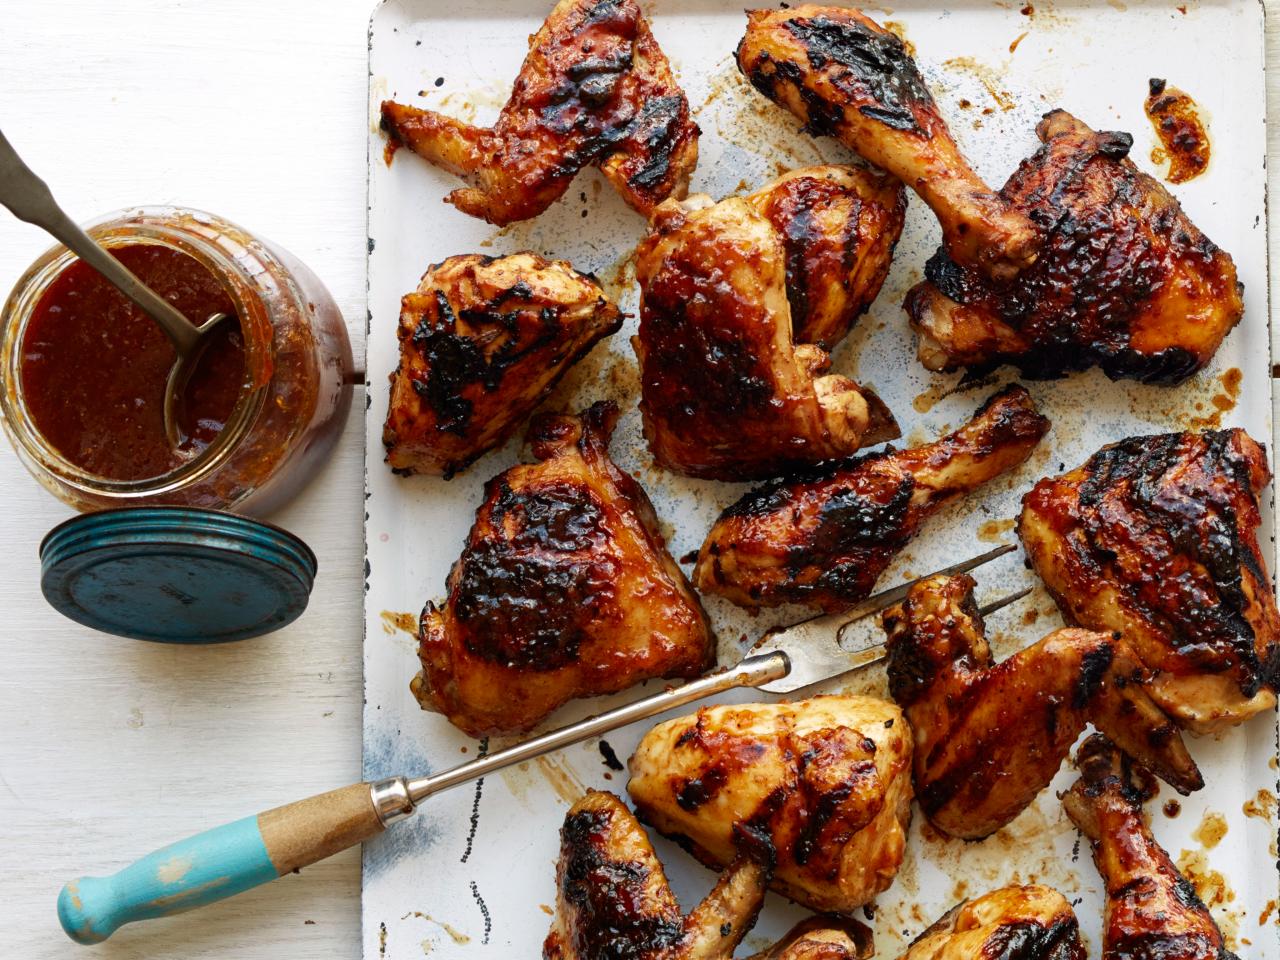
How To Brine Chicken For BBQ

How To Brine A Whole Pig