Smoking meat is a time-honored tradition that dates back centuries. The art of slowly cooking meat over a low, smoky fire infuses it with a rich, flavorful taste that is hard to replicate with any other cooking method. If you're new to smoking meat, fear not! With the Expert Grill Heavy Duty 24 Inch, you can easily achieve mouthwatering, smoky results right in your backyard.
Choosing the Right Wood
When it comes to smoking meat, the type of wood you use plays a crucial role in determining the final flavor of your dish. Different woods impart distinct flavors, so it's essential to choose the right one for the meat you're smoking. Here are some popular options:
- Hickory: Provides a strong, hearty flavor that complements pork and beef.
- Mesquite: Delivers a bold, slightly sweet flavor that pairs well with beef and game meats.
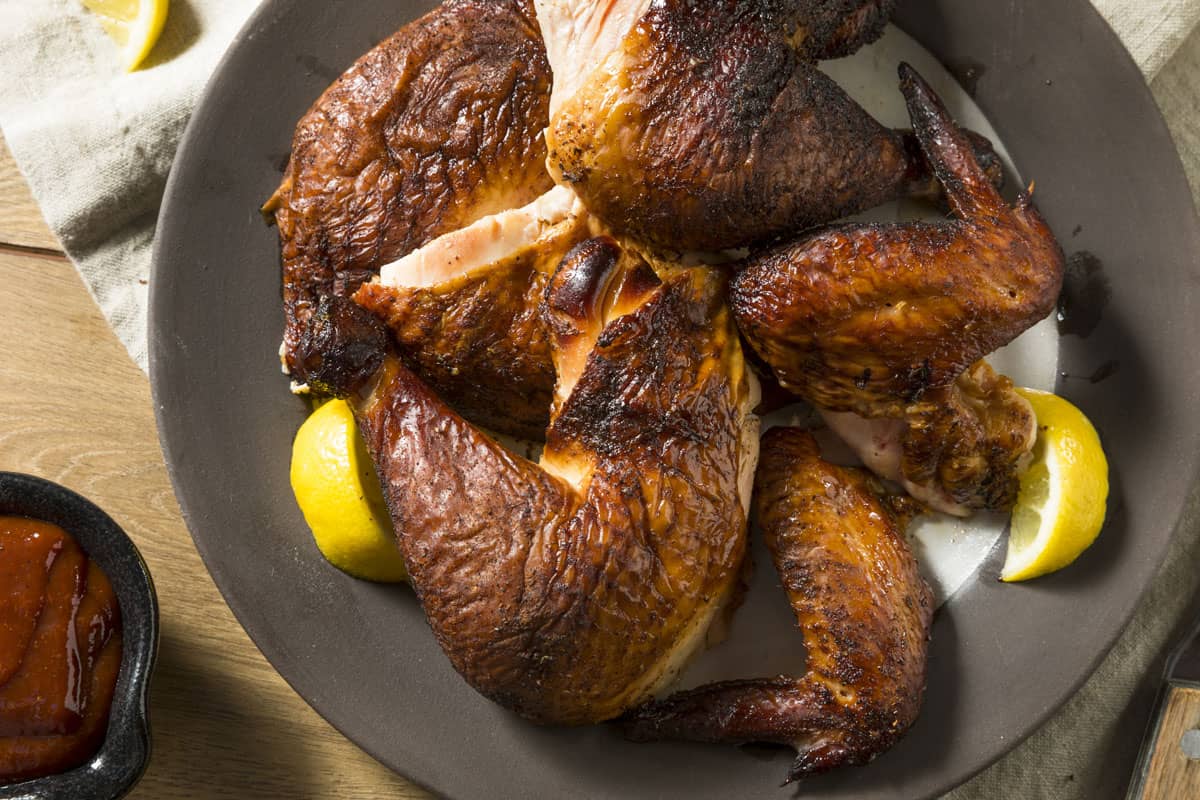
- Apple: Offers a mild, sweet flavor that works beautifully with poultry and pork.
- Cherry: Imparts a slightly sweet and fruity taste, ideal for beef and pork.
Preparing the Meat
Before you start smoking your meat, it's crucial to prepare it properly to ensure the best results. Here are the basic steps to follow:
- Trimming: Trim any excess fat from the meat, as too much fat can lead to flare-ups and an overly greasy finished product.
- Seasoning: Apply a dry rub or marinade to the meat to add flavor. Be sure to coat the meat evenly for a well-seasoned result.
- Resting: Allow the meat to rest at room temperature for about 30 minutes before placing it in the smoker. This helps it cook more evenly.
Setting Up the Smoker
Now that your meat is prepped and ready to go, it's time to set up your Expert Grill Heavy Duty 24 Inch for smoking. Follow these steps to get your smoker ready:
- Fill the Water Pan: Fill the water pan with water to help regulate the temperature and keep the meat moist during the smoking process.
- Add the Wood: Depending on the type of wood you've chosen, add wood chips or chunks to the smoker box. Remember, different woods impart different flavors, so choose wisely.
- Preheat the Smoker: Preheat the smoker to the desired temperature, typically between 225-250°F (107-121°C). This low and slow cooking method is essential for achieving tender, flavorful meat.
Smoking the Meat
With the smoker preheated and the meat prepared, it's time to start the smoking process. Follow these steps to ensure a successful smoking session:
- Placement: Carefully place the seasoned meat on the cooking grates inside the smoker. Be mindful of not overcrowding the smoker to allow for proper air circulation.
- Monitoring: Keep an eye on the temperature of the smoker, making adjustments as needed to maintain a consistent heat level. Additionally, periodically check the wood chips or chunks, adding more as necessary to maintain a steady stream of smoke.
- Patience: Smoking meat is a slow process, so be patient and resist the urge to constantly open the smoker to check on the meat. Each time you open the door, you let out heat and smoke, which can prolong the cooking time.
Checking for Doneness
After hours of patiently tending to your smoker, it's time to check if the meat is done. Here are a few indicators to look for:
- Temperature: Use a meat thermometer to check the internal temperature of the meat. Different types of meat have different ideal internal temperatures for doneness.
- Texture: The meat should have a tender, juicy texture when done. It should also easily pull apart with a fork.
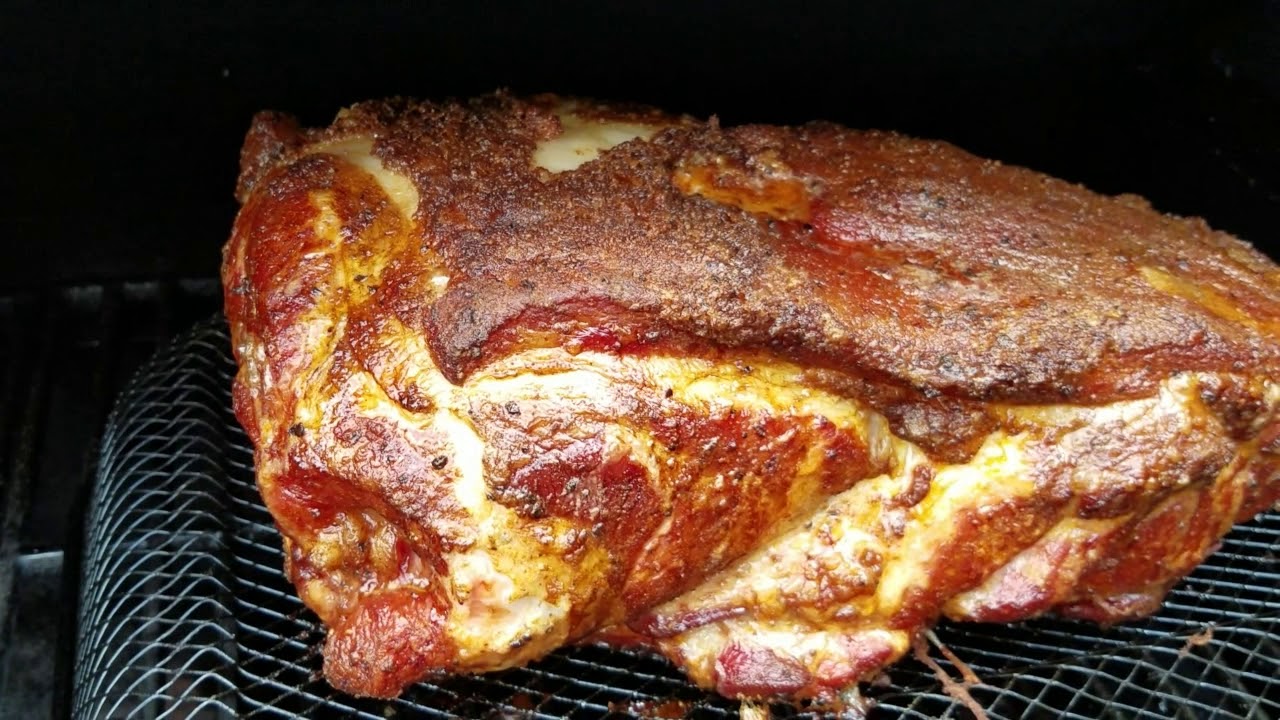
- Appearance: Depending on the type of meat, it may develop a beautiful, smoky crust known as the bark.
Resting and Enjoying
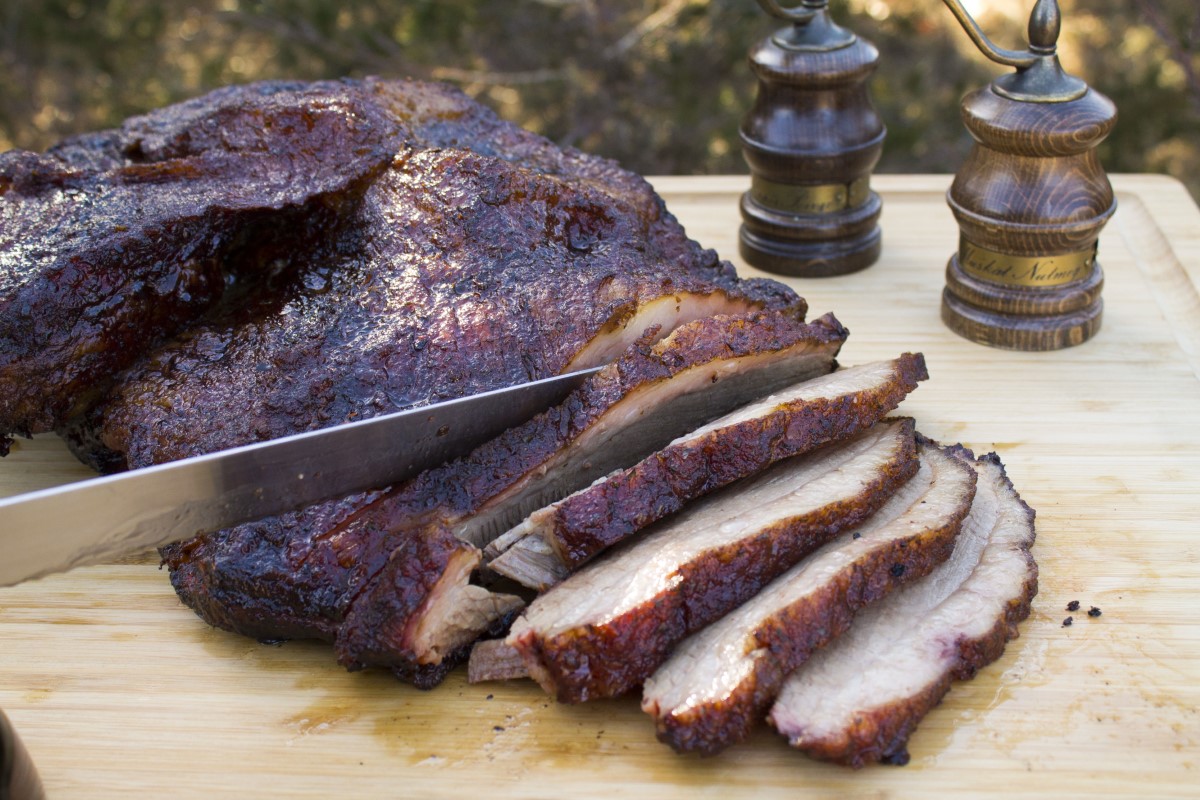
Once the meat has reached the desired level of doneness, it's crucial to let it rest before slicing and serving. Resting allows the juices to redistribute, resulting in a moist and flavorful final product. After resting, slice the meat and savor the fruits of your labor. Whether it's tender brisket, succulent ribs, or juicy chicken, smoking meat with the Expert Grill Heavy Duty 24 Inch is a rewarding experience that yields delicious results every time.
In conclusion, smoking meat with the Expert Grill Heavy Duty 24 Inch is a fantastic way to elevate your outdoor cooking game. By choosing the right wood, properly preparing the meat, and mastering the art of smoking, you can create mouthwatering, smoky dishes that will impress your friends and family. So fire up your smoker, embrace the slow and steady cooking process, and get ready to enjoy the unbeatable flavor of smoked meat right in your own backyard.
Was this page helpful?
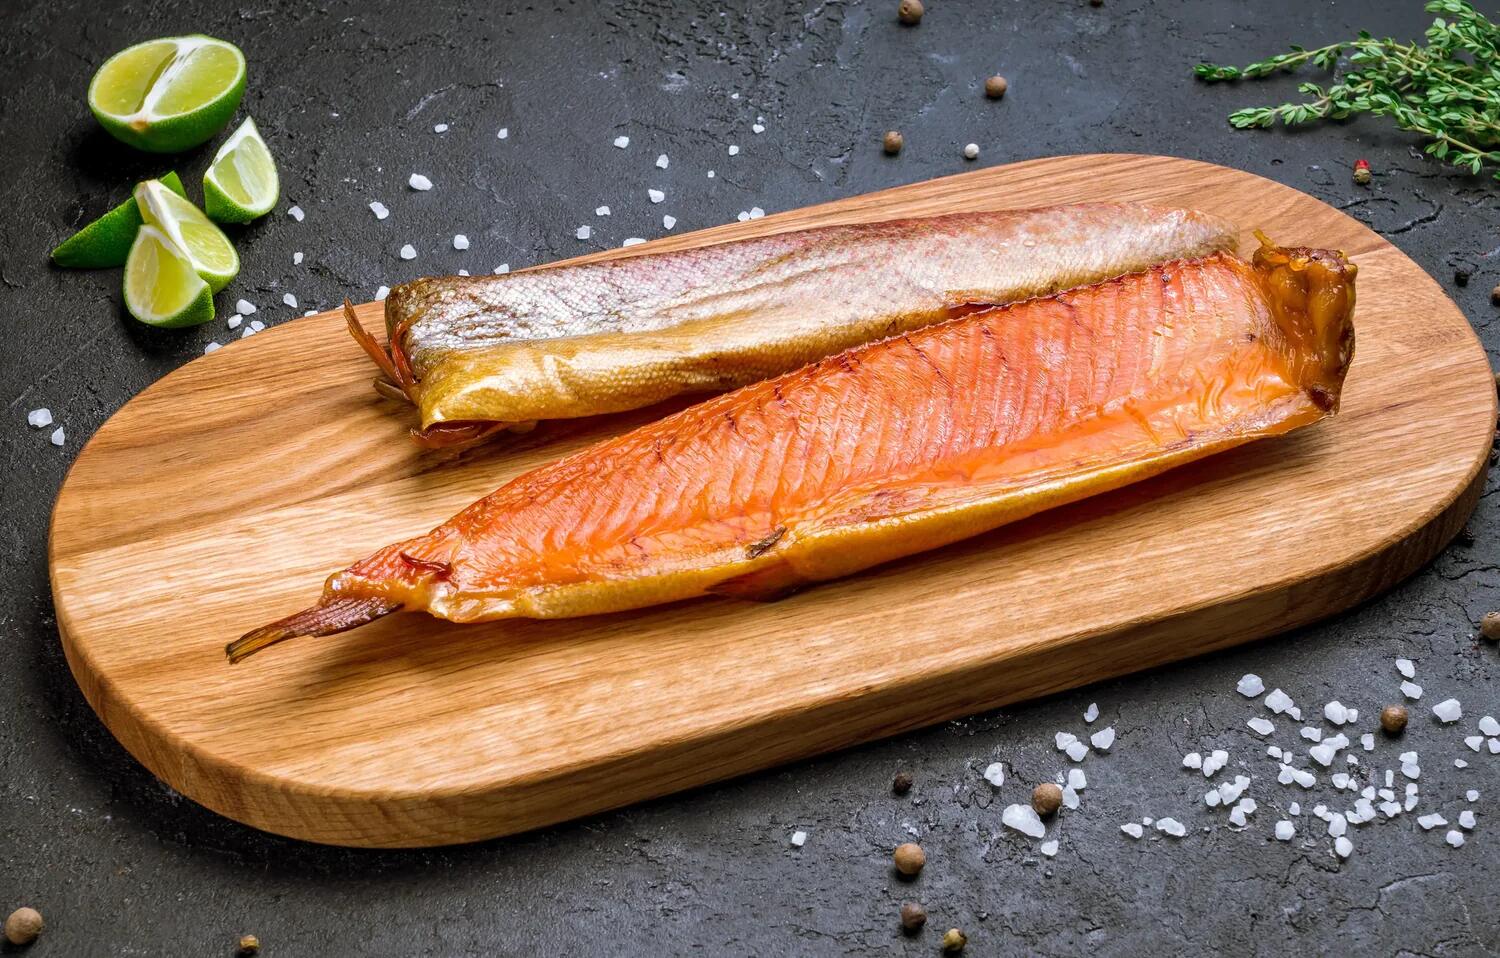
Read Next: How To Smoke Salmon In A Brinkmann Smoker
Related Articles

How To Smoke Avocado In A Smoker
How To Smoke Chicken To Fall Off The Bone
How To Smoke Brisket On Pit Boss
How To Smoke Perch

How To Smoke Or Grill Mahi Mahi
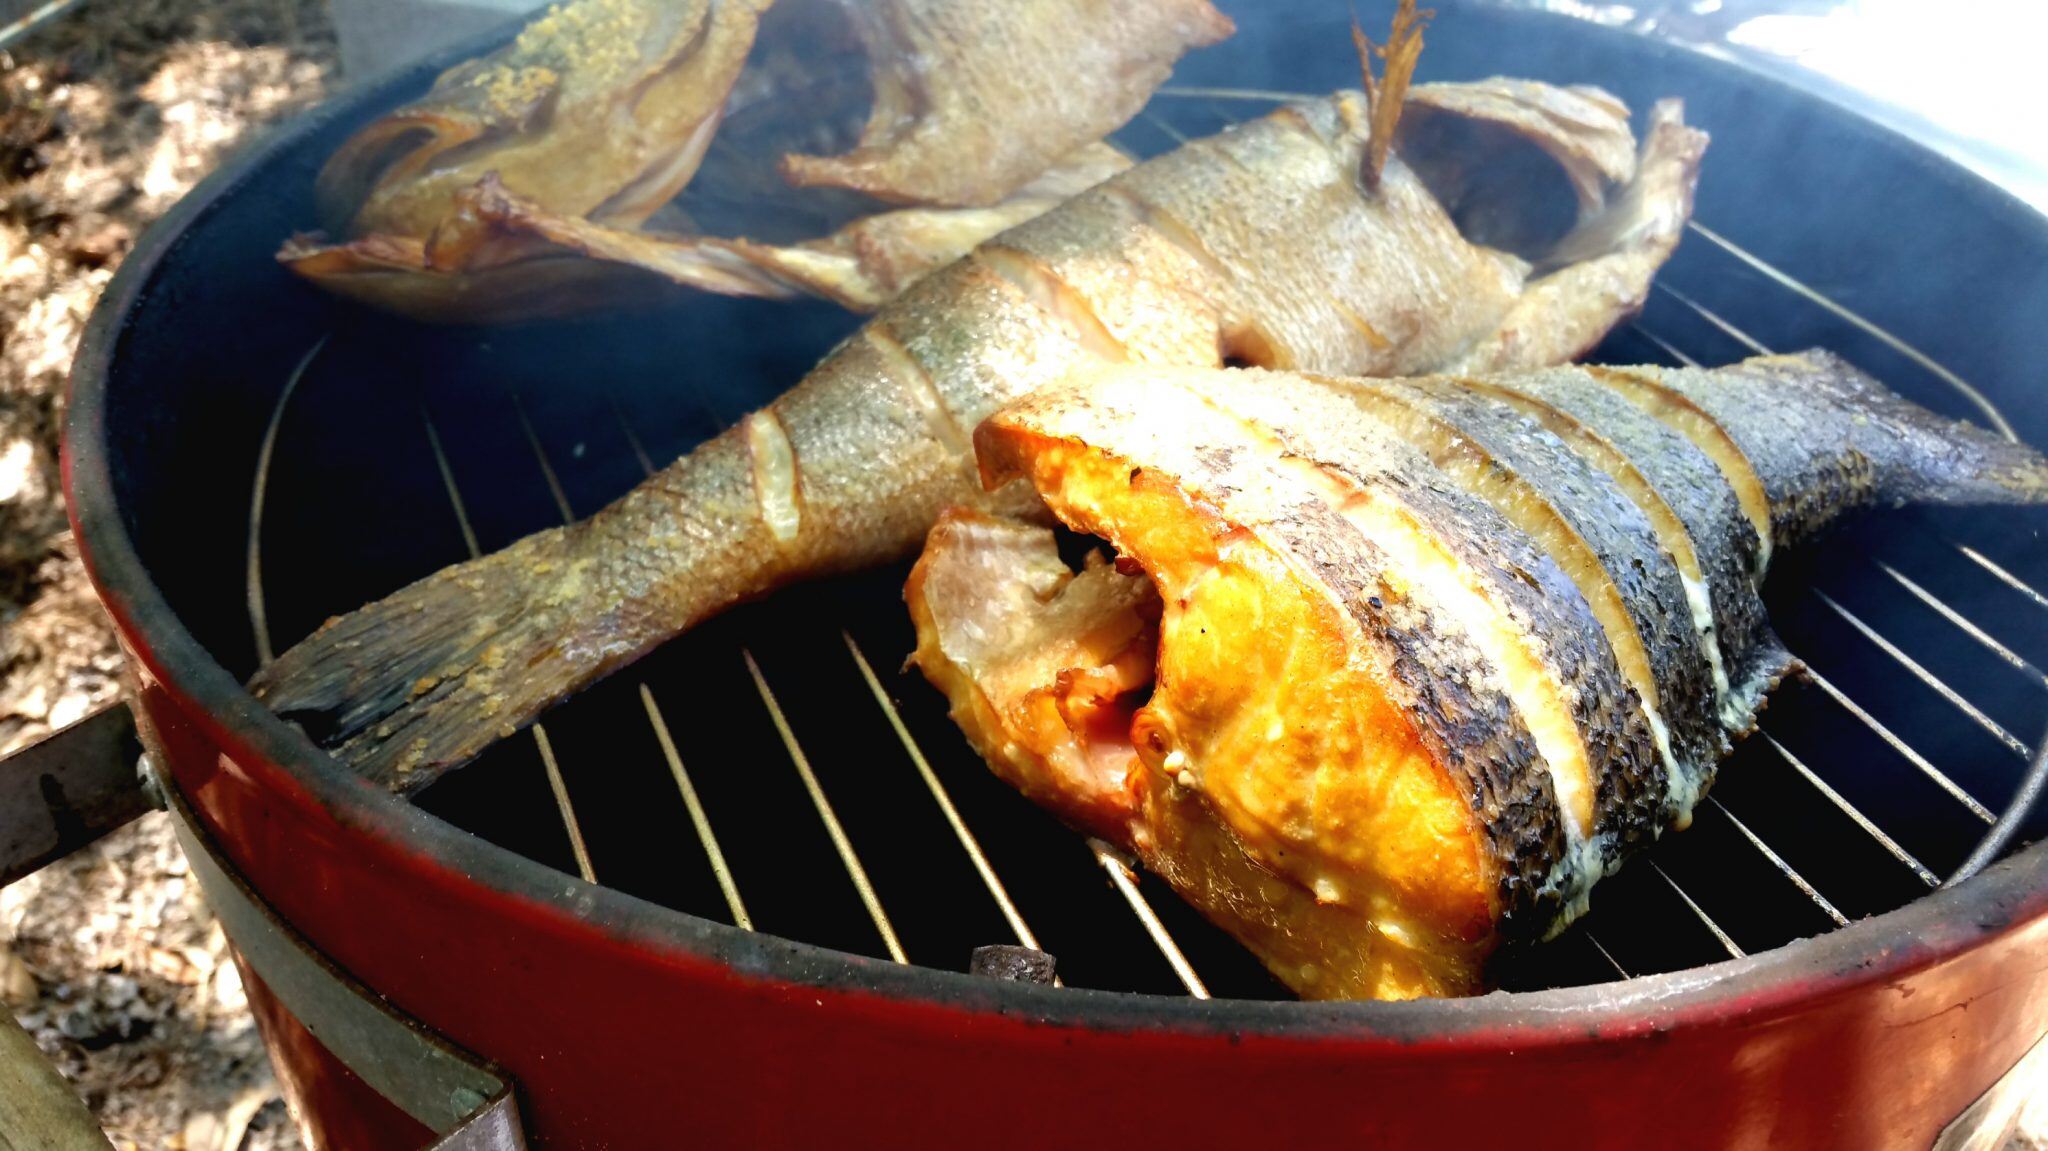
How To Smoke Fish On A BBQ

How To Smoke Fish In An Electric Smoker
How To Smoke Bass
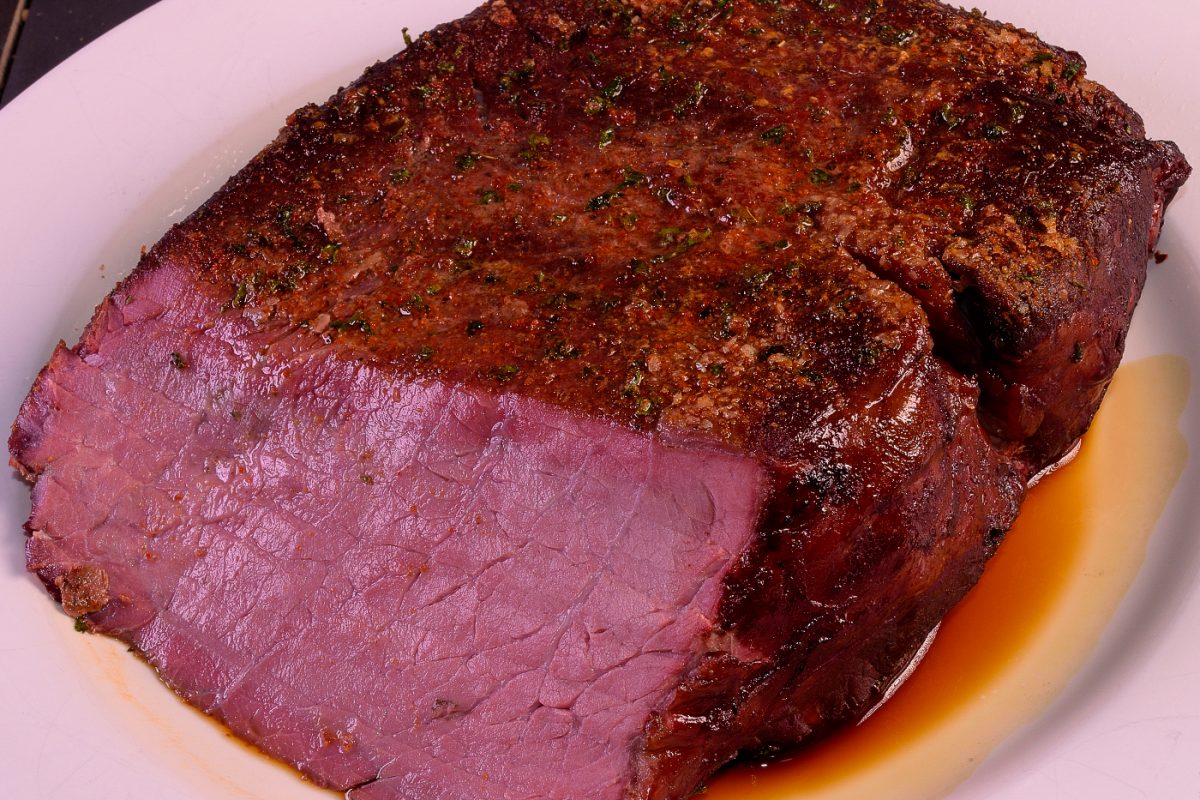
How To Smoke Top Round Roast In Pellet Grill
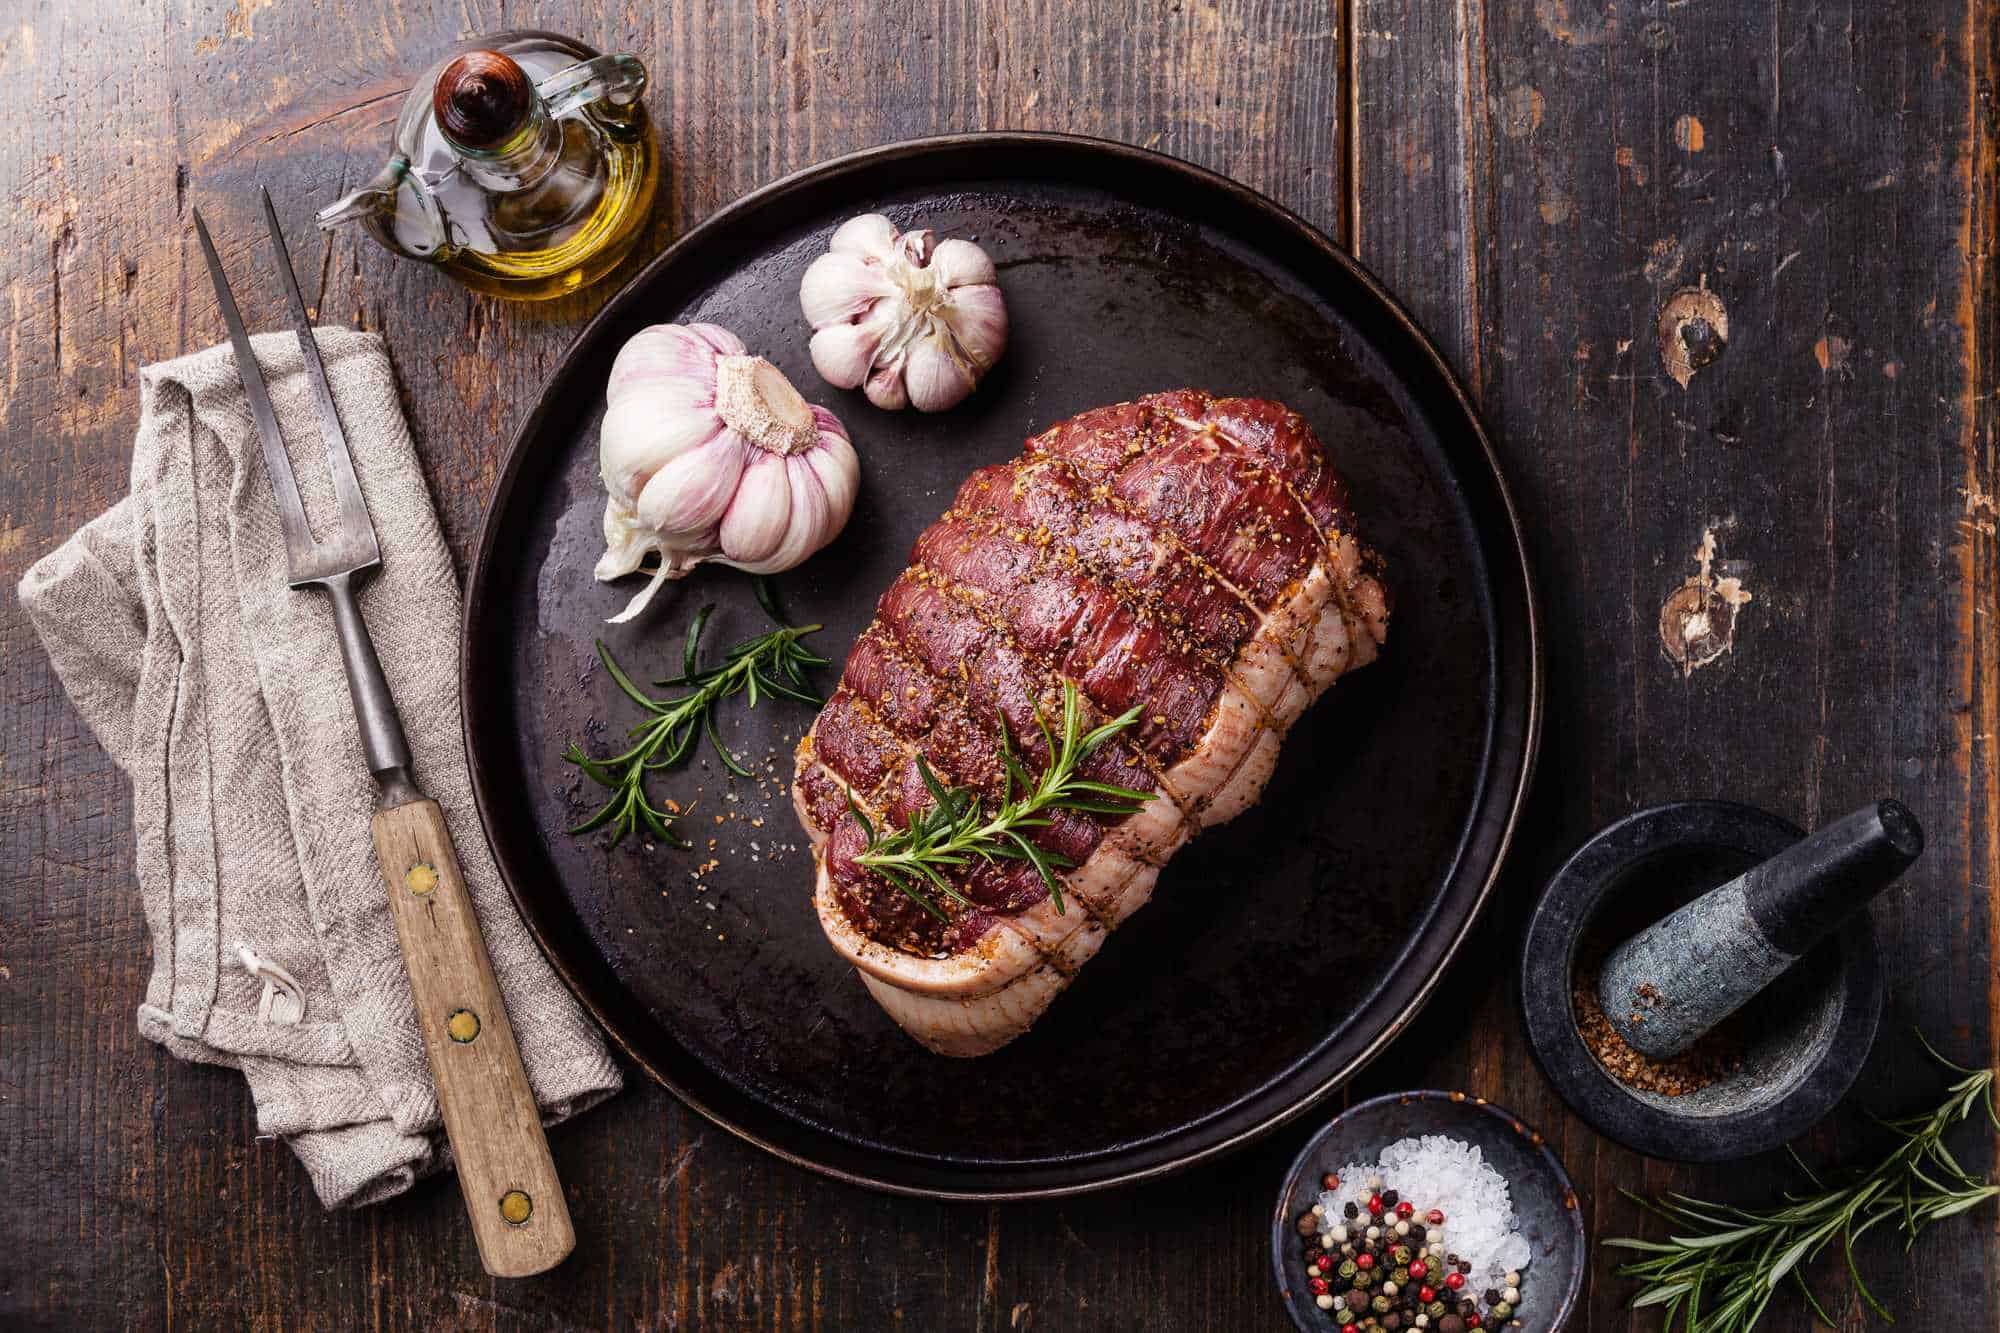
How To Smoke Rolled Rump Roast
How To Smoke Coulotte Steak