Easy Steps to Pit a Cherry Plum
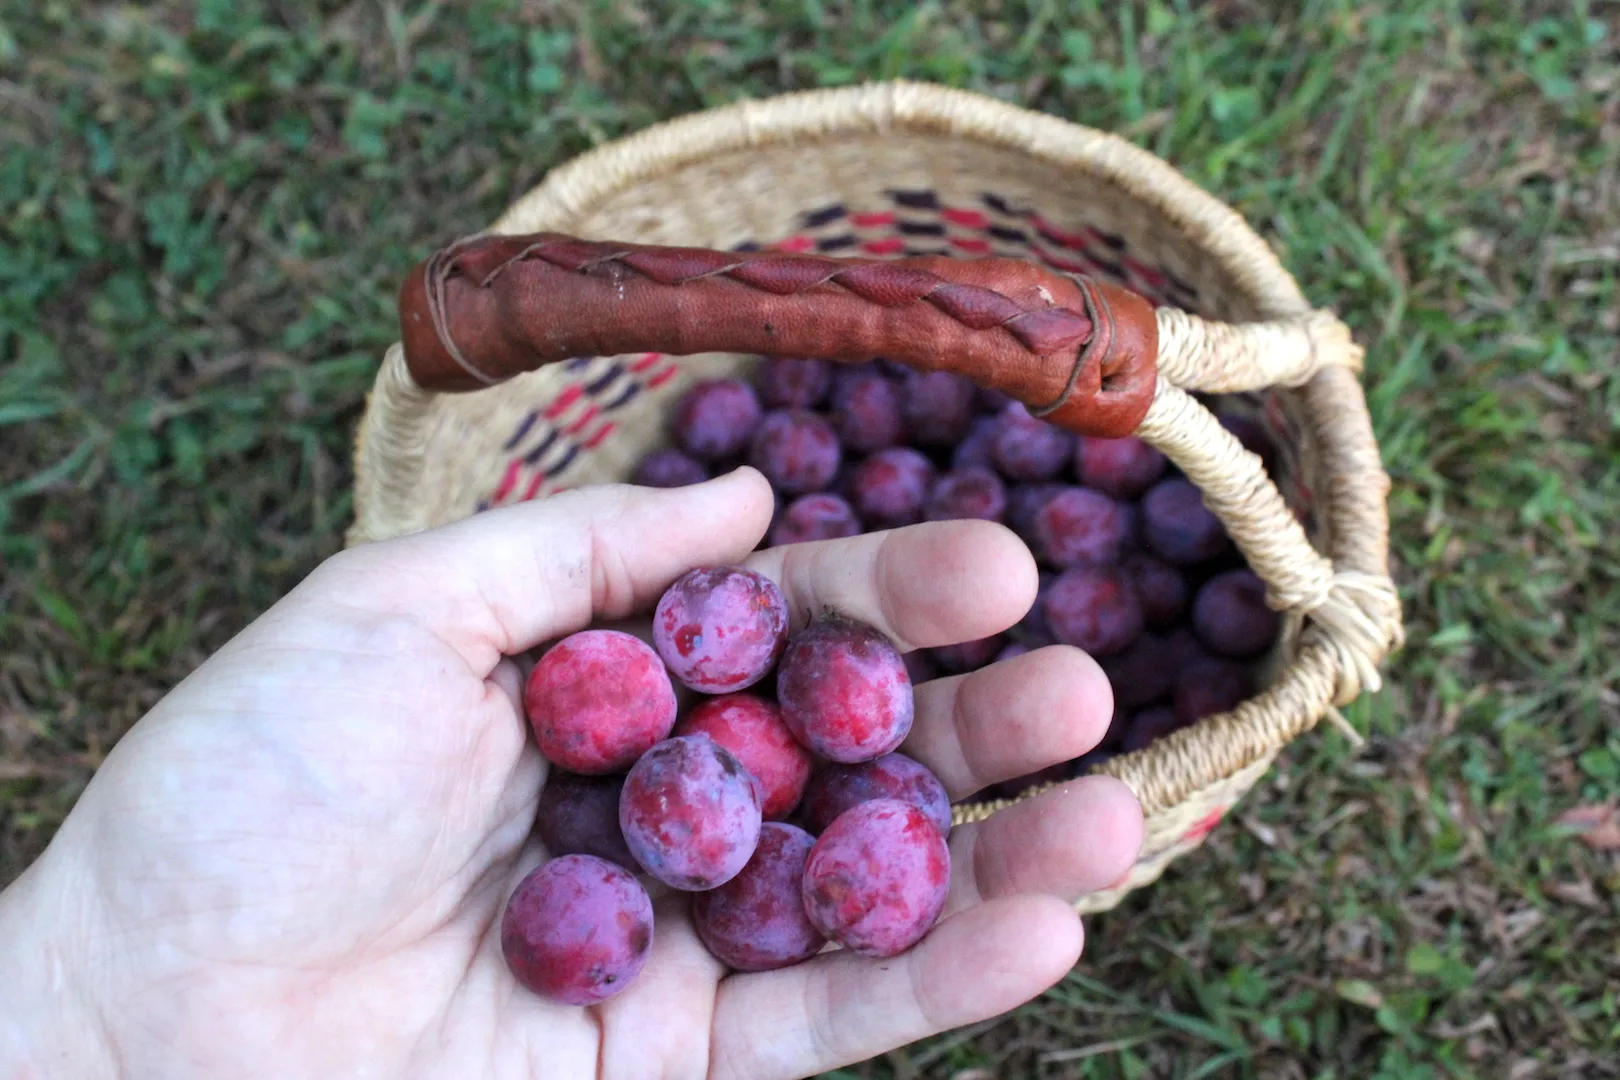
Cherry plums are a delightful and juicy fruit, but their pits can be a bit of a nuisance. However, with the right technique, you can easily pit a cherry plum and enjoy the sweet flesh without any hassle. Here’s how to do it:
What You’ll Need:
- A sharp paring knife
- A cutting board
- A bowl for the pitted cherry plums
Step 1: Wash and Dry the Cherry Plums
Before you begin pitting the cherry plums, make sure to wash them thoroughly under running water. Once they are clean, pat them dry with a paper towel to remove any excess moisture.
Step 2: Slice the Cherry Plum
Place the cherry plum on the cutting board and, using a sharp paring knife, carefully slice it in half lengthwise. You should feel the knife hit the pit as you cut through the fruit.
Step 3: Remove the Pit
Once the cherry plum is sliced in half, you can easily remove the pit. Simply use the tip of the knife to gently pry the pit out of the fruit. Be cautious not to cut yourself or damage the flesh of the cherry plum.
Step 4: Check for Residual Pit Fragments
After removing the pit, inspect the cherry plum to ensure that no small pit fragments are left behind. It’s important to double-check, as these fragments can be a choking hazard if consumed accidentally.
Step 5: Enjoy Your Pitted Cherry Plum
Once the pit is removed and the fruit is checked, you can now enjoy your perfectly pitted cherry plum! You can eat it as is, add it to a fruit salad, or use it as a topping for yogurt or ice cream.
Tips for Pitting Cherry Plums:
- Choose ripe cherry plums for easier pitting.
- Be gentle when removing the pit to avoid damaging the flesh.
- Store pitted cherry plums in the refrigerator for later use.
With these simple steps, you can easily pit a cherry plum and savor its delicious flavor without any hassle. Whether you’re enjoying them as a snack or incorporating them into your favorite recipes, pitted cherry plums are a delightful addition to any meal.
Was this page helpful?
Read Next: How To Pit Plums
