How To Make An Anti-Gravity Cake
Are you ready to defy the laws of physics and impress your friends and family with an amazing anti-gravity cake? This intriguing dessert is not only visually stunning but also a delicious treat for any occasion. In this guide, we will walk you through the step-by-step process of creating your very own anti-gravity cake.
What You Will Need:
- A 3-layer cake of your choice
- Fondant in various colors
- Supporting structure (such as dowels or straws)
- Edible adhesive
- Decorations (candy, cookies, or other treats)
- Gravity-defying element (like a figurine or object)
- A steady hand and a sense of fun!
Step 1: Bake and Prepare the Cake
Start by baking a 3-layer cake according to your favorite recipe. Allow the cakes to cool completely before leveling and stacking them on top of each other with a layer of frosting in between. Trim the cake if necessary to create a stable base.
Step 2: Shape and Cover the Cake
Using a sharp knife or cake leveler, shape the cake into a desired design. It could be a tilted or leaning structure to create the illusion of anti-gravity. Apply a thin layer of frosting to seal the crumbs and provide a smooth surface for the fondant.
Roll out the fondant on a clean, lightly powdered surface. Gently drape the fondant over the cake, smoothing it out with your hands or a fondant smoother. Trim off any excess with a knife, leaving a neat and tidy finish.
Step 3: Create the Gravity-Defying Element
This is where the magic of the anti-gravity cake comes to life. Select a gravity-defying element such as a figurine or object that will appear suspended in mid-air. Secure this element to a supporting structure, such as dowels or straws, ensuring it is stable and safe.
Step 4: Attach the Gravity-Defying Element
Position the supporting structure into the cake, making sure it is inserted securely and centered on the cake. Use edible adhesive to attach the gravity-defying element to the top end of the supporting structure. Be patient and take your time to achieve the desired effect.
Step 5: Decorate
Now it’s time to let your creativity shine! Decorate the rest of the cake with fondant accents, candies, cookies, or other treats. You can use different colors and textures to enhance the visual appeal of your anti-gravity cake. Let your imagination run wild!
Step 6: Display and Enjoy!
Place your masterpiece on a cake stand or platter, making sure to give it the spotlight it deserves. Admire your gravity-defying creation and snap some photos to capture the awe-inspiring moment. When it’s time to indulge, gather your friends and family, and delight in slicing into this mind-boggling treat!
Creating an anti-gravity cake may seem like a daunting task, but with a little patience and a lot of creativity, you can amaze everyone with your baking skills. Remember to have fun throughout the process and enjoy the reactions when you present your masterpiece. Happy baking!
For those eager to test their skills and creativity, the article provides an array of delightful recipes. Start with the classic Anti-Gravity Chocolate Candy Cake for a rich, chocolatey experience that's sure to impress. If you're a cookie enthusiast, the Anti-Gravity Oreo Cookie Cake offers a fun twist with layers of everyone's favorite cookies. The Anti-Gravity M&M's Cake is perfect for a colorful, candy-filled treat that's visually stunning. For a vibrant and cheerful option, try the Anti-Gravity Rainbow Cake, which is sure to brighten up any occasion. Don't miss the Anti-Gravity Ice Cream Cone Cake, a playful dessert that will delight kids and adults alike. Each recipe allows you to apply the anti-gravity cake techniques detailed in the article, ensuring your cake not only tastes great but also stands out as a showstopper.
Was this page helpful?
Read Next: Our Most Creative Cake Ideas
Related Articles
How To Bake Cobia Fish
How To Bake Cake In Gas Stove Oven
How To Bake Biscuits The Night Before And Keep Them Fresh
Vegetarian Marathon Meal Plan

How To Use Up Fish Heads
All About Agave Spirits
Top 10 Spring Pasta Recipes
How To Make Cake: Top 10 Tips For Success
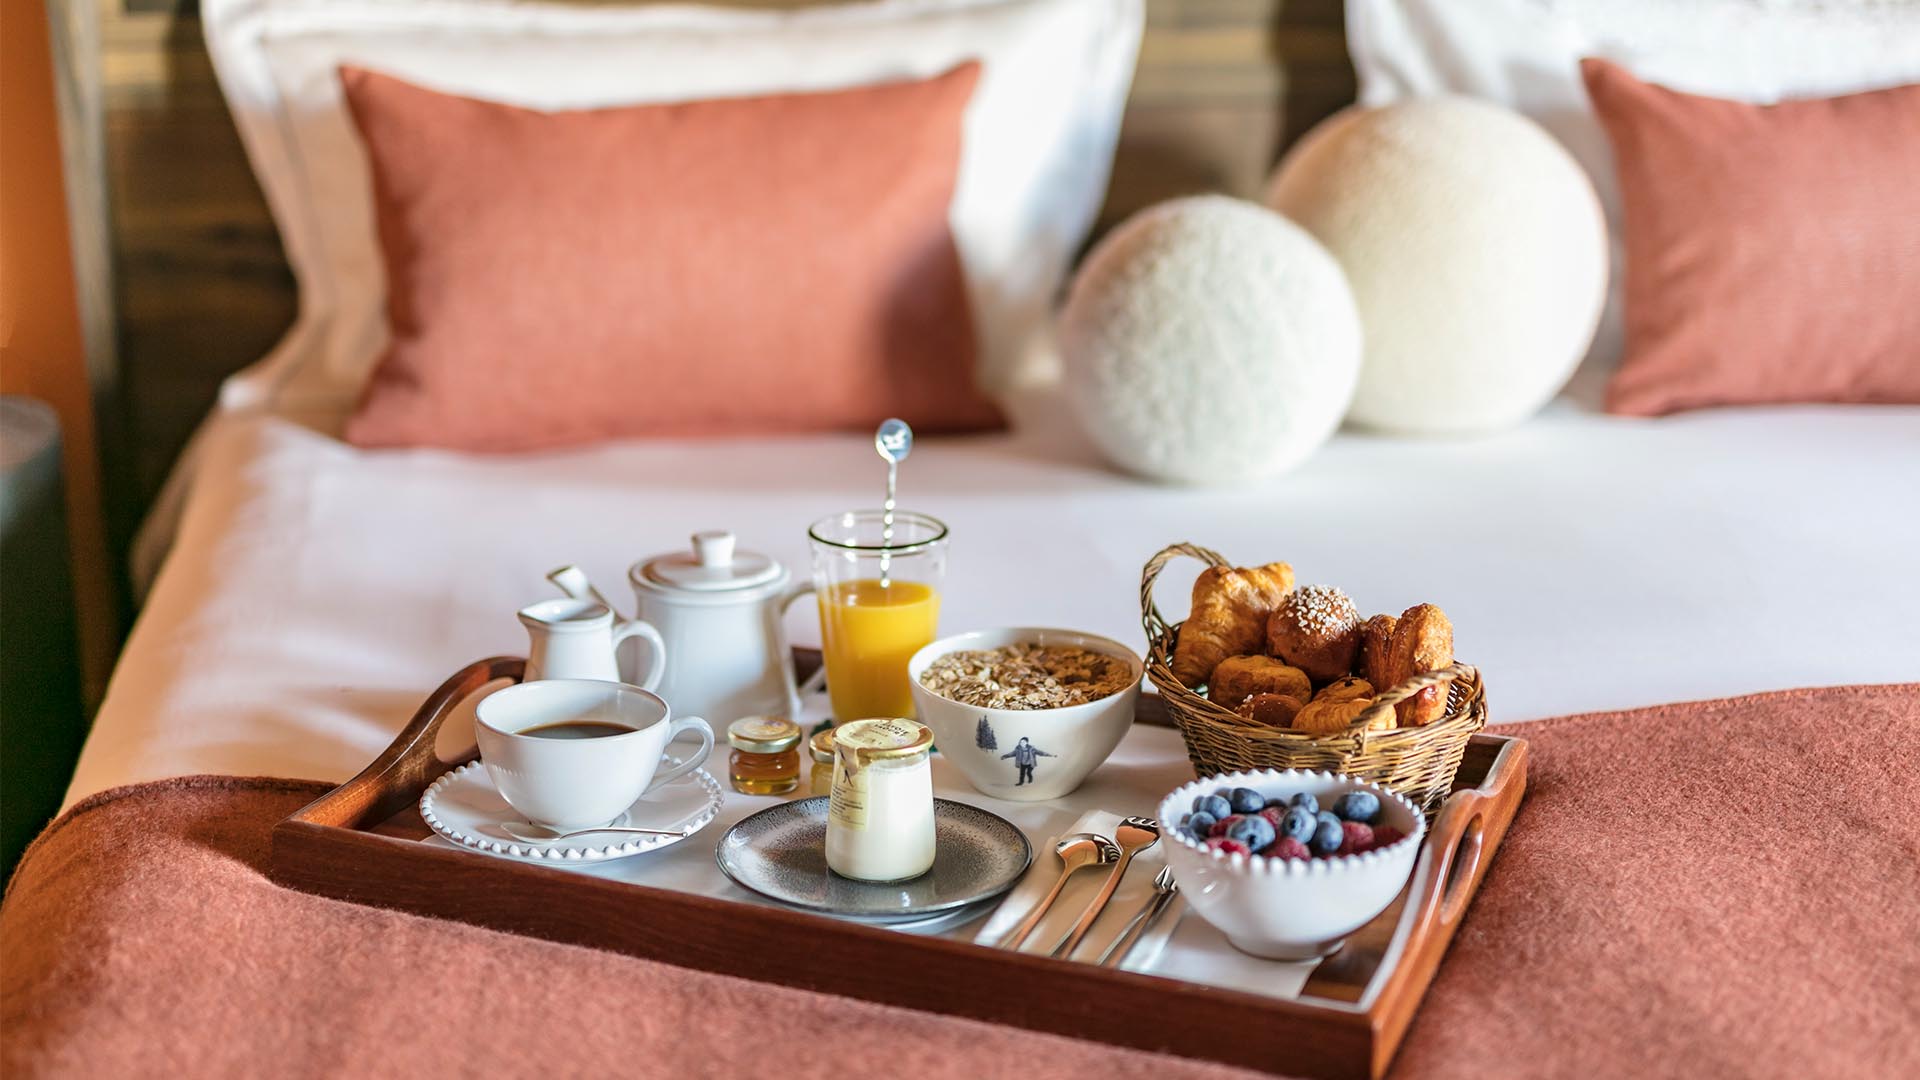
The Unsavoury Reality Of Breakfast In Bed
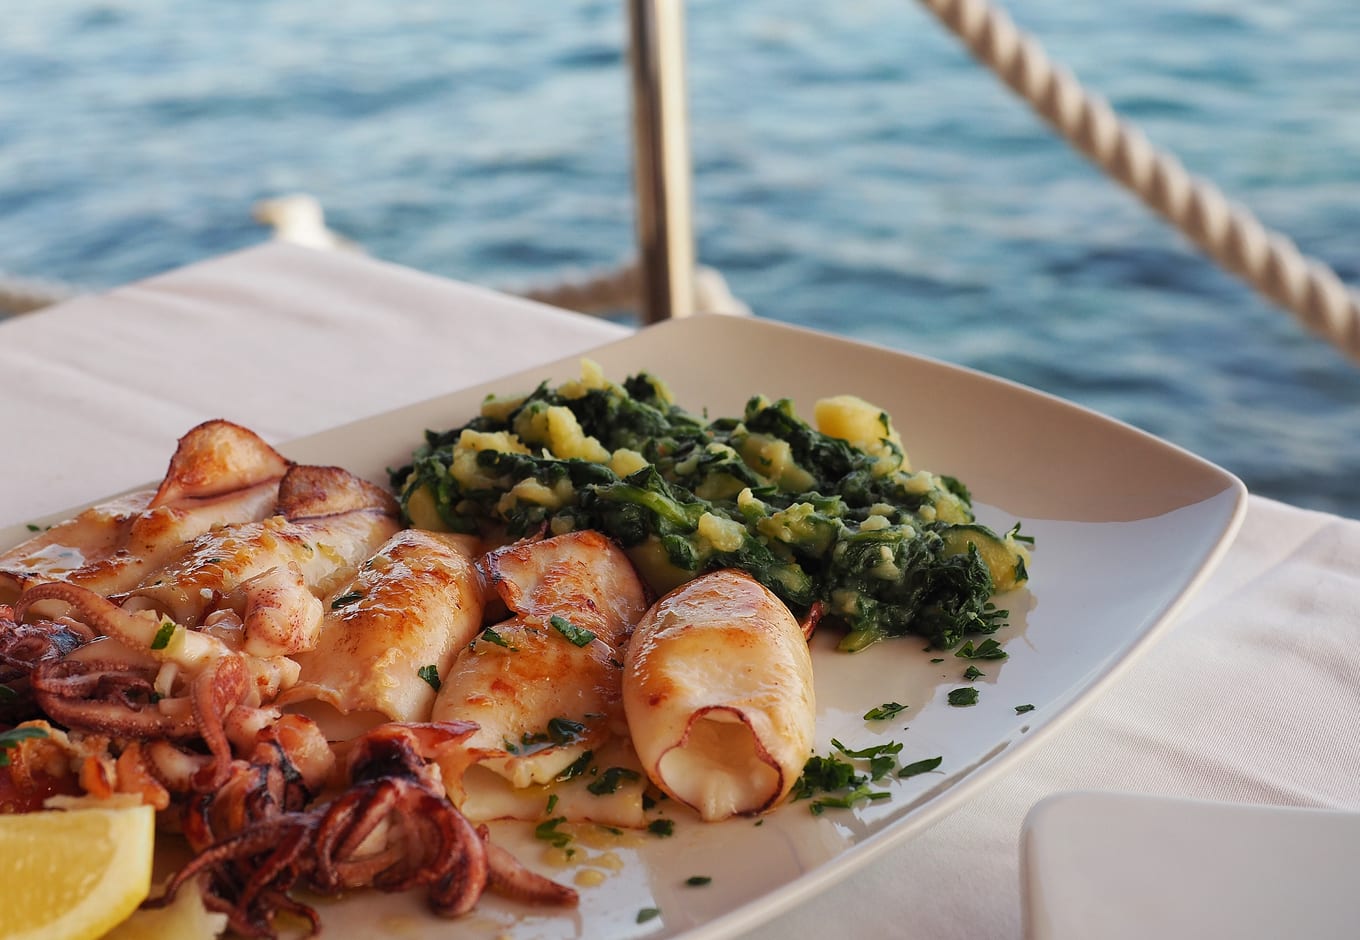
Top 10 Foods To Try In Croatia
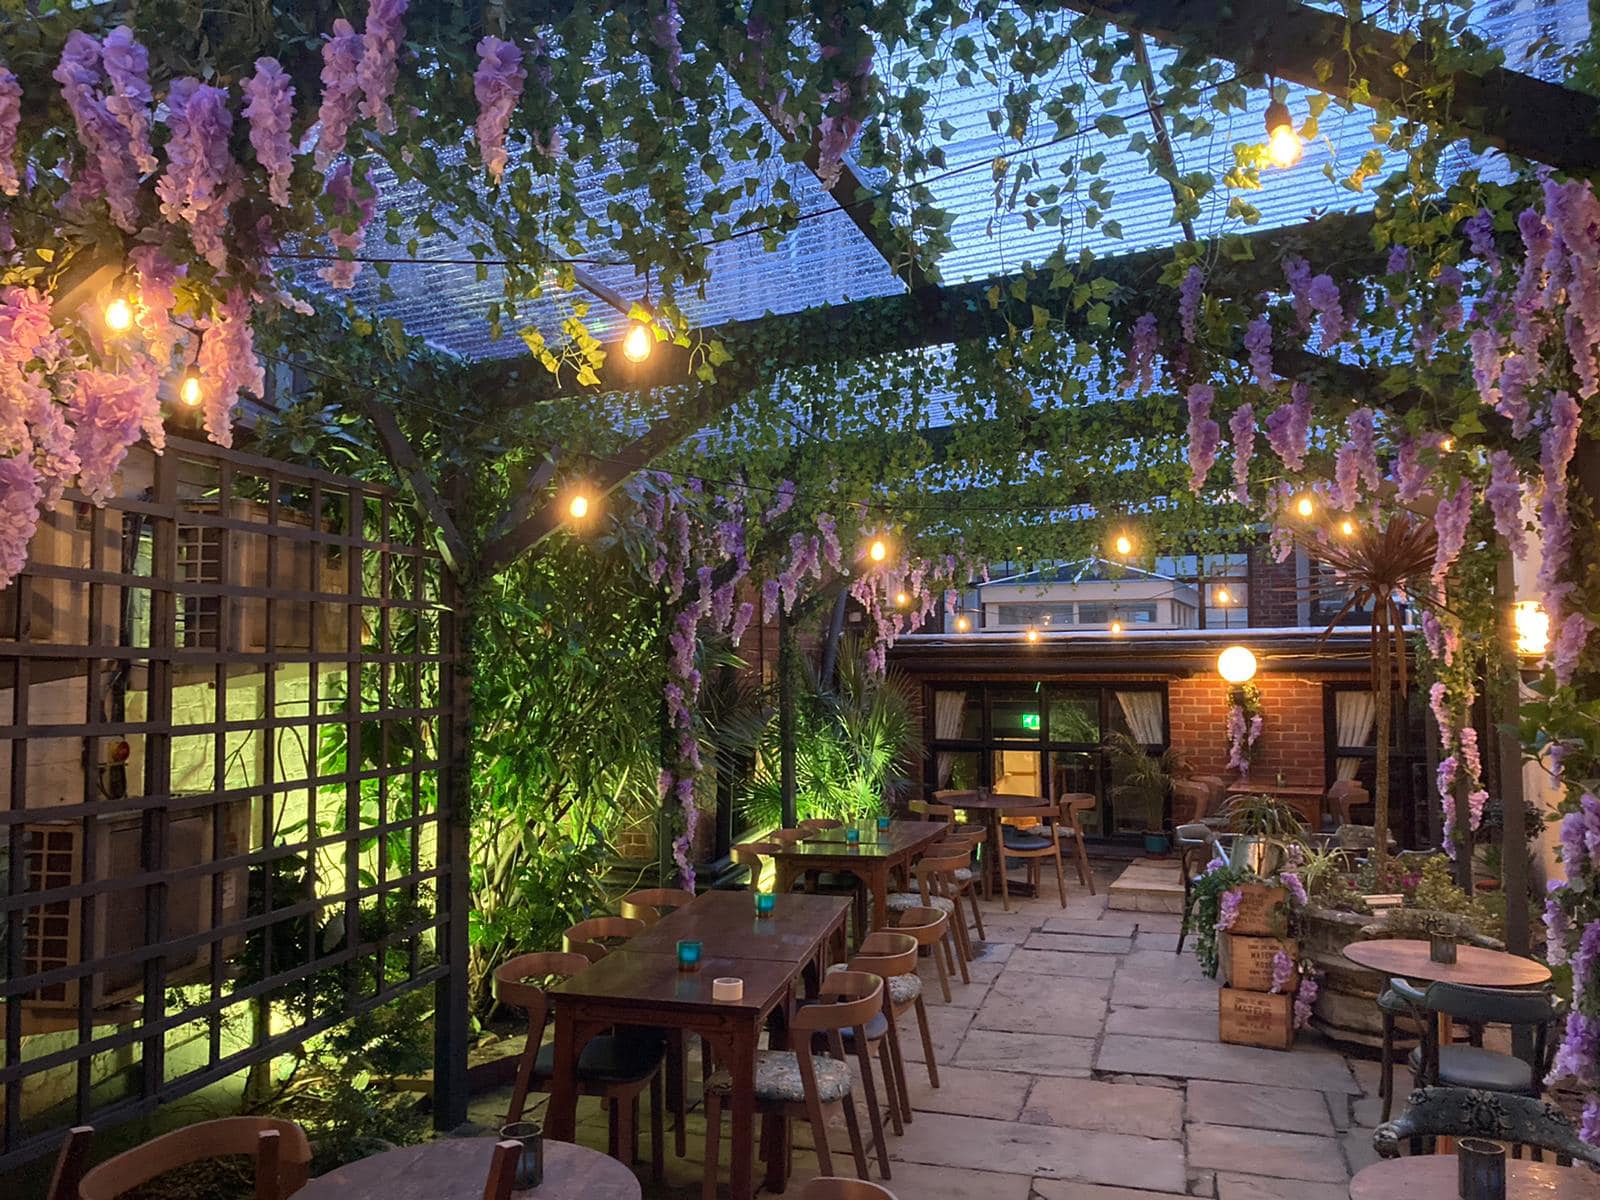
Best Restaurants In Norwich