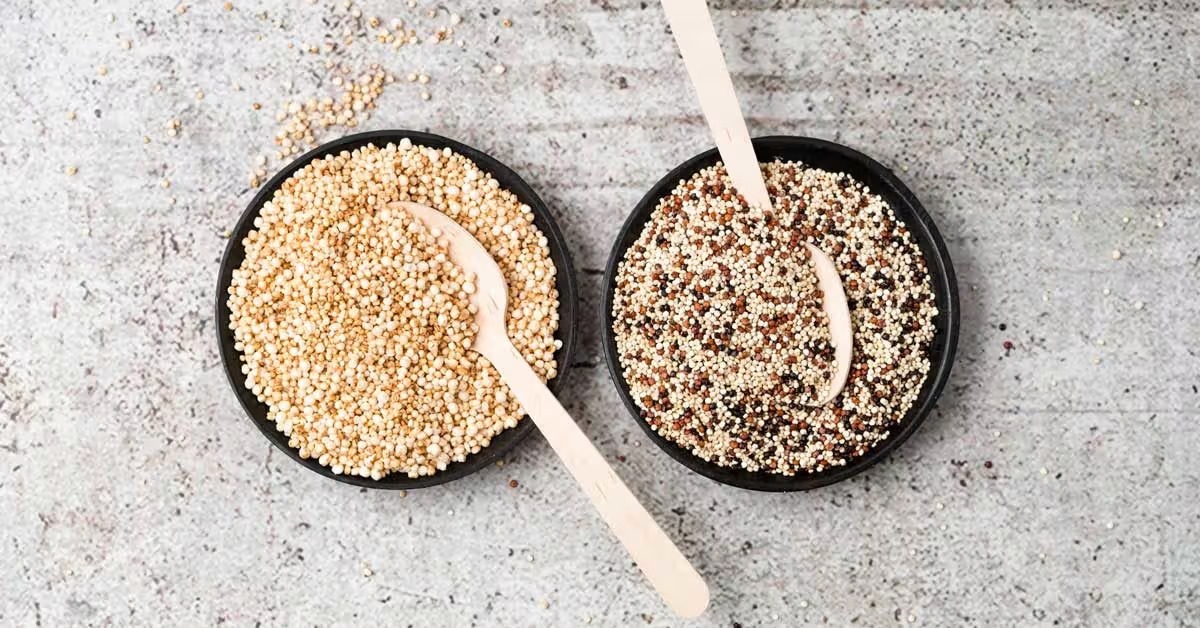
Grinding amaranth seeds into flour opens up a world of culinary possibilities. Amaranth, once revered by the Aztecs for its nutritional value, is making a comeback in modern kitchens. Rich in protein, fiber, and essential minerals, this gluten-free grain can be transformed into a versatile flour. Whether you're an experienced baker or new to the kitchen, turning amaranth seeds into flour is simpler than you might think. With the right tools and techniques, you can easily incorporate this ancient superfood into your cooking repertoire, adding a nutritious boost to bread, pancakes, and other baked goods. Let's dive into how to make this happen.
Essential Ingredients for Amaranth Flour
- Amaranth seeds
- Coffee grinder or high-powered blender
- Fine mesh sieve
- Bowl
- Airtight container for storage
Necessary Tools for Grinding Amaranth Seeds
- Coffee grinder or high-powered blender
- Fine mesh sieve
- Mixing bowl
- Spatula
- Airtight container for storage
- Measuring cups
- Kitchen scale (optional for precise measurement)
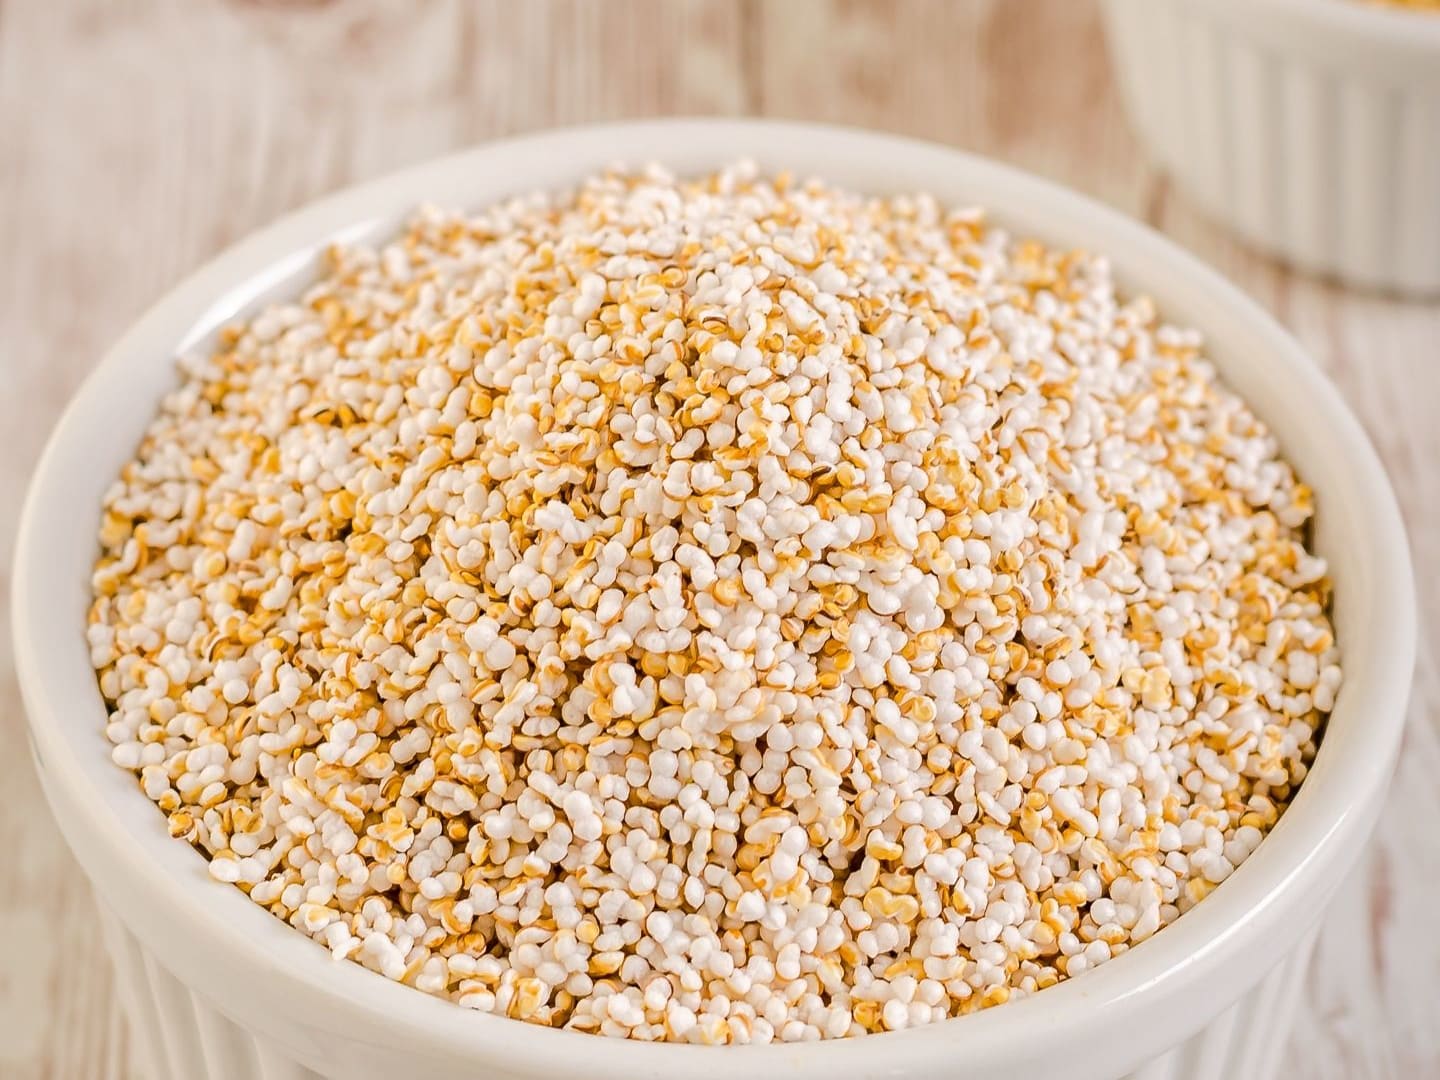
Grinding amaranth seeds into flour requires a high-speed blender or coffee grinder. Process until fine, sift to remove any unground particles, and store in an airtight container for freshness.
The Importance of Making Your Own Amaranth Flour
Grinding amaranth seeds into flour at home is a fantastic way to boost nutritional content in meals. This ancient grain is packed with protein, fiber, and minerals. Homemade flour ensures freshness and retains more nutrients compared to store-bought versions, making it a healthier choice for cooking and baking.
Opting for homemade amaranth flour also supports sustainable eating habits. By processing these seeds yourself, you reduce packaging waste and the carbon footprint associated with transporting commercial flour. This practice not only benefits your health but also contributes positively to environmental conservation.
A Step-by-Step Guide to Grinding Amaranth Seeds
-
Select high-quality amaranth seeds: Ensure seeds are clean, dry, and free from debris.
-
Rinse seeds thoroughly: Place seeds in a fine mesh strainer and rinse under cold water to remove any dust or impurities.
-
Dry seeds completely: Spread rinsed seeds on a clean kitchen towel or paper towels. Allow them to air dry completely, or use a salad spinner to remove excess water. Seeds must be dry to prevent clumping during grinding.
-
Preheat oven (optional): For a toasted flavor, preheat your oven to 350°F (175°C). Spread seeds on a baking sheet in a single layer. Toast in the oven for 10-15 minutes, stirring occasionally, until they are lightly golden and fragrant. Let cool before grinding.
-
Choose your grinding tool: A high-speed blender or a coffee/spice grinder works best for turning amaranth seeds into flour. Ensure your chosen appliance is clean and dry.
-
Grind in batches: To avoid overloading your blender or grinder, work in small batches. Fill only about a quarter to a third of the grinder or blender jar with seeds at a time.
-
Pulse to start, then grind: Pulse the seeds a few times to break them up, then switch to grinding continuously. Grind until the seeds reach a fine, powdery consistency. If using a blender, you may need to stop and stir or shake the jar occasionally to ensure an even grind.
-
Sift the flour: Use a fine mesh sieve or flour sifter to sift the ground amaranth into a bowl. This step removes any unground seeds or coarse particles, ensuring a fine flour.
-
Regrind coarse particles: Collect any coarse bits left in the sieve. Grind these again in your blender or grinder until fine, then sift again.
-
Store the amaranth flour properly: Transfer your homemade amaranth flour to an airtight container. Store in a cool, dry place. For longer shelf life, consider storing in the refrigerator or freezer.
-
Label your flour: Don’t forget to label the container with the date of grinding. Homemade amaranth flour is best used within a few months for optimal freshness and nutritional value.
Mastering Amaranth Flour
Grinding amaranth seeds into flour at home is a game-changer for any kitchen enthusiast looking to explore ancient grains. With the right tools and a bit of patience, you can unlock a world of nutritional benefits and culinary possibilities. Whether you're baking gluten-free treats or thickening soups, amaranth flour adds a unique, nutty flavor that's hard to beat. Remember, start with small batches to get the hang of the process and adjust the grind to suit your recipes. Embracing this skill not only diversifies your pantry but also connects you with a tradition of grain cultivation that dates back thousands of years. So, go ahead, give it a whirl, and watch as amaranth flour becomes a staple in your cooking repertoire.
Using the skill and guide from the article, readers can try making a variety of delightful dishes. For breakfast, they might enjoy Fluffy Amaranth Pancakes, which are light and nutritious. For a savory option, Soft Amaranth Tortillas are perfect for wraps or tacos. Those with a sweet tooth should try Decadent Amaranth Brownies, which offer a rich and satisfying treat. Additionally, Delicate Amaranth Crepes can be a versatile base for both sweet and savory fillings. For a bit of a challenge, Homemade Amaranth Pasta provides a unique twist on traditional pasta dishes. These recipes not only showcase the versatility of amaranth flour but also allow readers to experiment and find new favorites.
Common Questions About Grinding Amaranth Seeds
Why grind amaranth seeds into flour?
Grinding amaranth seeds into flour unlocks a treasure of nutrients, including protein, fiber, and minerals like magnesium and iron. This gluten-free alternative adds a nutty flavor and versatility to your cooking and baking repertoire.
What equipment do I need to grind amaranth seeds?
You'll need a high-speed blender or a grain mill. Both can turn amaranth seeds into fine flour. For smaller batches, a coffee grinder does the trick, but be prepared for a bit more effort.
How fine should the amaranth flour be?
Aim for a consistency as fine as traditional flour. This texture is ideal for baking, ensuring your creations are light and fluffy. If the flour feels gritty, run it through your grinder again until you achieve the desired fineness.
Can I mix amaranth flour with other flours?
Absolutely! Mixing amaranth flour with wheat or other gluten-free flours can enhance flavors and nutritional profiles. Experiment with ratios to find the perfect blend for your recipes.
How do I store amaranth flour?
Keep your amaranth flour in an airtight container in a cool, dark place. For longer shelf life, consider refrigerating or even freezing the flour. This way, it stays fresh for months.
Is amaranth flour suitable for all baking recipes?
While versatile, amaranth flour has a distinct taste and behaves differently than wheat flour. It's best used in recipes designed for gluten-free flours or in combination with other flours to achieve the right texture in traditional baked goods.
What's the nutritional benefit of using amaranth flour over regular flour?
Amaranth flour is a powerhouse of nutrition. It's rich in protein, promoting muscle health and growth, and high in fiber, aiding in digestion. Plus, it's packed with essential minerals, making it a healthier choice for those looking to boost their diet.
Was this page helpful?
Related Articles
How To Cook Ancient Grains
How To Eat Puffed Amaranth
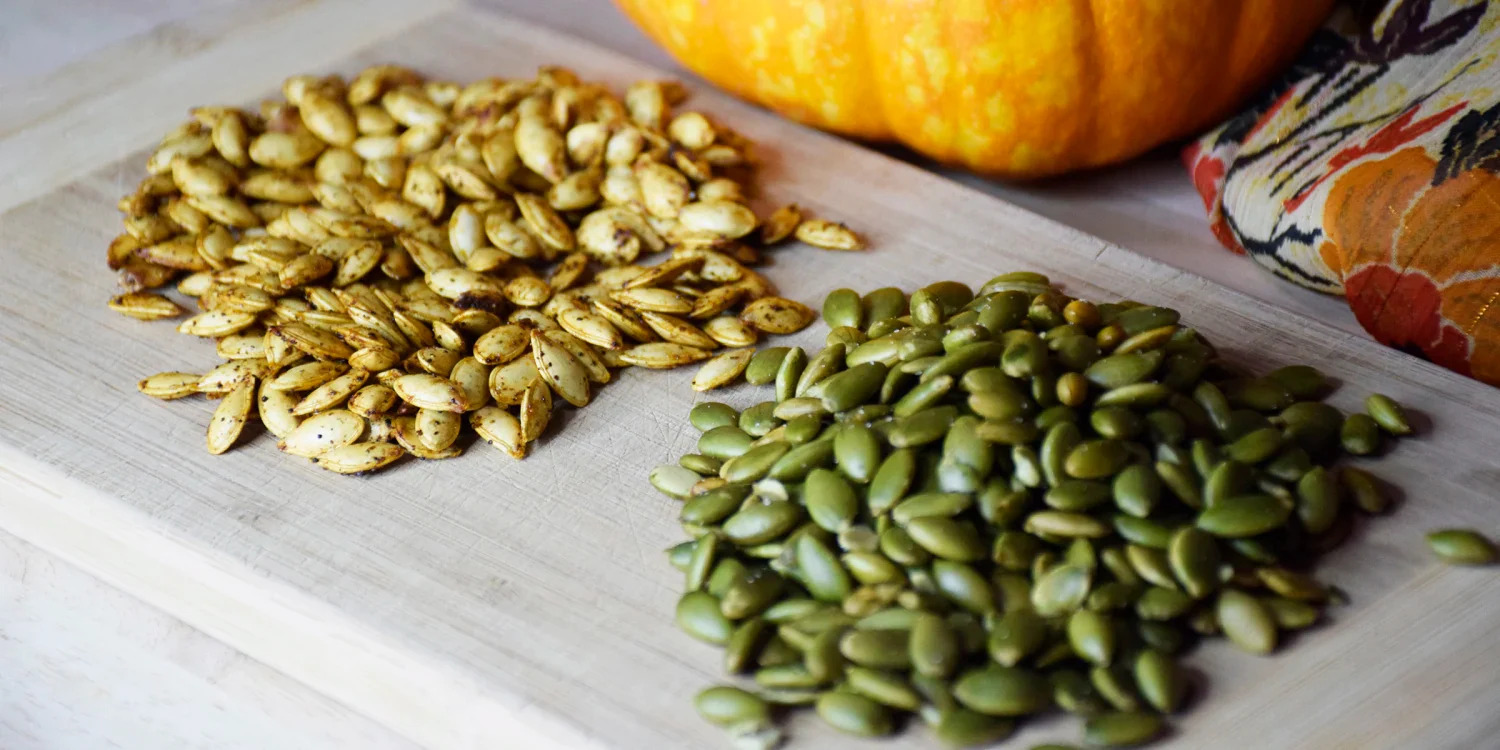
How To Grind Pumpkin Seeds For Flour
How To Grind Almonds Without A Food Processor Or Blender
How To Grind Allspice
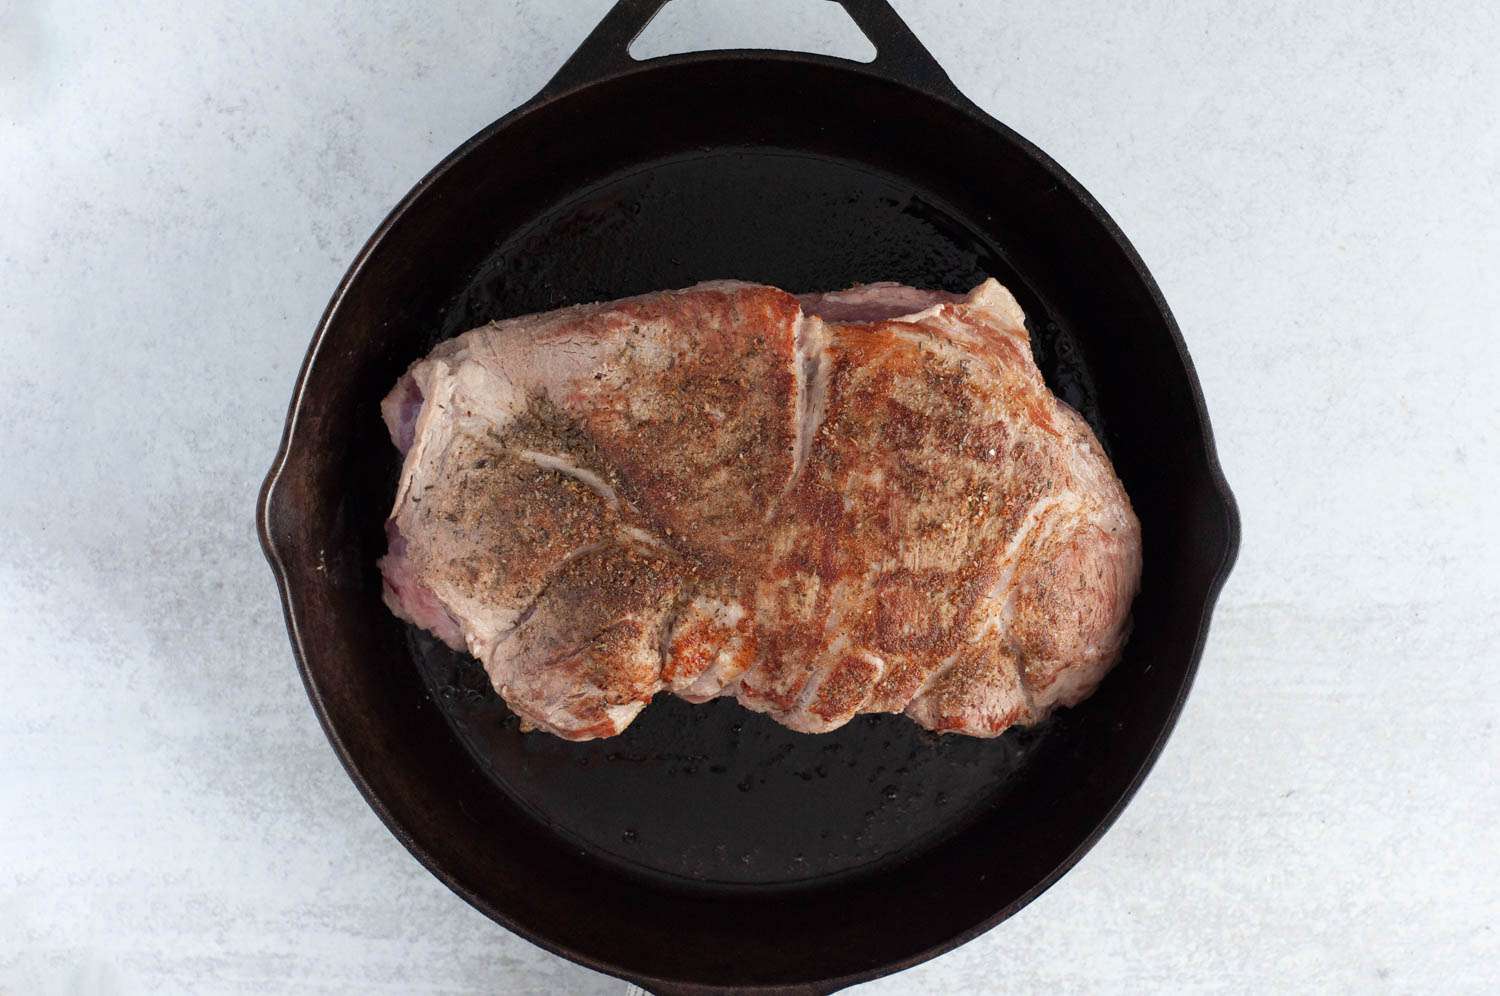
How To Sear Beef Short Rib
How To Sear Pot Roast Before Crock Pot

How To Sear A Steak On A Pit Boss Grill

How To Sear Meat Without Oil Splattering
How To Sear Lamb Shoulder Chops
How To Sear Mahi Mahi