Unlocking the Power of Fermented Leaves
Welcome to the wonderful world of fermentation! Fermenting leaves is a fantastic way to preserve and enhance the flavor and nutritional value of your favorite greens. Whether you’re a seasoned fermenter or a newcomer to the world of fermentation, this guide will walk you through the simple steps to fermenting leaves at home.
Why Ferment Leaves?
Before we dive into the how-to, let’s talk about why fermenting leaves is such a great idea. Fermentation is a natural process that not only preserves food but also enhances its nutritional value. When you ferment leaves, you’re not only creating a delicious and tangy flavor but also increasing the levels of beneficial probiotics and enzymes.
Choosing the Right Leaves
Not all leaves are created equal when it comes to fermentation. Choose fresh, organic leaves that are free from pesticides and chemicals. Common choices for fermenting leaves include cabbage, kale, collard greens, and mustard greens. You can also get creative and experiment with other leafy greens like spinach, chard, and beet greens.
Preparing the Leaves
Once you’ve selected your leaves, it’s time to prepare them for fermentation. Start by washing the leaves thoroughly to remove any dirt or debris. Next, chop or shred the leaves into small, uniform pieces. This will help the leaves ferment more evenly and quickly.
Creating the Brine
The next step is to create a brine to kickstart the fermentation process. Mix water and salt to create a brine solution. The general rule of thumb is to use about 1-2 tablespoons of salt per quart of water. Make sure the salt is fully dissolved in the water before moving on to the next step.
Fermenting the Leaves
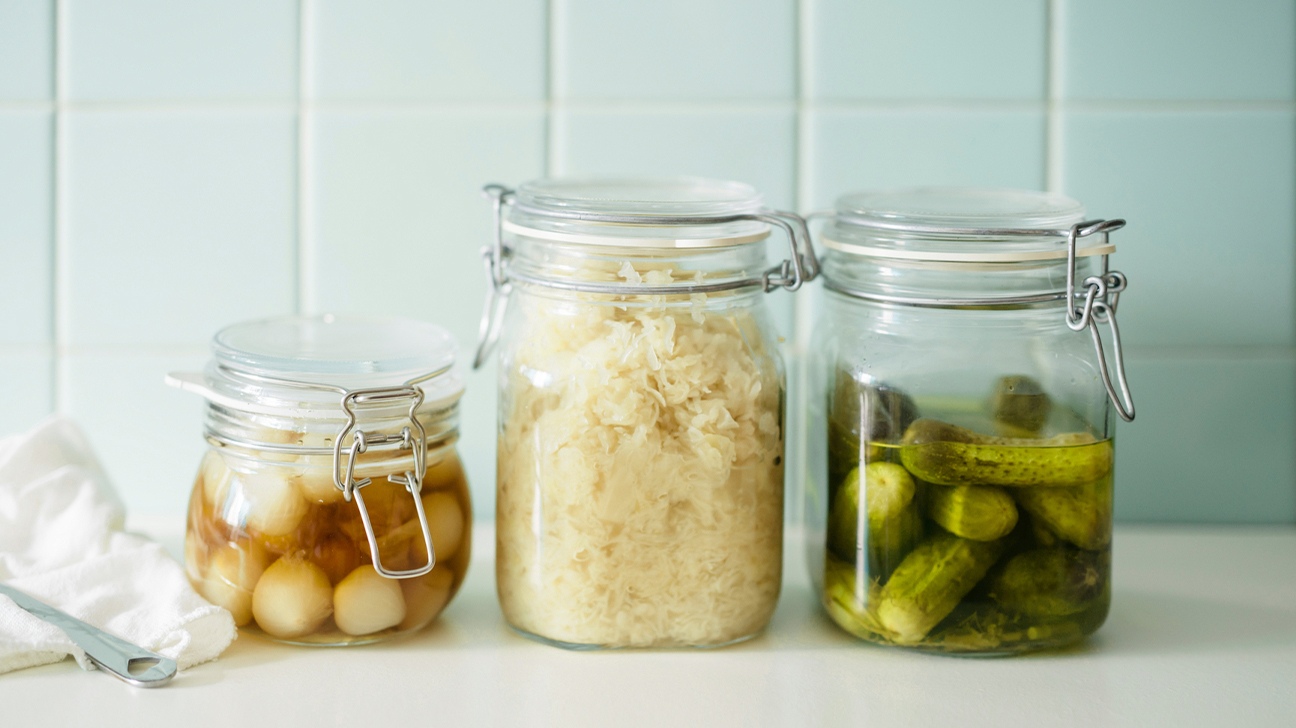
Now it’s time to pack the prepared leaves into a clean, sterilized jar. Press down on the leaves as you pack them to help release their natural juices. Pour the brine over the leaves, making sure they are fully submerged. You can use a weight or a small plate to keep the leaves submerged under the brine. Finally, cover the jar with a lid or a cloth and secure it with a rubber band.
Patience Is Key
Once your jar is all set up, it’s time to let nature work its magic. Place the jar in a cool, dark place and let the leaves ferment for at least a few days. Check the jar every day to make sure the leaves are still submerged and to release any built-up gases. The fermentation process can take anywhere from a few days to a few weeks, depending on the ambient temperature and the type of leaves you’re fermenting.
Enjoying Your Fermented Leaves
Once the leaves have reached your desired level of tanginess and crunch, it’s time to transfer the jar to the refrigerator to slow down the fermentation process. Fermented leaves can be enjoyed in a variety of ways. Add them to salads, sandwiches, or wraps for a tangy kick, or simply enjoy them as a flavorful and nutritious side dish.
Now that you’ve mastered the art of fermenting leaves, the possibilities are endless. Get creative with different combinations of leaves and flavors, and enjoy the unique taste and health benefits of your homemade fermented leaves!
Was this page helpful?
Read Next: How To Ferment Matcha Tea
