How To Cut Chicken Breast For Grilling
Grilling chicken breast is a delicious and healthy option for any summer gathering, but before you fire up the grill, it’s important to know how to properly cut chicken breast to ensure even cooking and maximum flavor. Follow these simple steps to make the most out of your grilling experience:
- Start with a sharp knife: A sharp knife will make the cutting process much easier and safer. Make sure your knife is clean and sharp before you begin.
- Remove any excess fat: Before cutting the chicken breast, take a moment to trim off any excess fat. This will not only reduce the amount of grease when grilling, but it will also help the chicken cook more evenly.
- Identify the natural muscle lines: Chicken breasts have natural muscle lines that run along the grain. These lines can make the chicken breasts tough if not properly cut. To achieve tender and juicy grilled chicken, it’s important to cut against the grain.
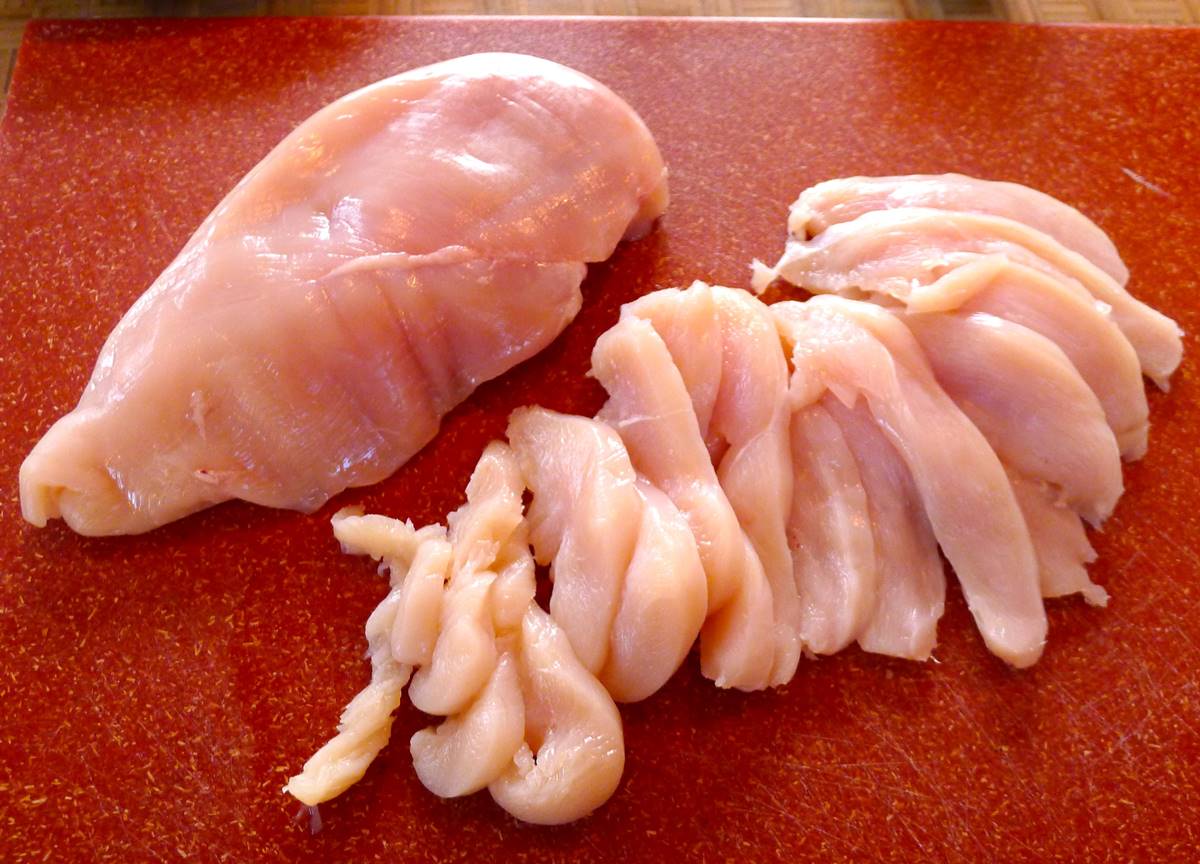
- Slice the chicken breast horizontally: Place the chicken breast on a clean cutting board. Hold the chicken breast with one hand and use the other hand to carefully slice horizontally through the thickest part of the breast. Aim for slices that are about 1/2 to 3/4 inch thick.
- Pound the chicken breast: If you prefer thinner chicken cutlets, you can use a meat mallet or the bottom of a heavy pan to gently pound the slices until they are your desired thickness. This also helps tenderize the meat, resulting in a more flavorful and succulent grilled chicken.
Now that you’ve mastered the art of cutting chicken breast for grilling, it’s time to season and marinate. Whether you prefer a simple salt and pepper seasoning or a flavorful marinade, be sure to let the chicken rest for at least 30 minutes to allow the flavors to penetrate the meat.
Remember, when grilling chicken breast, it’s important to cook it to an internal temperature of 165°F (74°C) to ensure it is fully cooked and safe to eat. Use a meat thermometer to accurately measure the temperature.
Now, you’re ready to fire up the grill and enjoy a delicious and perfectly grilled chicken breast. Serve it with your favorite side dishes and enjoy a scrumptious meal with family and friends!
Quick Recap:
- Start with a sharp knife
- Remove any excess fat
- Identify the natural muscle lines
- Slice the chicken breast horizontally
- Pound the chicken breast for desired thickness
- Season and marinate
- Cook to an internal temperature of 165°F (74°C)
Now that you have the knowledge, go ahead and put it into practice. Happy grilling!
1. Start with a sharp knife: A sharp knife will make the task much easier and safer. Make sure to choose a knife that is comfortable to hold and has a sharp blade.
2. Remove any excess fat and skin: Before cutting the chicken breast, it’s a good idea to trim any excess fat and skin. This will help promote even cooking and reduce flare-ups on the grill.
3. Slice against the grain: When cutting the chicken breast, it’s important to slice against the grain. This will ensure a more tender and less chewy texture. Look for the natural lines on the chicken breast and cut perpendicular to them.
4. Cut into even-sized pieces: To ensure that the chicken cooks evenly, try to cut the chicken breast into even-sized pieces. This will help prevent some parts from being overcooked while others are undercooked.
5. Use a cutting board with a well: To prevent any juices from spilling all over your countertop, use a cutting board with a well to catch the chicken juices. This will make the cleaning process much easier.
1. Start with a boneless, skinless chicken breast. Place it on a cutting board and hold it firmly with one hand.
2. Use a sharp knife to make a horizontal cut through the thickest part of the chicken breast, parallel to the cutting board. Be careful not to cut all the way through; you want to create a pocket.
3. Open up the chicken breast like a book, and then make a lengthwise cut down the center of the pocket you created. Again, be careful not to cut all the way through.
4. Now you should have two connected chicken cutlets. Place one hand on top of the chicken breast to hold it steady, and use the other hand to carefully slice through the connected part, separating the two pieces.
5. Repeat this process with the other chicken breast, and voila! You have thin chicken cutlets ready for grilling.
1. Start with boneless, skinless chicken breast. Place it on a cutting board and make sure it is evenly flattened for easier cutting.
2. Using a sharp knife, cut the chicken breast into long strips, about 1 inch wide. It’s important to keep the strips as consistent in size as possible.
3. Take each strip and cut it into smaller 1-inch cubes. Again, try to make the cubes as uniform as possible to ensure even cooking.
4. Repeat this process with the remaining chicken breast.
5. Once all the chicken breast has been cut into cubes, you can thread them onto your skewers for grilling.
1. Start with a boneless, skinless chicken breast. Place it on a clean cutting board and hold it flat with the palm of your hand.
2. Using a sharp knife, carefully slice horizontally into the thickest part of the breast, cutting it almost in half, but leaving a small “hinge” uncut.
3. Open up the chicken breast like a book, exposing the inside. If needed, you can gently pound the chicken to even thickness for more consistent grilling.
4. Season the butterflied chicken breast as desired, and it’s now ready for grilling!
1. Keep it chilled: Always store chicken breast in the refrigerator at a temperature below 40°F (4°C) to prevent bacterial growth. If you’re not ready to cut it immediately, keep it in a sealed container or airtight plastic bag to avoid cross-contamination.
2. Clean hands and utensils: Before handling chicken breast, make sure your hands and utensils are clean to prevent bacteria from spreading. Wash your hands with warm soapy water for at least 20 seconds before and after handling chicken.
3. Separate from other foods: To prevent cross-contamination, store chicken breast away from other foods, especially those that won’t be cooked.
4. Use within 2-3 days: For optimal freshness, it’s best to use chicken breast within 2-3 days of purchase. If you’re not planning to use it within this timeframe, freeze it for longer storage.
5. Thaw properly: If you need to thaw frozen chicken breast, do so in the refrigerator overnight or use the defrost function on your microwave. Avoid defrosting chicken at room temperature, as it can promote bacterial growth.
Was this page helpful?
Read Next: How To Cut Fresh Green Beans
