How To Cook Rice In Ninja Foodi
Are you tired of your rice turning out too mushy or undercooked? Look no further than the Ninja Foodi, a versatile kitchen appliance that can take your rice cooking skills to the next level. Whether you prefer fluffy white rice or perfectly cooked brown rice, the Ninja Foodi can do it all. In this article, we will guide you through the step-by-step process of cooking rice in your Ninja Foodi, so you can enjoy a delicious and satisfying meal every time!
Gather Your Ingredients
Before you start cooking, make sure you have all the necessary ingredients on hand. For cooking rice in your Ninja Foodi, you will need:
- Rice (white, brown, basmati, jasmine, or any variety of your choice)
- Water or broth (follow the rice package instructions for the correct ratio)
- Seasonings (optional)
Prepare Your Ninja Foodi
Once you have gathered your ingredients, it’s time to prepare your Ninja Foodi for cooking rice. Follow these simple steps:
- Place the inner pot into the Ninja Foodi base and ensure it is properly secured.
- If your Ninja Foodi has a steam rack or basket, insert it into the pot. This will prevent the rice from sticking to the bottom and ensure even cooking.
Measure and Rinse the Rice
Accurate measurement and rinsing of the rice are essential for achieving the perfect texture. Follow these steps:
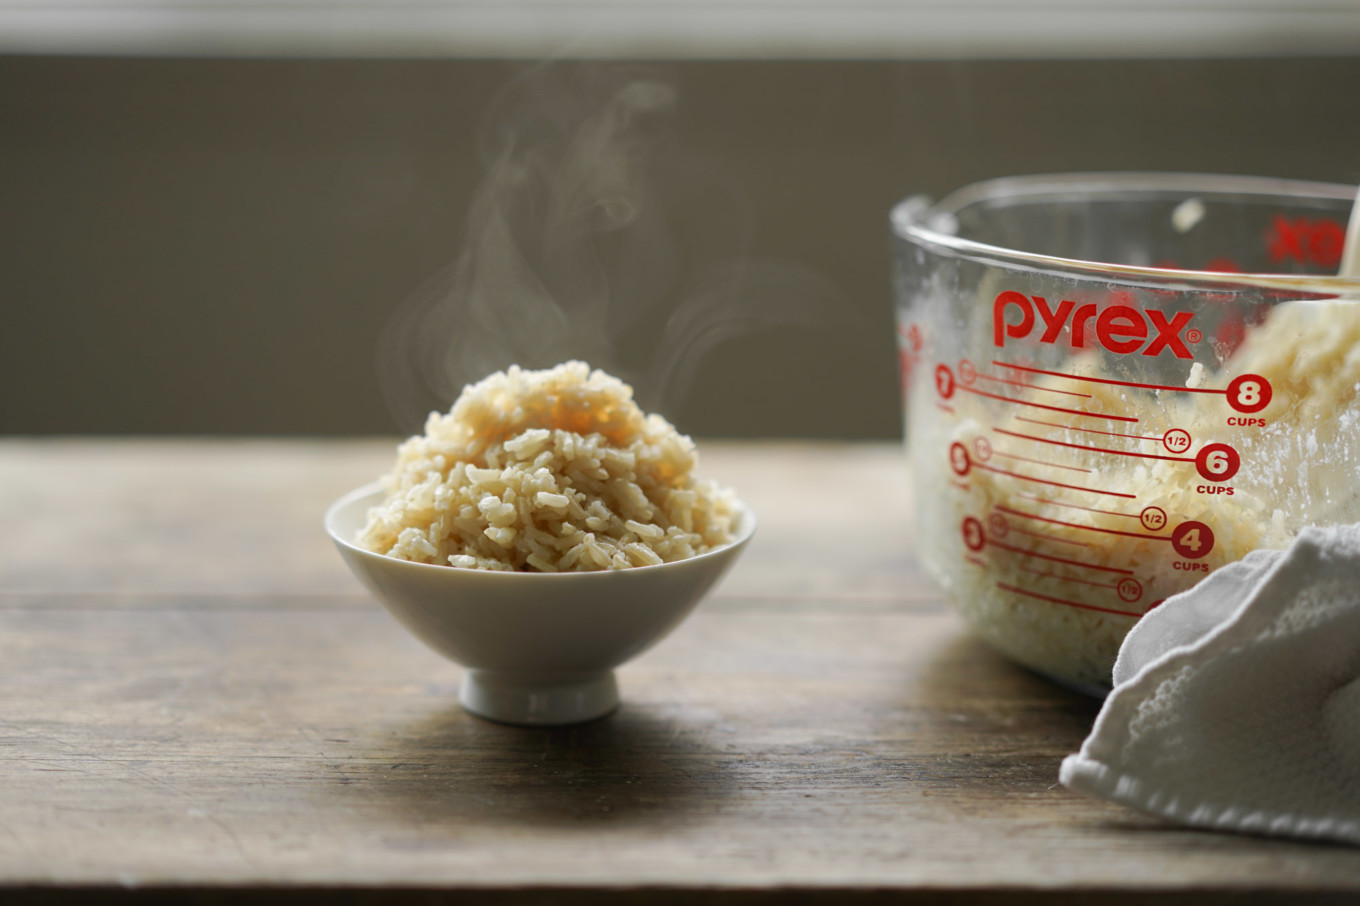
- Measure the desired amount of rice using a measuring cup. As a general guideline, 1 cup of uncooked rice usually yields around 3 cups of cooked rice.
- Rinse the rice under cold water to remove excess starch. This step helps prevent clumping and ensures fluffy rice.
Add Liquid and Seasonings
Now it’s time to add the liquid and any desired seasonings for flavor. Follow these instructions:
- For white rice, the general rule of thumb is to use a 1:1 ratio of rice to water. However, if using brown rice or other varieties, refer to the package instructions for the correct ratio.
- Pour the measured liquid into the pot.
- Add seasonings such as salt, herbs, or spices to enhance the flavor of the rice. Remember to adjust the seasonings according to your taste preferences.
Cooking Time and Settings
Once you have prepared the rice and added the liquid, it’s time to set the cooking time and settings on your Ninja Foodi:
- Close the lid of the Ninja Foodi and make sure the pressure release valve is set to the “Sealing” position.
- Select the “Pressure Cook” or “Rice” function on your Ninja Foodi.
- Adjust the cooking time based on the type of rice you are using. As a general guideline, white rice usually takes around 3-5 minutes, while brown rice may take 20-25 minutes.
Release Pressure and Fluff
Once the cooking time is complete, it’s important to release the pressure before opening the lid. Follow these steps:
- Manually release the pressure by carefully turning the pressure release valve to the “Venting” position. Be cautious of hot steam.
- Once the pressure has fully released and the float valve has dropped, it is safe to open the lid.
- Using a fork or rice paddle, gently fluff the rice to separate the grains and distribute any remaining moisture evenly.
Serve and Enjoy!
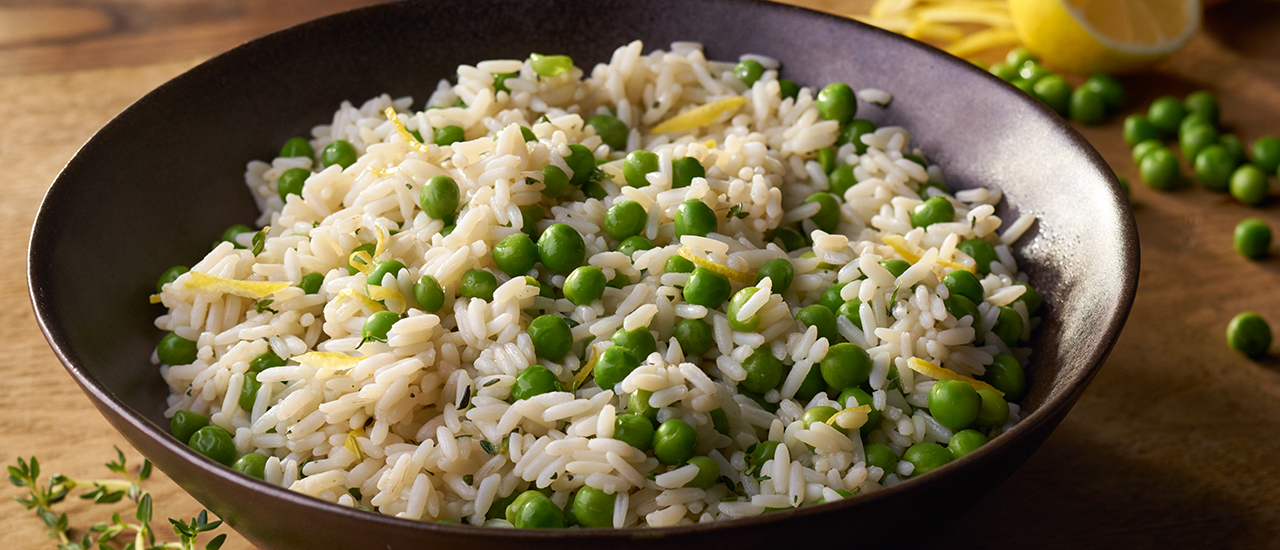
Your perfectly cooked rice in the Ninja Foodi is now ready to be served and enjoyed! Serve as a side dish or use it as a base for stir-fries, curries, or other delicious recipes. The possibilities are endless!
The Ninja Foodi takes the guesswork out of cooking rice, guaranteeing consistent results every time. With its versatility and ease of use, you’ll wonder how you ever cooked rice without it. So, get your Ninja Foodi ready, gather your ingredients, and start cooking the fluffiest, most delicious rice you’ve ever tasted!
Was this page helpful?
Read Next: How To Cook Short Ribs In Air Fryer
Related Articles
How To Cook Prime Rib Steak In Cast Iron Skillet
How To Cook Butterball Boneless Turkey Breast

How To Cook A Sliced Ham In The Oven
How To Cook Hot Pockets In Air Fryer
How To Cook Brown Rice In Microwave
How To Cook Rice In Chicken Broth
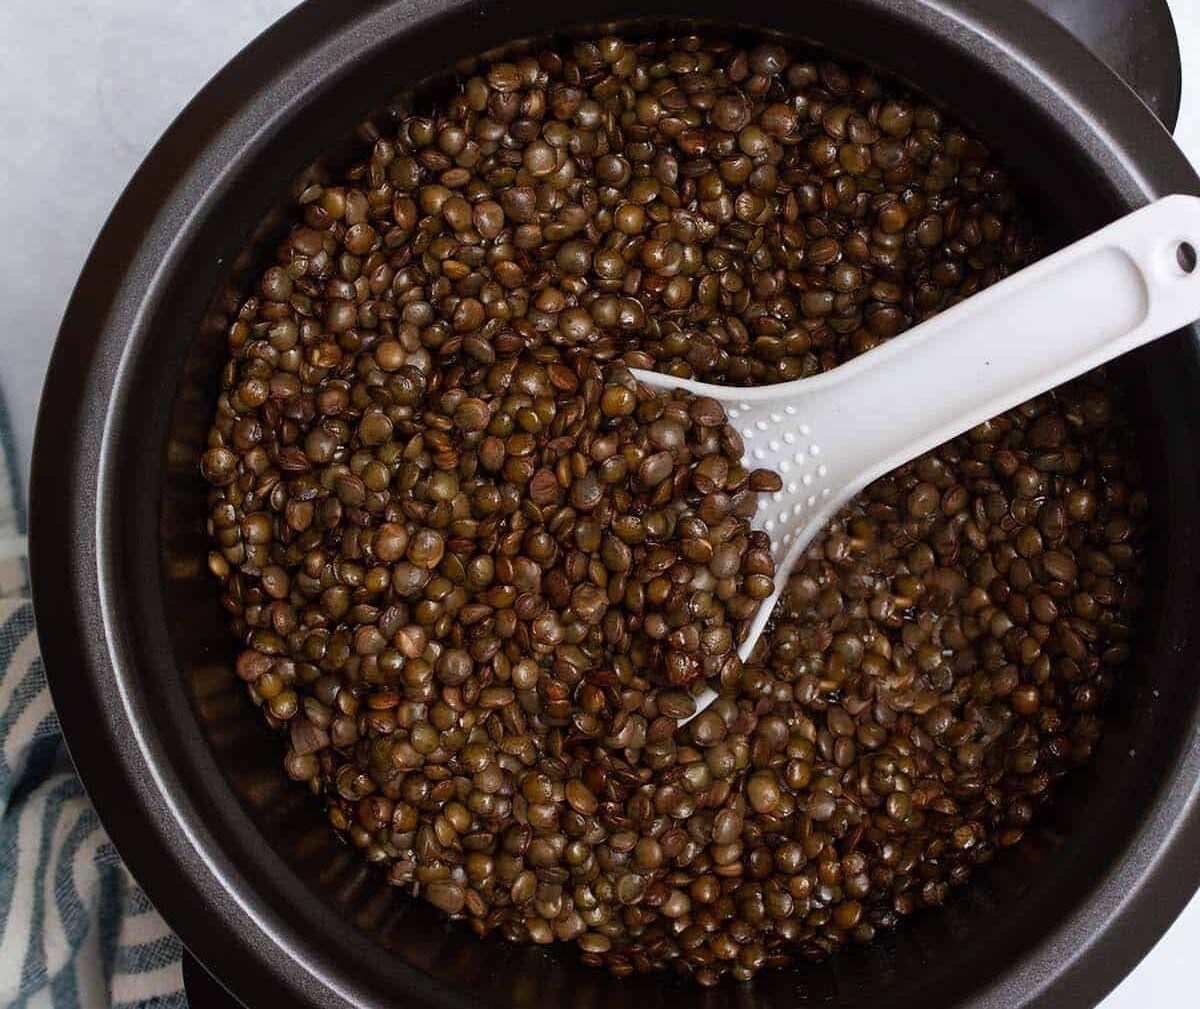
How To Cook Lentils In Rice Cooker

How To Cook Frozen Pizza In Air Fryer Oven
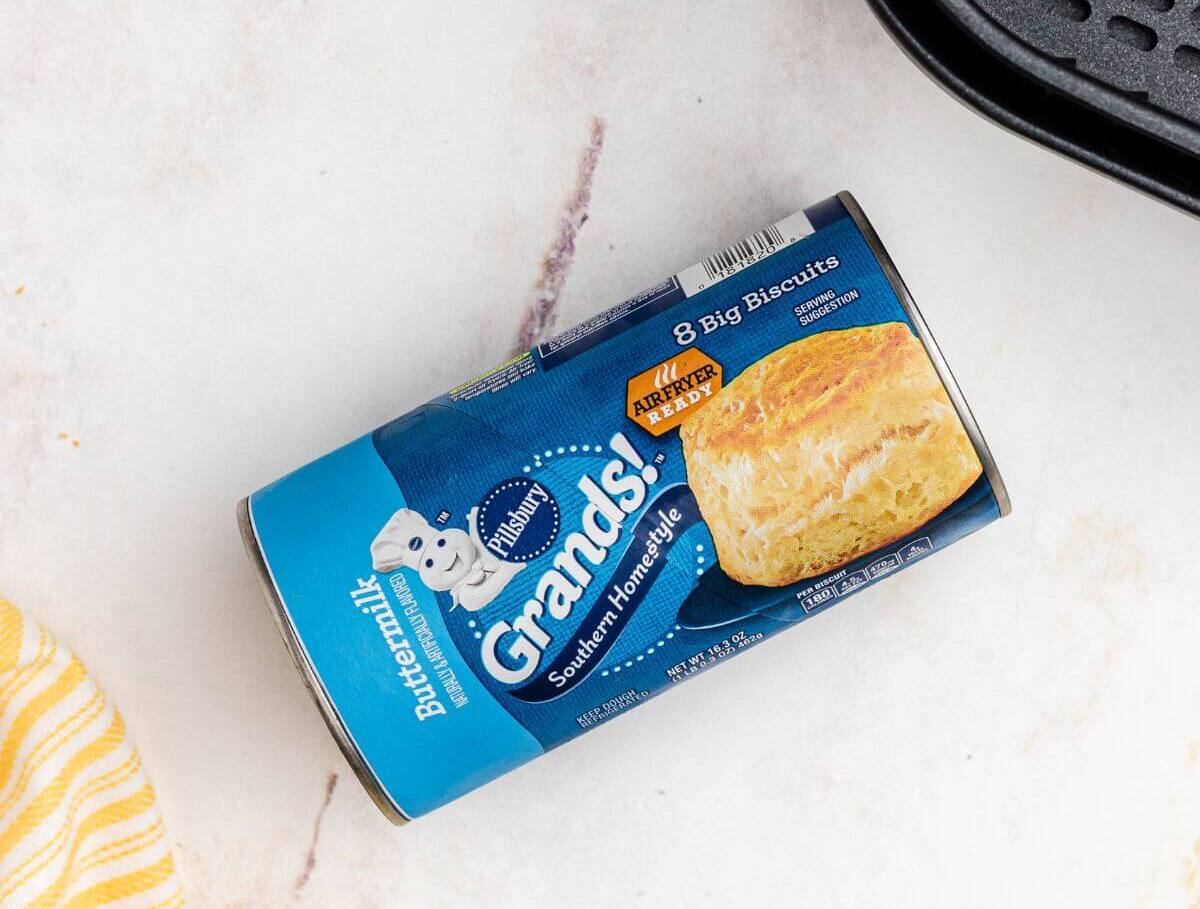
How To Cook Canned Biscuits In An Air Fryer Oven

How To Cook Wild Rice In A Rice Cooker
How To Cook Pasta In A Rice Cooker