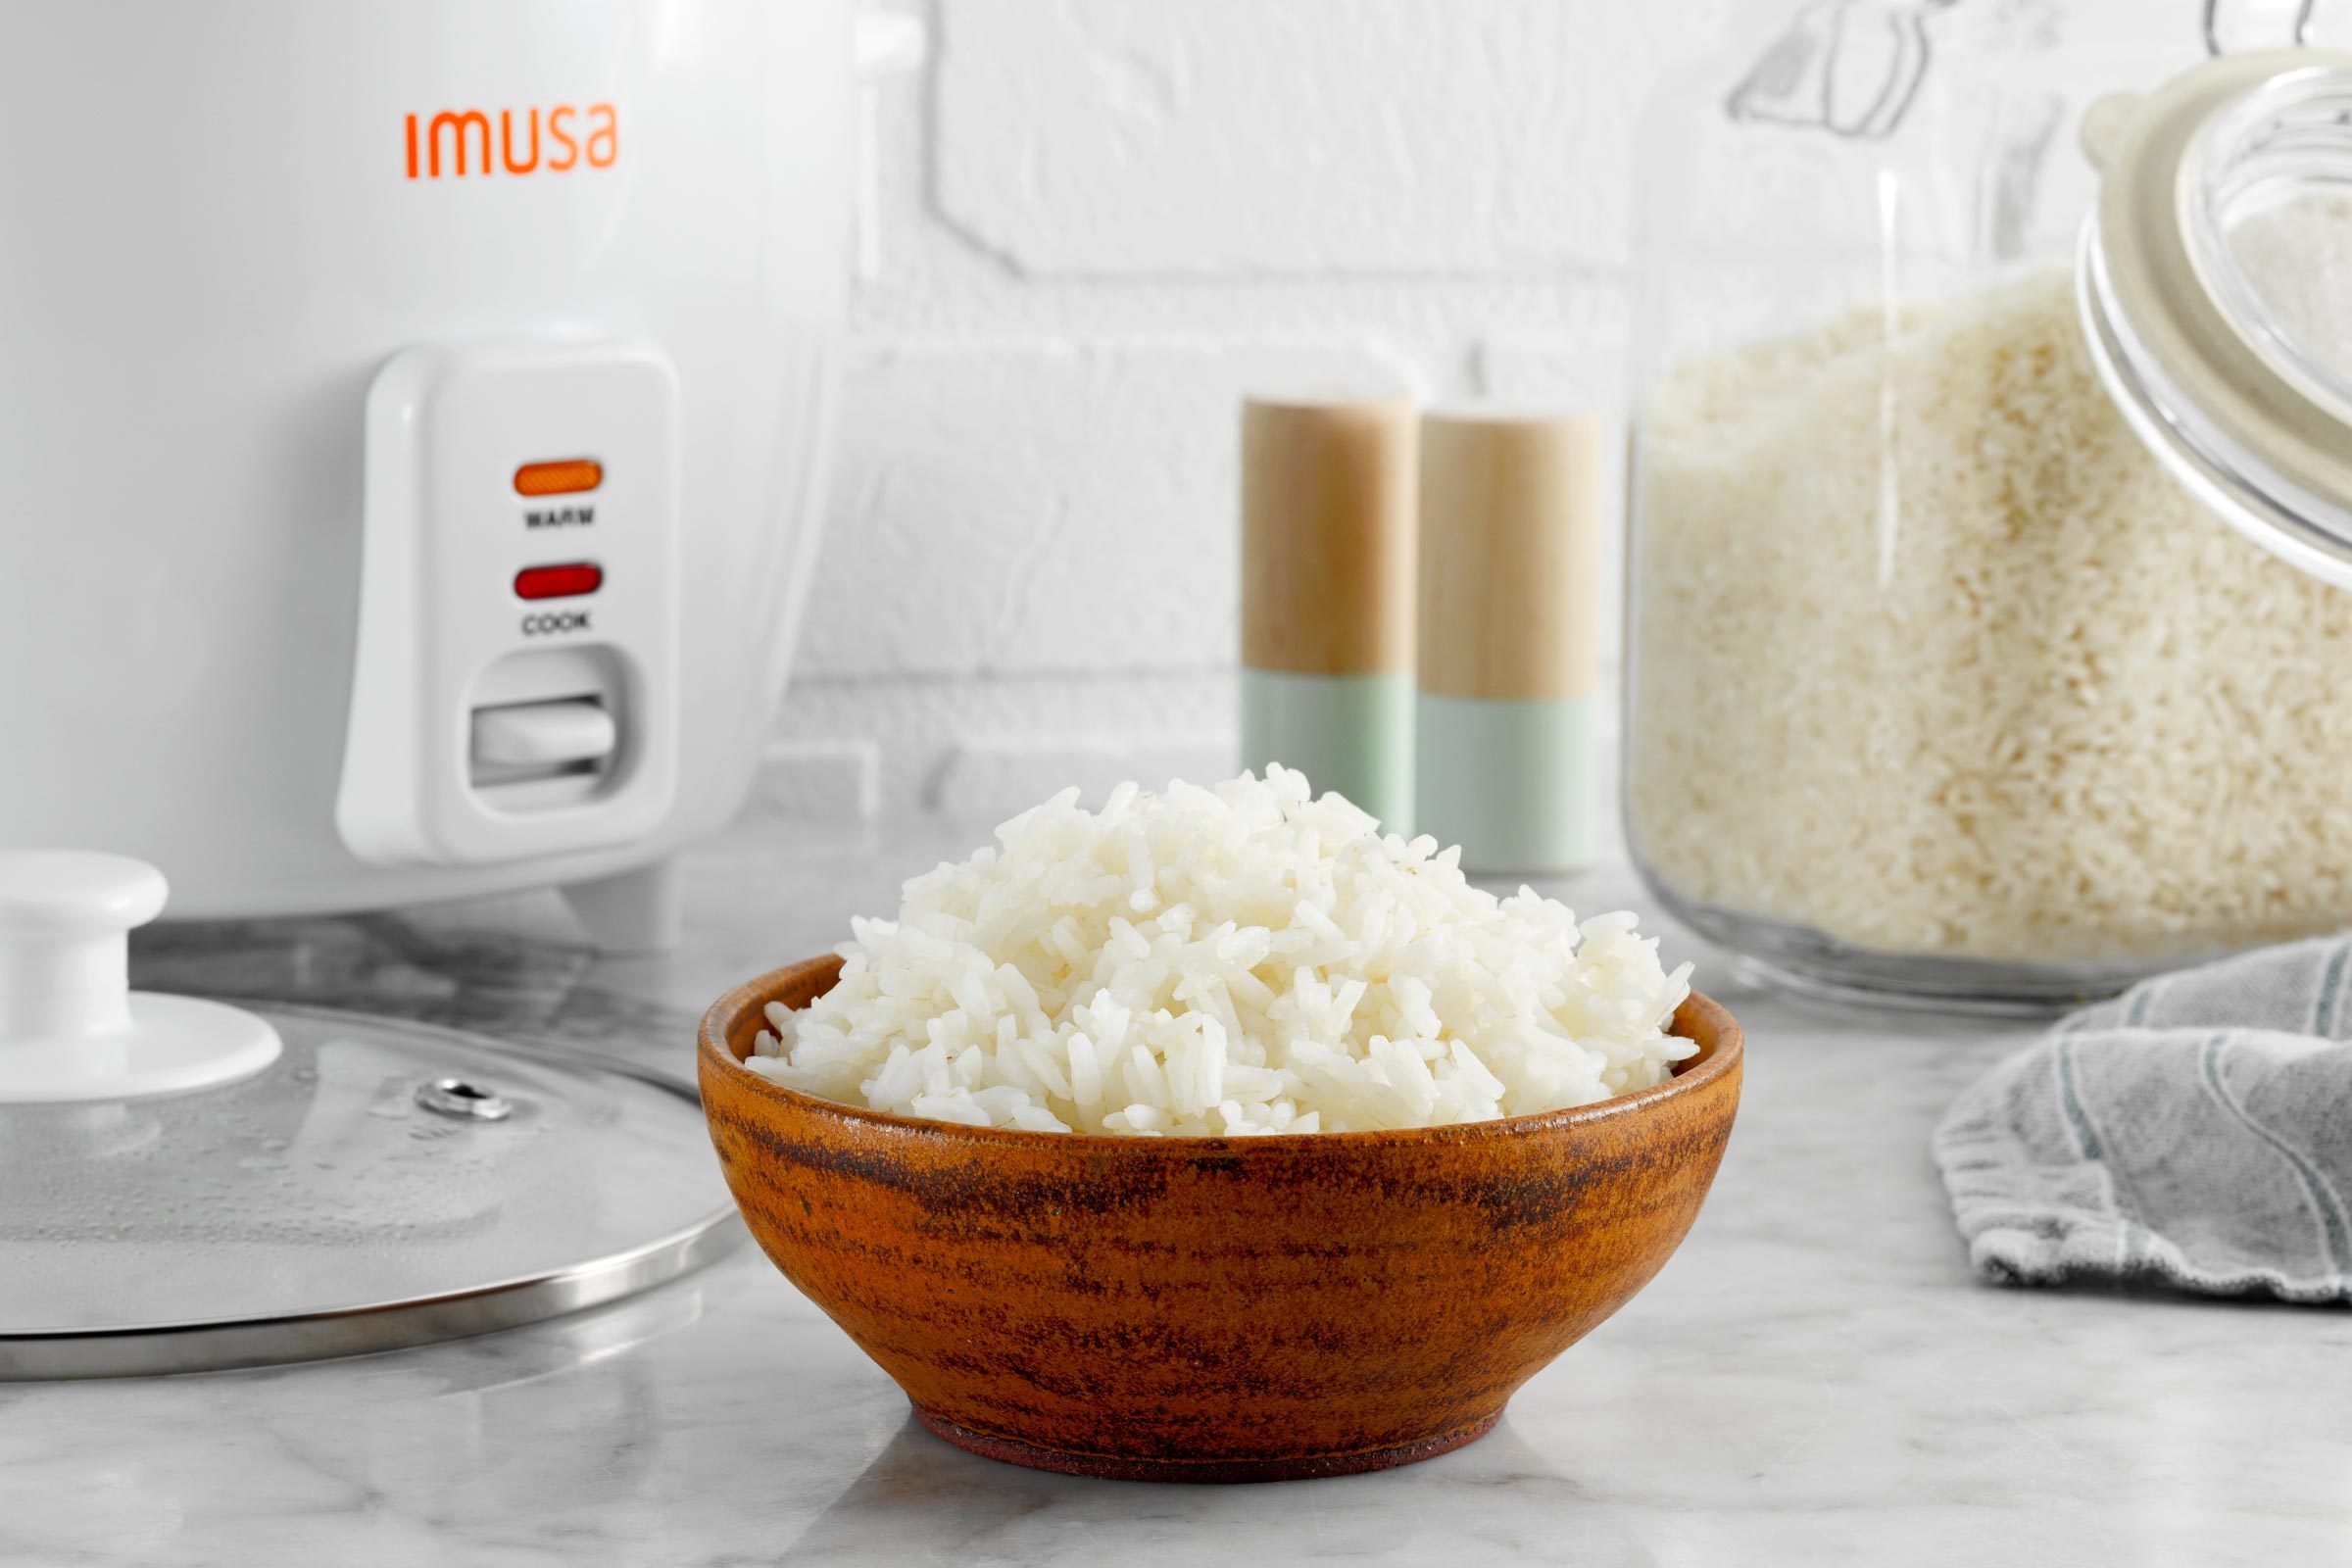
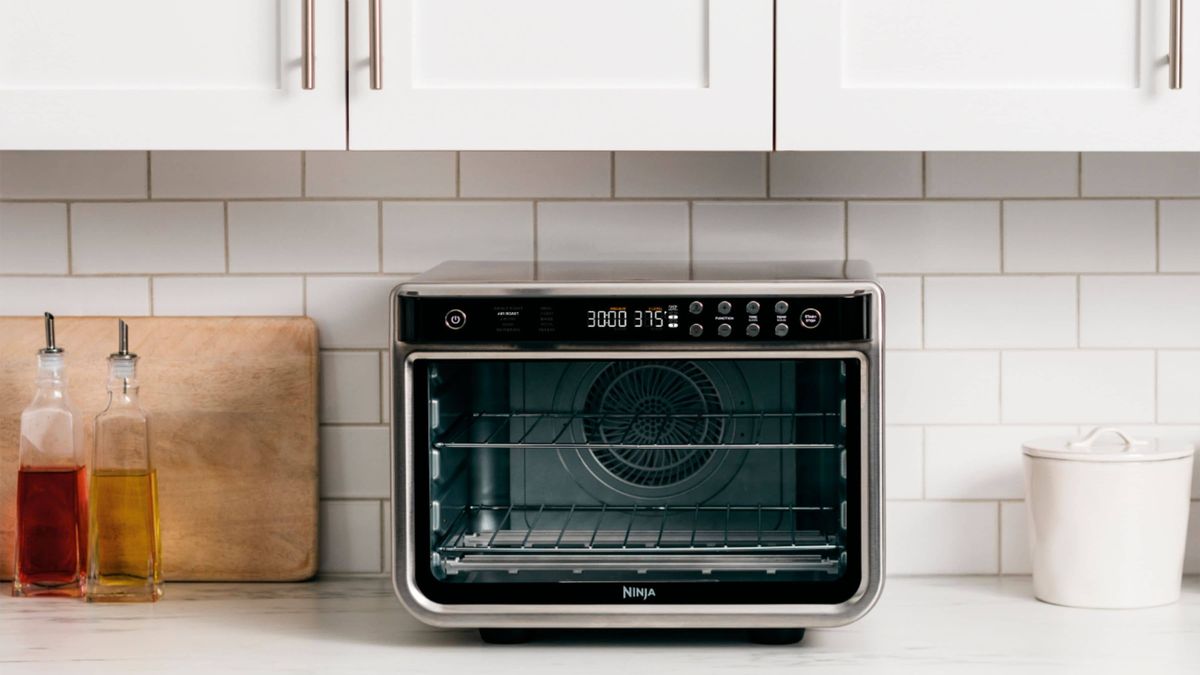
How To Cook Rice In A Ninja Air Fryer
If you’re a proud owner of a Ninja Air Fryer, you already know how versatile and efficient this appliance can be. While it’s primarily known for its ability to air fry crispy foods, did you know that you can also use it to cook fluffy and perfectly cooked rice? That’s right! In this blog post, we’ll guide you through the step-by-step process of cooking rice in your trusty Ninja Air Fryer.
What You’ll Need:
- 1 cup of rice
- 1.5 cups of water
- Ninja Air Fryer
- Measuring cup
- Rice paddle or fork
Step 1: Measure the Rice
Using the measuring cup, portion 1 cup of rice. Be sure to use the appropriate rice-to-water ratio for the type of rice you’re cooking.
Step 2: Rinse the Rice
Place the rice in a fine-mesh strainer and rinse it under cold water to remove any excess starch. This will help prevent the rice from sticking together.
Step 3: Add Rice and Water to the Air Fryer
Transfer the rinsed rice to the Ninja Air Fryer basket. Ensure that the rice is evenly spread out. Then, add 1.5 cups of water to the air fryer.
Step 4: Set the Cooking Time and Temperature
Using the control panel of the Ninja Air Fryer, set the cooking time and temperature. For white rice, a typical cooking time is around 12-15 minutes at 400°F (200°C). However, cooking times may vary based on your specific Ninja Air Fryer model.
Step 5: Cook and Wait
Once you’ve set the desired cooking settings, start the Ninja Air Fryer and patiently wait for the rice to cook. Avoid opening the air fryer frequently to maintain the internal temperature and cooking consistency.
Step 6: Fluff and Serve
When the cooking time is up, carefully remove the rice from the Ninja Air Fryer using oven mitts or silicone tongs. With a rice paddle or fork, gently fluff the rice to separate the grains. Let the rice sit for a few minutes to cool slightly before serving.
Tips for Perfectly Cooked Rice:
- Use the correct rice-to-water ratio for the type of rice you’re cooking. Different types of rice may require different ratios.
- Rinsing the rice helps remove excess starch and prevents clumping.
- Do not open the air fryer frequently during cooking to maintain consistent temperature and cooking time.
- Allow the rice to cool slightly before serving to avoid burning yourself.
And there you have it! Cooking rice in your Ninja Air Fryer is a breeze. This versatile appliance provides yet another function to simplify your kitchen routine. Experiment with different rice types and flavors to elevate your meals even further. Enjoy your perfectly cooked rice, and happy cooking!
Was this page helpful?
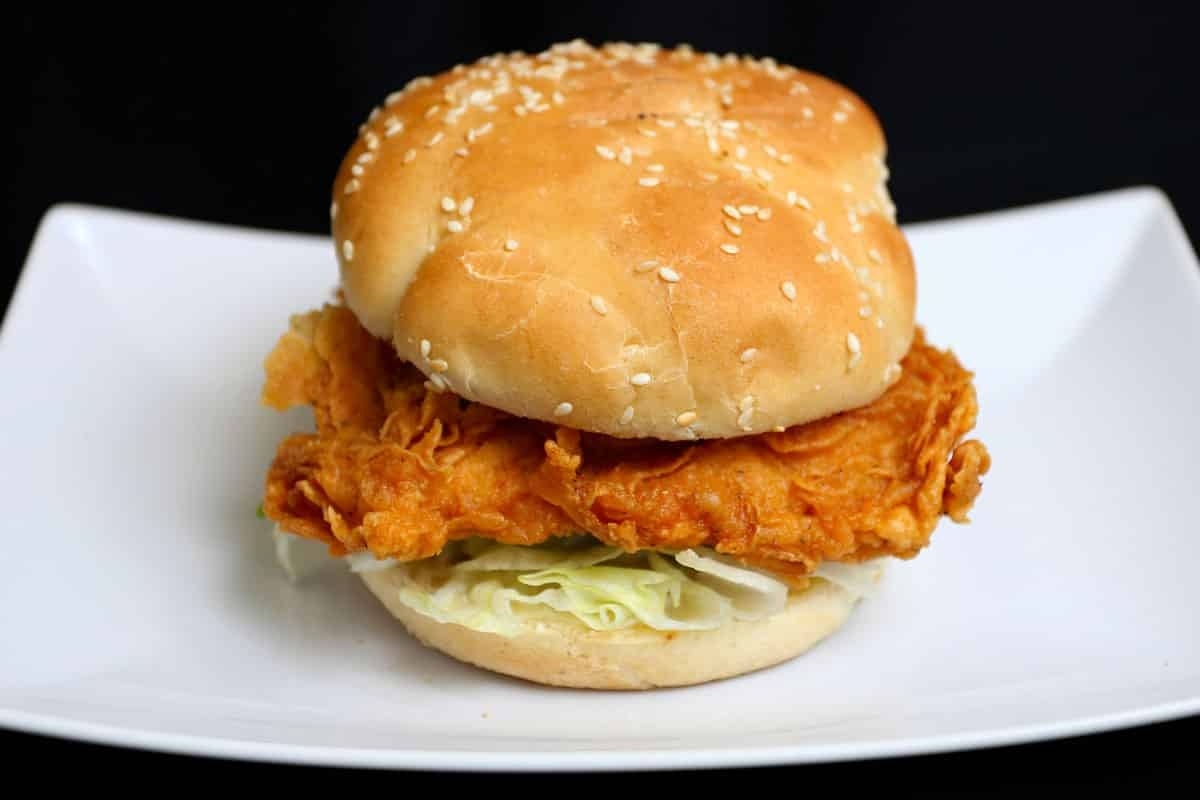
Read Next: How To Cook Burgers In Ninja Air Fryer
Related Articles
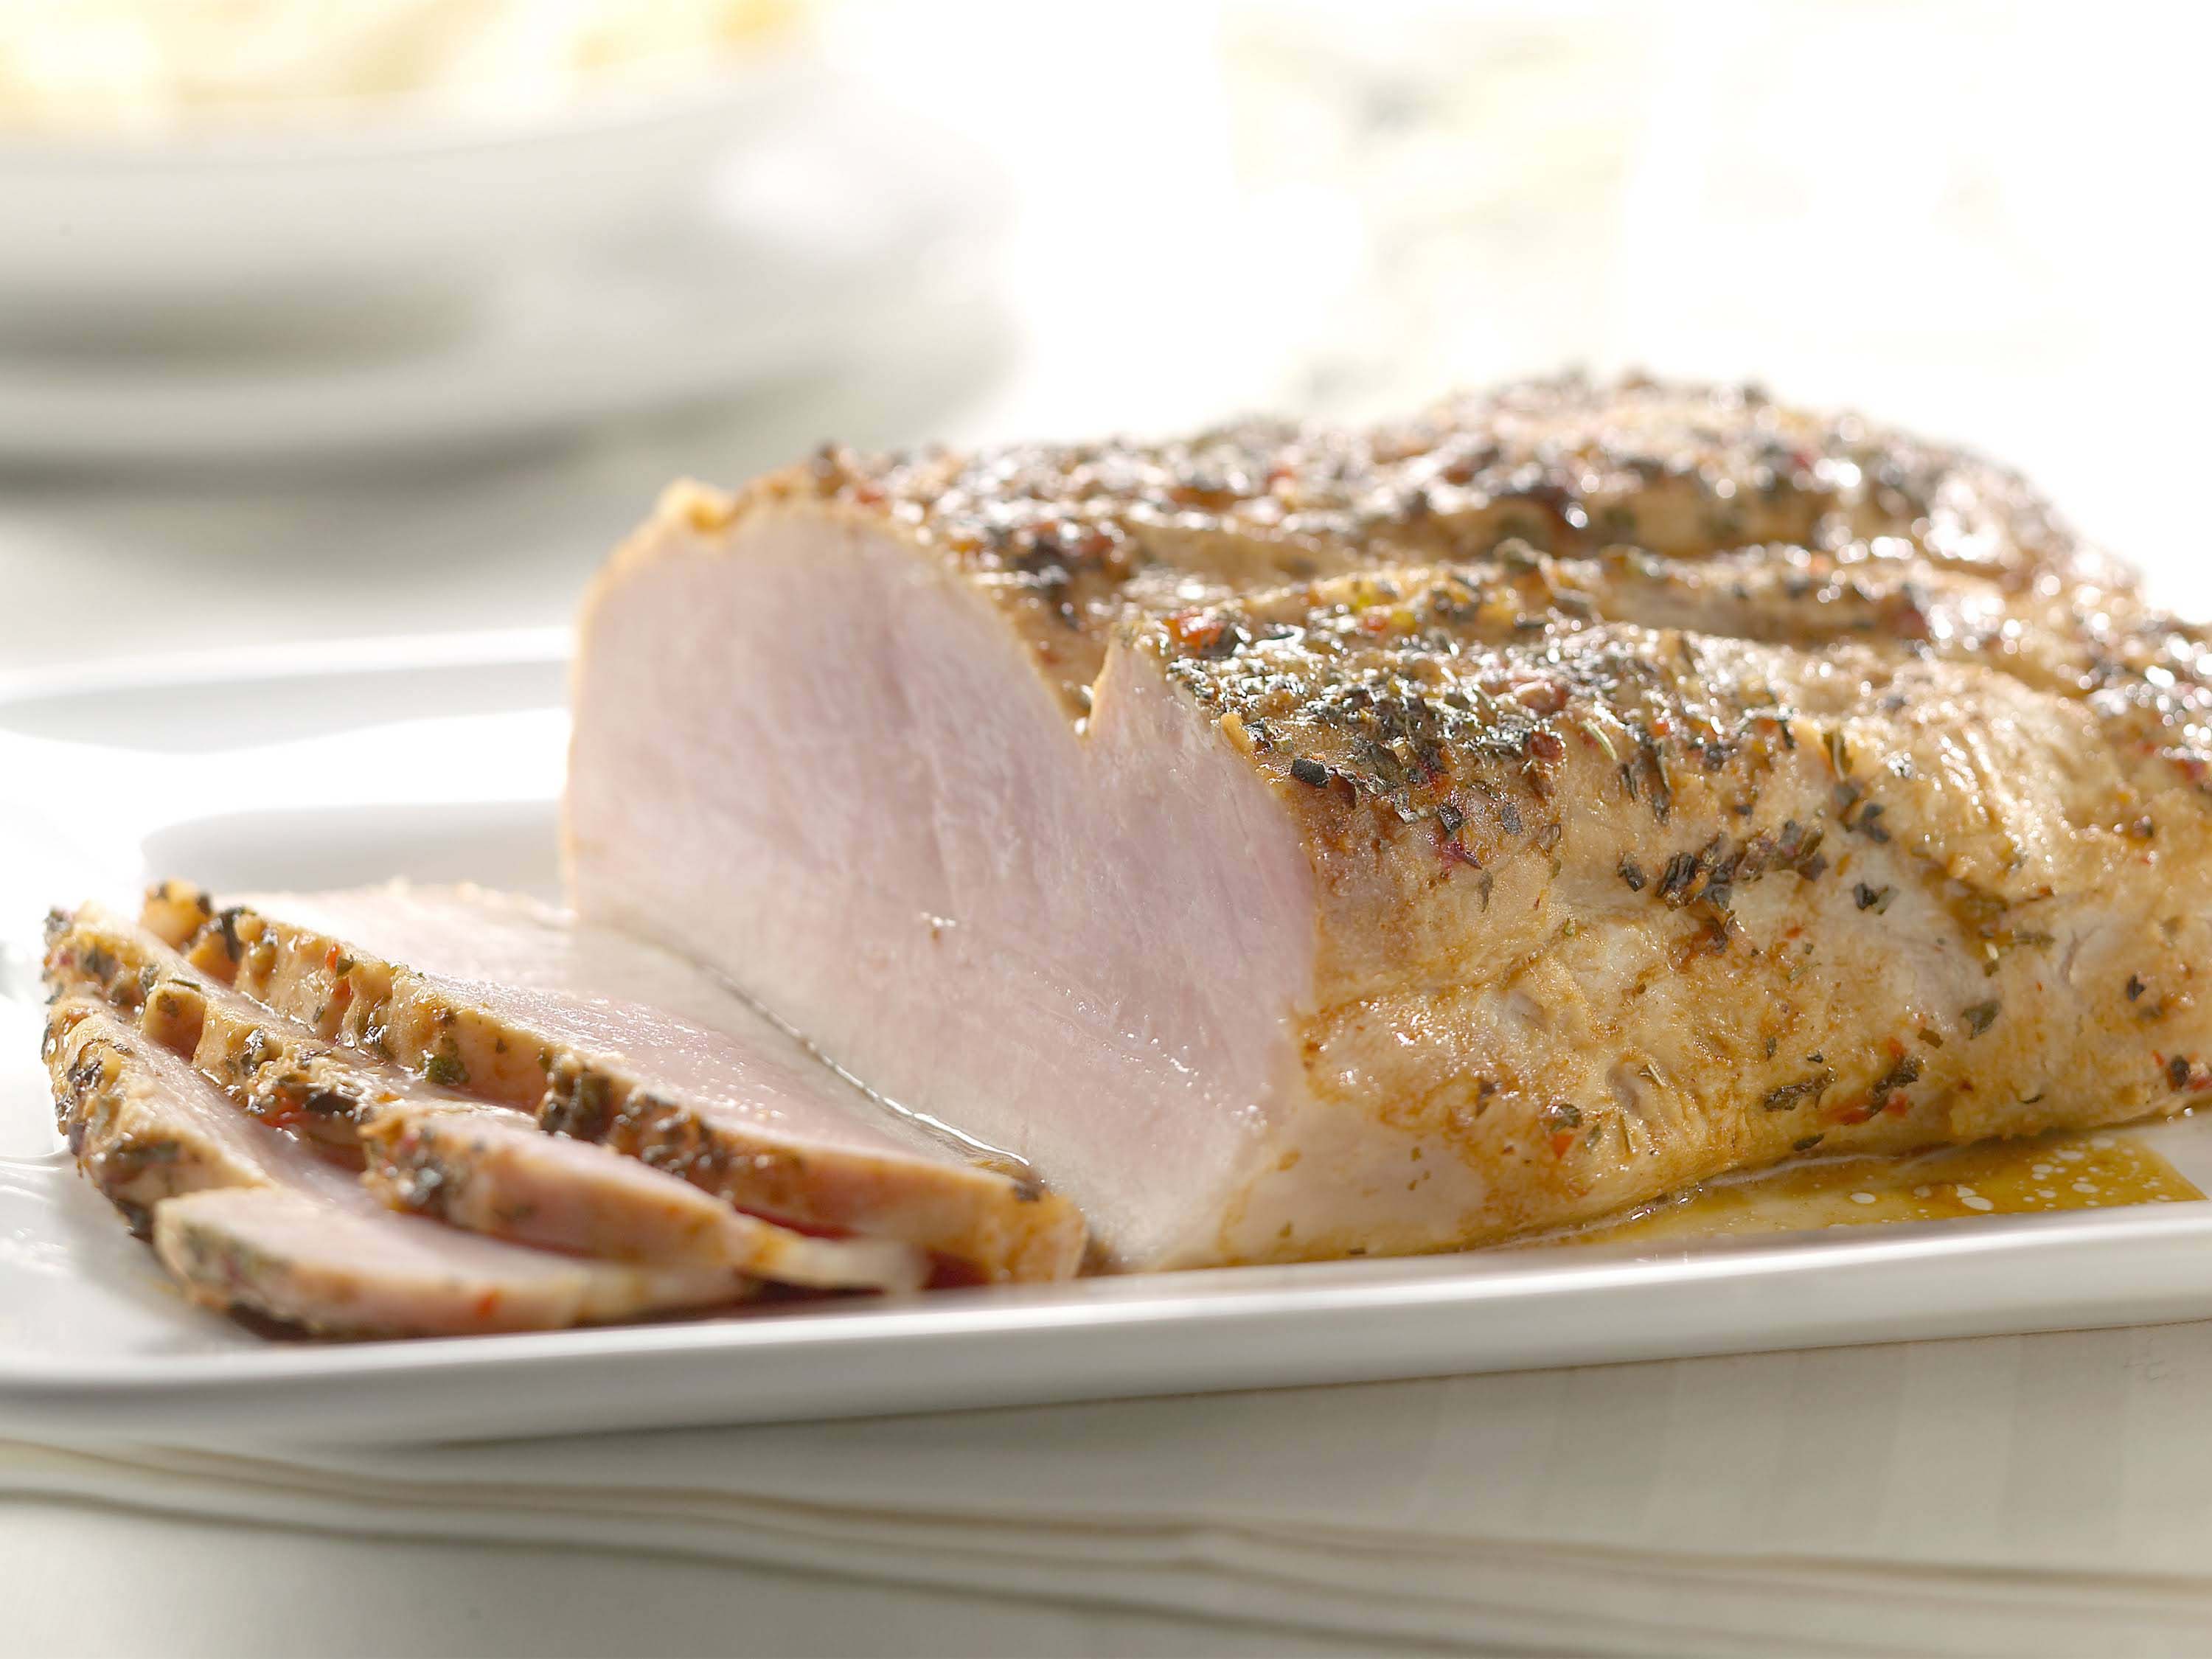
How To Cook Pork Rib Roast Boneless
How To Cook A Small Amount Of Rice
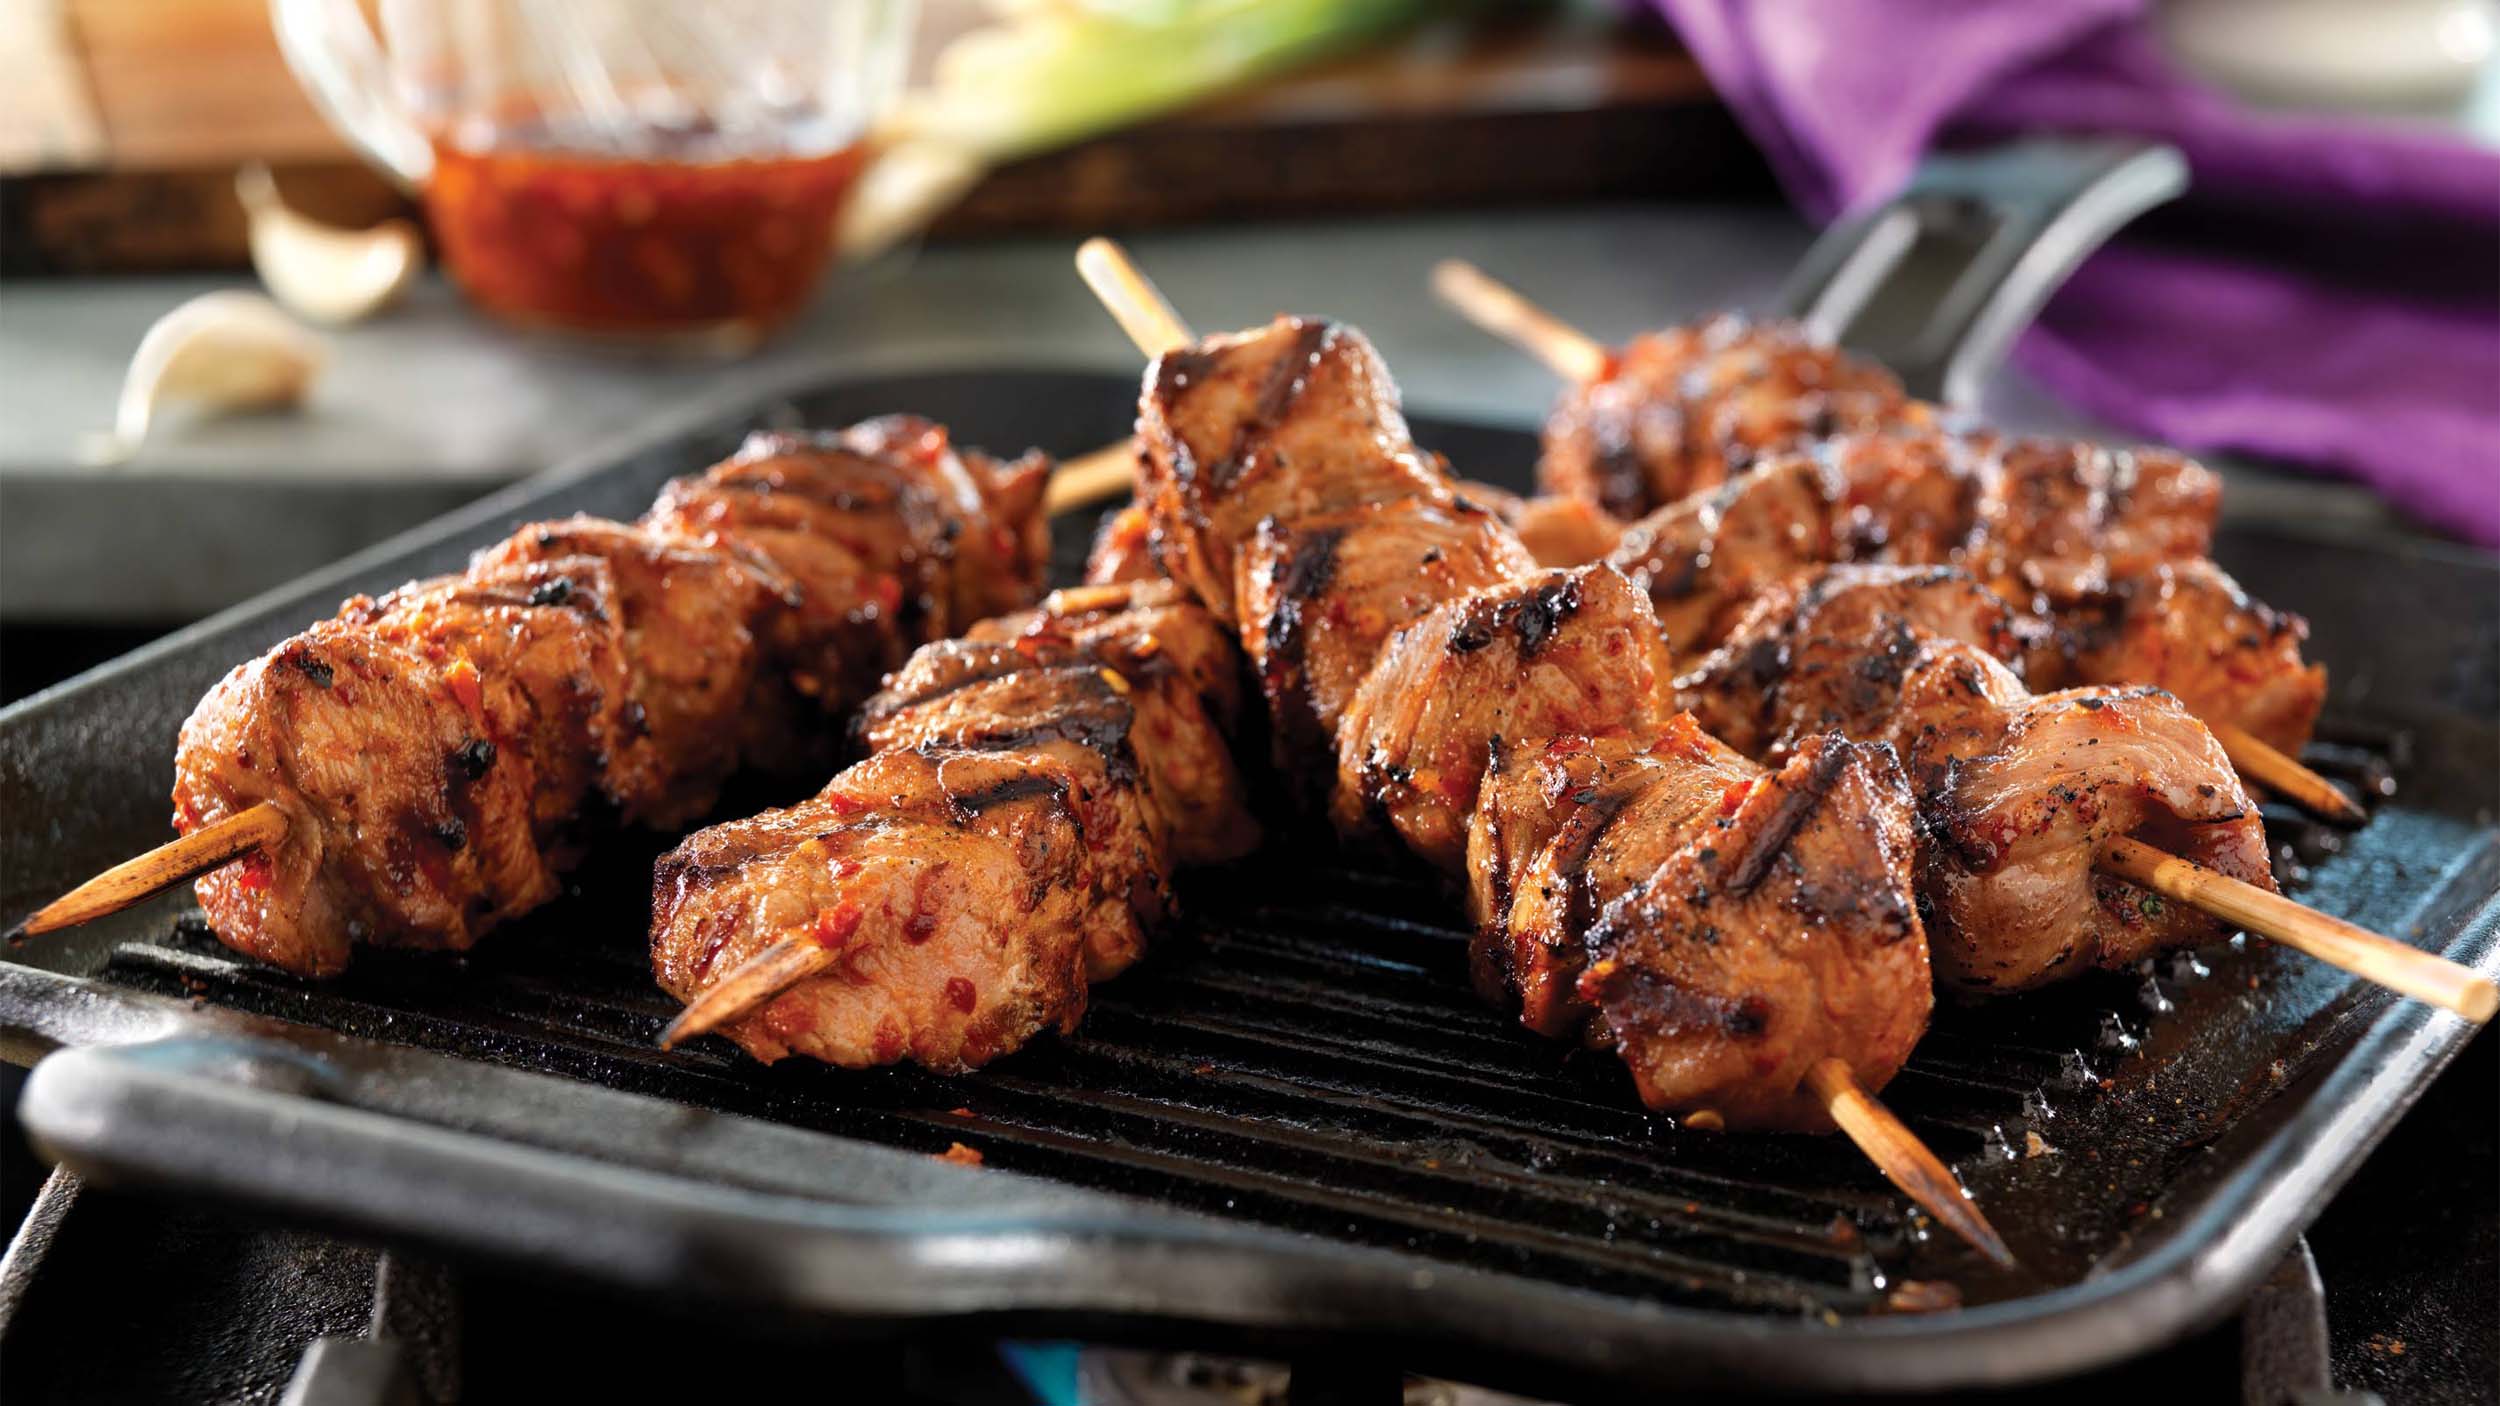
How To Cook Ribs On A Stick

How To Cook Beef Stew Meat In Air Fryer
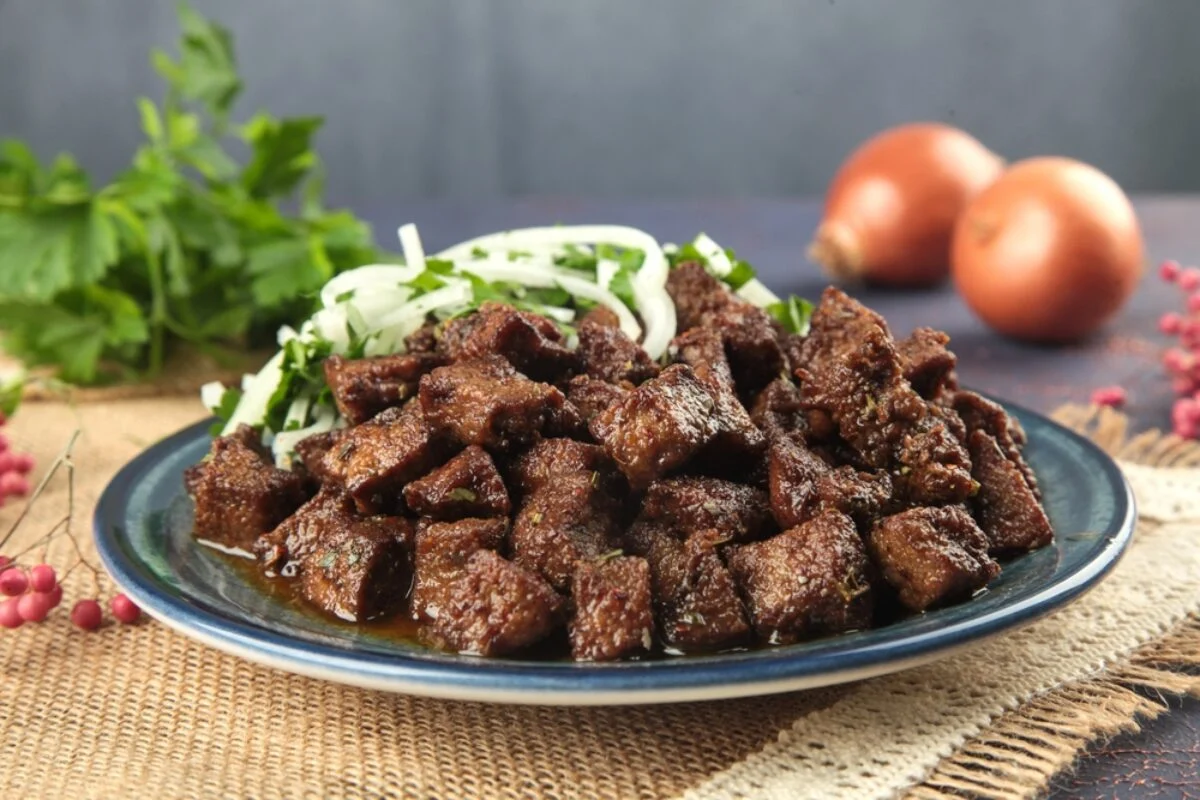
How To Cook Beef Liver In Air Fryer
How To Cook Beef Strips In Air Fryer
How To Cook Hamburgers In Ninja Foodi Xl Pro Air Oven
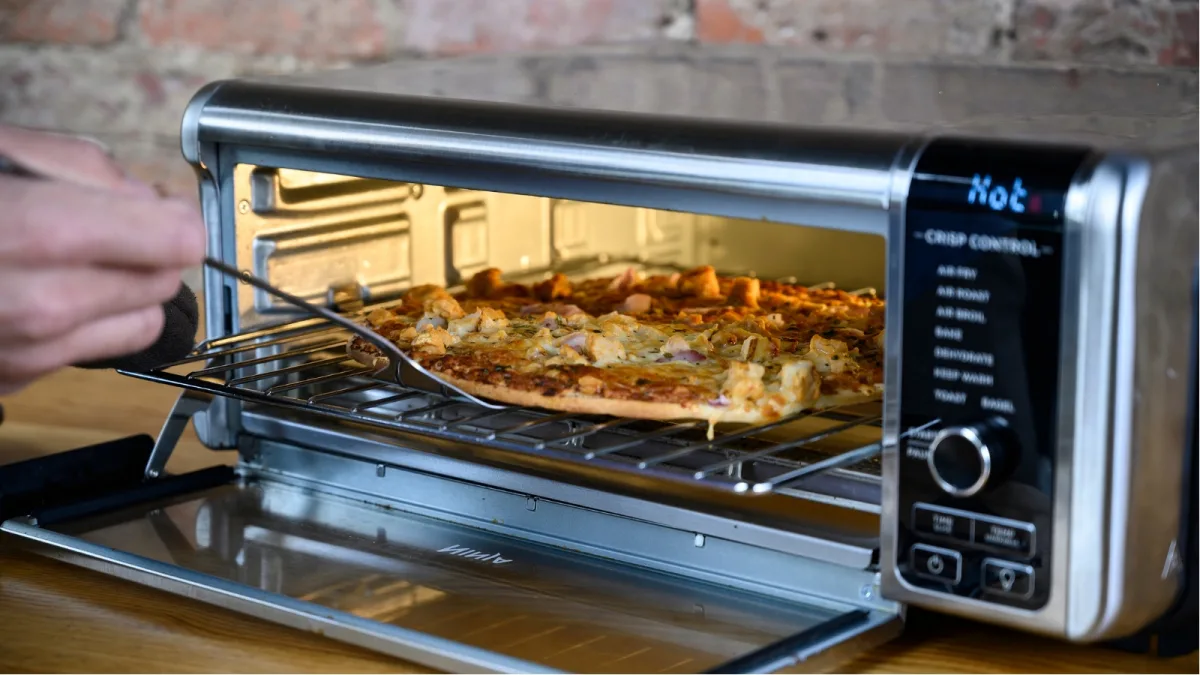
How To Cook Pizza In Ninja Foodi Air Fryer Oven

How To Cook Frozen Potato Skins In Air Fryer

How To Cook Frozen Raw Chicken Patties In Air Fryer

How To Cook Frozen Potatoes In Air Fryer