Discover the Magic: Cooking Pasta in Your Aroma Rice Cooker
Are you tired of the same old stovetop method for cooking pasta? Do you want to try something different that will make your pasta dishes even more delicious? Look no further than your trusty Aroma Rice Cooker! Yes, that’s right – this versatile kitchen appliance can do more than just cook rice. In this blog post, we will guide you through the process of cooking pasta in your Aroma Rice Cooker, unlocking a whole new world of flavor and convenience.
Why Cook Pasta in Your Aroma Rice Cooker?
Before we dive into the nitty-gritty of cooking pasta in the Aroma Rice Cooker, let’s talk about why you should give it a try. Here are a few reasons:
- Convenience: No more waiting for water to boil or keeping an eye on the pot. Simply add the ingredients to your Aroma Rice Cooker and let it do the work for you.
- Consistency: The Aroma Rice Cooker ensures even heat distribution, preventing your pasta from sticking together or becoming mushy.
- Flavor Infusion: Cooking pasta in the Aroma Rice Cooker allows the flavors from your sauce and other ingredients to penetrate the pasta fully, resulting in a more flavorful dish.
Step-by-Step Guide to Cooking Pasta in Your Aroma Rice Cooker
Now that you’re convinced of the magic of cooking pasta in your Aroma Rice Cooker, let’s get down to business. Follow these simple steps:
- Measure Your Ingredients: Start by measuring the amount of pasta you want to cook. Most Aroma Rice Cookers have a capacity of 2 to 6 cups, so adjust your measurements accordingly. Don’t forget to add enough water to submerge the pasta.
- Prepare Your Pasta: Rinse the pasta under cold water to remove excess starch. This will prevent it from sticking together during cooking. You can also add a pinch of salt and a drizzle of olive oil to the water for added flavor.
- Add Pasta and Water: Place the rinsed pasta in the Aroma Rice Cooker bowl and add enough water to fully cover the pasta. Remember to follow the recommended water-to-pasta ratio on the pasta package for best results.
- Select the Setting: Depending on your Aroma Rice Cooker model, choose the appropriate setting for cooking pasta or use the steam setting if available. If your model doesn’t have specific settings, simply select the regular cook mode.
- Cooking Time: Set the cooking time based on the type and thickness of the pasta you are using. A general guideline is to cook for approximately 10-12 minutes on high pressure. However, it’s always best to consult the pasta package instructions for accurate cooking times.
- Release the Pressure: Once the cooking time is up, carefully release the pressure from the cooker according to the manufacturer’s instructions. Be cautious of the hot steam.
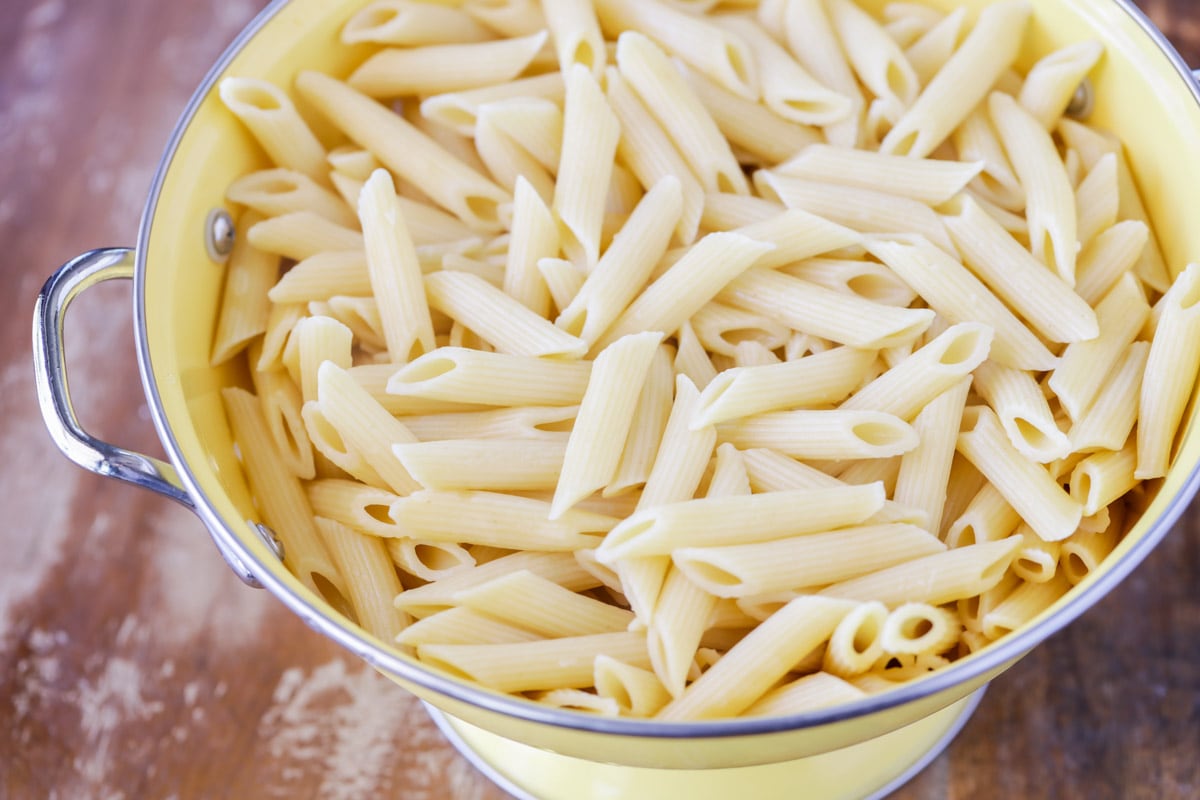
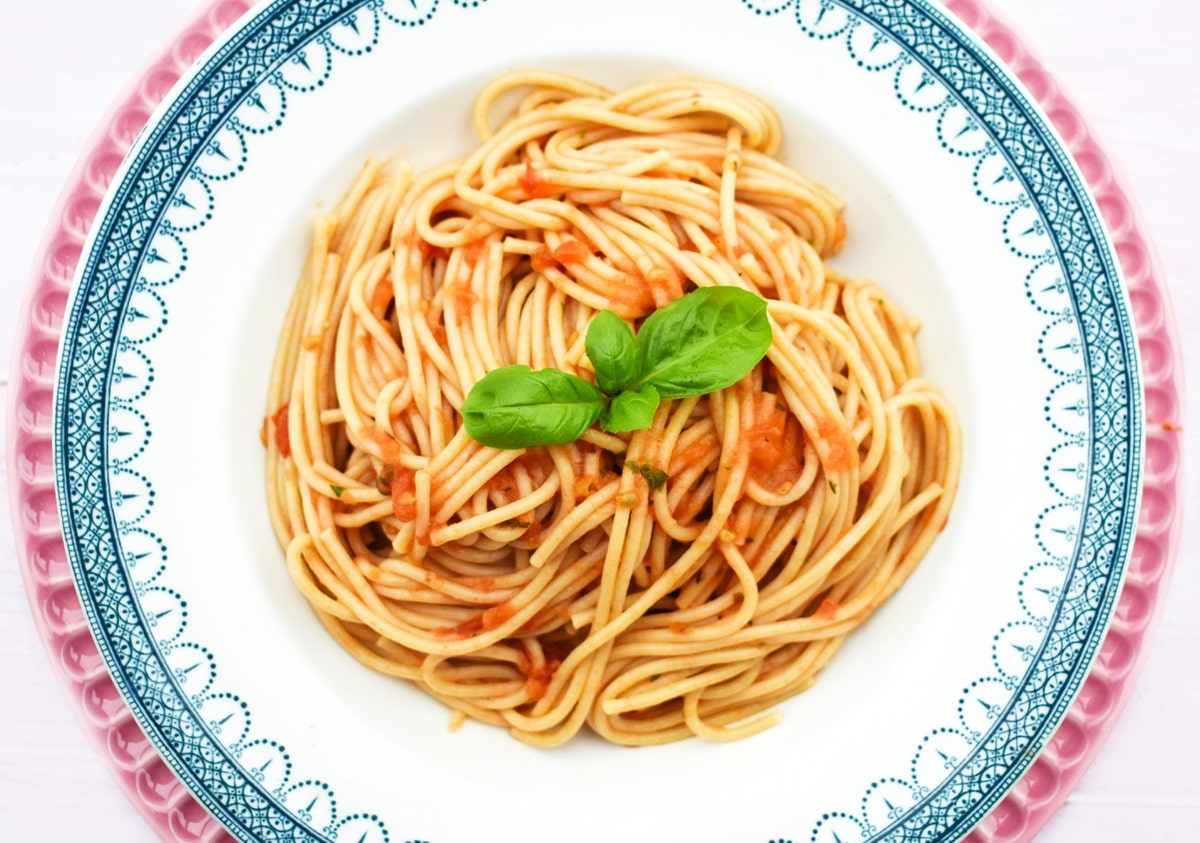
- Drain and Serve: Use a colander or strainer to drain the cooked pasta. Rinse it briefly with cold water to stop the cooking process. Now, it’s time to dive into your perfectly cooked pasta. Serve with your favorite sauce or toss it with some olive oil and herbs for a simple yet flavorful dish.
With these easy steps, you can say goodbye to the traditional stovetop pot and hello to hassle-free pasta cooking with your Aroma Rice Cooker. Experiment with different pasta shapes and sauces to elevate your culinary creations even further. So, go ahead, unlock the potential of your Aroma Rice Cooker and enjoy perfectly cooked pasta every time!
Explore More Delicious Recipes and Uses for Your Aroma Rice Cooker
Now that you've mastered the art of cooking pasta in your Aroma rice cooker, why not put your skills to the test with some delightful recipes that are perfect for any occasion? From the comforting Creamy Butternut Squash Mac and Cheese to the robust flavors of Fiery Arrabbiata Penne, there's a dish for every palate. We highly recommend trying the Luscious Creamy Tomato Basil Pasta for a quick and satisfying meal, or the Savory Garlic Shrimp Pasta for a more decadent option. These recipes are not only delicious but also showcase the versatility of your Aroma rice cooker in handling various pasta dishes.
Was this page helpful?
Read Next: How To Cook Pork For Cats
