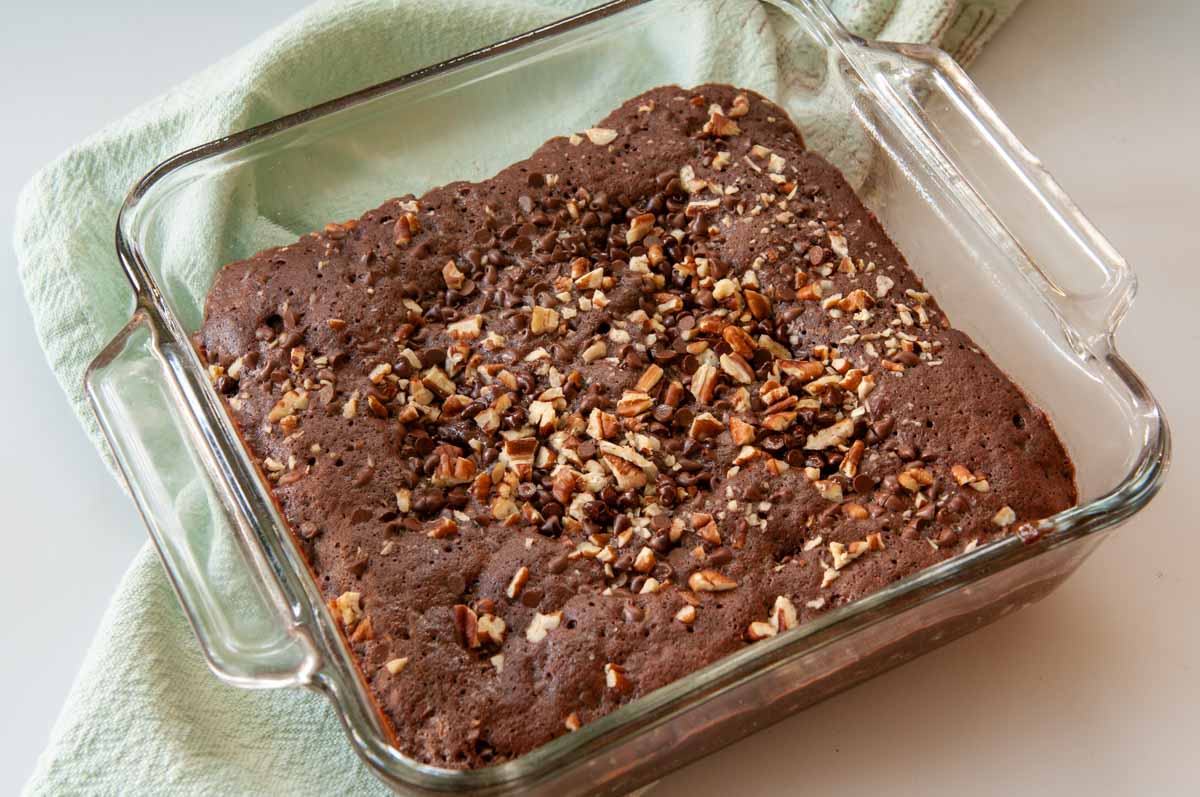
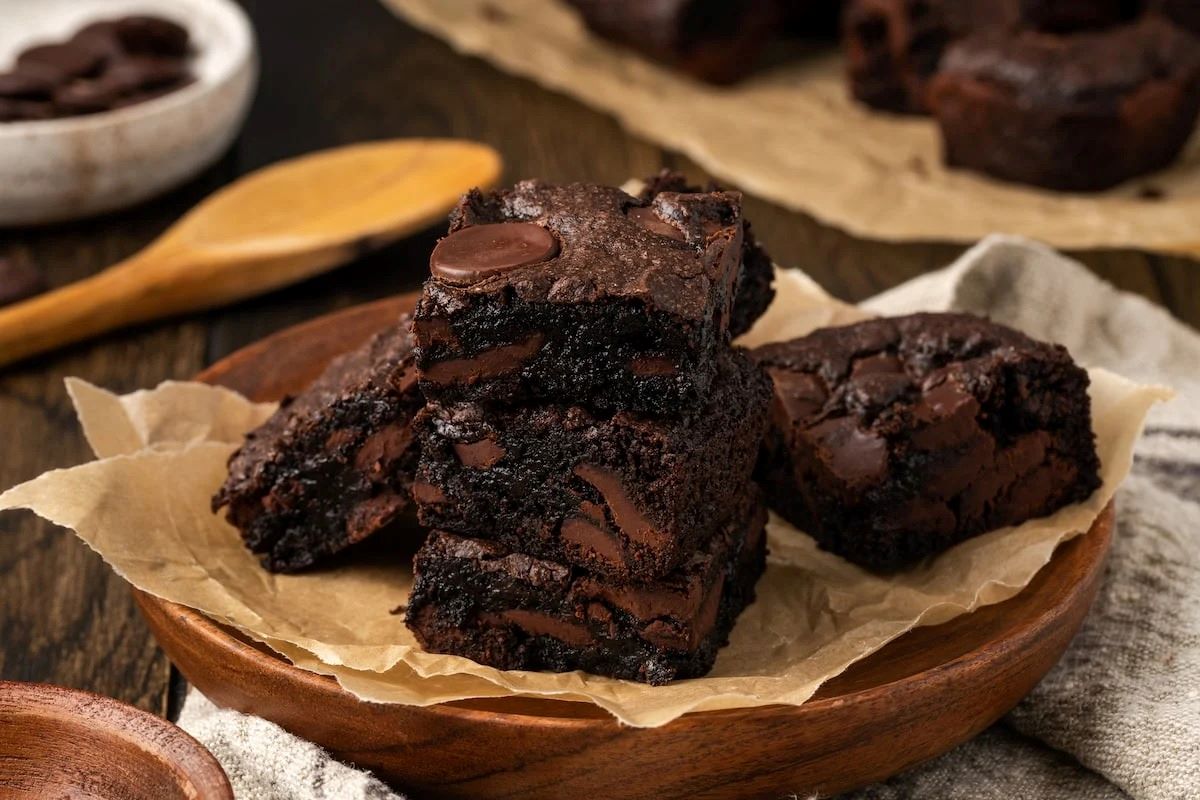
How to Bake Delicious Brownies in an Aluminum Pan
Are you craving a batch of delicious, fudgy brownies but don’t have a traditional baking pan on hand? No worries! You can easily bake brownies in an aluminum pan and still achieve that perfect texture and flavor. Follow these simple steps to create mouthwatering brownies using an aluminum pan.
Ingredients:
- 1 cup all-purpose flour
- 1/2 cup unsweetened cocoa powder
- 1/2 teaspoon salt
- 1 cup granulated sugar
- 1/2 cup brown sugar
- 1/2 cup vegetable oil
- 2 large eggs
- 2 teaspoons vanilla extract
- 1/2 cup chocolate chips (optional)
Instructions:
- Preheat the Oven: Preheat your oven to 350°F (175°C) and lightly grease the aluminum pan with cooking spray or butter.
- Mix the Dry Ingredients: In a mixing bowl, combine the flour, cocoa powder, and salt. Stir until well combined.
- Combine the Wet Ingredients: In a separate bowl, whisk together the granulated sugar, brown sugar, vegetable oil, eggs, and vanilla extract until smooth.
- Combine the Mixtures: Gradually add the dry ingredients to the wet ingredients, mixing until just combined. Be careful not to overmix the batter.
- Add Chocolate Chips (Optional): If desired, fold in the chocolate chips to add an extra layer of indulgence to your brownies.
- Pour the Batter: Pour the brownie batter into the prepared aluminum pan, spreading it out evenly with a spatula.
- Bake the Brownies: Place the pan in the preheated oven and bake for 20-25 minutes, or until a toothpick inserted into the center comes out with a few moist crumbs attached.
- Cool and Enjoy: Allow the brownies to cool in the pan for a few minutes before slicing and serving. Enjoy your homemade brownies!
By following these simple steps, you can easily bake delectable brownies in an aluminum pan. The key is to ensure that the batter is evenly spread in the pan and to keep an eye on the baking time to avoid overcooking. Whether you’re baking for a special occasion or simply satisfying a sweet tooth, aluminum pans can be a convenient and effective option for creating irresistible brownies.
So, the next time you find yourself without a traditional baking pan, reach for an aluminum one and whip up a batch of homemade brownies that will delight your taste buds. Happy baking!
More Delicious Brownie Recipes to Try
As you master baking brownies in an aluminum pan, consider diving into a variety of recipes that will enhance your baking repertoire. For a twist on the traditional, the Peanut Butter Swirl Brownies are a delightful mix of chocolate and peanut butter, promising a rich, creamy texture. If you're in the mood for something with a bit of zest, Orange Zest Brownies offer a refreshing citrus note. For those seeking a seasonal treat, the Pumpkin Spice Brownies bring the cozy flavors of fall into your kitchen. Each recipe utilizes the aluminum pan method, ensuring moist, evenly cooked brownies every time. These choices not only broaden your baking skills but also cater to different taste preferences and seasonal ingredients.
Was this page helpful?
Read Next: How To Bake Tilapia With Mayo
Related Articles
How To Bake Frozen Cherries Into A Cake
How To Bake Lane Snapper

How To Bake Swordfish Cubes In The Oven
How To Bake Butt Portion Ham
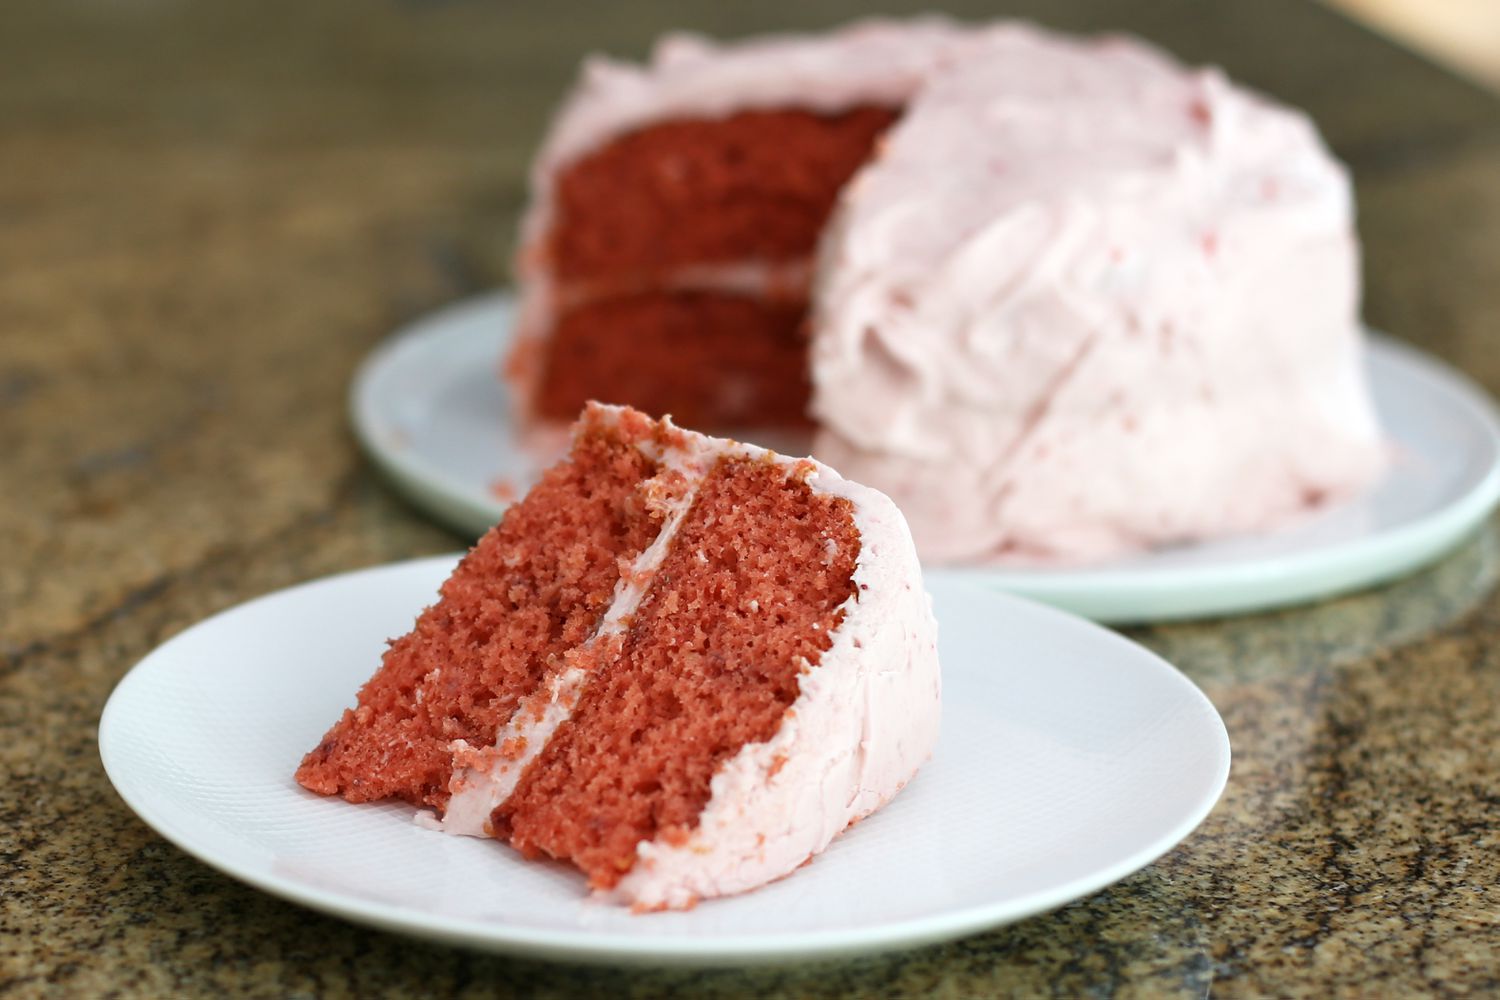
How To Bake Homemade Strawberry Cake Without Using Strawberries
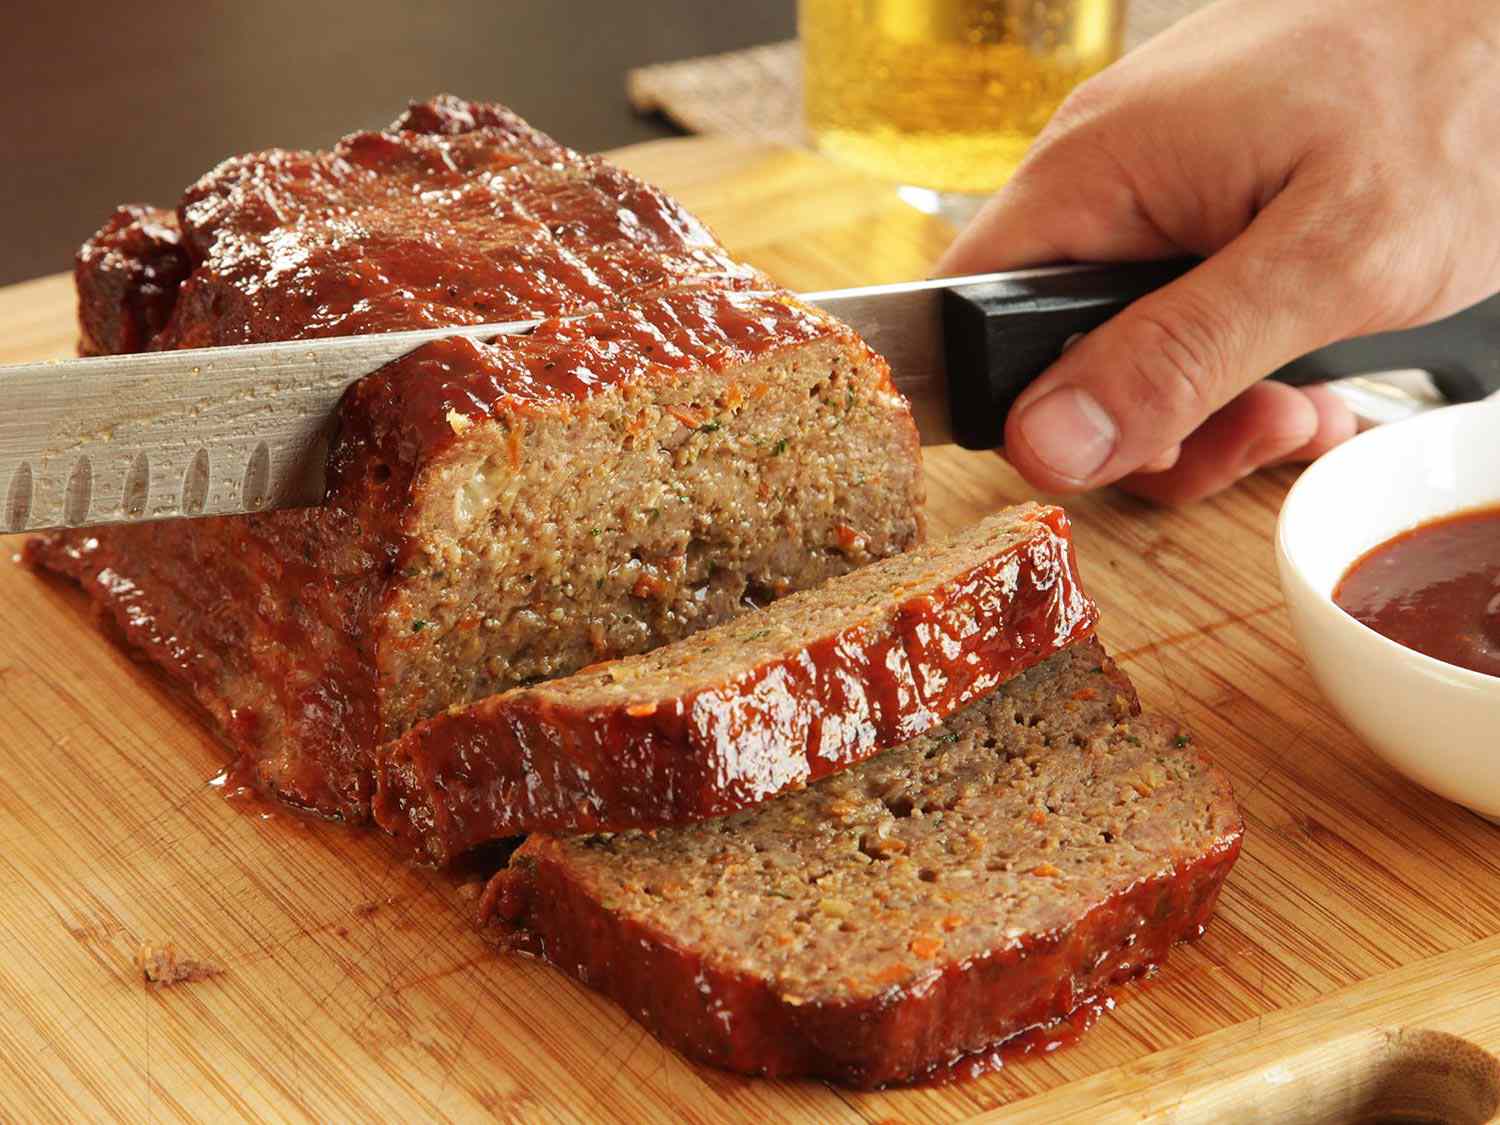
How To Bake A Five Pound Meatloaf
How To Bake Box Brownies In A Glass Pan
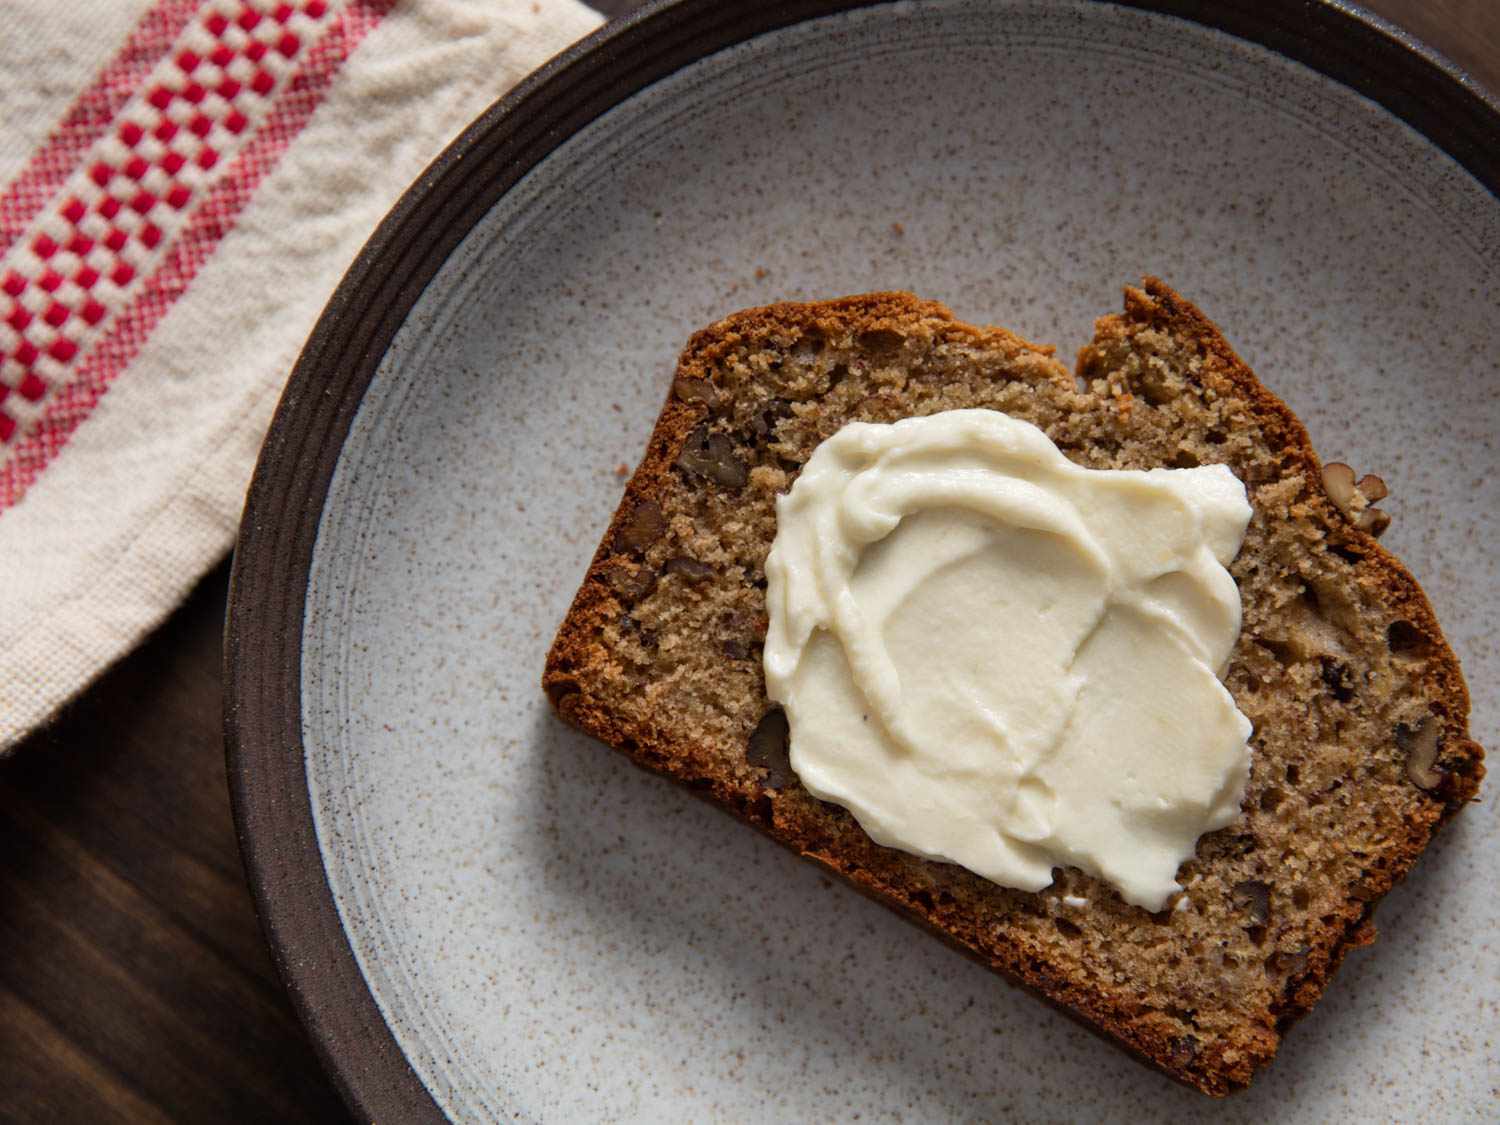
How To Bake Banana Bread On A Stove Without An Oven
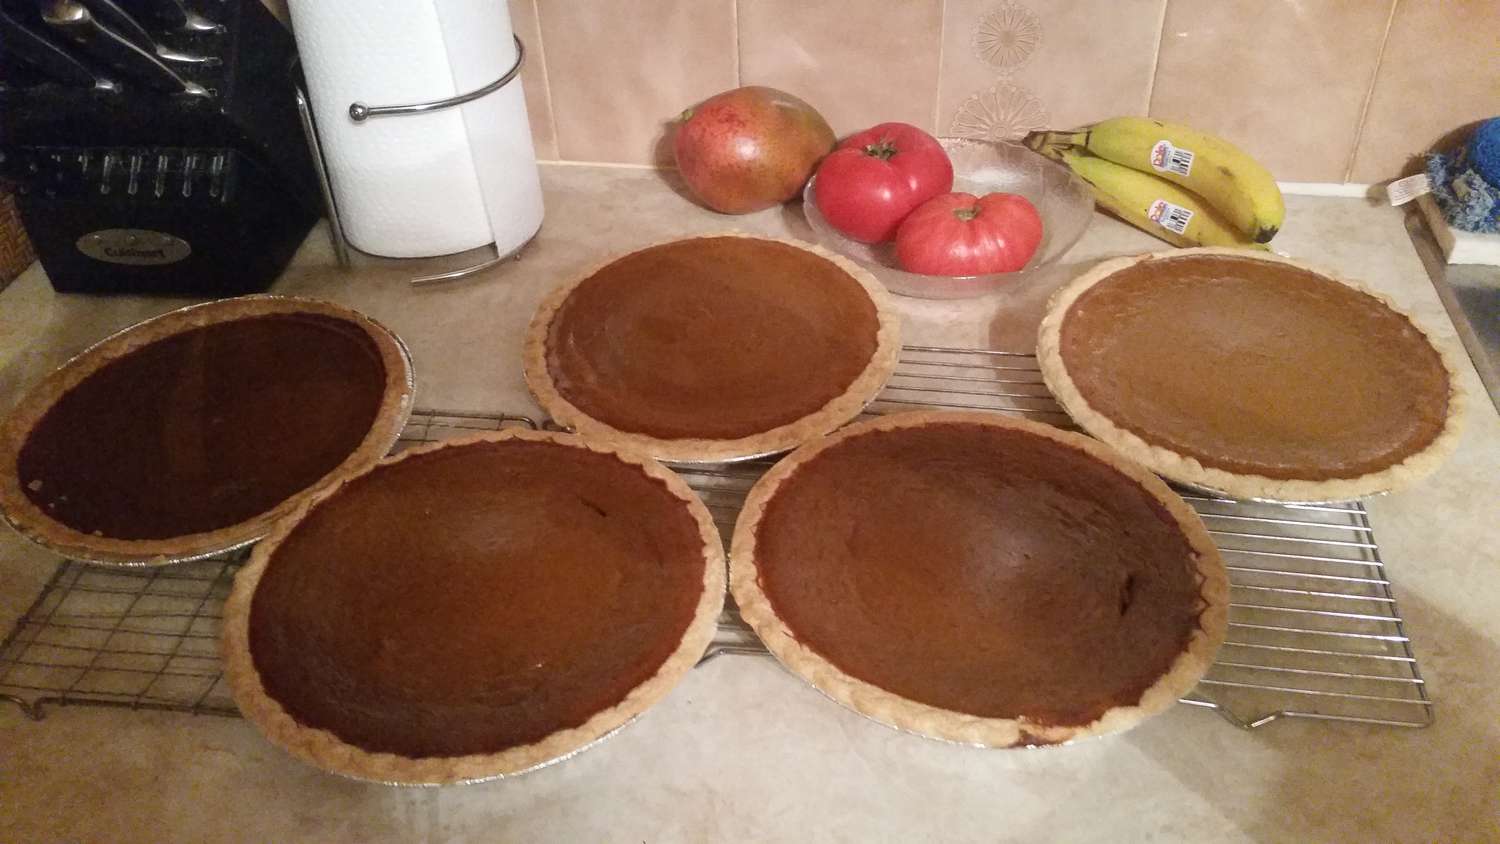
How To Bake Multiple Pies At Once

How To Bake Puerto Rican Beef Empanadas
How To Bake Pillsbury Brownie Mix In The Microwave