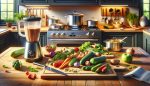
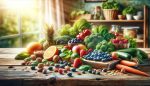
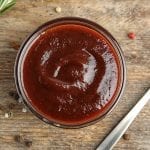
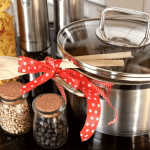
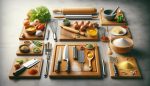
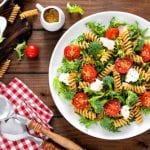
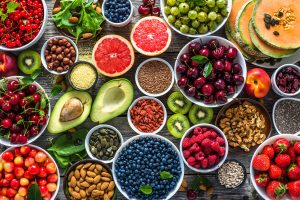
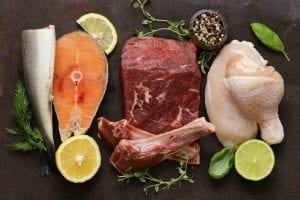
Creating a Fun and Unique Pie with Cut-Out Shapes
Are you looking to add a creative touch to your next pie baking adventure? One way to make your pie stand out is by using cut-out shapes in the pie dough. This simple technique can take your pie from ordinary to extraordinary, and it’s easier than you might think. In this guide, we’ll walk you through the steps to create a beautiful and delicious pie with cut-out shapes.
Ingredients You’ll Need:
- 2 1/2 cups all-purpose flour
- 1 cup unsalted butter, cold and cut into small cubes
- 1 teaspoon salt
- 1 teaspoon sugar
- 6-8 tablespoons ice water
- Your favorite pie filling
Step 1: Make the Pie Dough
Start by making the pie dough. In a large bowl, combine the flour, salt, and sugar. Add the cold butter cubes and use a pastry cutter or your hands to work the butter into the flour mixture until it resembles coarse crumbs. Gradually add the ice water, a tablespoon at a time, and mix until the dough comes together. Divide the dough in half, shape each half into a disk, and wrap them in plastic wrap. Refrigerate for at least 1 hour.
Step 2: Roll Out the Dough
Once the dough has chilled, remove one disk from the refrigerator and let it sit at room temperature for a few minutes to soften slightly. On a lightly floured surface, roll out the dough into a circle about 1/8 inch thick. Carefully transfer the dough to a pie dish, gently pressing it into the bottom and sides.
Step 3: Add the Filling
Next, add your favorite pie filling to the prepared pie crust. Whether you’re making a classic apple pie or a savory quiche, the options are endless. Be sure to spread the filling evenly in the pie crust.
Step 4: Create the Cut-Out Shapes
Now comes the fun part – creating the cut-out shapes for the top crust. Roll out the second disk of dough on a lightly floured surface. Use cookie cutters or a sharp knife to cut out various shapes, such as hearts, stars, or leaves. Arrange the cut-out shapes on top of the pie filling, overlapping slightly if desired. This is where you can get creative and make a design that suits the occasion or your personal style.
Step 5: Bake the Pie
Once the cut-out shapes are in place, trim any excess dough from the edges of the pie dish and crimp the crust as desired. Brush the top crust with an egg wash for a golden finish. Place the pie in a preheated oven and bake according to your recipe’s instructions. Keep an eye on the pie as it bakes to ensure the crust doesn’t brown too quickly. If needed, cover the edges with foil to prevent burning.
Step 6: Enjoy Your Beautiful Pie
Once the pie is finished baking, remove it from the oven and let it cool for a bit before slicing. The cut-out shapes will add a charming and decorative touch to your pie, making it a delightful centerpiece for any occasion. Whether you’re serving it at a holiday gathering or simply enjoying it with loved ones at home, this pie is sure to impress.
With these simple steps, you can elevate your pie-making skills and create a stunning dessert that’s as beautiful as it is delicious. So, the next time you’re in the mood for pie, consider adding cut-out shapes to take your baking to the next level.
Happy baking!