How to Bake a Whole Chicken in a Microwave Baking Bag
Are you craving a delicious, juicy whole chicken but don’t have the time to roast it in the oven? No worries! You can still enjoy a mouthwatering chicken by using a microwave baking bag. This convenient method allows you to cook a whole chicken in a fraction of the time it takes to roast it in the oven. Here’s a step-by-step guide on how to bake a whole chicken in a microwave baking bag.
Ingredients:
- 1 whole chicken
- Seasonings of your choice (such as salt, pepper, garlic powder, and paprika)
- 1 microwave baking bag
- Vegetables (optional, for added flavor)
Instructions:
- Prepare the Chicken: Before placing the chicken in the microwave baking bag, make sure to remove the giblets from the cavity and pat the chicken dry with paper towels. This will help the seasonings adhere to the chicken and ensure a crispy skin.
- Season the Chicken: Rub the chicken with your favorite seasonings, making sure to coat it evenly for a flavorful result. You can use a mix of salt, pepper, garlic powder, and paprika for a classic and savory flavor profile.
- Place in the Microwave Baking Bag: Open the microwave baking bag and place the seasoned chicken inside. If you’d like to add vegetables for extra flavor, such as carrots, onions, and potatoes, you can place them in the bag alongside the chicken.
- Seal the Bag: Close the microwave baking bag with the provided twist tie, ensuring that it’s tightly sealed to trap the steam and juices inside during the cooking process.
- Microwave the Chicken: Follow the instructions on the microwave baking bag for cooking times based on the weight of the chicken. Typically, a whole chicken will take around 10-15 minutes per pound to cook thoroughly in the microwave.
- Check for Doneness: After the recommended cooking time, carefully remove the microwave baking bag from the microwave. Use a meat thermometer to check the internal temperature of the chicken, ensuring it has reached a safe temperature of 165°F (75°C) in the thickest part of the meat.
- Let it Rest: Once the chicken is fully cooked, carefully open the microwave baking bag (watch out for hot steam) and transfer the chicken to a serving platter. Allow the chicken to rest for a few minutes before carving to let the juices redistribute, resulting in a moist and tender chicken.
There you have it! With the help of a microwave baking bag, you can enjoy a succulent and flavorful whole chicken in a fraction of the time it takes to roast it in the oven. This method is perfect for busy weeknights when you want a satisfying meal without the lengthy cooking process. So, the next time you’re craving a delicious whole chicken, don’t hesitate to use your microwave and a baking bag for a quick and convenient cooking solution.
Happy cooking!
Was this page helpful?
Read Next: How To Bake Bread On A Cookie Sheet
Related Articles
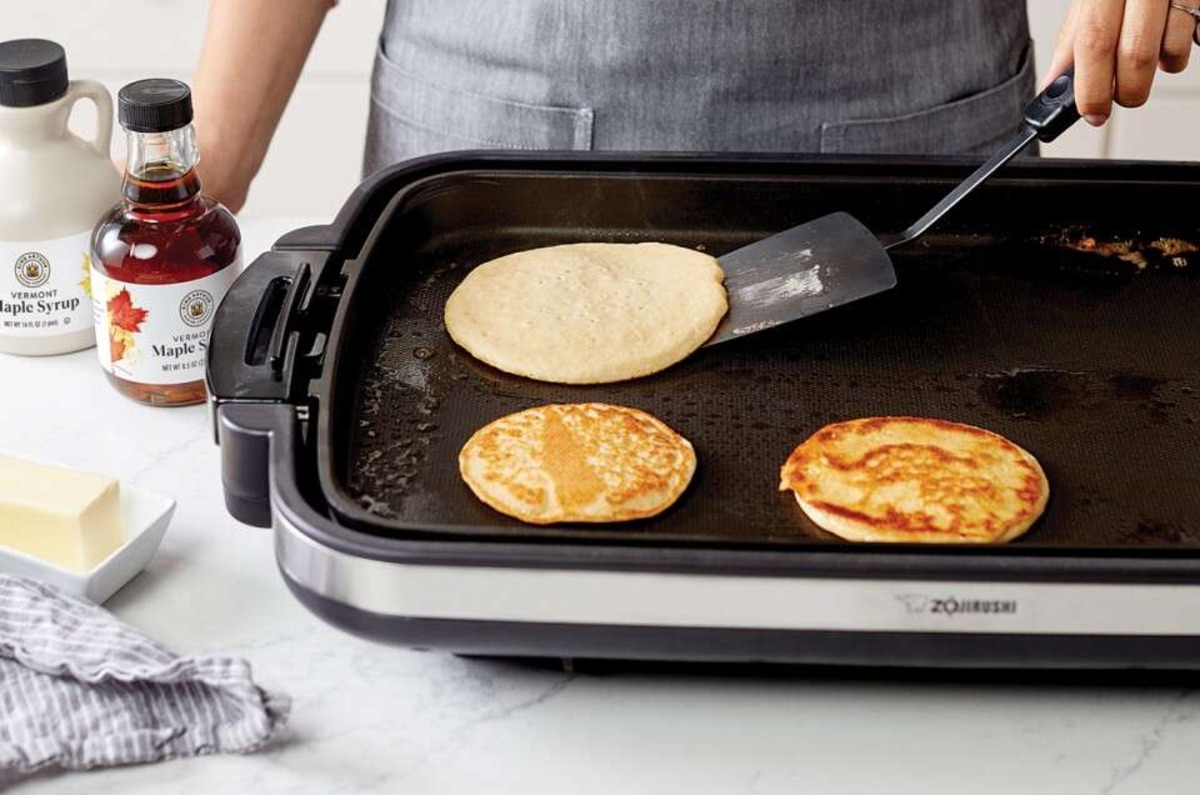
How To Bake Using An Electric Skillet With Ceramic Surface
How To Bake A Cake With Coconut Flour Without Eggs
How To Bake Trader Joe’s Turkey Burgers
How To Bake A Sweet Potato In Foil At 350
How To Bake Steak In Aluminum Foil
How To Bake Salmon Collar

How To Bake Ribs In Foil
How To Bake Potatoes Without Foil In A Slow Cooker
How To Bake Potatoes After Peeling
How To Bake Mushrooms In Foil
How To Bake Marinated Chicken Breast In The Oven