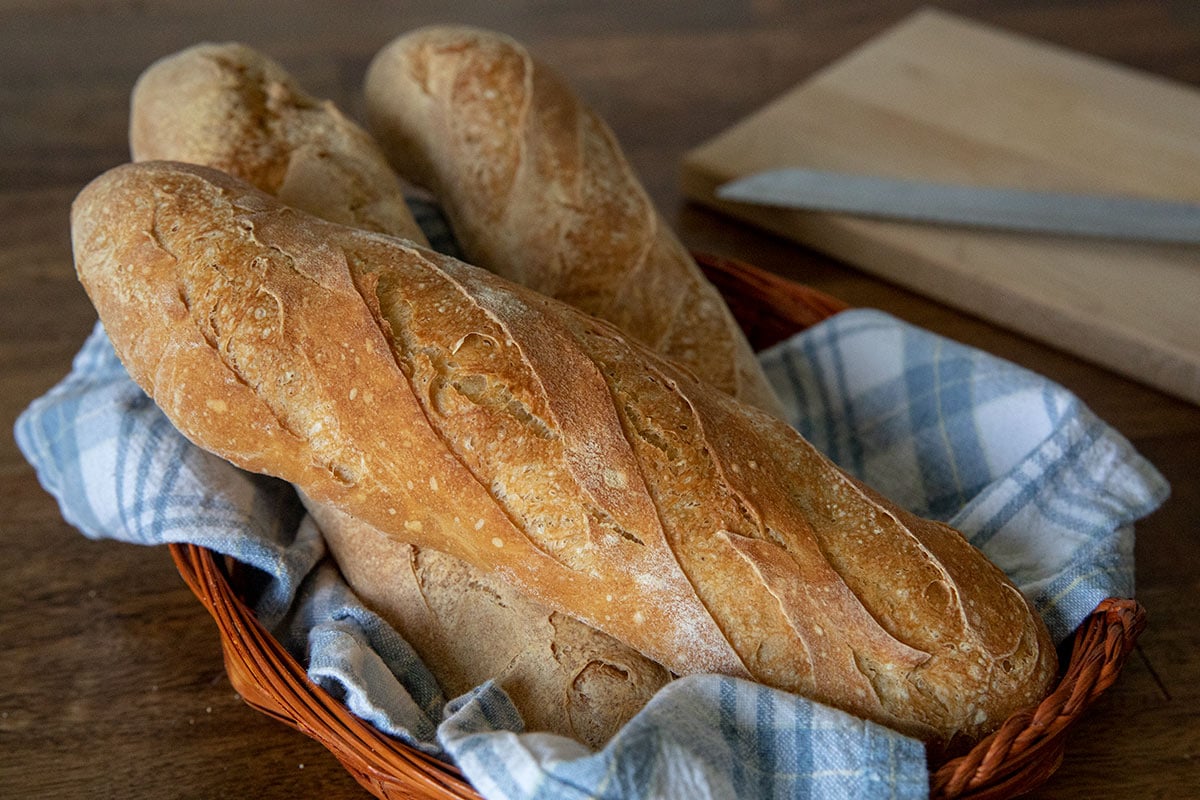
Breadmaking: All About Proofing and Fermentation
When it comes to the art of breadmaking, proofing and fermentation are two essential steps that contribute to the perfect loaf. These processes are key in developing the flavors, texture, and rise of the bread. In this article, we will delve deep into the world of proofing and fermentation, uncovering their importance and how to master them for exceptional results.
Understanding Proofing
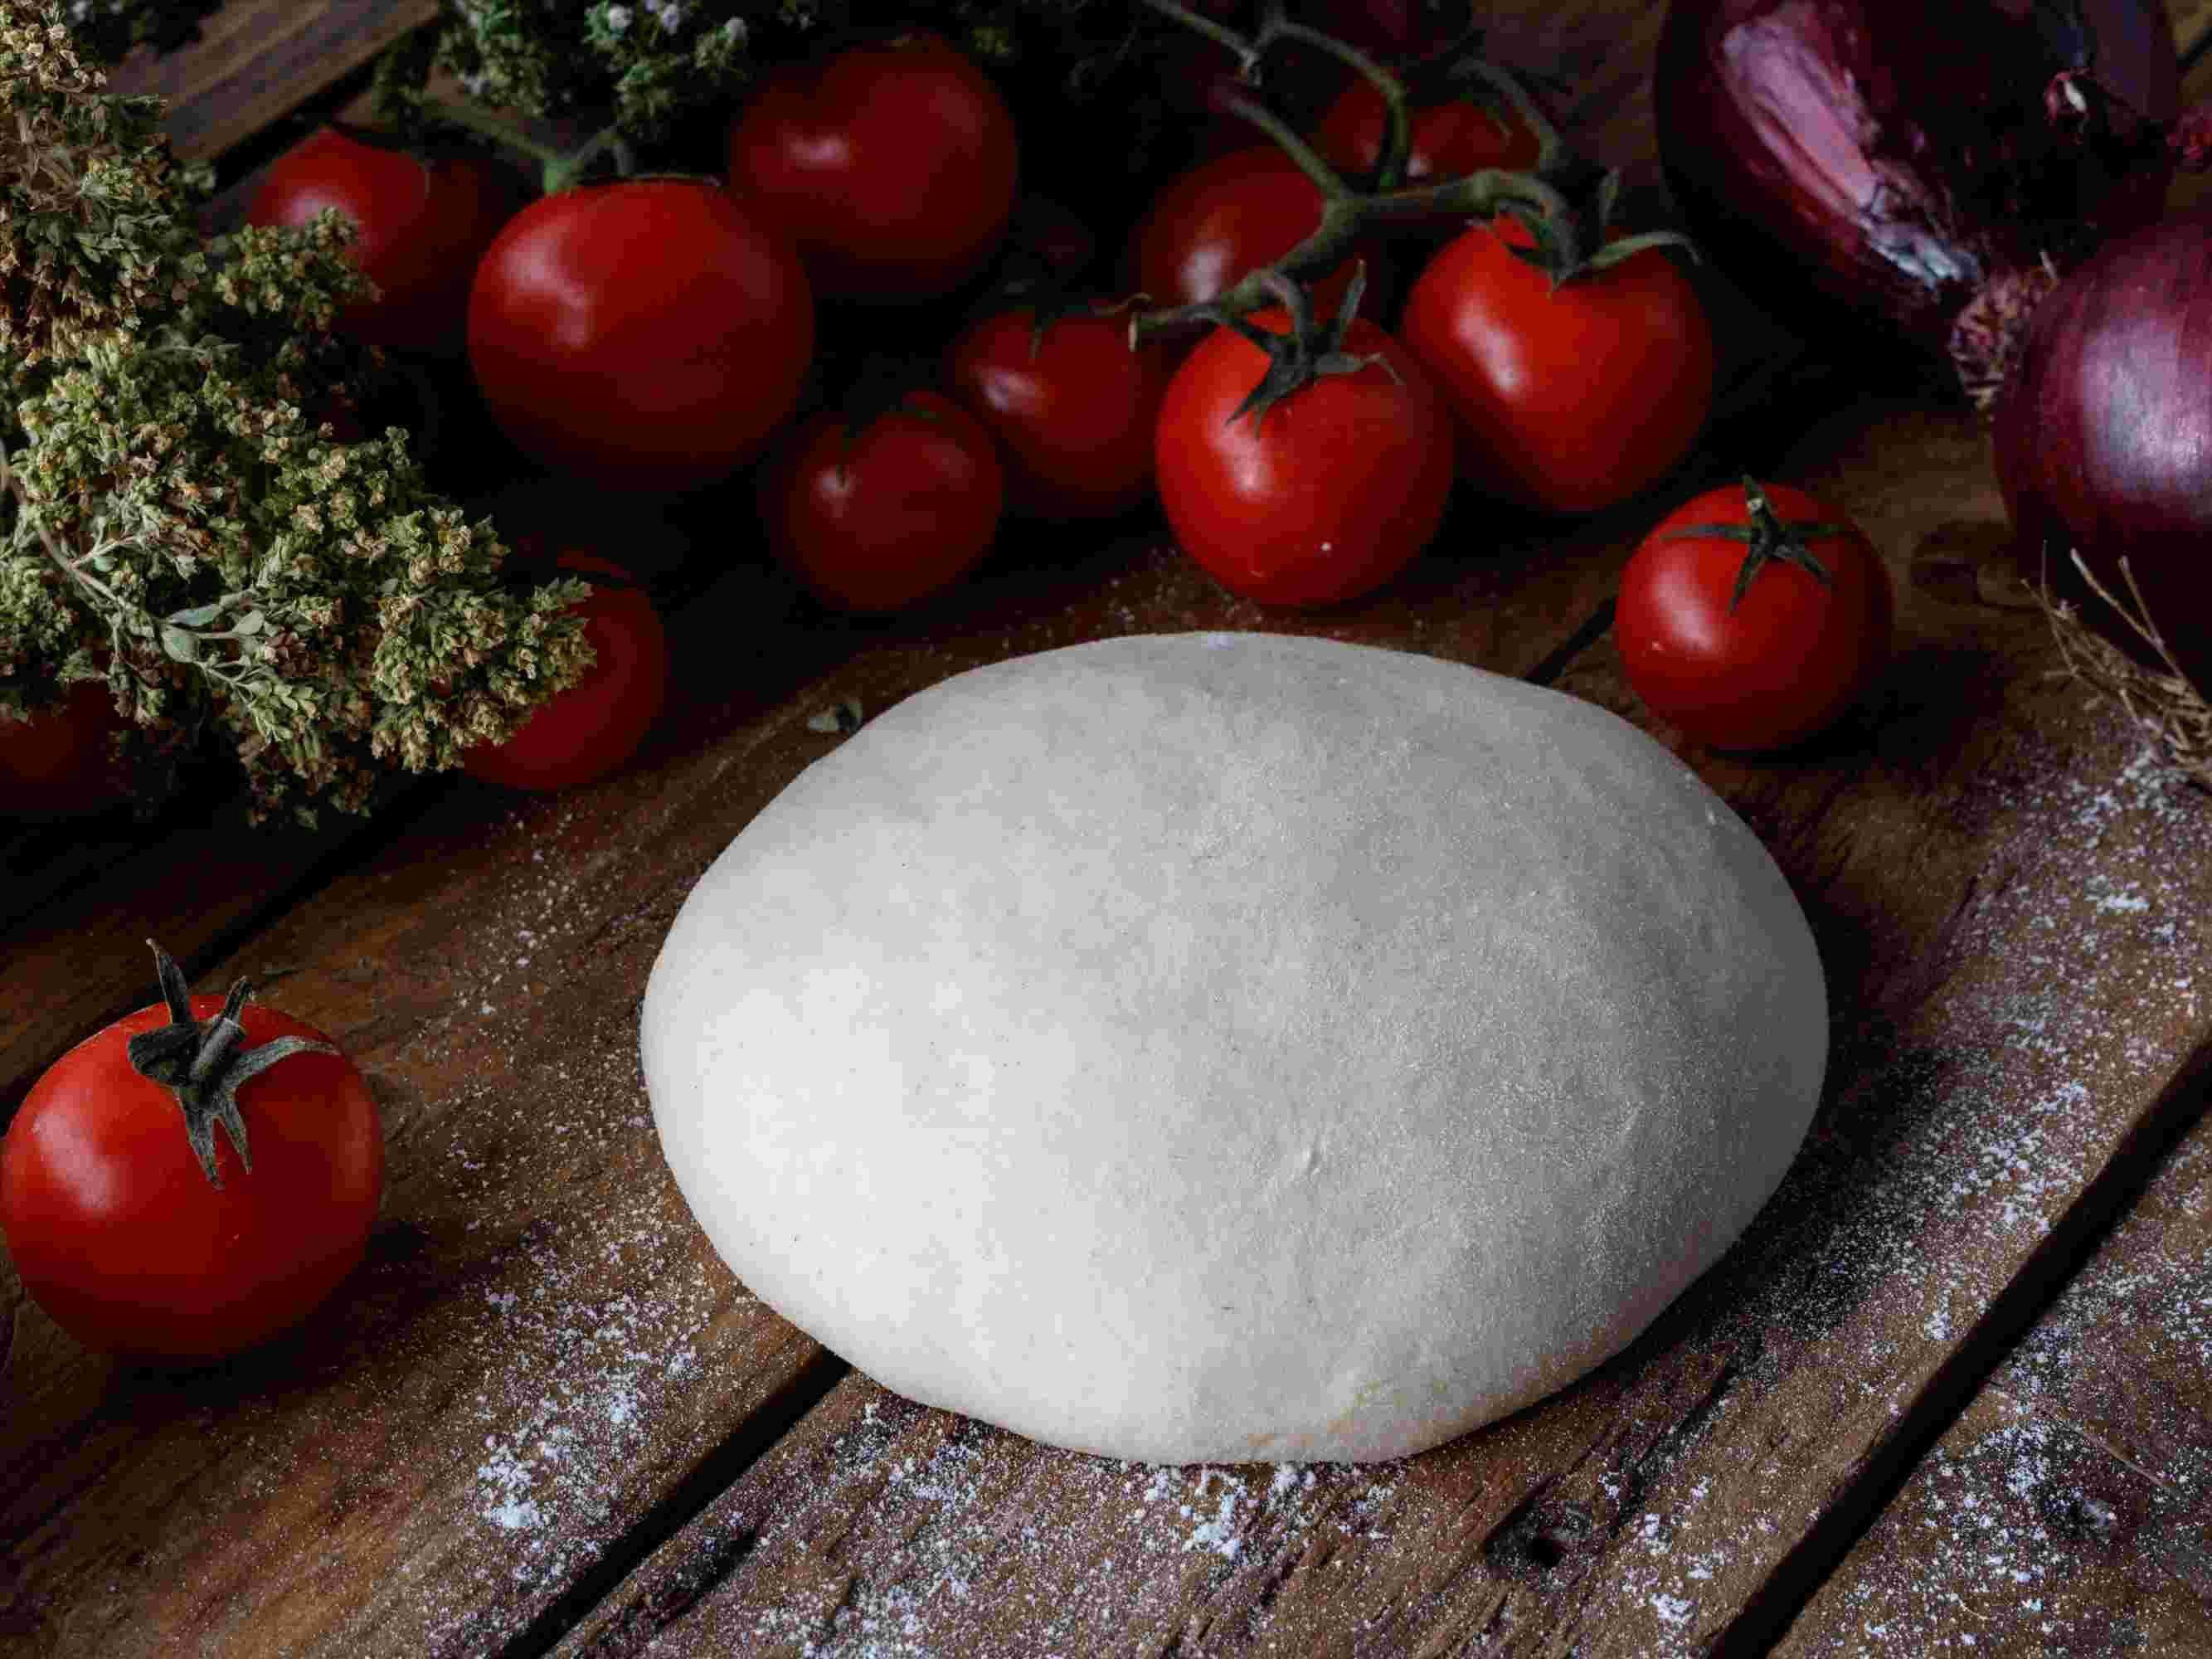
Proofing is a crucial step in breadmaking that allows the dough to rise and develop its final volume. During proofing, yeast consumes the sugars in the dough, releasing carbon dioxide gas, which gets trapped within the gluten structure, causing the dough to expand.
Here are a few key points to keep in mind during the proofing process:
- Time: Proofing takes time, typically ranging from one to two hours. However, the exact time may vary depending on various factors such as the room temperature, type of yeast used, and the recipe being followed.
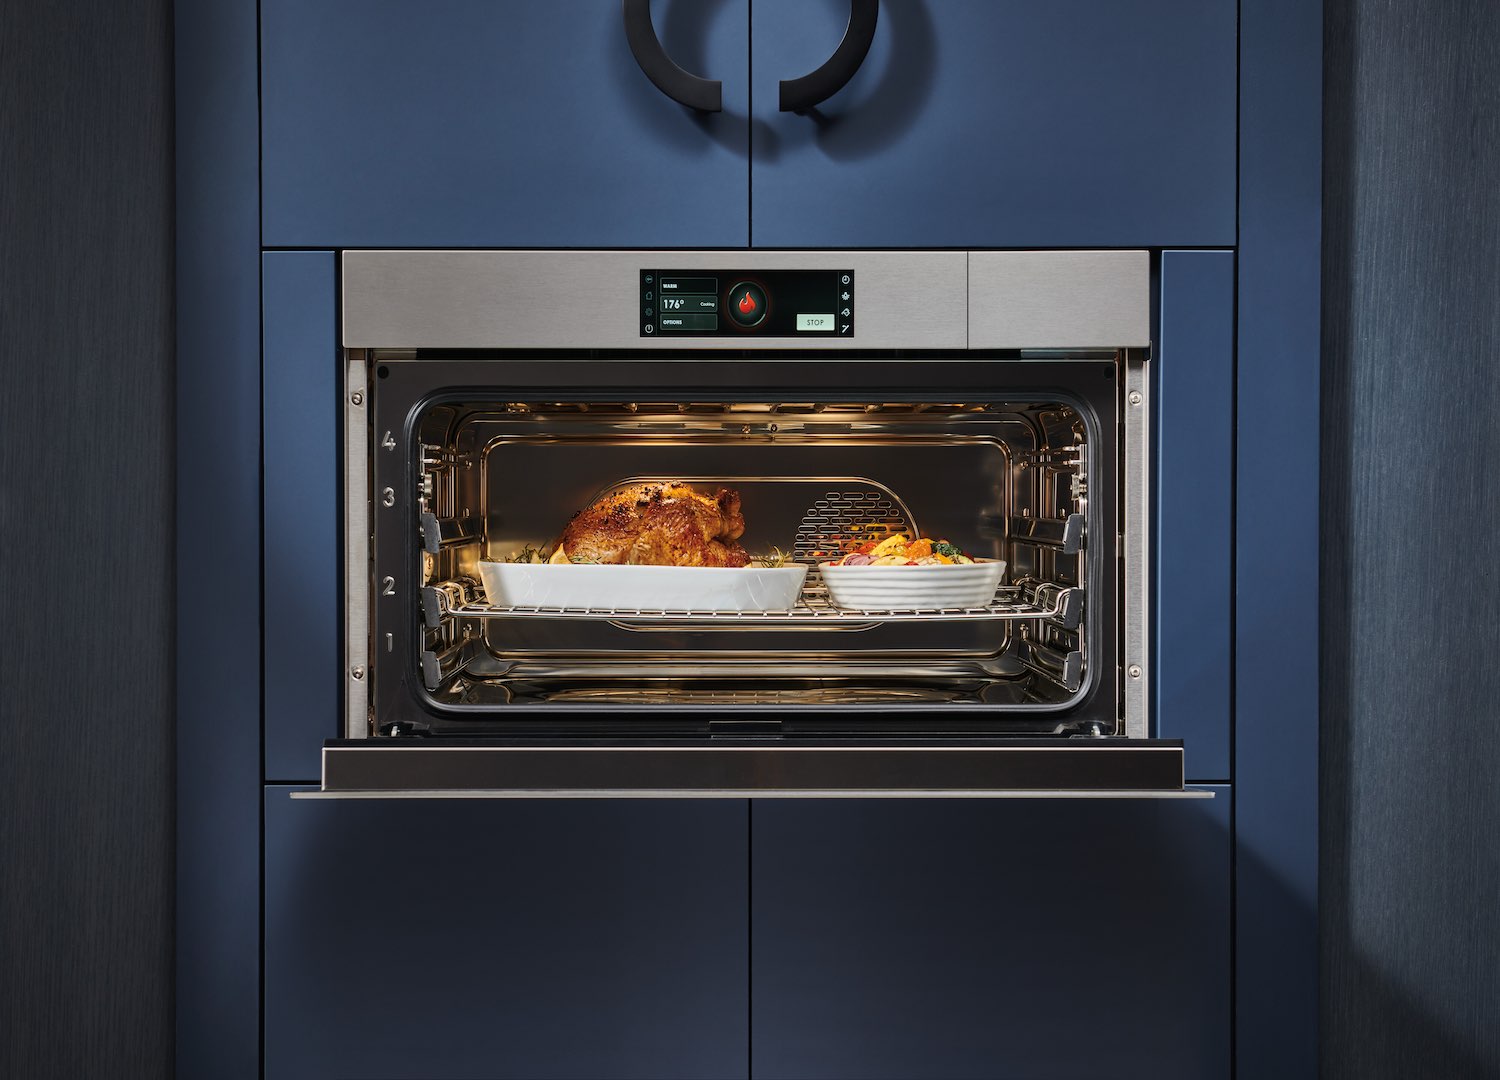
- Temperature: The ideal temperature for proofing is around 75-85°F (24-29°C). This temperature range provides a warm environment for yeast activity and ensures optimal fermentation.
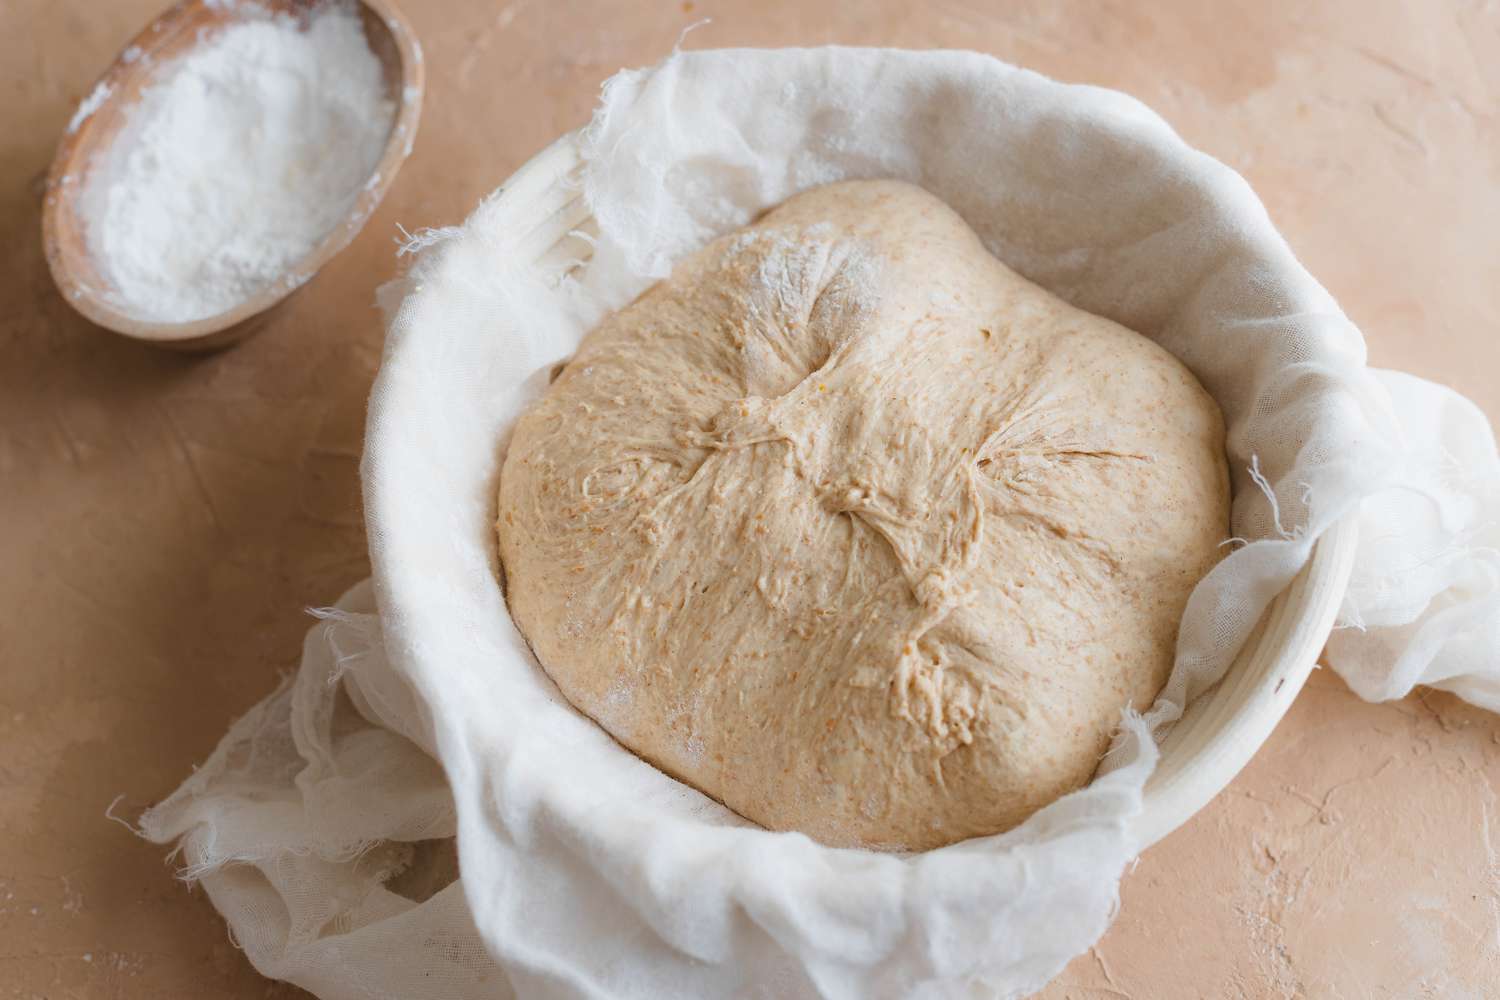
- Humidity: The dough should be kept in a slightly humid environment to prevent it from drying out. Covering it with a damp cloth or plastic wrap can help maintain the desired level of humidity.
Mastering Fermentation
Fermentation is the process in which the dough undergoes a chemical transformation, converting carbohydrates into alcohol and carbon dioxide. This process not only contributes to the rise of the dough but also enhances the flavor and texture of the bread.
Here are some important factors to consider when fermenting your dough:
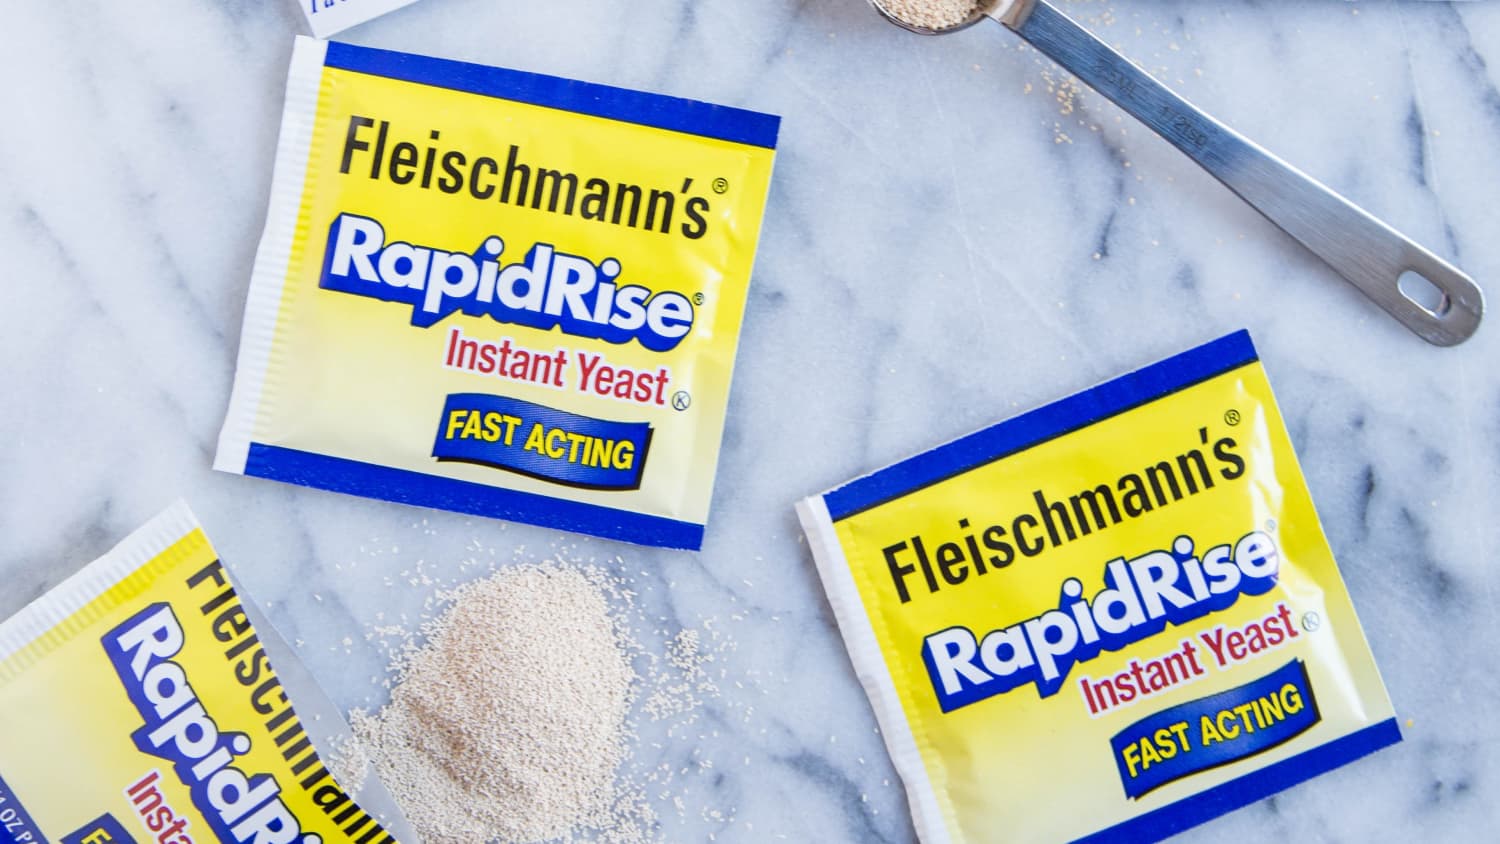
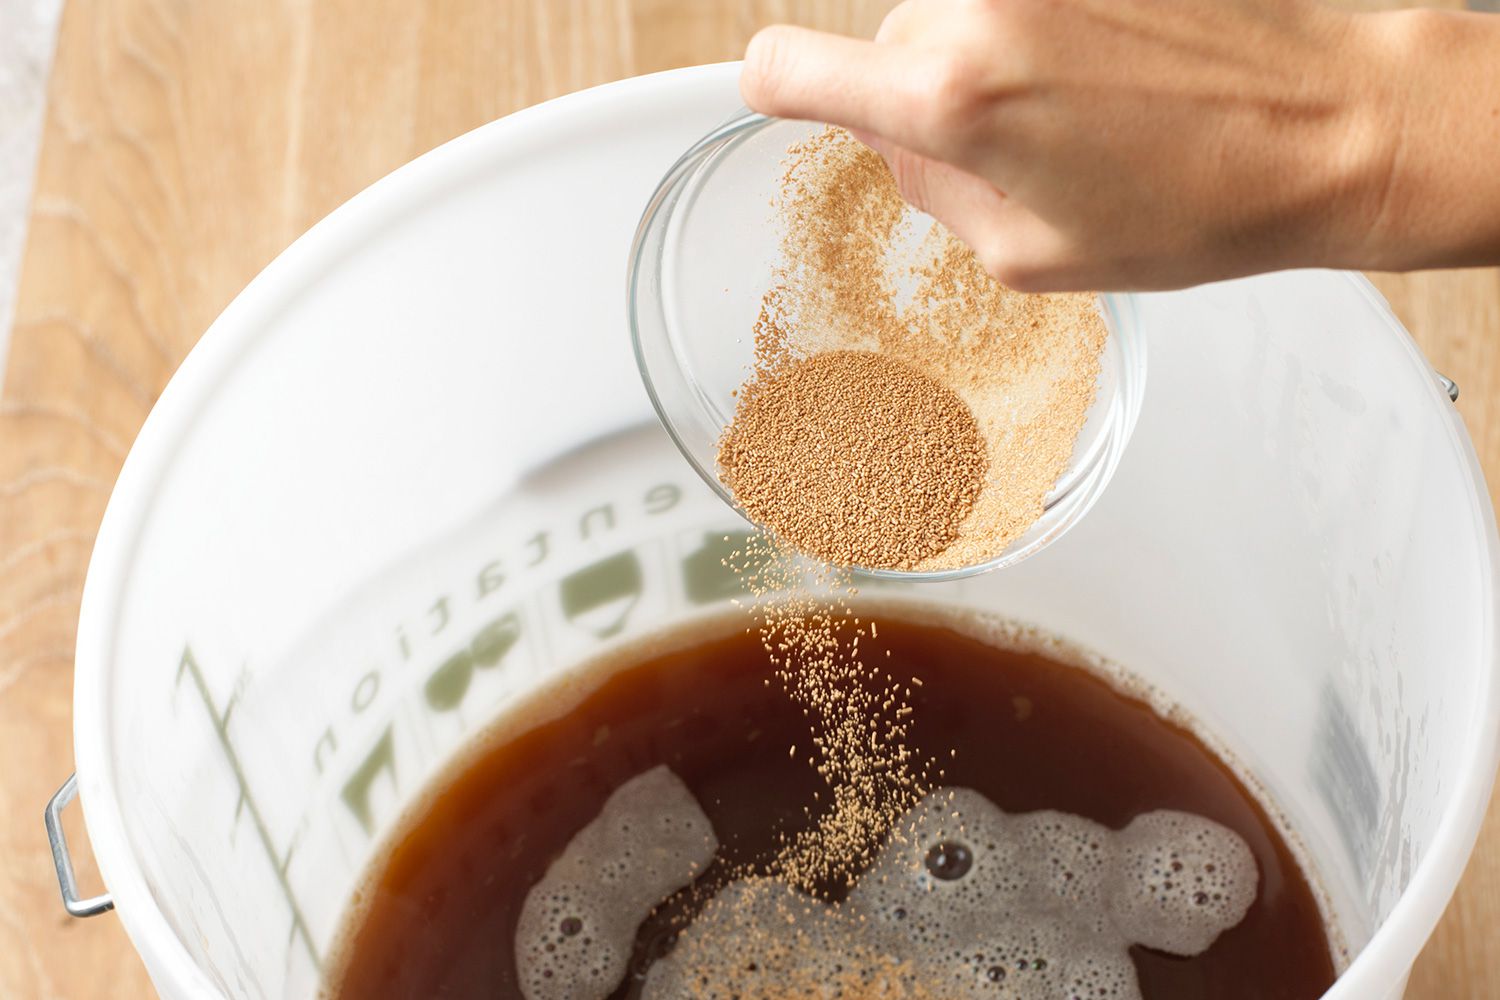
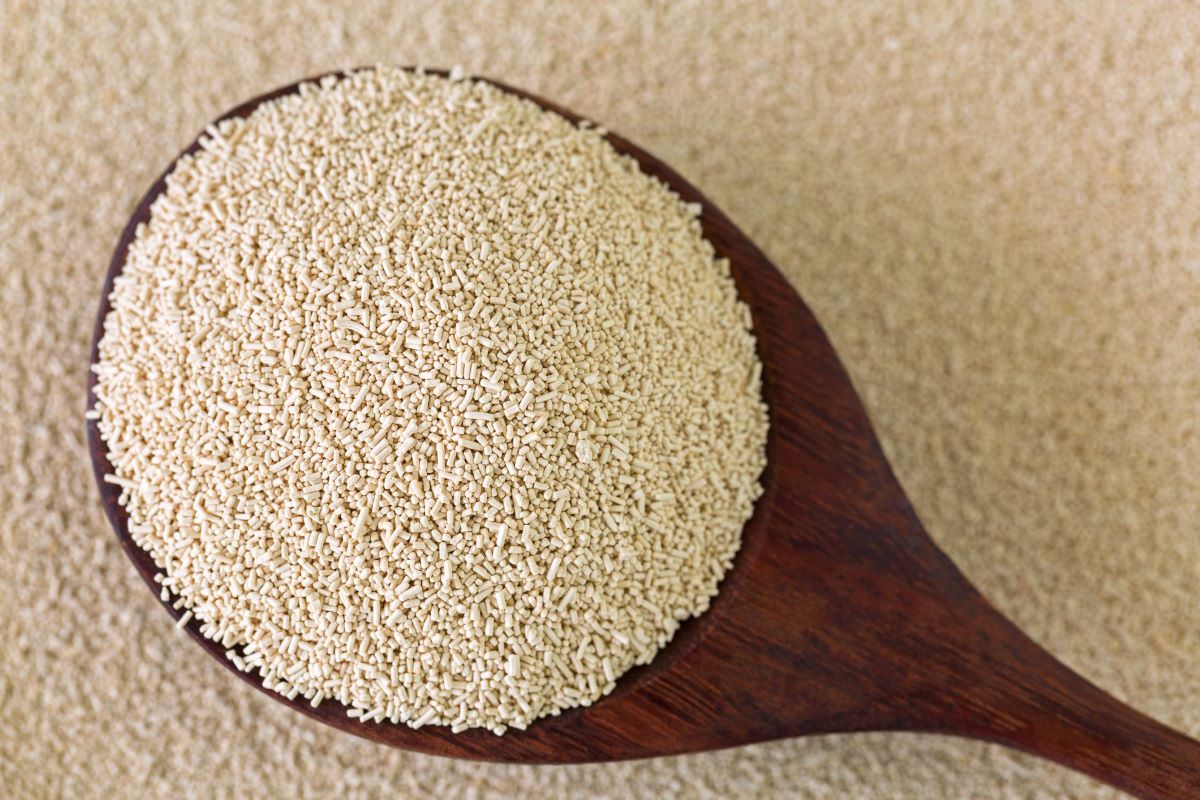
- Yeast Selection: Choosing the right yeast is crucial. Active dry yeast, instant yeast, or sourdough starter are commonly used options. Each yeast type requires different handling techniques, so make sure to follow the recipe guidelines.
- Temperature Control: Maintaining the correct temperature during fermentation is vital. Yeast activity is optimal at temperatures between 70-85°F (21-29°C). Use a thermometer to check the temperature and adjust accordingly.
- Long Fermentation: Allowing the dough to ferment for an extended period can result in enhanced flavor and texture. This technique, often used in sourdough bread, requires patience but yields exceptional results.
The Art of Timing
Achieving the perfect rise and flavor in your bread relies heavily on timing. Understanding the balance between proofing and fermentation is essential for success. Remember the following pointers:
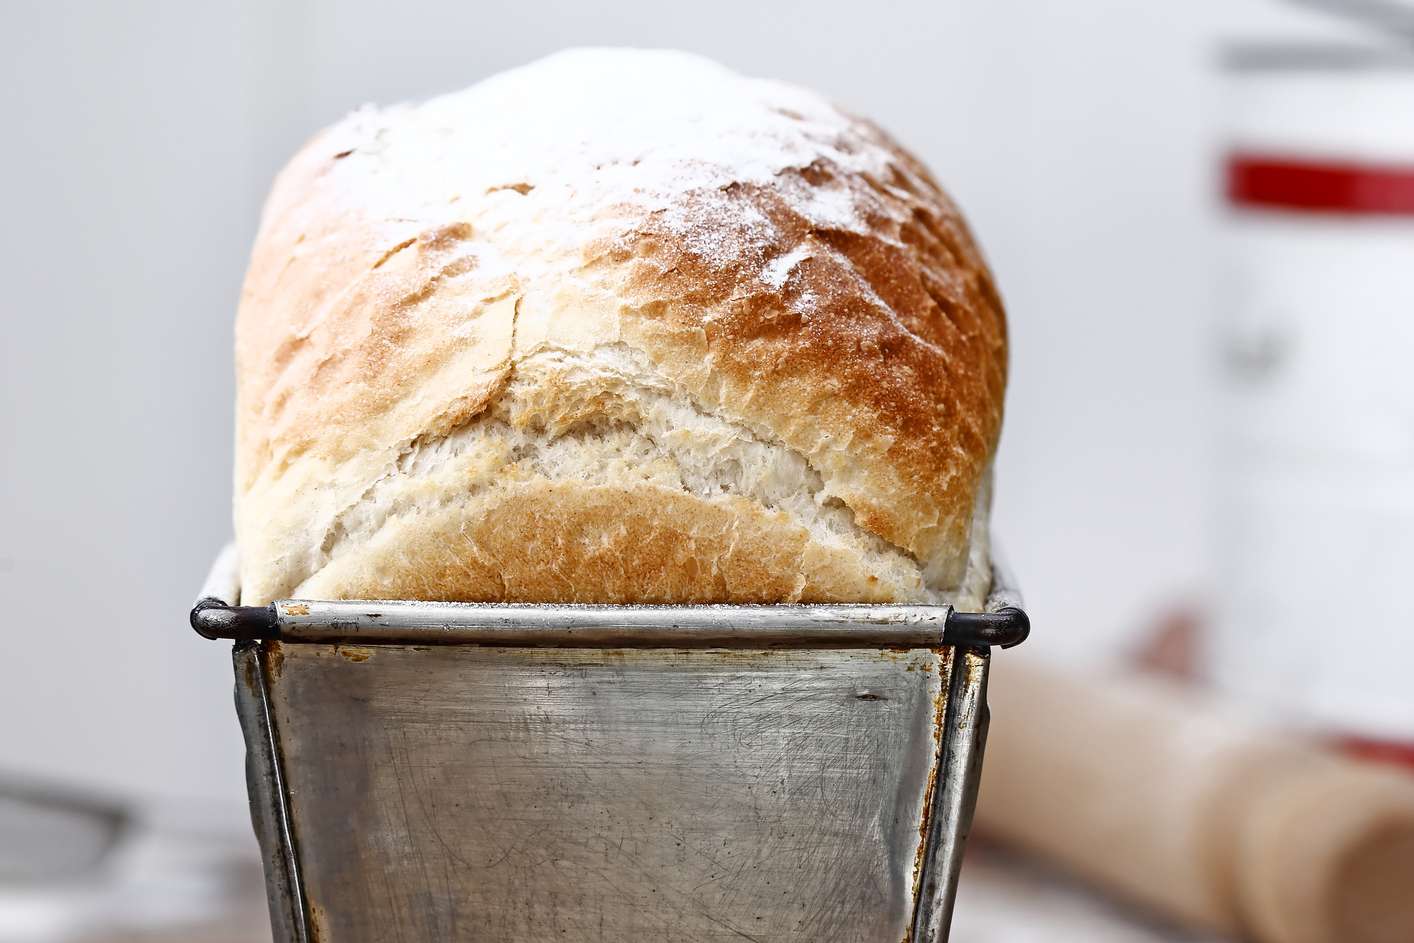
- Underproofing: If the dough is underproofed, it will not have enough time to rise fully, resulting in a dense and heavy loaf.
- Overproofing: On the other hand, overproofing can lead to excessive gas production, causing the dough to collapse and resulting in a flat, gummy, or overly sour loaf.
- Experiment and Adapt: Different recipes and bread types may require adjustments in proofing and fermentation times. Don’t be afraid to experiment and adapt based on the specific characteristics of the bread you are making.
Remember, practice makes perfect when it comes to proofing and fermentation. With time and experience, you will develop a keen sense of timing and understand how these crucial steps impact the final outcome of your homemade bread. So roll up your sleeves, gather your ingredients, and embark on a journey of breadmaking excellence!
Was this page helpful?
Related Articles

How To Proof Yeast Beer

How To Proof Homemade Beer
How To Bake Bread In A Breadmaker
How To Proof Dough Pizza
How To Proof Sour Dough Bread
How To Proof French Bread

How To Ferment Sourdough Properly
How To Ferment Batter In Winter
How To Ferment With Yeast
How To Proof Rolls On Wolf M Series Steam Oven
What Is Active Yeast?