What is Yeast Proofing?
Yeast proofing is an essential step in the beer-making process. It involves testing the viability of the yeast before adding it to the wort. This ensures that the yeast is active and capable of fermenting the sugars in the wort, leading to the production of alcohol and carbonation in the beer.
Why Proof Yeast for Beer?
Proofing yeast is crucial because it guarantees that the yeast is alive and healthy. Using inactive yeast can result in a stalled fermentation, leading to off-flavors and a lack of carbonation in the finished beer. By proofing the yeast, brewers can ensure that their beer will ferment properly and achieve the desired flavor and carbonation levels.
How to Proof Yeast for Beer
Proofing yeast for beer is a simple process that can be done in just a few steps. Here’s how to do it:
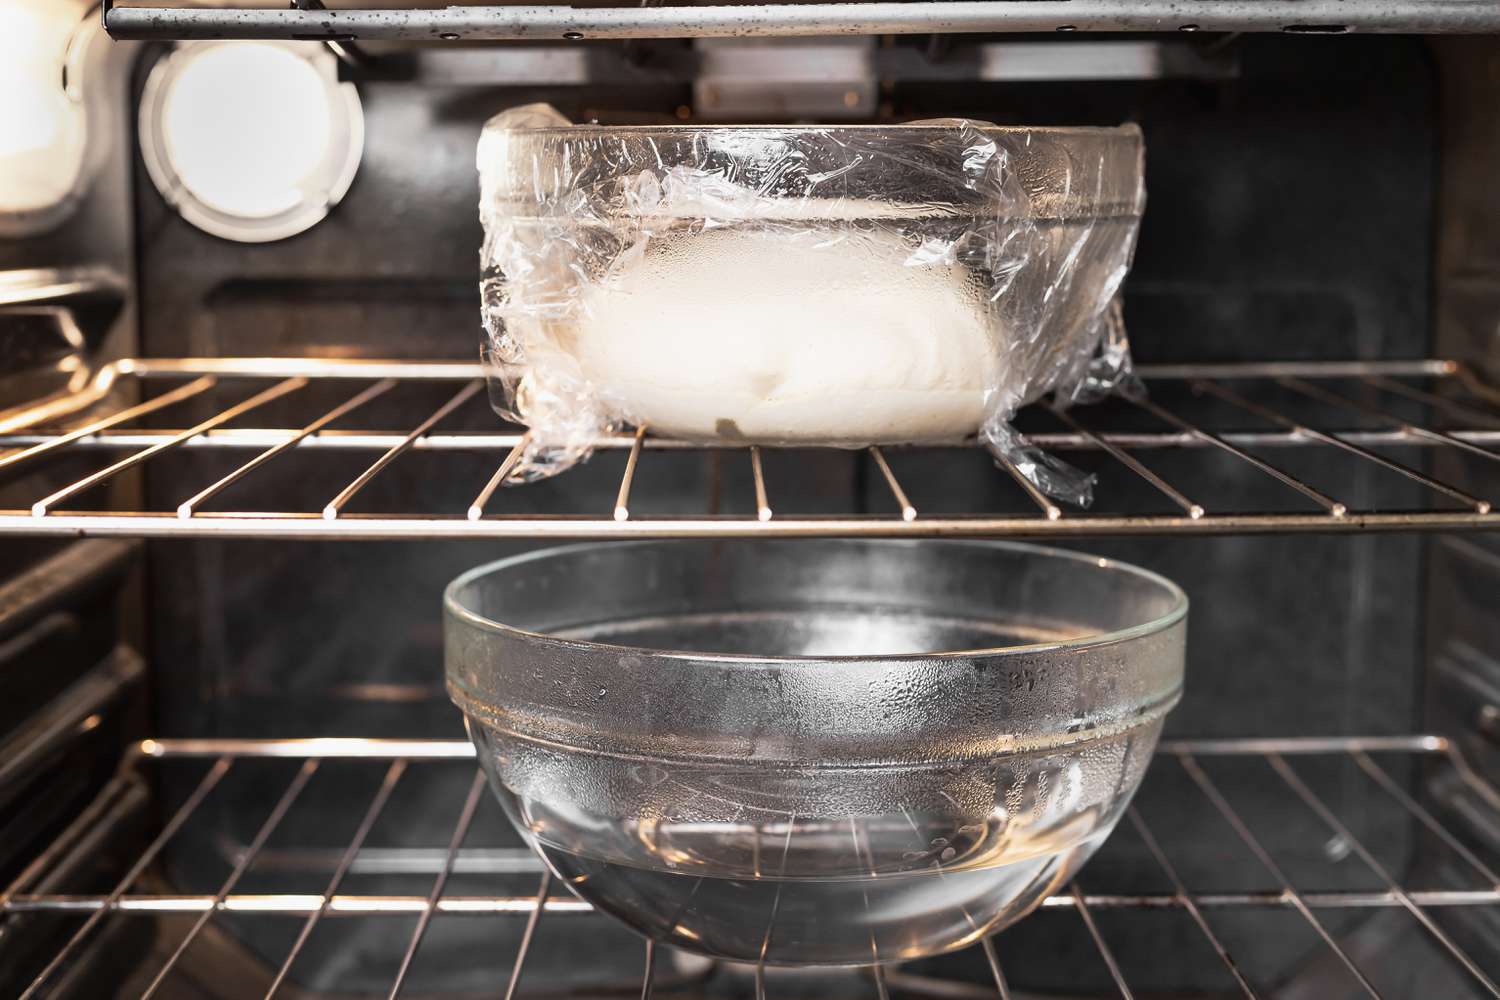
- Prepare the Yeast: Start by preparing the yeast according to the manufacturer’s instructions. This may involve rehydrating dry yeast or creating a yeast starter for liquid yeast.
- Check the Expiration Date: Always check the expiration date on the yeast package. Using expired yeast can lead to fermentation issues.
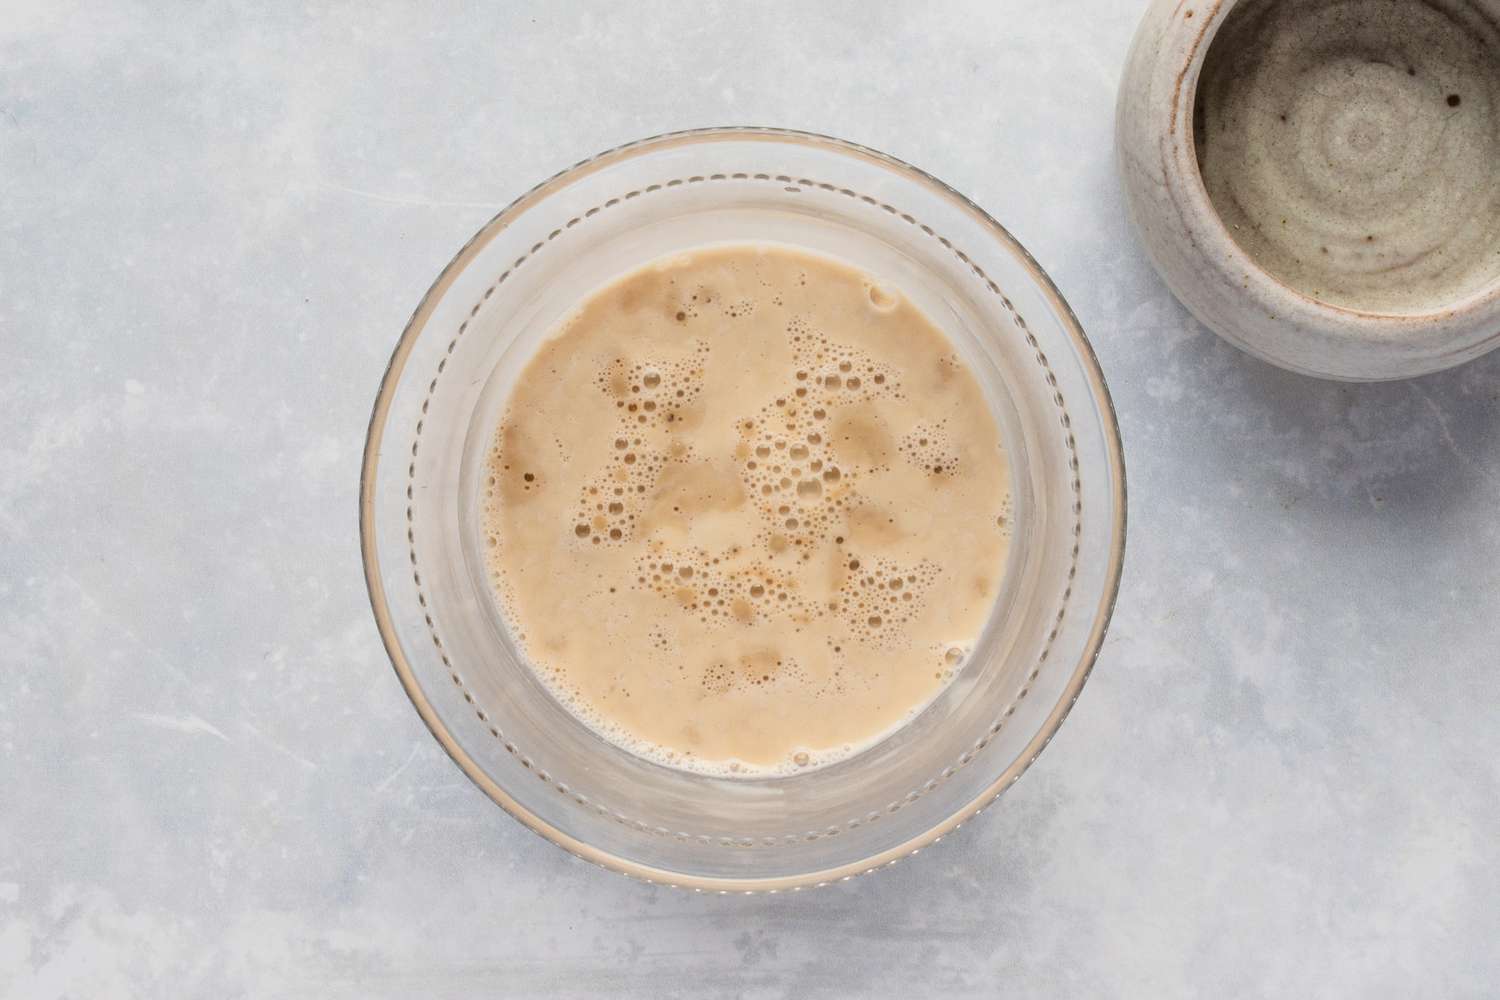
- Test the Yeast: Add a small amount of the prepared yeast to a mixture of warm water and sugar. The sugar provides food for the yeast, allowing it to become active. Let the mixture sit for 5-10 minutes.
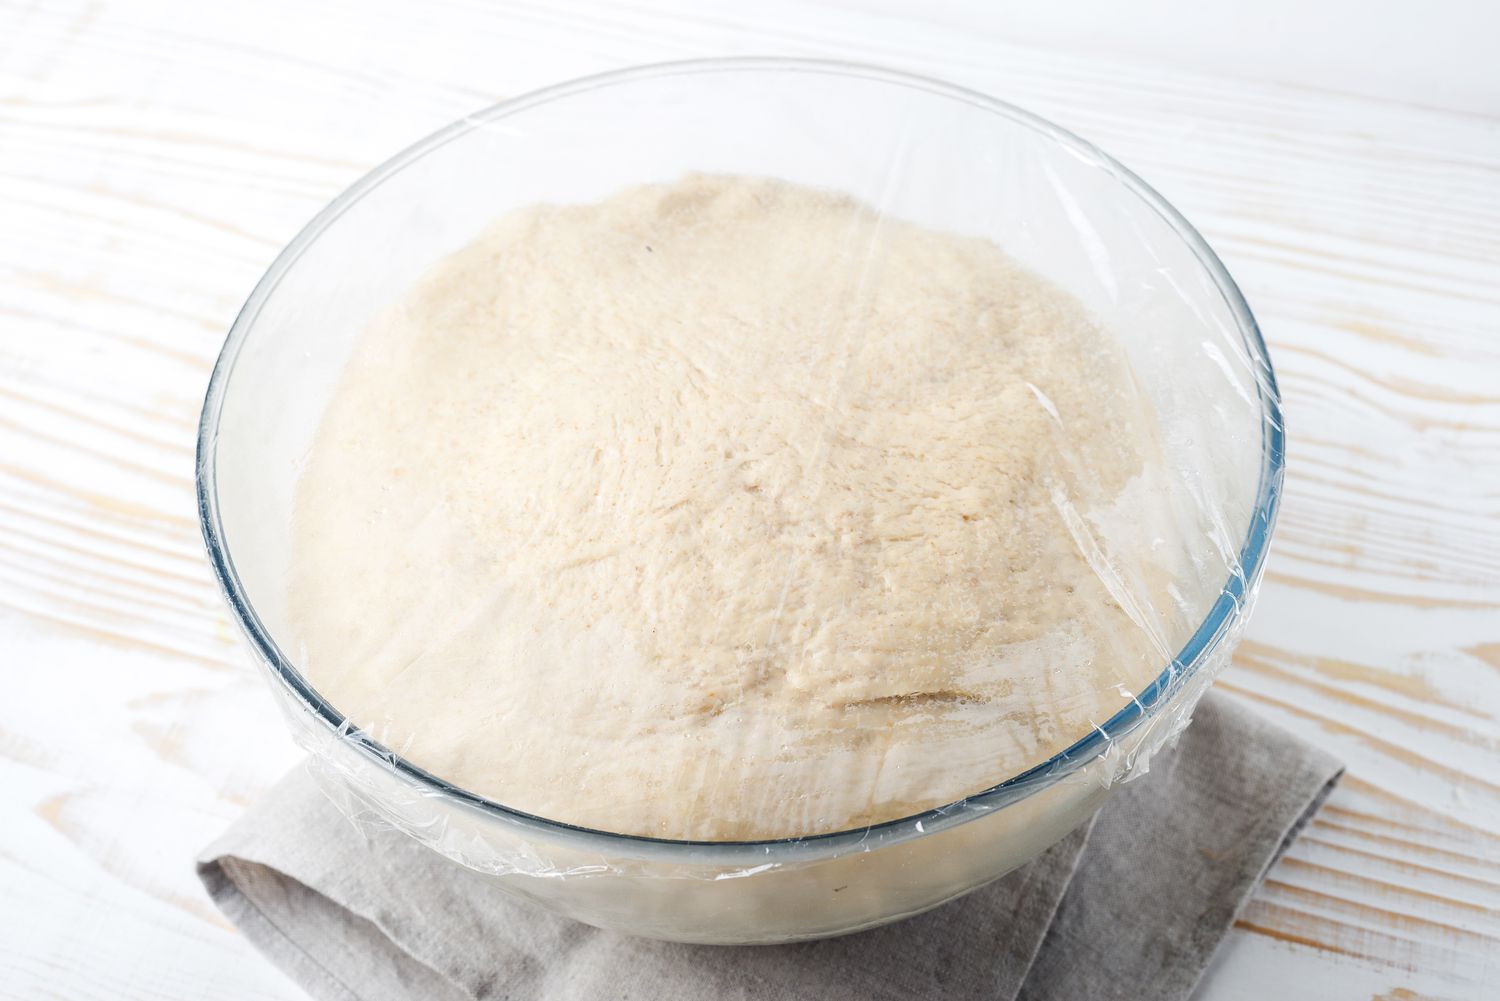
- Observe the Results: After the allotted time, check the mixture. If the yeast is active, it should appear foamy and bubbly. This indicates that the yeast is alive and ready to be added to the wort.
Common Mistakes to Avoid
When proofing yeast for beer, there are some common mistakes that brewers should avoid:
- Using Water That’s Too Hot: Water that is too hot can kill the yeast, leading to an inaccurate proofing result. It’s important to use warm water within the recommended temperature range.
- Skipping the Proofing Step: Some brewers may skip the proofing step and add the yeast directly to the wort. This can lead to fermentation issues if the yeast is not viable.
- Ignoring Expiration Dates: Using expired yeast can result in poor fermentation and off-flavors in the finished beer. Always check the expiration date before proofing the yeast.
Final Thoughts
Proofing yeast for beer is a crucial step that ensures the success of the fermentation process. By taking the time to test the viability of the yeast before adding it to the wort, brewers can avoid potential issues and create high-quality, flavorful beer.
Whether you’re a seasoned homebrewer or just getting started, mastering the art of yeast proofing is essential for producing delicious, well-carbonated beer. With the right techniques and attention to detail, you can ensure that your beer ferments smoothly and delivers the perfect pint every time.
Was this page helpful?
Read Next: How To Proof Yeast In Milk
Related Articles