Mastering the Art of French Bread Proofing
Welcome to the wonderful world of French bread! There’s nothing quite like the aroma of freshly baked bread wafting through your kitchen. If you’ve ever wanted to learn the secrets of making the perfect French bread, you’ve come to the right place. One of the most crucial steps in the bread-making process is proofing. In this guide, we’ll walk you through the ins and outs of proofing French bread so you can achieve bakery-quality results right in your own home.
Understanding the Proofing Process
Before we delve into the specifics of proofing French bread, it’s important to understand what proofing actually entails. Proofing is the final rise that a shaped loaf of bread undergoes before it’s baked. During this stage, the yeast ferments the dough, causing it to rise and develop flavor. Proper proofing is essential for achieving a light, airy texture and the characteristic open crumb structure of French bread.
Key Steps for Proofing French Bread
Now that you understand the importance of proofing, let’s explore the key steps to master this crucial stage of French bread baking:
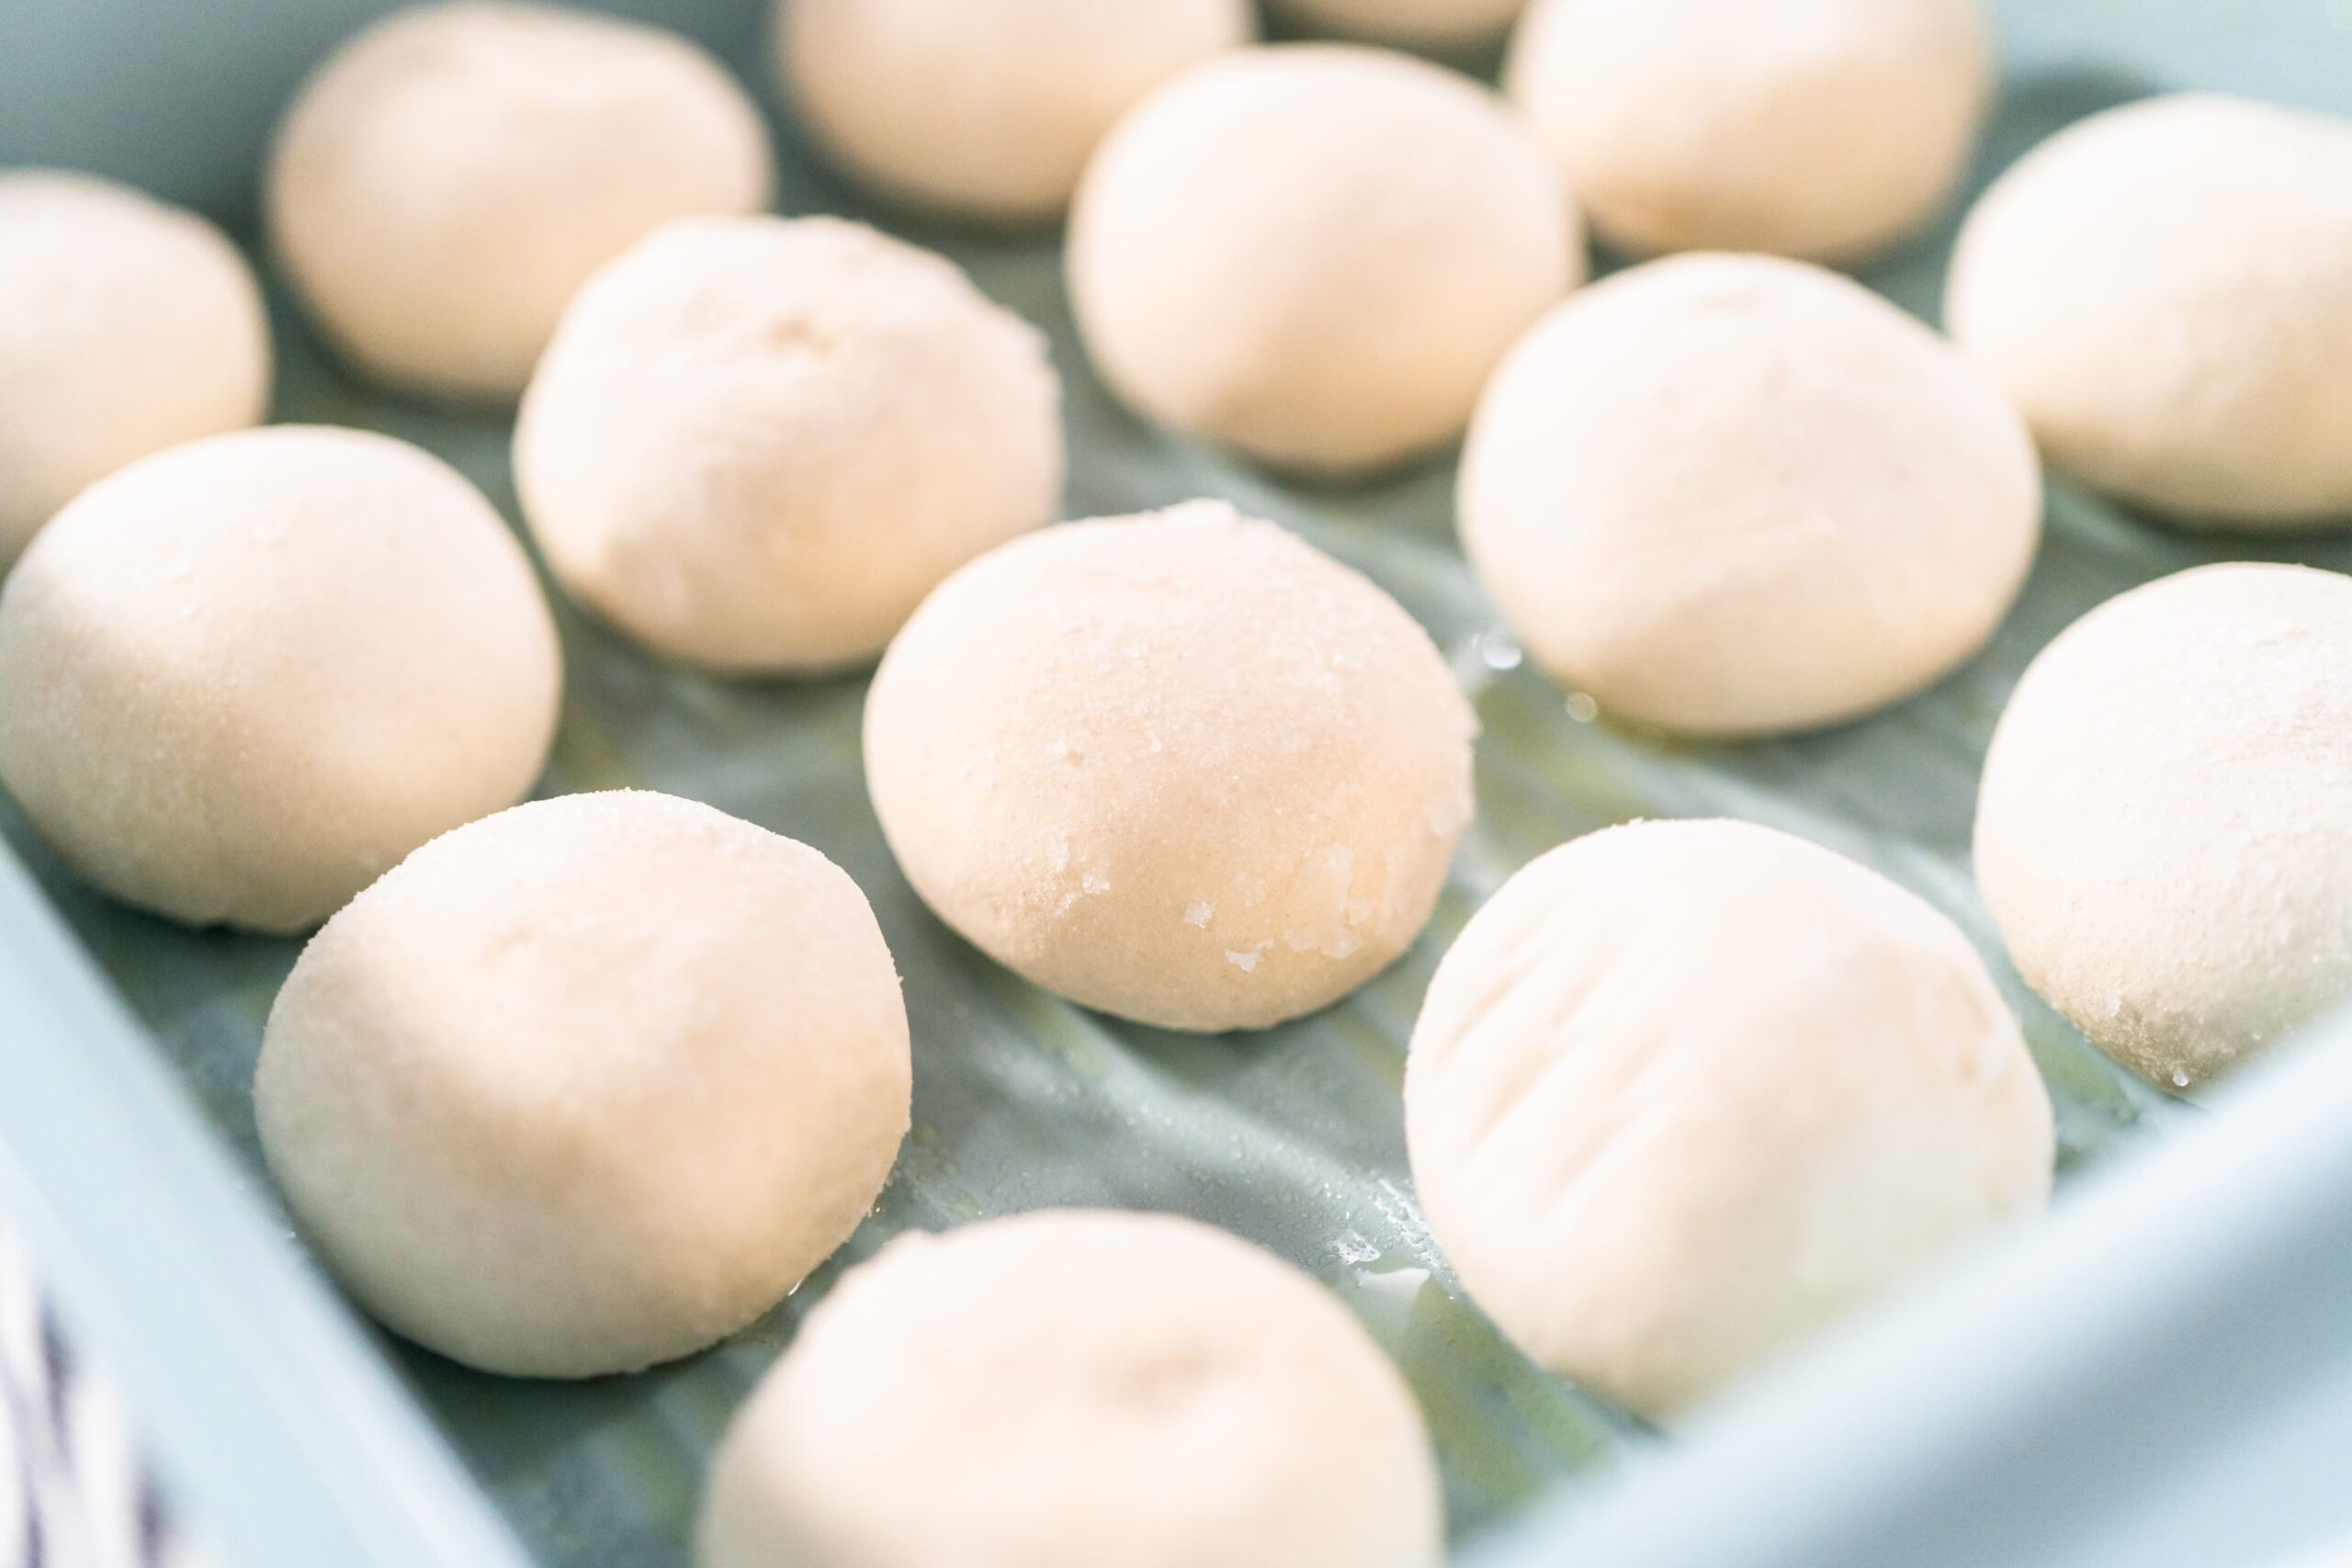
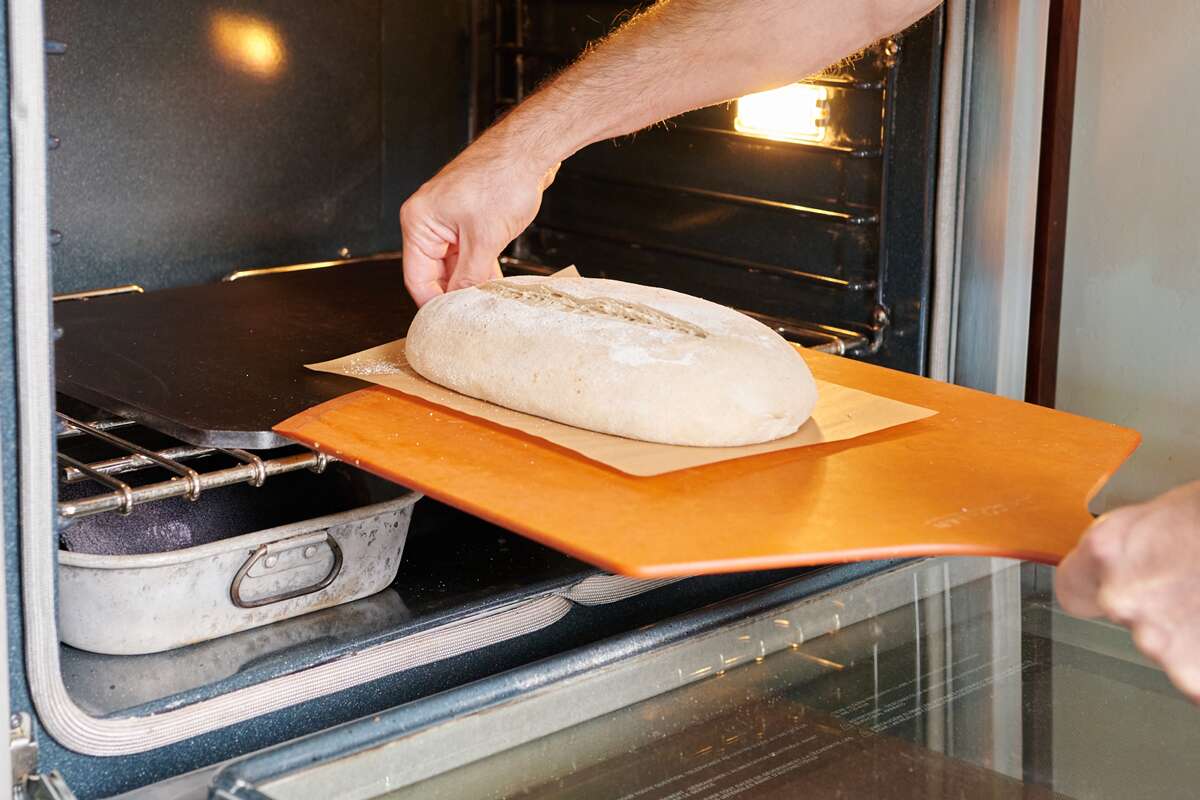
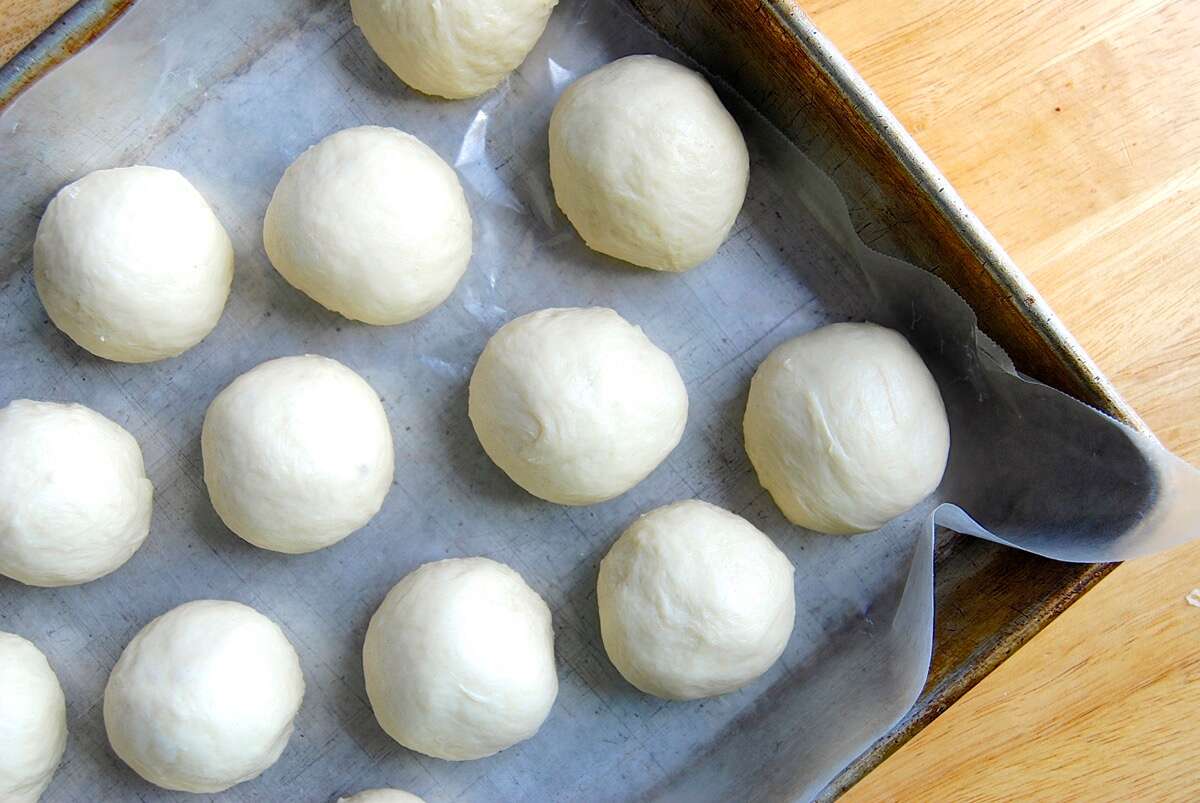
- Shaping the Dough: After the initial rise, or bulk fermentation, it’s time to shape the dough into the desired form for your French bread. Whether you’re making baguettes, boules, or batards, shaping the dough correctly will impact the final outcome of your bread.
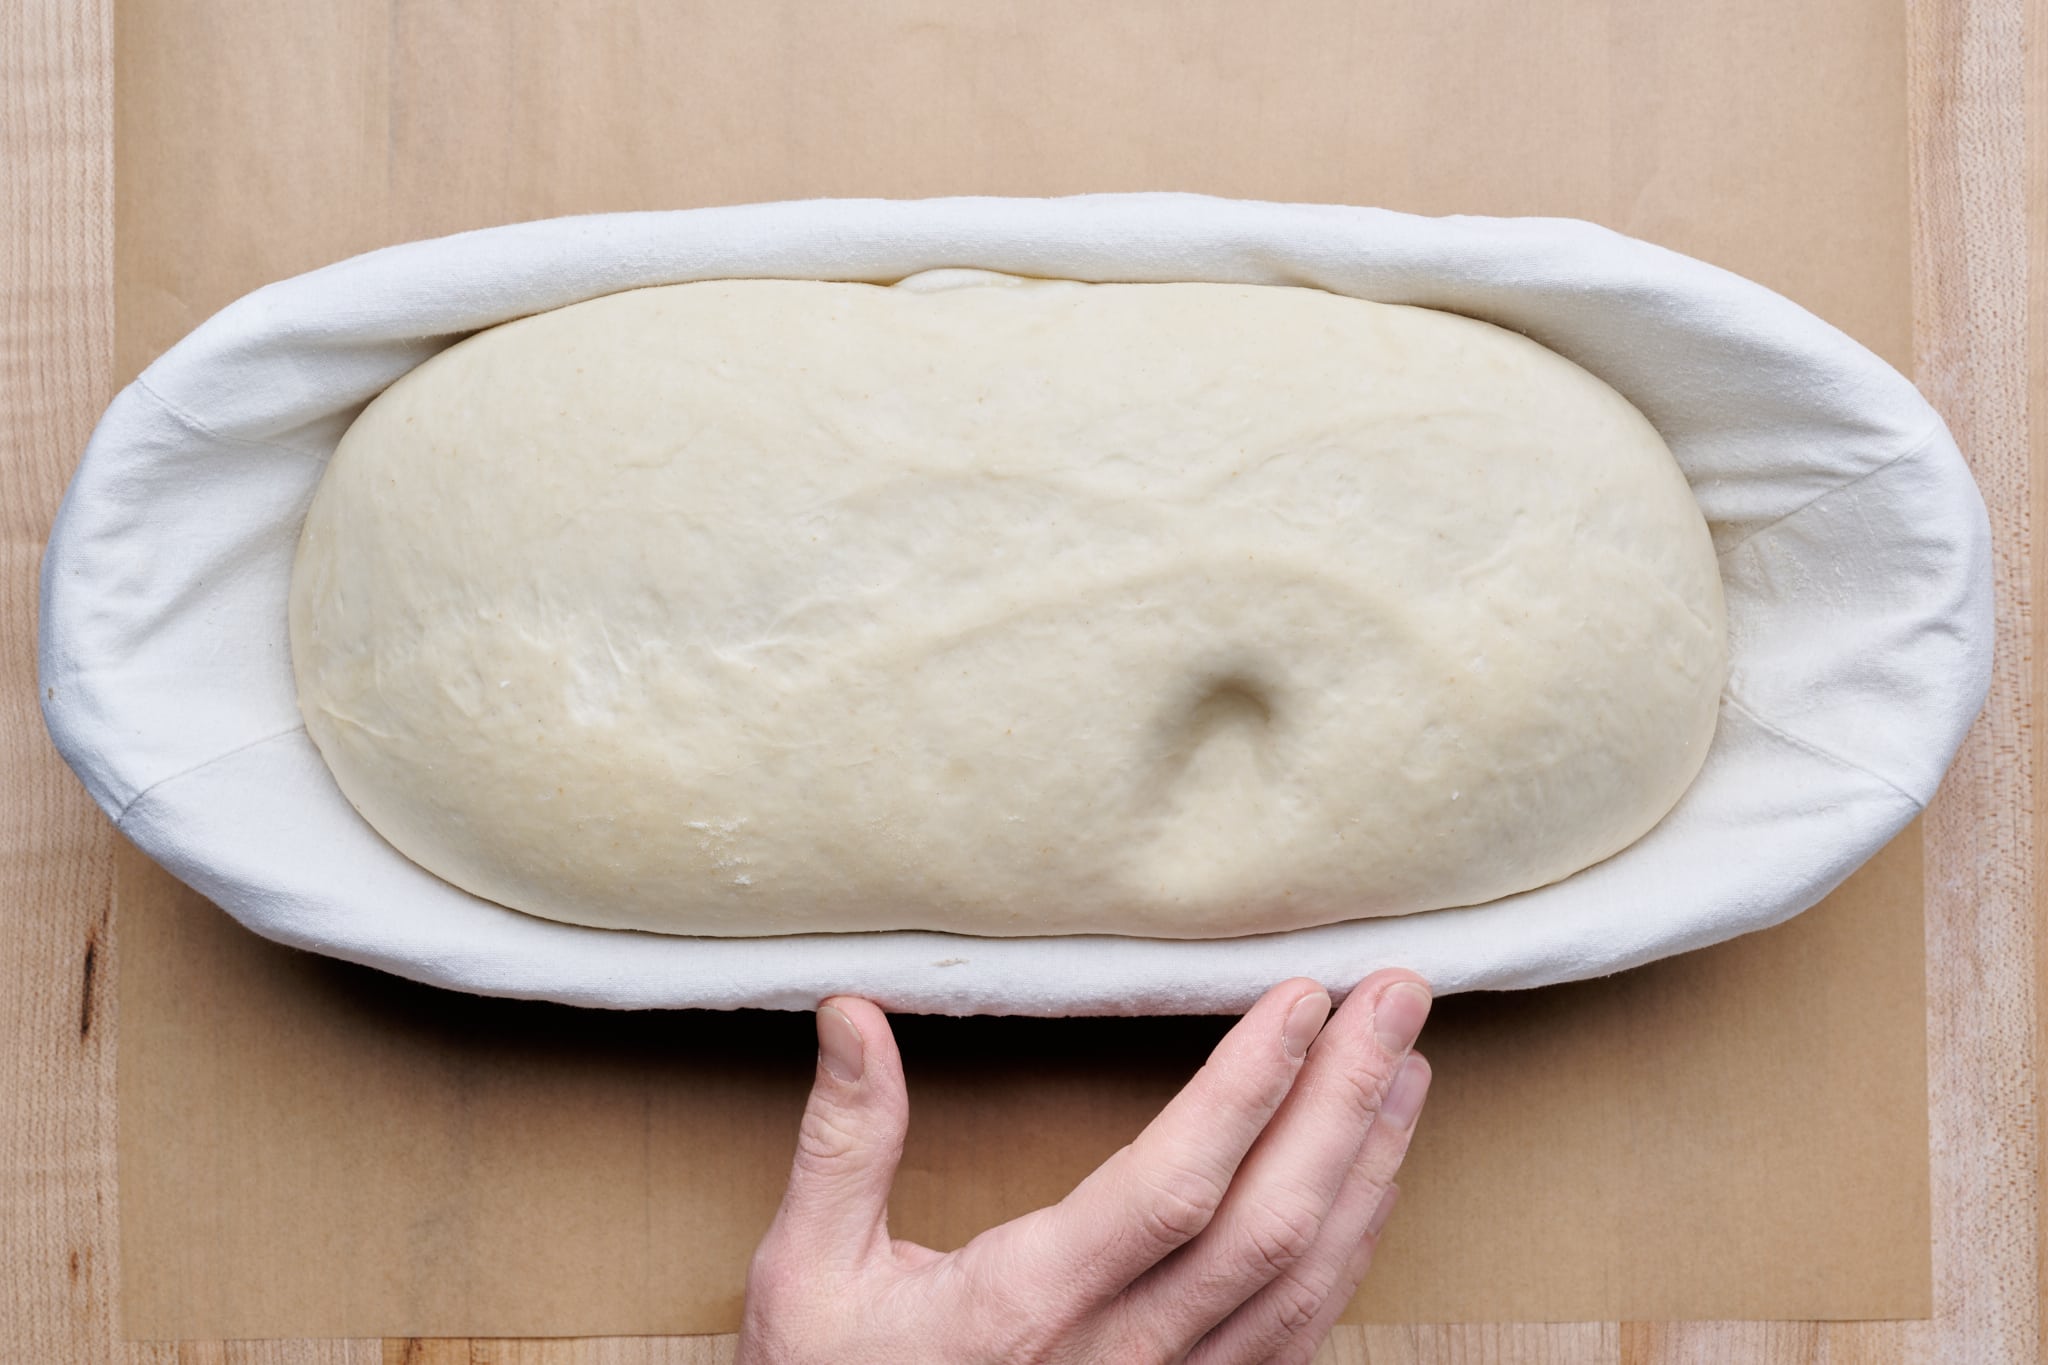
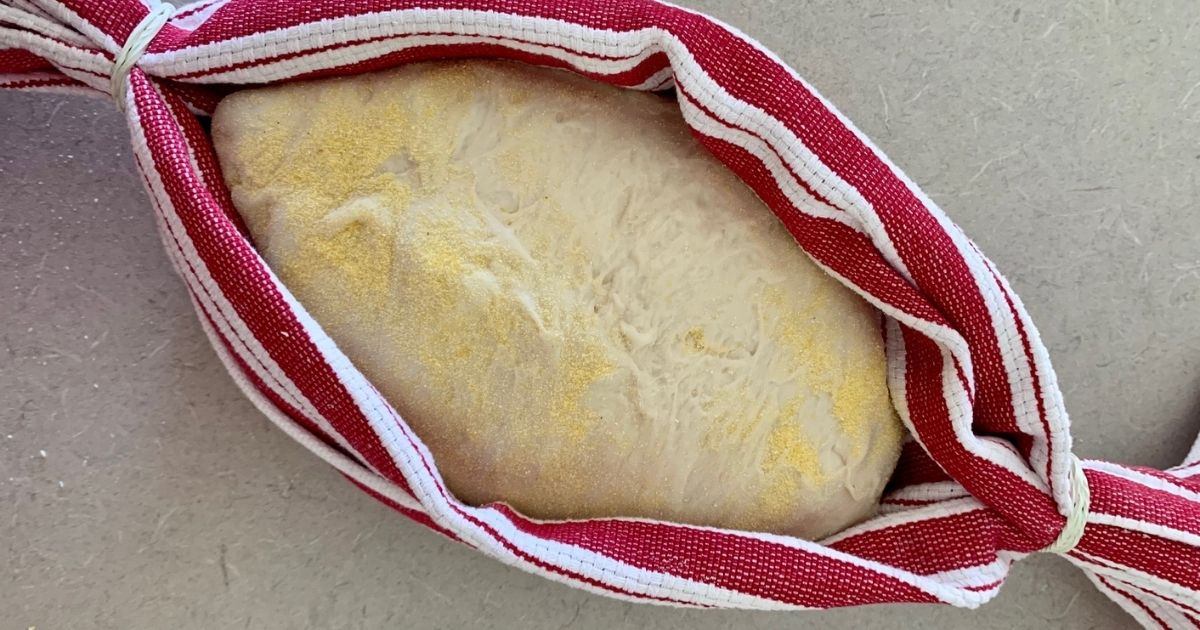
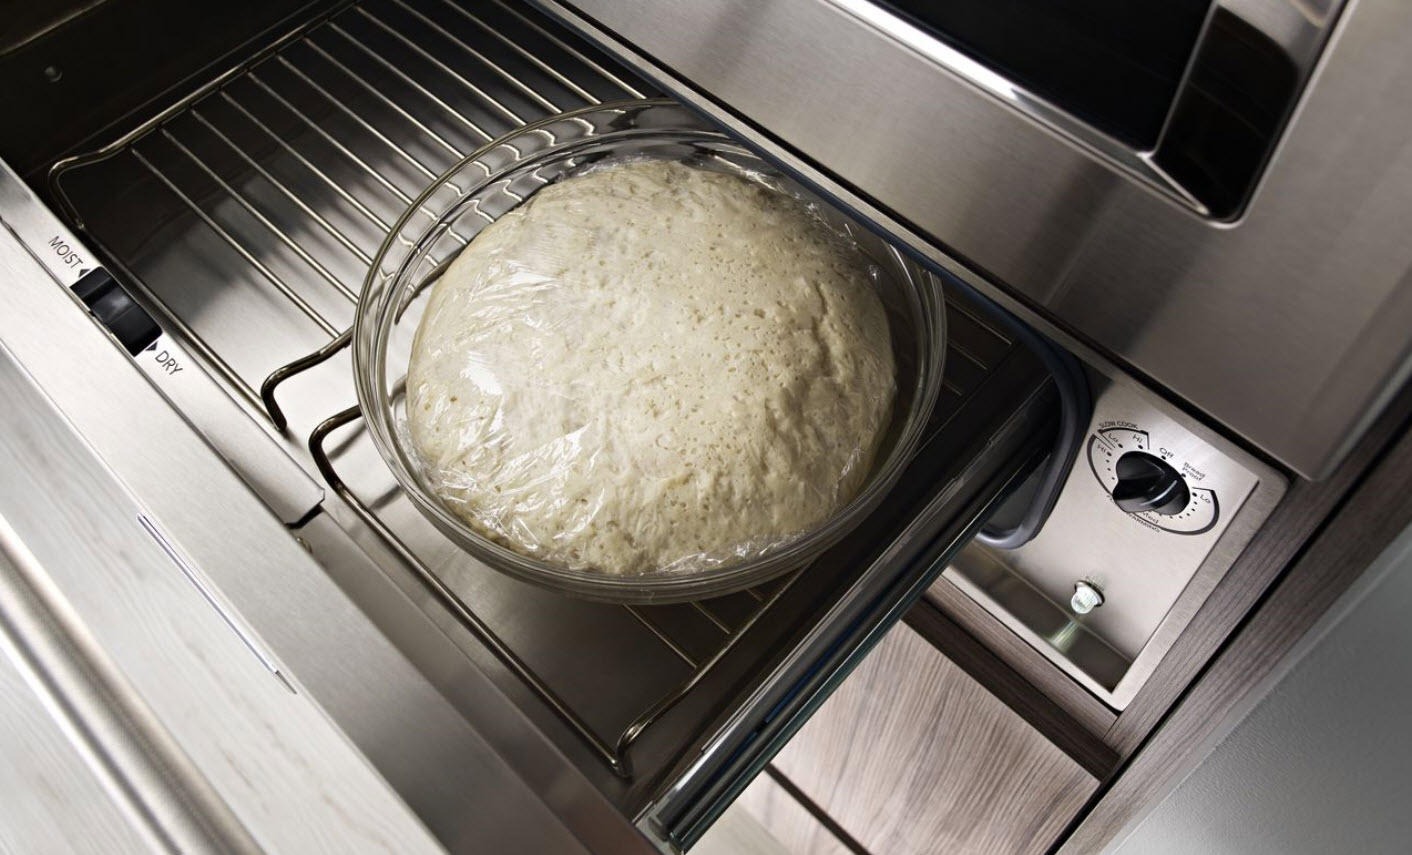
- Proofing Container: Choose an appropriate container for proofing your French bread. A banneton or proofing basket is often used to support the dough as it rises and to impart the traditional spiral pattern on the crust.
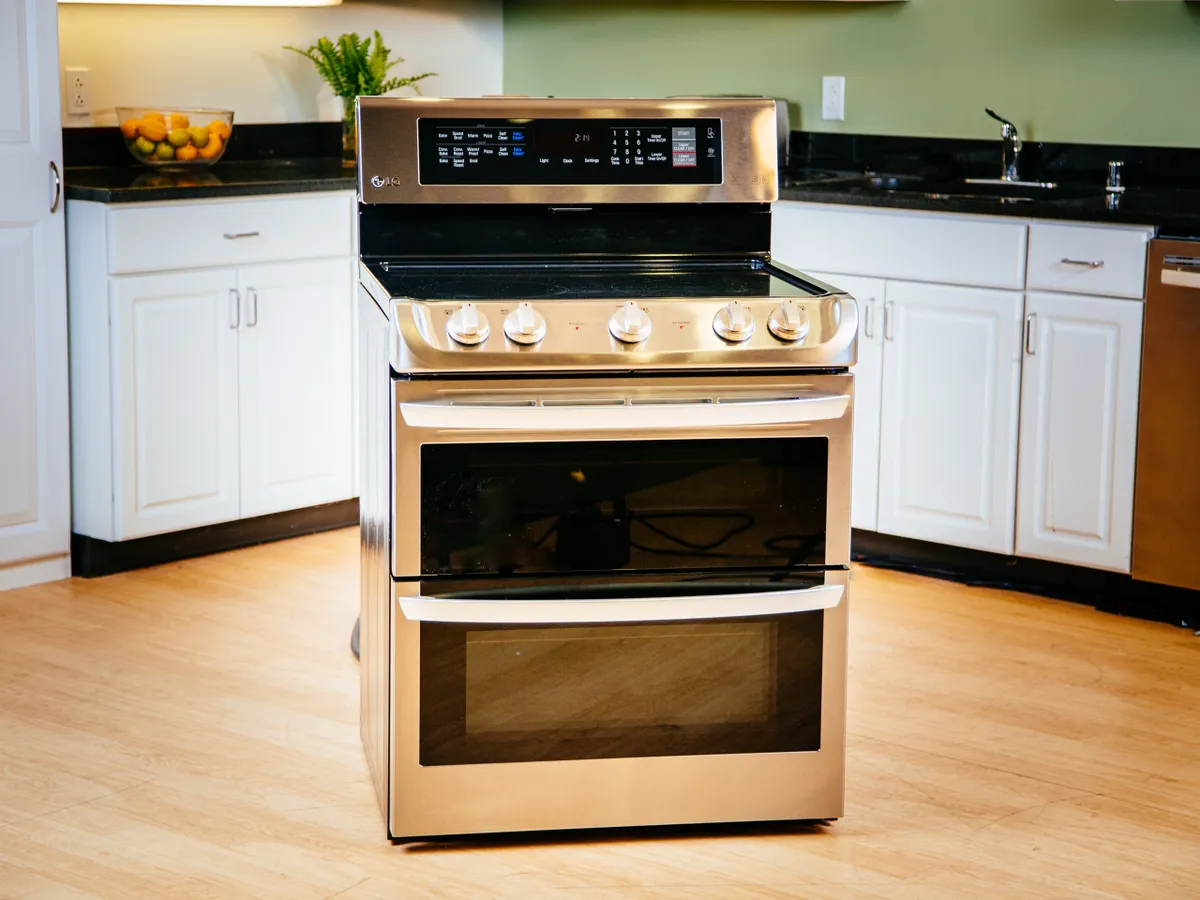
- Temperature and Humidity: The ideal environment for proofing French bread is warm and humid. Aim for a temperature between 75-80°F (24-27°C) and a relative humidity of around 75%. This can be achieved by placing the dough in a draft-free area or using a proofing box.
- Proofing Time: The length of time required for proofing can vary depending on factors such as room temperature, dough hydration, and the type of yeast used. A typical proofing time for French bread ranges from 1 to 2 hours.
- Checking for Readiness: To determine if the dough has finished proofing, gently press a finger into the dough. If the indentation springs back slowly, the dough is ready. If it springs back quickly, it needs more time to proof. If it doesn’t spring back at all, it’s overproofed.
Troubleshooting Proofing Issues
While the proofing process may seem straightforward, there are common issues that can arise. Here are some troubleshooting tips to help you overcome potential challenges:
- Underproofing: If your bread turns out dense and lacks an open crumb structure, it may have been underproofed. Allow the dough to proof for a longer period next time, ensuring it has doubled in size and passes the finger test.
- Overproofing: On the other hand, if your bread collapses in the oven or has a coarse, irregular crumb, it may have been overproofed. Pay close attention to the dough during the proofing process and aim to catch it at the optimal stage of readiness.
- Temperature Fluctuations: Rapid temperature changes can impact the proofing process. Be mindful of the proofing environment, and consider using a proofing box to maintain consistent conditions.
Experiment and Enjoy!
As with any culinary endeavor, mastering the art of French bread proofing takes practice. Don’t be discouraged by the occasional misstep – each loaf you bake brings you one step closer to perfection. Embrace the process, experiment with different techniques, and most importantly, savor the delightful results of your labor. With time and experience, you’ll be producing exquisite French bread that rivals the finest boulangeries in Paris. Happy baking!
Was this page helpful?
Read Next: How To Proof Frozen Dough Fast
Related Articles