Dehydration is a fantastic way to preserve food, making snacks that last longer and retain nutrients. Whether you're drying fruits, vegetables, or meats, mastering this technique can save money and reduce waste. Using a dehydrator, oven, or even the sun, you can create delicious, healthy treats. This guide will walk you through the basics, from choosing the right equipment to understanding the best methods for different foods. Get ready to transform fresh produce into tasty, long-lasting snacks that are perfect for any occasion.
Essential Ingredients for Dehydration
Ingredients Needed for Dehydration Techniques
- Fresh fruits (apples, bananas, strawberries)
- Fresh vegetables (carrots, bell peppers, tomatoes)
- Herbs (basil, thyme, rosemary)
- Lean meats (chicken breast, beef strips)
- Fish (salmon, tilapia)
- Nuts and seeds (almonds, sunflower seeds)
- Lemon juice (for pretreatment)
- Salt (optional, for seasoning)
- Water (for blanching vegetables)
- Dehydrator or oven
- Parchment paper or silicone mats
- Airtight containers or vacuum-sealed bags
Tools Needed for Mastering Dehydration
Tools Needed for Mastering the Techniques of Dehydration
- Dehydrator: Essential for drying fruits, vegetables, and meats evenly.
- Mandoline Slicer: Ensures uniform slices for consistent drying.
- Sharp Knife: Handy for cutting thicker items or those not suited for a mandoline.
- Cutting Board: Provides a stable surface for slicing and dicing.
- Parchment Paper: Prevents sticking and makes cleanup easier.
- Mesh Screens: Useful for smaller items that might fall through dehydrator trays.
- Oven Thermometer: Ensures accurate temperature settings if using an oven.
- Airtight Containers: Keeps dehydrated foods fresh and free from moisture.
- Silicone Spatula: Helps spread purees evenly for fruit leathers.
- Blender or Food Processor: Purees fruits and vegetables for leathers or powders.
- Kitchen Scale: Measures ingredients accurately, especially for recipes.
- Timer: Tracks drying times to avoid over or under-drying.
- Labels and Markers: Identifies and dates stored dehydrated foods.
- Cleaning Brush: Cleans dehydrator trays and screens thoroughly.
- Gloves: Protects hands when handling hot trays or cutting tough items.
Mastering dehydration techniques enhances flavor concentration and extends shelf life. Perfect for fruits, vegetables, and meats, it requires precise temperature control and patience. Ideal for creating healthy, portable snacks.
Why Dehydration is Important
Dehydration preserves food by removing moisture, which prevents bacteria and mold growth. This method extends shelf life and retains nutrients.
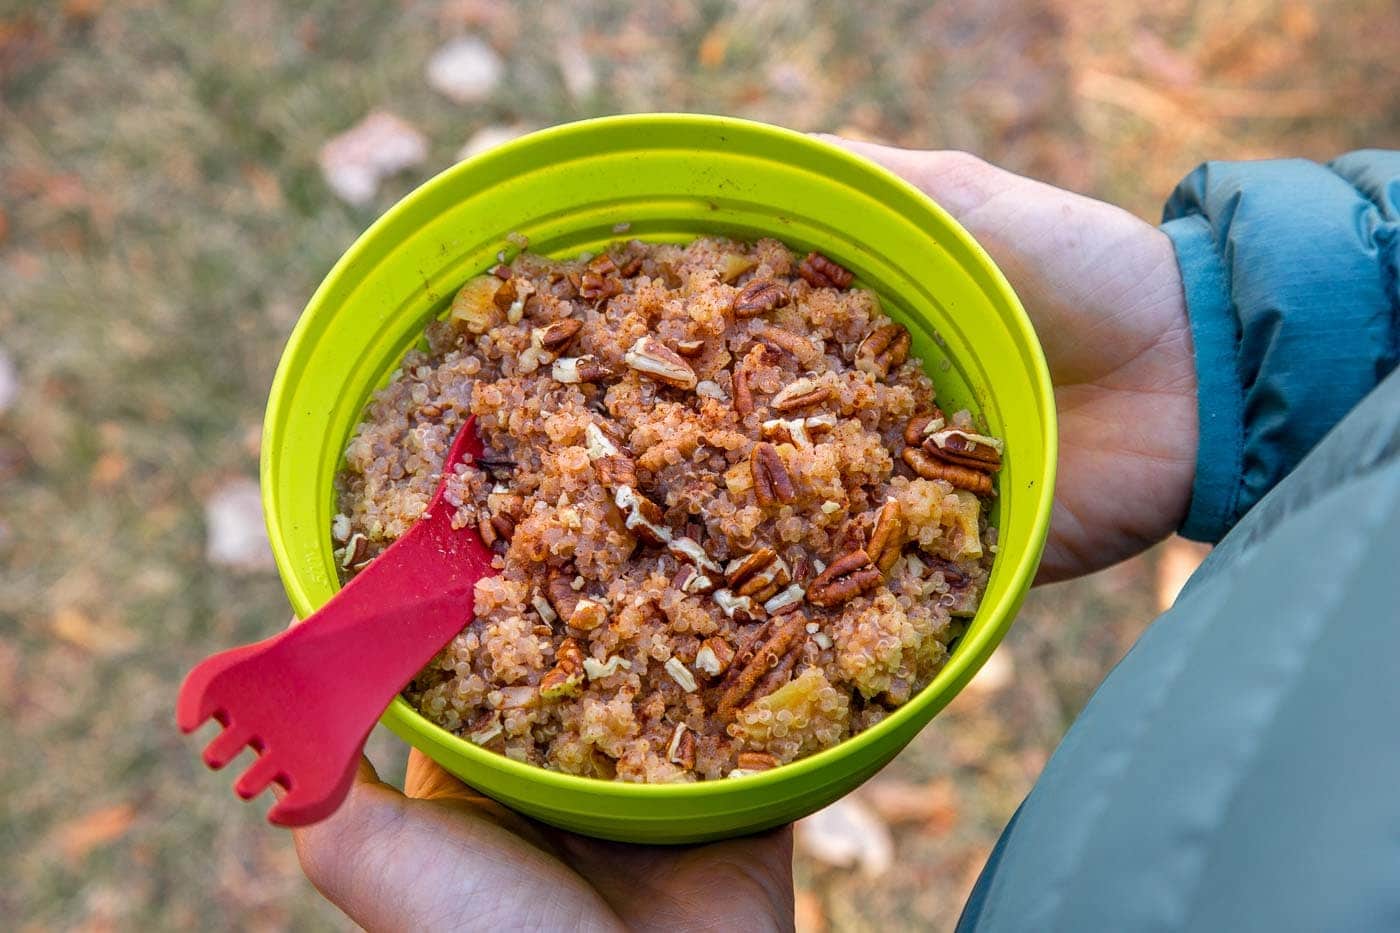
Dehydrated foods are lightweight, making them perfect for camping or hiking. They also save storage space and reduce waste by preserving seasonal produce.
Step-by-Step Guide to Dehydration
Mastering the Techniques of Dehydration
Step-by-Step Guide
1. Choose the Right Ingredients
- Fruits: Apples, bananas, berries, mangoes
- Vegetables: Carrots, tomatoes, bell peppers, zucchini
- Herbs: Basil, oregano, thyme, rosemary
- Meats: Lean cuts of beef, chicken, turkey
2. Prepare the Ingredients
- Wash: Thoroughly clean all produce
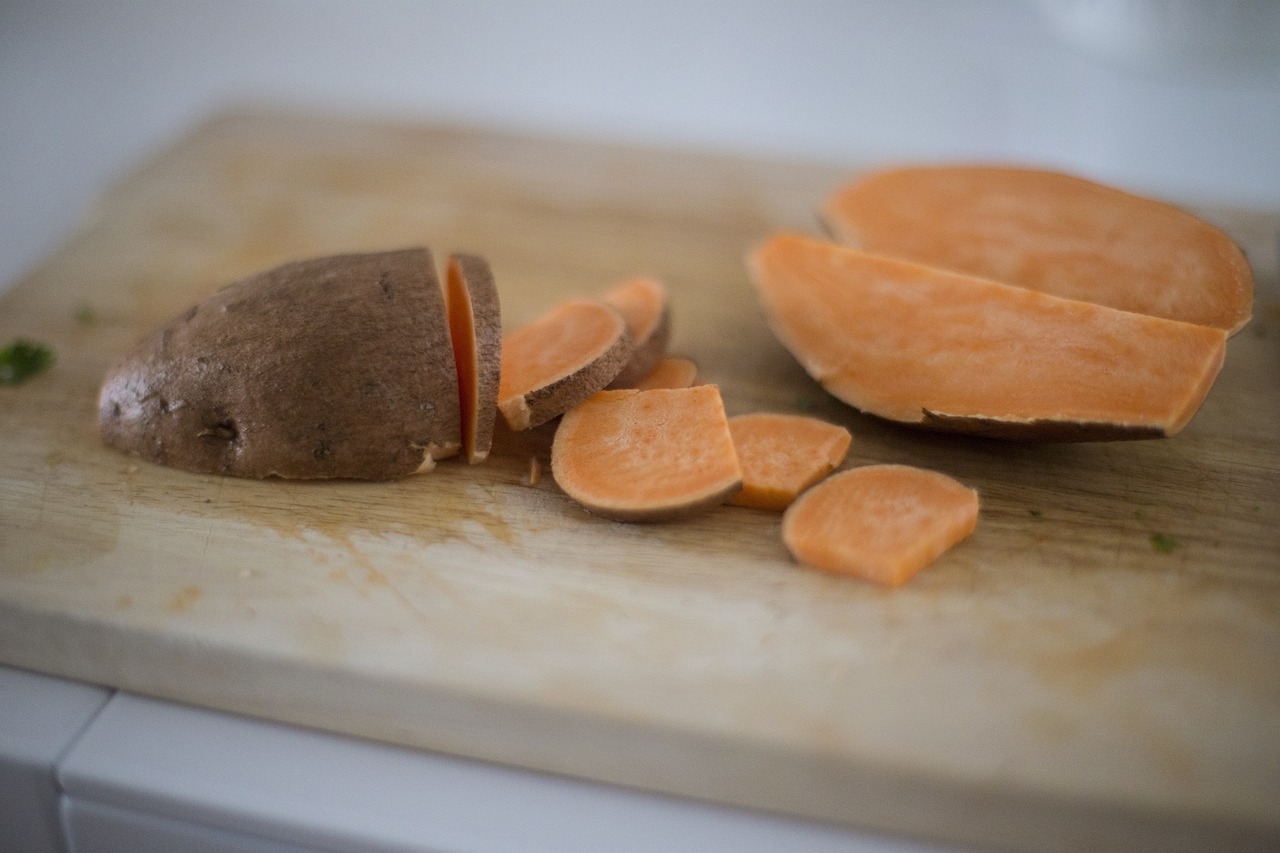
- Peel: Remove skins if necessary (e.g., apples, carrots)
- Slice: Cut into uniform pieces for even drying
- Blanch: Briefly boil vegetables to preserve color and nutrients
3. Pre-Treat the Ingredients
- Fruits: Soak in lemon juice or ascorbic acid solution to prevent browning
- Vegetables: Steam or blanch to kill bacteria and enzymes
- Meats: Marinate in salt or seasoning for flavor and preservation
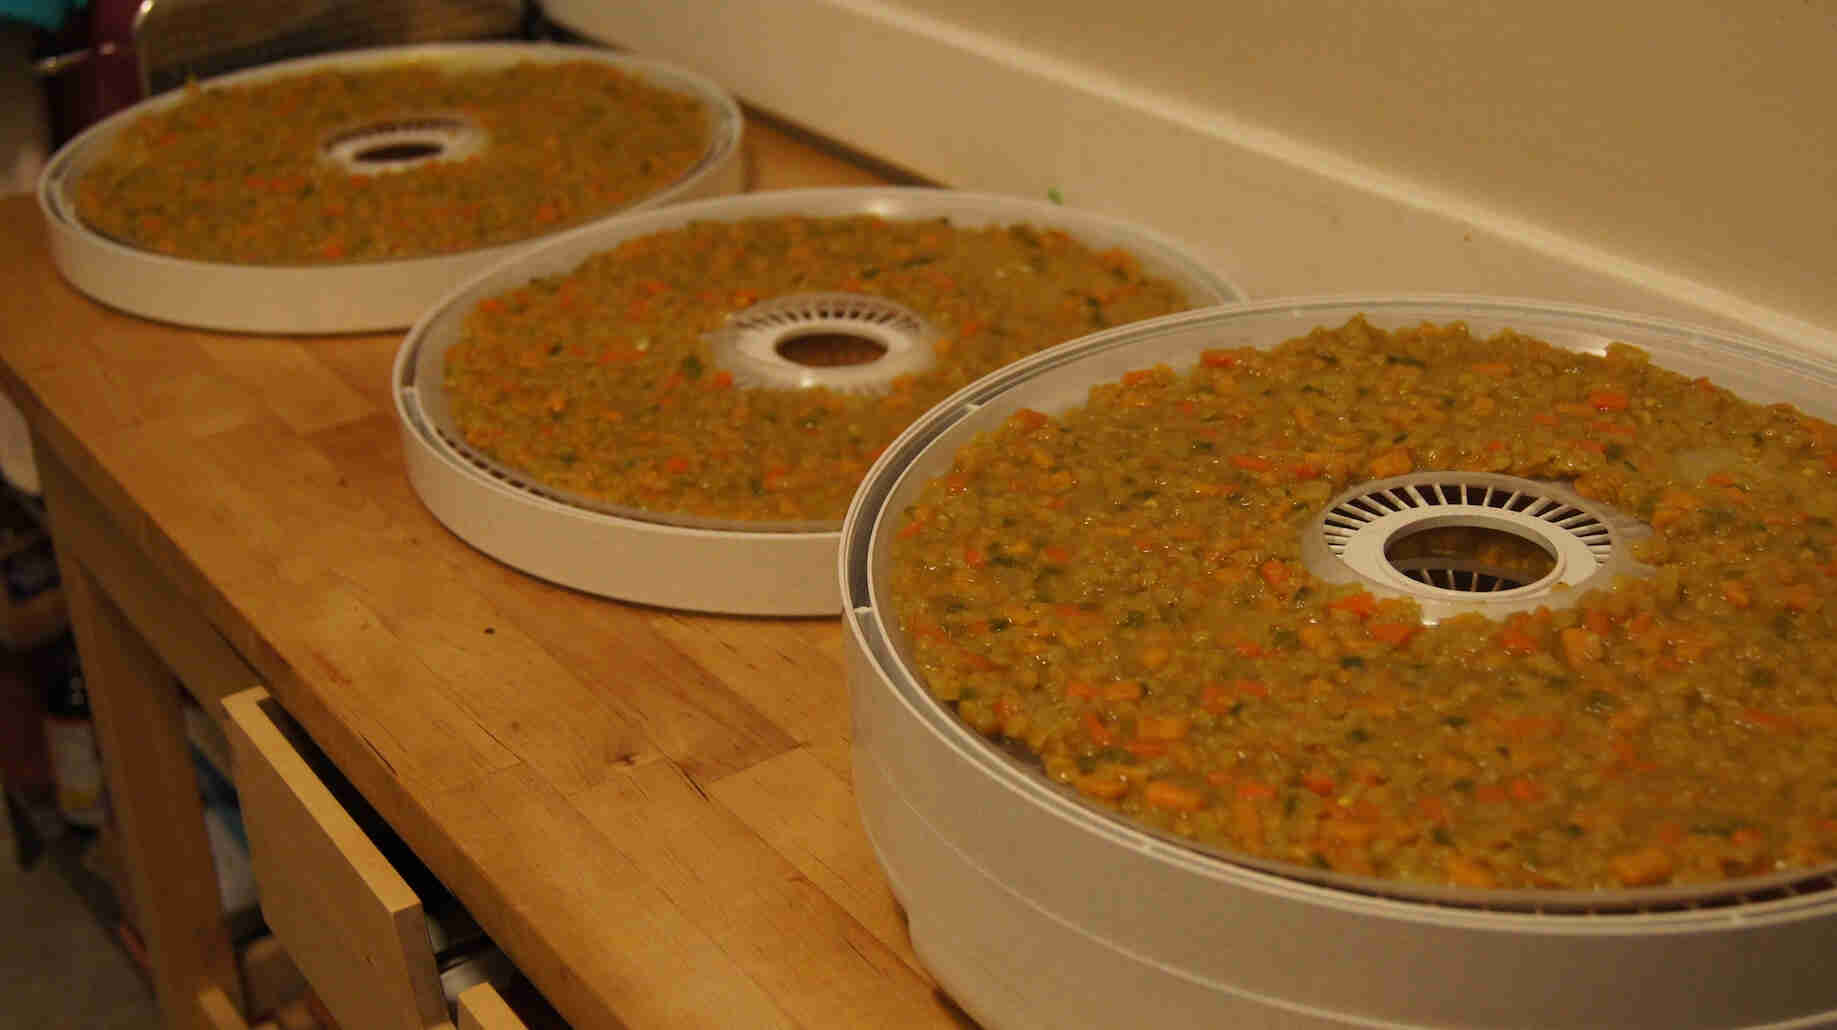
4. Arrange on Dehydrator Trays
- Single Layer: Place pieces in a single layer without overlapping
- Spacing: Leave space between pieces for air circulation
- Uniformity: Ensure pieces are similar in size for even drying
5. Set the Dehydrator Temperature
- Fruits: 135°F (57°C)
- Vegetables: 125°F (52°C)
- Herbs: 95°F (35°C)
- Meats: 160°F (71°C)
6. Monitor Drying Time
- Fruits: 6-12 hours
- Vegetables: 8-12 hours
- Herbs: 2-4 hours
- Meats: 4-6 hours
7. Check for Doneness
- Fruits: Should be pliable but not sticky
- Vegetables: Should be brittle or leathery
- Herbs: Should crumble easily
- Meats: Should be tough and leathery
8. Cool and Condition
- Cool: Allow dried items to cool completely before storing
- Condition: Place dried items in a jar for 7-10 days, shaking daily to distribute moisture evenly
9. Store Properly
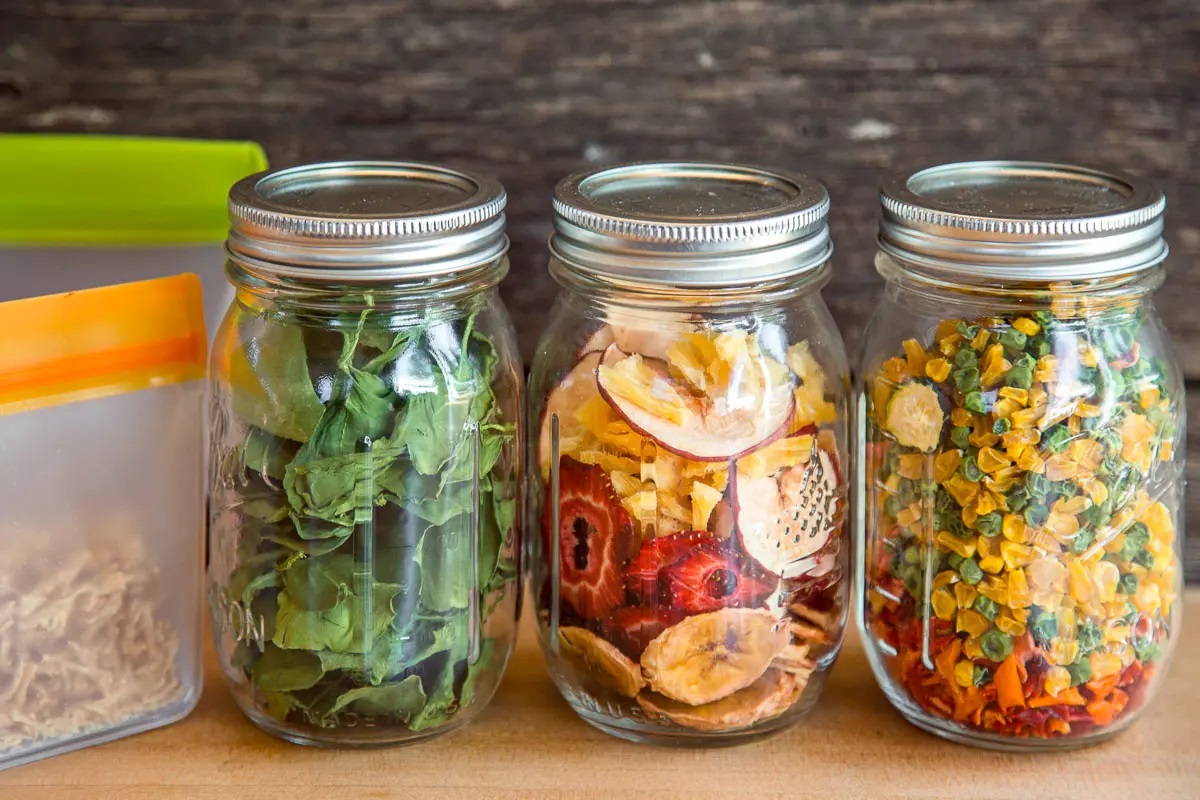
- Containers: Use airtight containers like glass jars or vacuum-sealed bags
- Location: Store in a cool, dark place to extend shelf life
- Labeling: Label containers with the date and type of food
10. Rehydrate When Needed
- Soak: Place dried items in water for 30 minutes to 2 hours
- Cook: Add directly to soups, stews, or other dishes
11. Maintain Equipment
- Clean: Wash dehydrator trays and components after each use
- Inspect: Regularly check for wear and tear on the dehydrator
12. Experiment with Flavors
- Seasonings: Add spices, herbs, or sweeteners before drying
- Combinations: Mix different fruits or vegetables for unique flavors
13. Safety Tips
- Temperature: Always use recommended temperatures to prevent spoilage
- Hygiene: Maintain cleanliness to avoid contamination
- Storage: Regularly check stored items for signs of spoilage
Mastering Dehydration Techniques
Dehydrating food is a fantastic way to preserve flavors, nutrients, and extend shelf life. Whether you're drying fruits, vegetables, or meats, the process is straightforward yet rewarding. Start by selecting the freshest produce, then slice them evenly to ensure uniform drying. Use a dehydrator or an oven set to a low temperature, and be patient. Proper storage in airtight containers keeps your dehydrated goodies fresh for months.
Experiment with different foods and seasonings to find your favorite combinations. Dehydration not only saves money but also reduces waste. Plus, it's a great way to enjoy seasonal produce year-round. So, grab your ingredients, follow these steps, and you'll soon be a dehydration pro. Happy drying!
Frequently Asked Questions About Dehydration
What is dehydration in cooking?
Dehydration is the process of removing moisture from food to preserve it. This technique helps extend the shelf life of fruits, vegetables, meats, and herbs by reducing the water content, which prevents the growth of bacteria and mold.
What equipment do I need for dehydration?
You can use a dehydrator, an oven, or even the sun to dehydrate food. A dehydrator is the most efficient and consistent option, but an oven set to a low temperature can also work. For sun drying, you'll need a sunny spot and a way to protect the food from insects.
How do I know when my food is fully dehydrated?
Food is fully dehydrated when it feels dry and brittle. Fruits should be leathery and pliable, while vegetables should be crisp. If you're unsure, you can break a piece in half; there should be no visible moisture inside.
Can I dehydrate any type of food?
Most foods can be dehydrated, but some work better than others. Fruits, vegetables, herbs, and meats are popular choices. Foods with high water content, like cucumbers or watermelon, can be more challenging and may require longer drying times.
How should I store dehydrated food?
Store dehydrated food in airtight containers in a cool, dark place. Mason jars, vacuum-sealed bags, or Mylar bags with oxygen absorbers work well. Proper storage helps maintain the food's quality and extends its shelf life.
Are there any tips for dehydrating food evenly?
To ensure even dehydration, cut food into uniform pieces and avoid overlapping them on the drying trays. Rotate the trays periodically if using an oven or a dehydrator without a fan. This helps distribute the heat evenly and prevents some pieces from drying faster than others.
Is dehydrated food as nutritious as fresh food?
Dehydrated food retains most of its nutrients, but some vitamins, like vitamin C, can be lost during the drying process. However, the concentration of nutrients per gram increases since the water is removed. It's still a healthy option for preserving and enjoying food.
Was this page helpful?
Related Articles
How To Dehydrate Survival Foods
How To Dehydrate A Soup

How To Dehydrate Using Ninja Air Fryer
How To Dehydrate Food Forbackpacking
How To Blanch Sweet Potatoes For Dehydrating
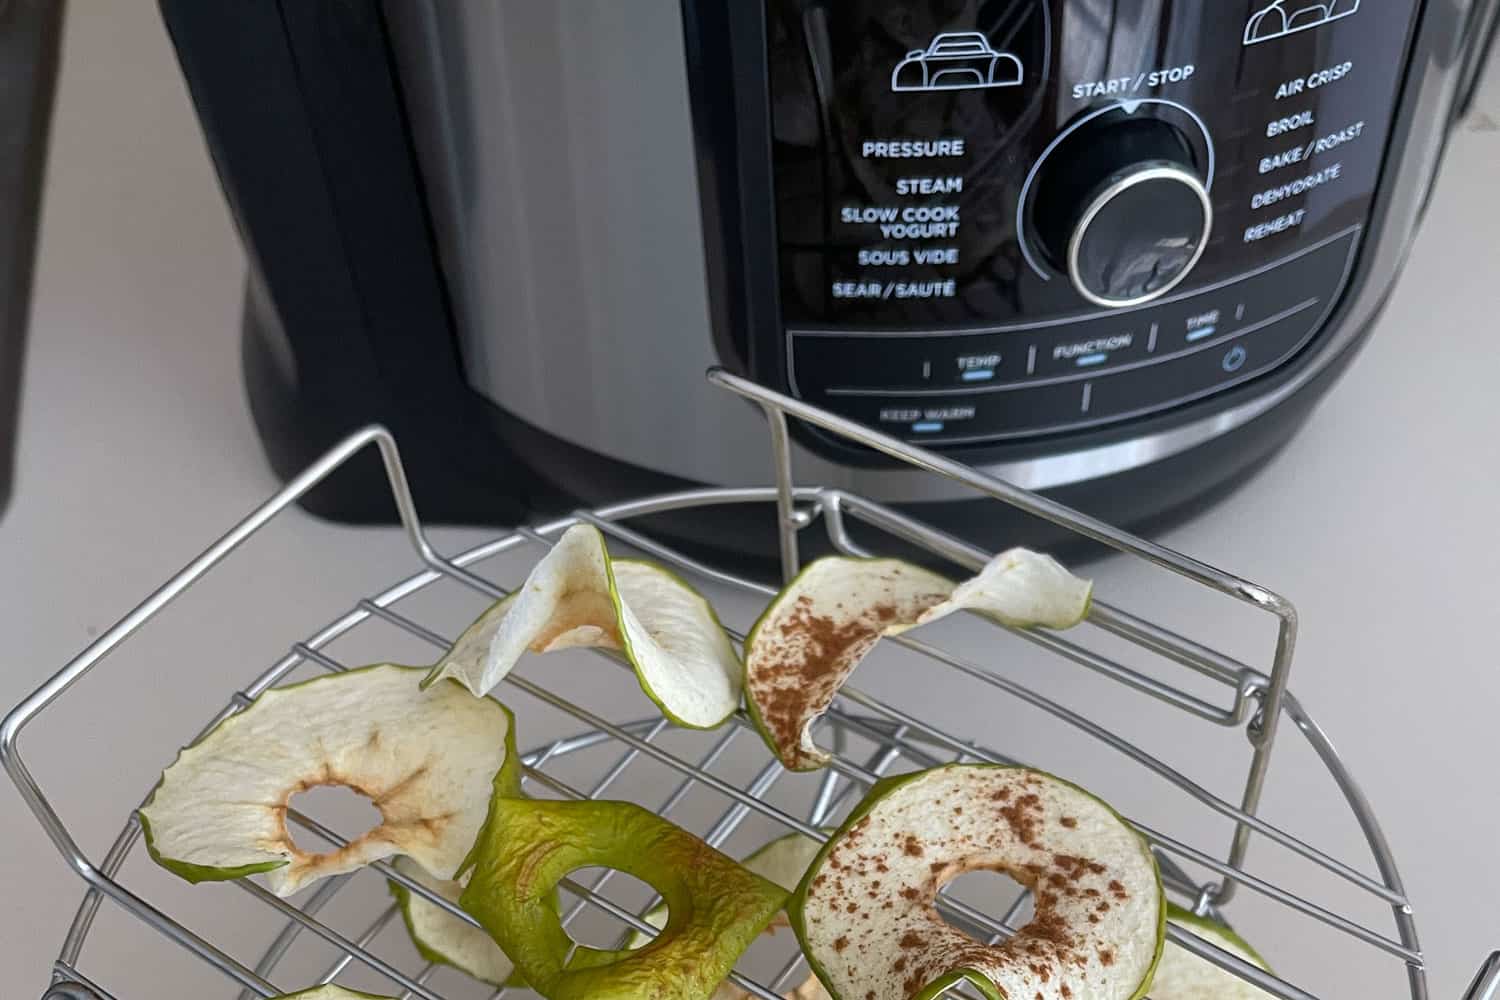
How To Dehydrate In The Ninja Foodi
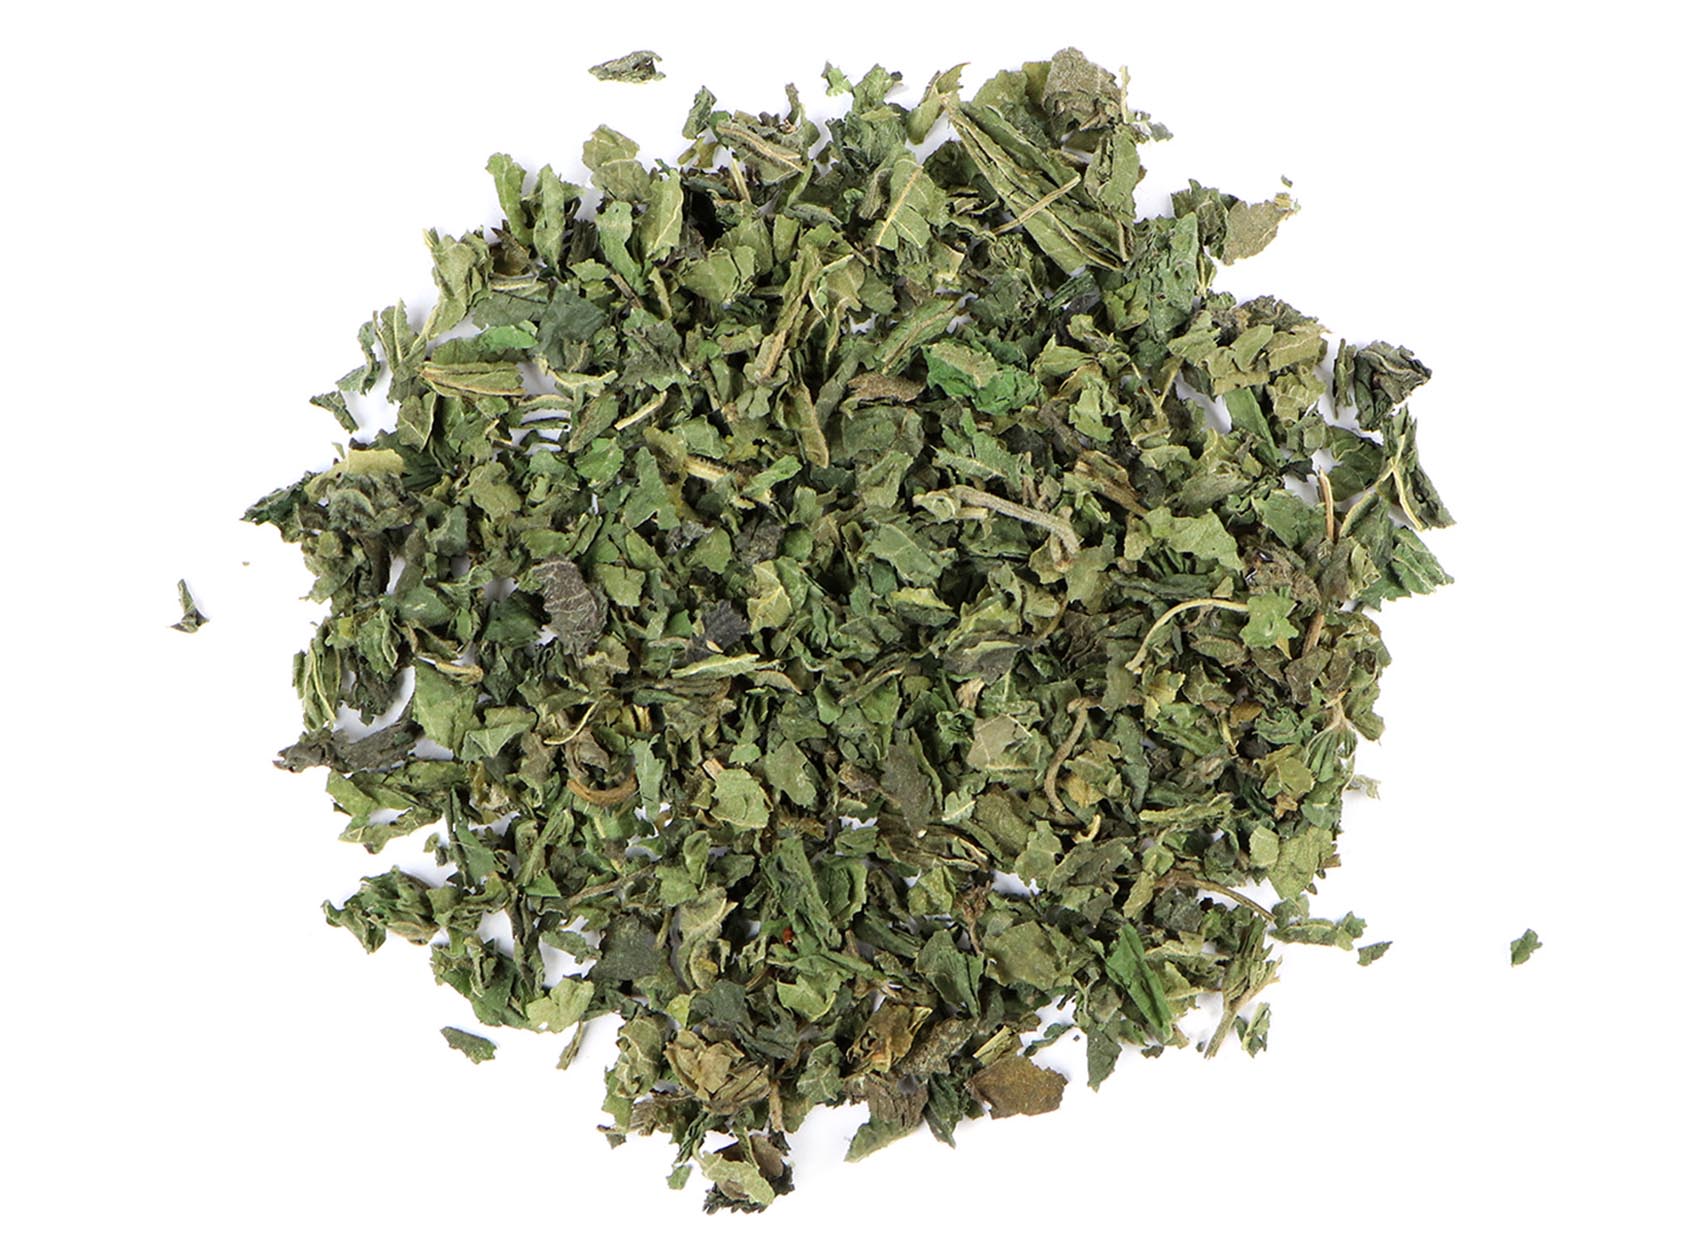
How To Dehydrate Stinging Nettle

How To Dehydrate Salmon

How To Dehydrate Macaroni And Cheese
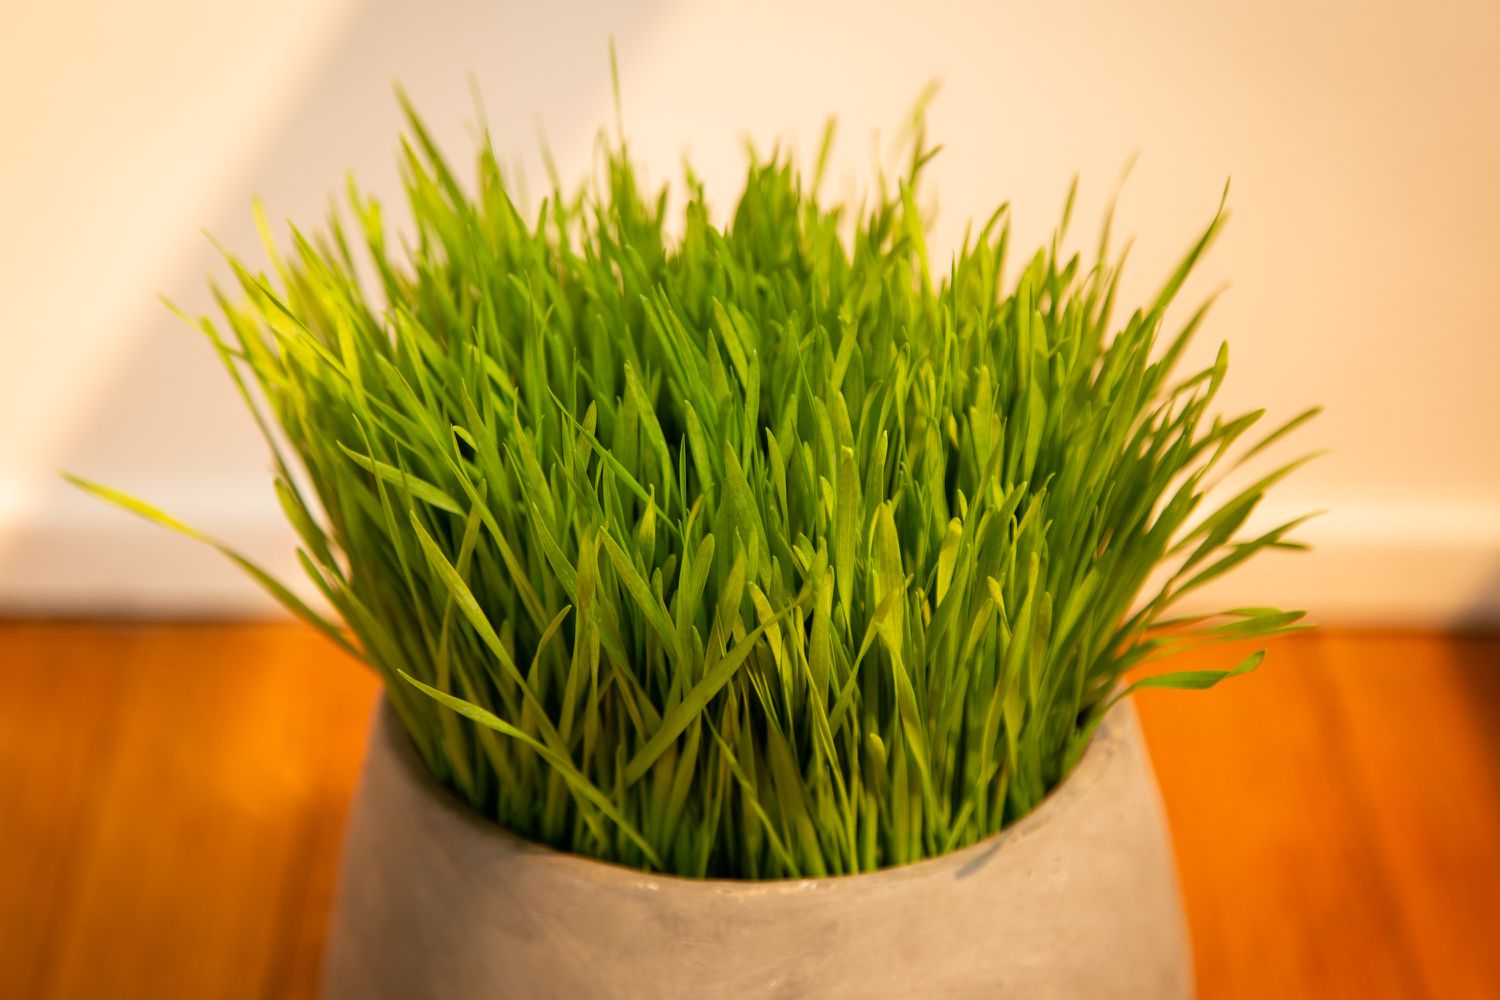
How To Dehydrate Wheatgrass Industrial
How To Dehydrate Vegetables In Microwave