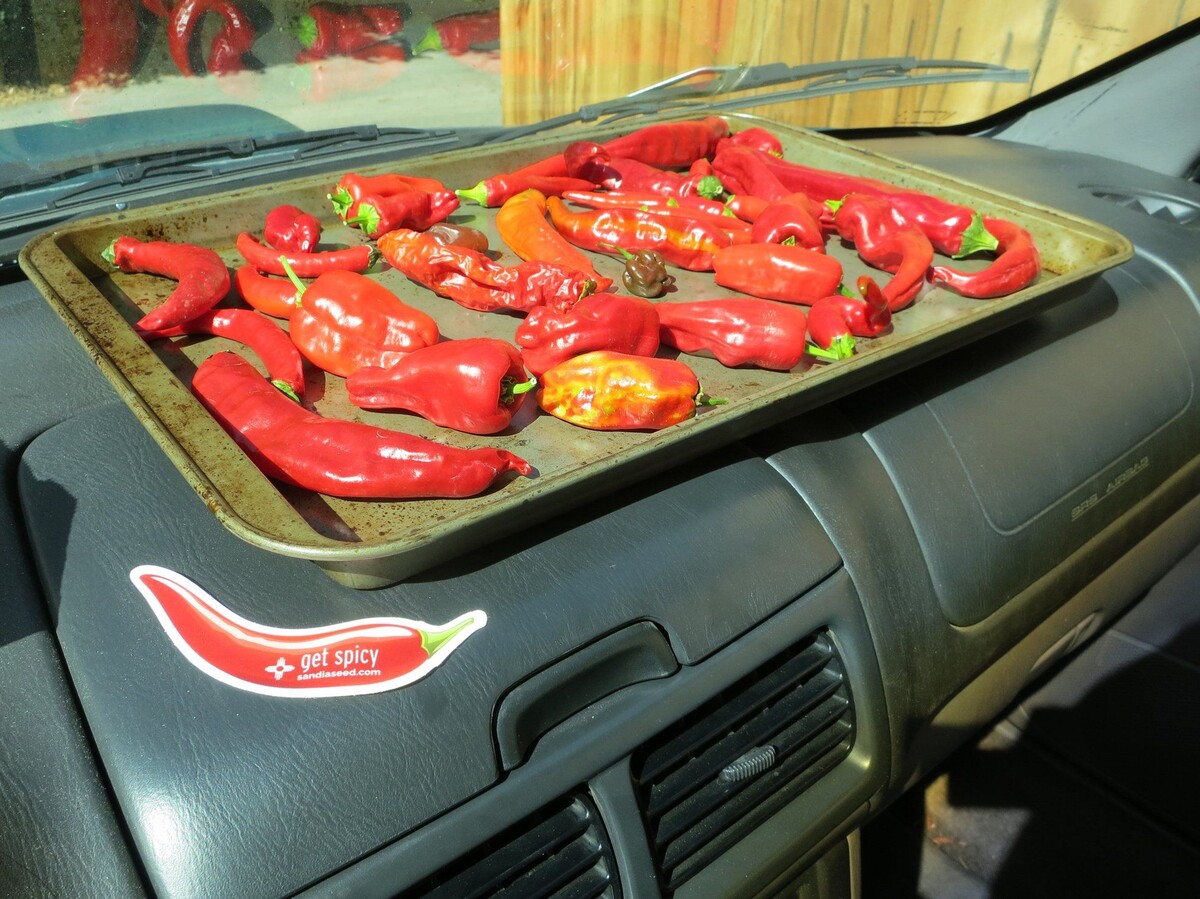
Sun-drying is one of the oldest methods for preserving food. This technique uses natural sunlight to remove moisture from fruits, vegetables, and herbs, making them last longer without refrigeration. Traditional sun-drying methods are simple, cost-effective, and eco-friendly. They often involve spreading food items on trays or mats in direct sunlight. This method not only retains the flavor and nutrients but also adds a unique taste to the food. Whether you're drying tomatoes, apples, or herbs, understanding these age-old practices can help you enjoy seasonal produce year-round. Let's explore the basics of traditional sun-drying methods and their benefits.
Essential Ingredients for Sun-Drying
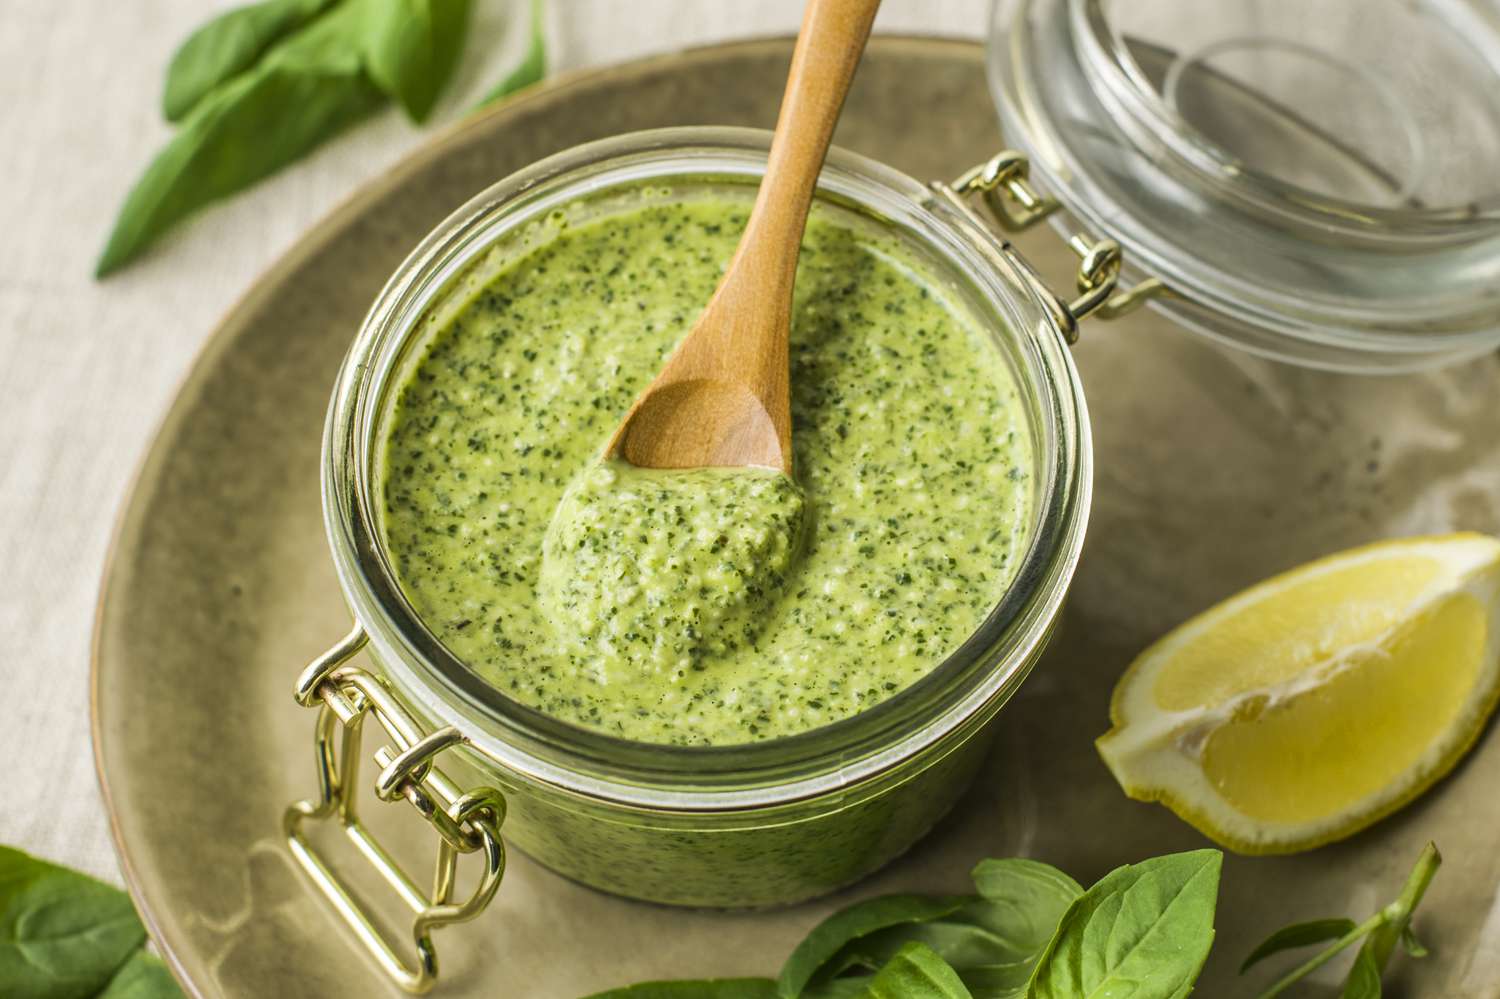
Ingredients for Sun-Drying Tomatoes
- Fresh tomatoes (preferably Roma or plum)
- Sea salt
- Olive oil (optional)
- Herbs (optional, such as basil, oregano, or thyme)
- Garlic (optional, thinly sliced)
- Cheesecloth or mesh screen
- Baking sheet or large tray
- Cooling rack (optional, for better air circulation)
- Lemon juice (optional, for added flavor)
Tools Needed for Traditional Sun-Drying
- Large trays or racks – Preferably made of stainless steel or food-grade plastic for spreading out produce.
- Cheesecloth or netting – To cover the produce, protecting it from insects and birds while allowing airflow.
- Kitchen scale – For measuring produce before and after drying to determine moisture loss.
- Paring knife – For peeling and slicing fruits or vegetables.
- Cutting board – A large one can accommodate lots of slices at once.
- Blanching equipment – A large pot and a blanching basket for vegetables that require blanching before drying.
- Tongs – For handling produce during blanching.
- Timer – To monitor blanching and drying times accurately.
- Thermometer – To check the temperature of the drying area, ensuring it's within the optimal range.
- Storage containers – Airtight containers or vacuum-seal bags for storing dried produce.
Sun-drying preserves food by removing moisture, preventing bacterial growth. Spread items evenly on a clean surface under direct sunlight, turning occasionally. Cover with mesh to protect from insects.
Why Use Traditional Sun-Drying Methods?
Sun-drying preserves food by removing moisture, which prevents bacterial growth. This method has been used for centuries, especially in regions with abundant sunlight. It’s a natural and cost-effective way to extend the shelf life of fruits, vegetables, and meats without using chemicals or preservatives.
Traditional sun-drying methods also retain the nutrients and flavors of food. By using the sun's energy, we reduce our carbon footprint and promote sustainable practices. This method connects us to ancestral techniques, fostering a deeper appreciation for nature and heritage.
Step-by-Step Guide to Sun-Drying
Exploring Traditional Sun-Drying Methods
-
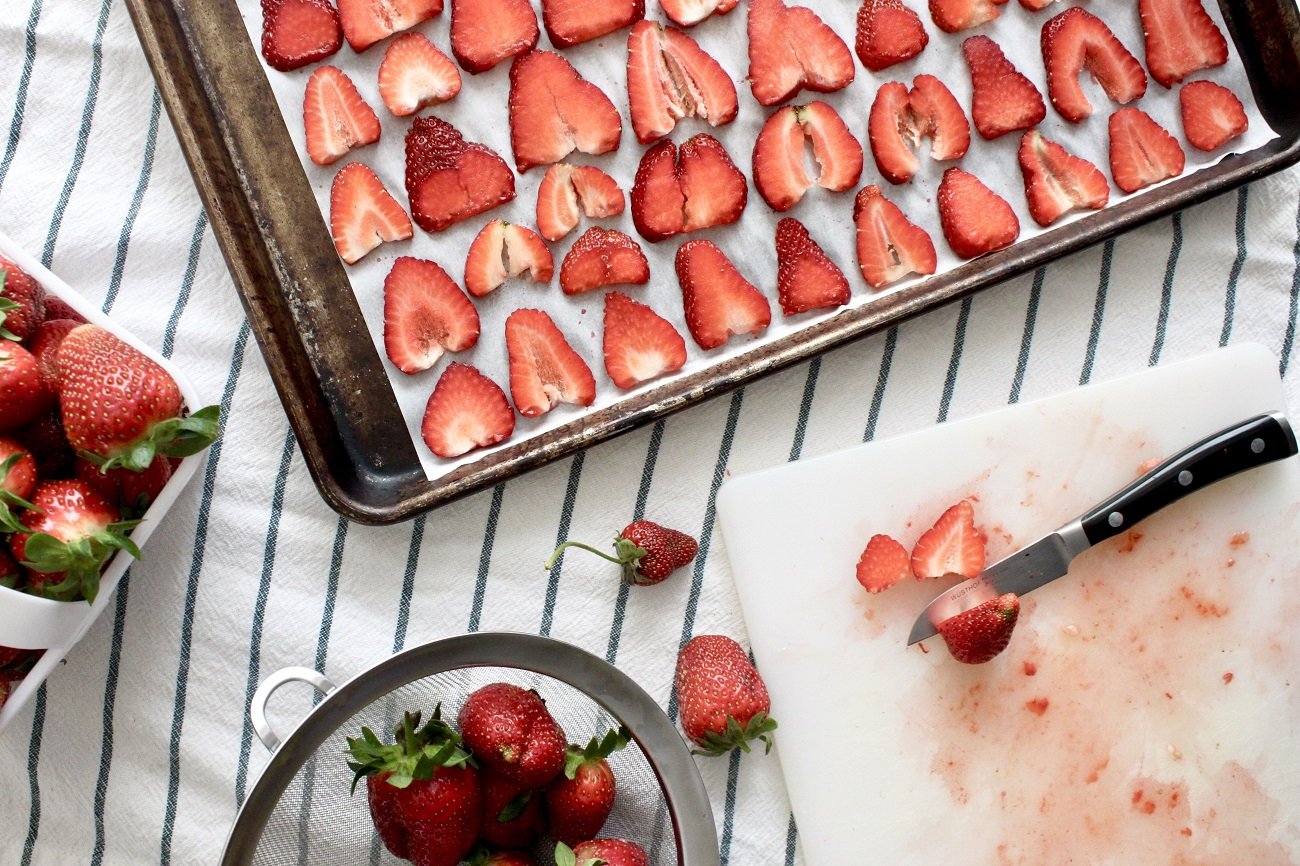
Select Fresh Produce
- Choose ripe, unblemished fruits or vegetables.
- Wash thoroughly to remove dirt and pesticides.
-
Prepare the Produce
- Peel and core fruits if necessary.
- Slice into uniform pieces for even drying.
- Blanch vegetables by boiling briefly, then cooling in ice water.
-
Pre-Treat the Produce
- Dip fruits in lemon juice or ascorbic acid solution to prevent browning.
- Soak vegetables in a saltwater solution to enhance flavor and preservation.
-
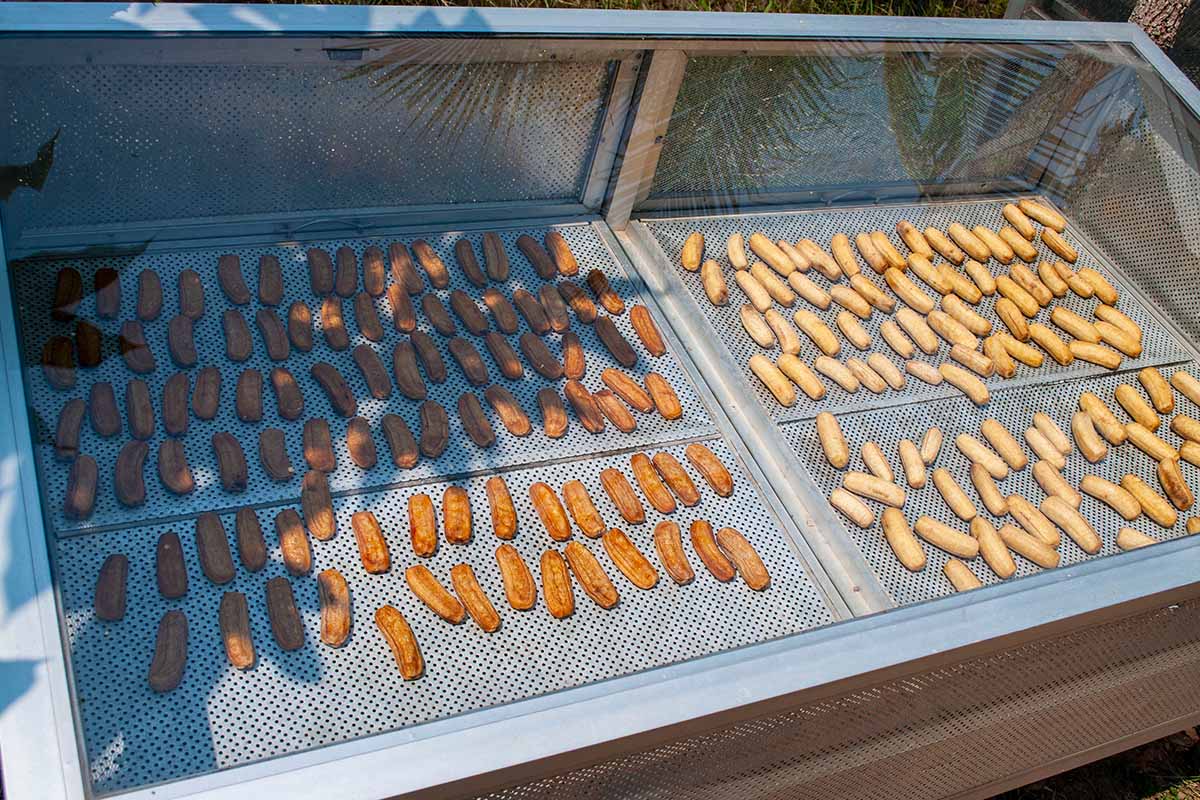
Set Up Drying Area
- Choose a sunny, dry location with good air circulation.
- Use a clean, flat surface like a screen or tray.
- Elevate the drying surface to allow air to circulate underneath.
-
Arrange the Produce
- Spread slices in a single layer on the drying surface.
- Ensure pieces do not touch to allow even drying.
-
Cover the Produce
- Use a thin cloth or mesh to protect from insects and debris.
- Secure the cover to prevent it from blowing away.
-
Monitor Drying Process
- Check daily for progress and turn pieces to ensure even drying.
- Remove any pieces that dry faster to avoid over-drying.
-
Test for Dryness
- Fruits should be pliable but not sticky.
- Vegetables should be brittle and snap easily.
-
Condition the Produce
- Place dried pieces in a large container.
- Shake daily for a week to distribute remaining moisture evenly.
-
Store Properly
- Use airtight containers to prevent moisture re-entry.
- Store in a cool, dark place to maintain quality.
-
Label and Date
- Mark containers with the type of produce and drying date.
- Use older batches first to ensure freshness.
-
Check Periodically
- Inspect for signs of moisture or spoilage.
- Re-dry if necessary to maintain quality.
-
Enjoy Your Dried Produce
- Use in cooking or as snacks.
- Share with friends and family.
Embracing the Sun's Power
Sun-drying is a timeless technique that preserves food naturally. This method not only retains the nutrients but also enhances the flavors of fruits, vegetables, and herbs. By using the sun's energy, you can reduce waste and enjoy seasonal produce year-round. It's a simple, cost-effective way to store food without relying on artificial preservatives.
To get started, all you need is some fresh produce, a sunny spot, and a bit of patience. Slice your fruits or vegetables thinly, lay them out on a clean surface, and let the sun work its magic. Remember to turn them occasionally for even drying.
Sun-drying connects us to traditional practices and offers a sustainable way to enjoy the bounty of nature. Give it a try and taste the difference. Happy drying!
Common Questions About Traditional Sun-Drying
What is sun-drying?
Sun-drying is a method of preserving food that uses solar energy to remove moisture from food items. This process not only extends shelf life but also concentrates flavors, making it a popular technique for fruits, vegetables, and herbs.
Why choose sun-drying over other drying methods?
Opting for sun-drying comes with a unique set of benefits. It's cost-effective since it relies on the natural power of the sun, reducing energy consumption. Plus, this method can enhance taste, bringing out a richer, more concentrated flavor in dried products.
Can any food be sun-dried?
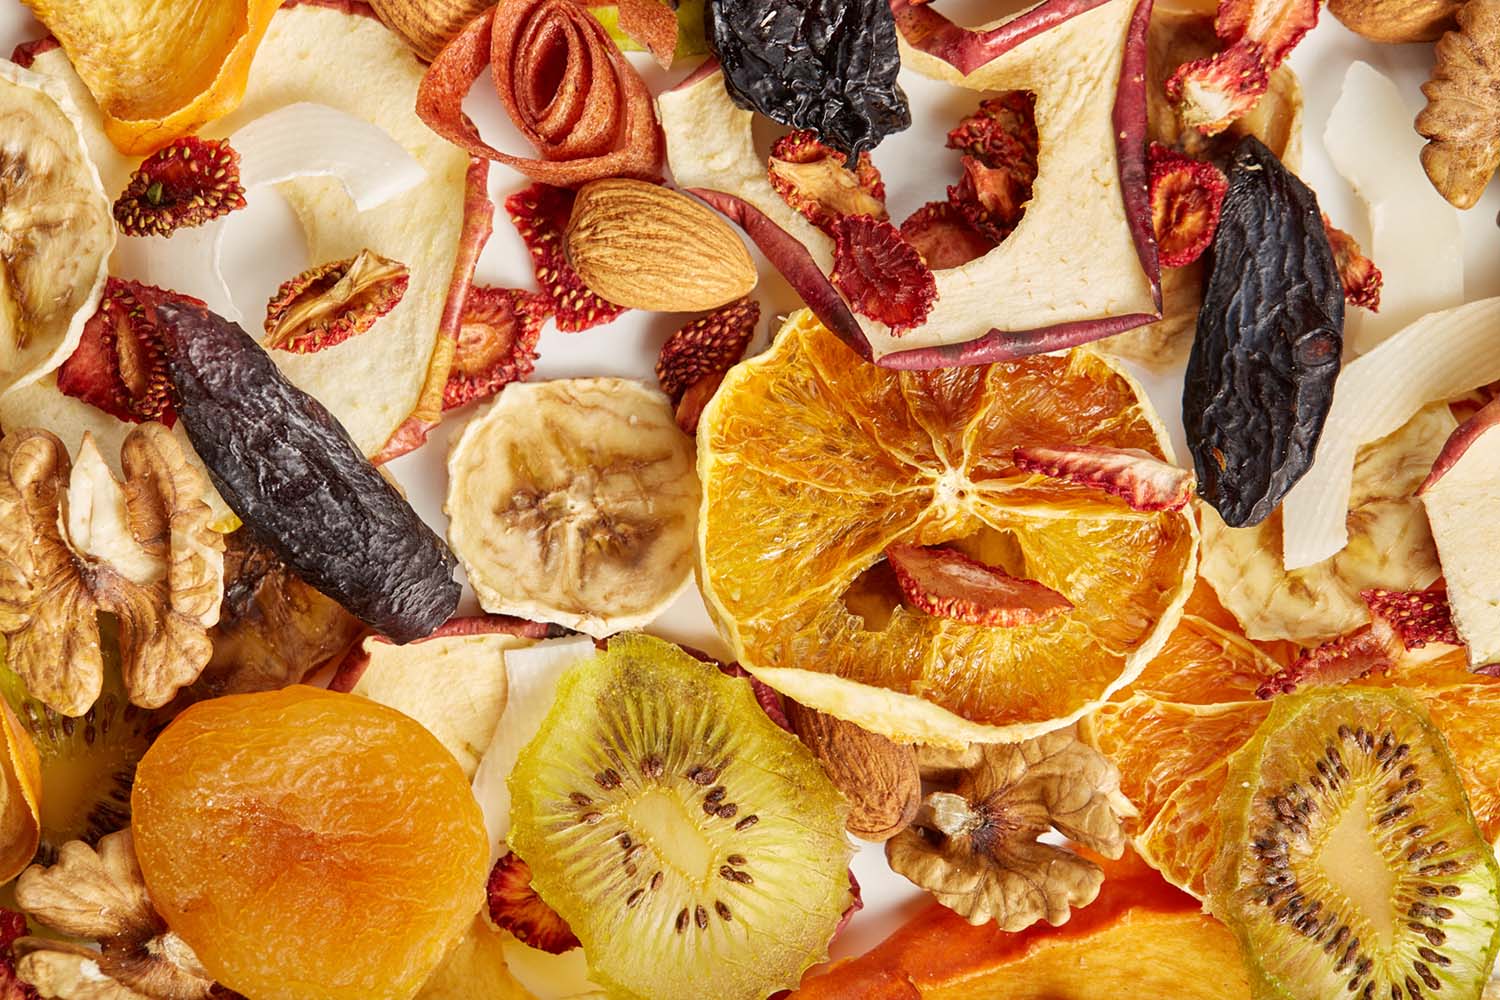
While many foods are suitable for sun-drying, not all will yield great results. Fruits like tomatoes, plums (to make prunes), and apricots are excellent choices. Herbs and some vegetables also dry well. However, meats are generally not recommended for sun-drying due to safety concerns without proper treatment.
How long does sun-drying take?
Duration for sun-drying varies widely depending on several factors, including the type of food, slice thickness, and weather conditions. Typically, it can take anywhere from a few days to a couple of weeks. Consistent, hot, dry weather speeds up the process.
What's the best way to prepare food for sun-drying?
Preparing food for sun-drying involves cleaning it thoroughly, slicing it into uniform pieces for even drying, and in some cases, blanching vegetables to preserve color and reduce drying time. For fruits, pretreating with ascorbic acid or lemon juice can prevent browning.
How do you ensure food dries safely in the sun?
To sun-dry food safely, use clean drying racks or screens, avoid direct contact with the ground, and cover food with a net or cheesecloth to protect against insects. Turning food periodically ensures even drying and bringing it indoors at night prevents moisture reabsorption.
Can sun-dried foods be stored long-term?
Yes, if properly dried and stored in airtight containers in a cool, dark place, sun-dried foods can last for several months. Checking periodically for signs of moisture or mold is crucial to ensure they remain safe to eat.
Was this page helpful?
Related Articles

Where Does Celtic Salt Come From?
How To Dehydrate Peppers Without A Dehydrator
How To Dehydrate Without Dehydrator
How To Dehydrate Food In The Sun
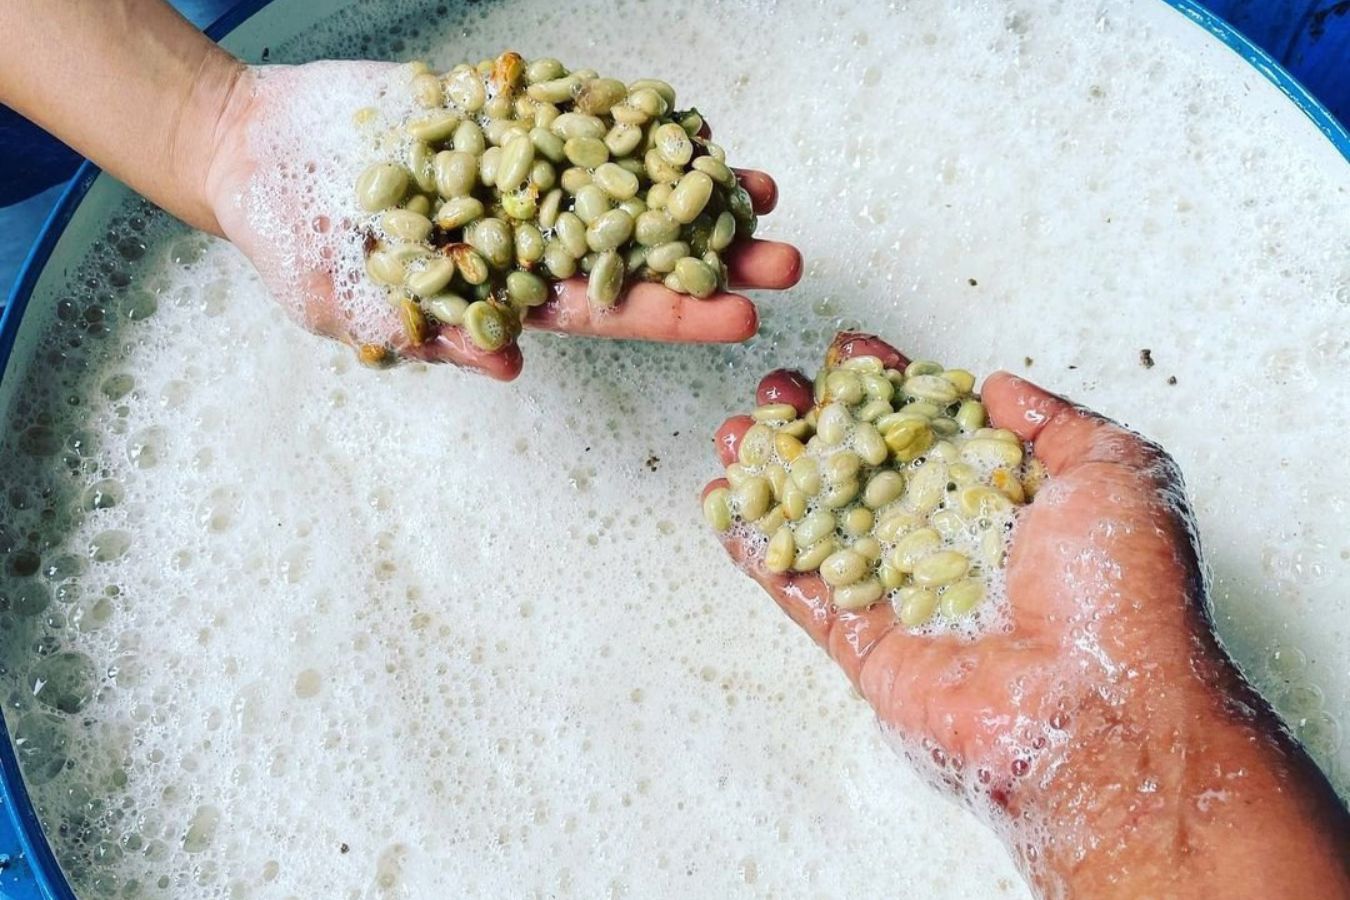
How To Ferment Coffee Beans
How To Dehydrate Food Forbackpacking
How To Dehydrate Fruits Without A Dehydrator
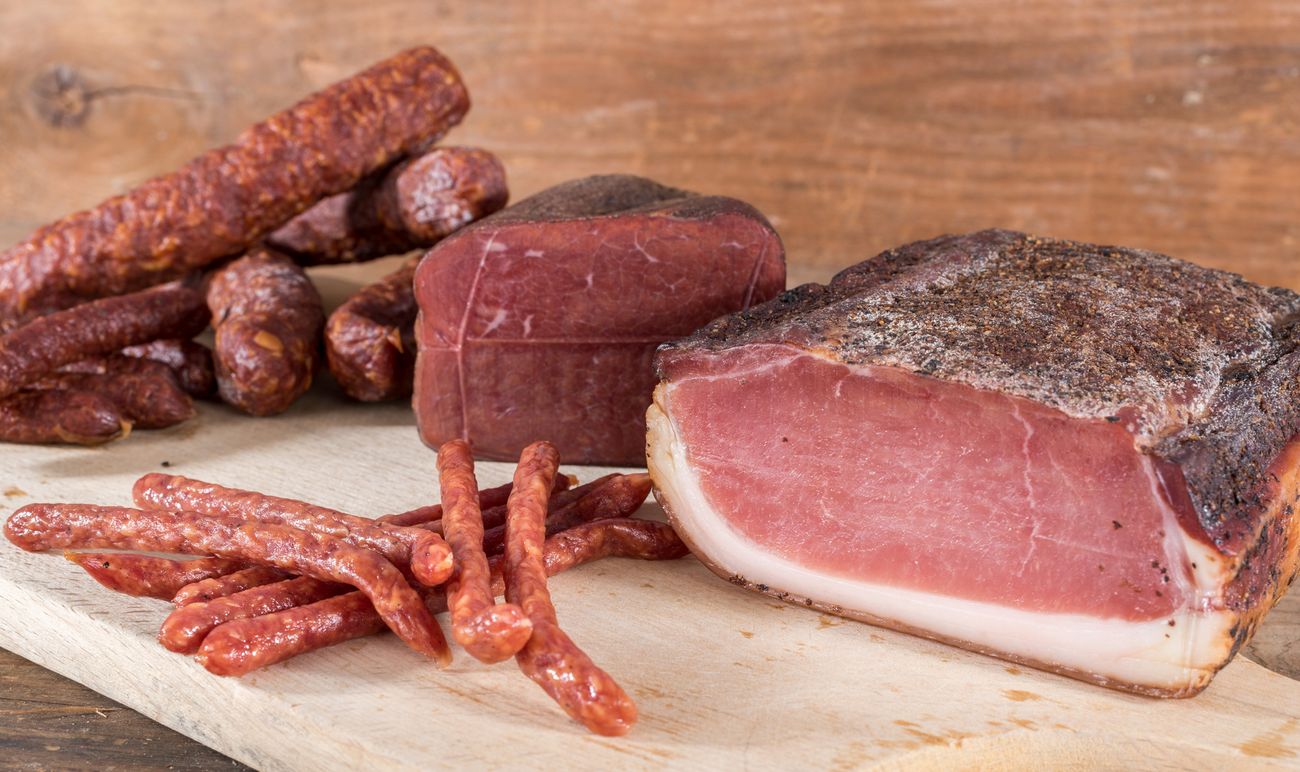
How To Cure Meat By Drying
What Is Northern Food?
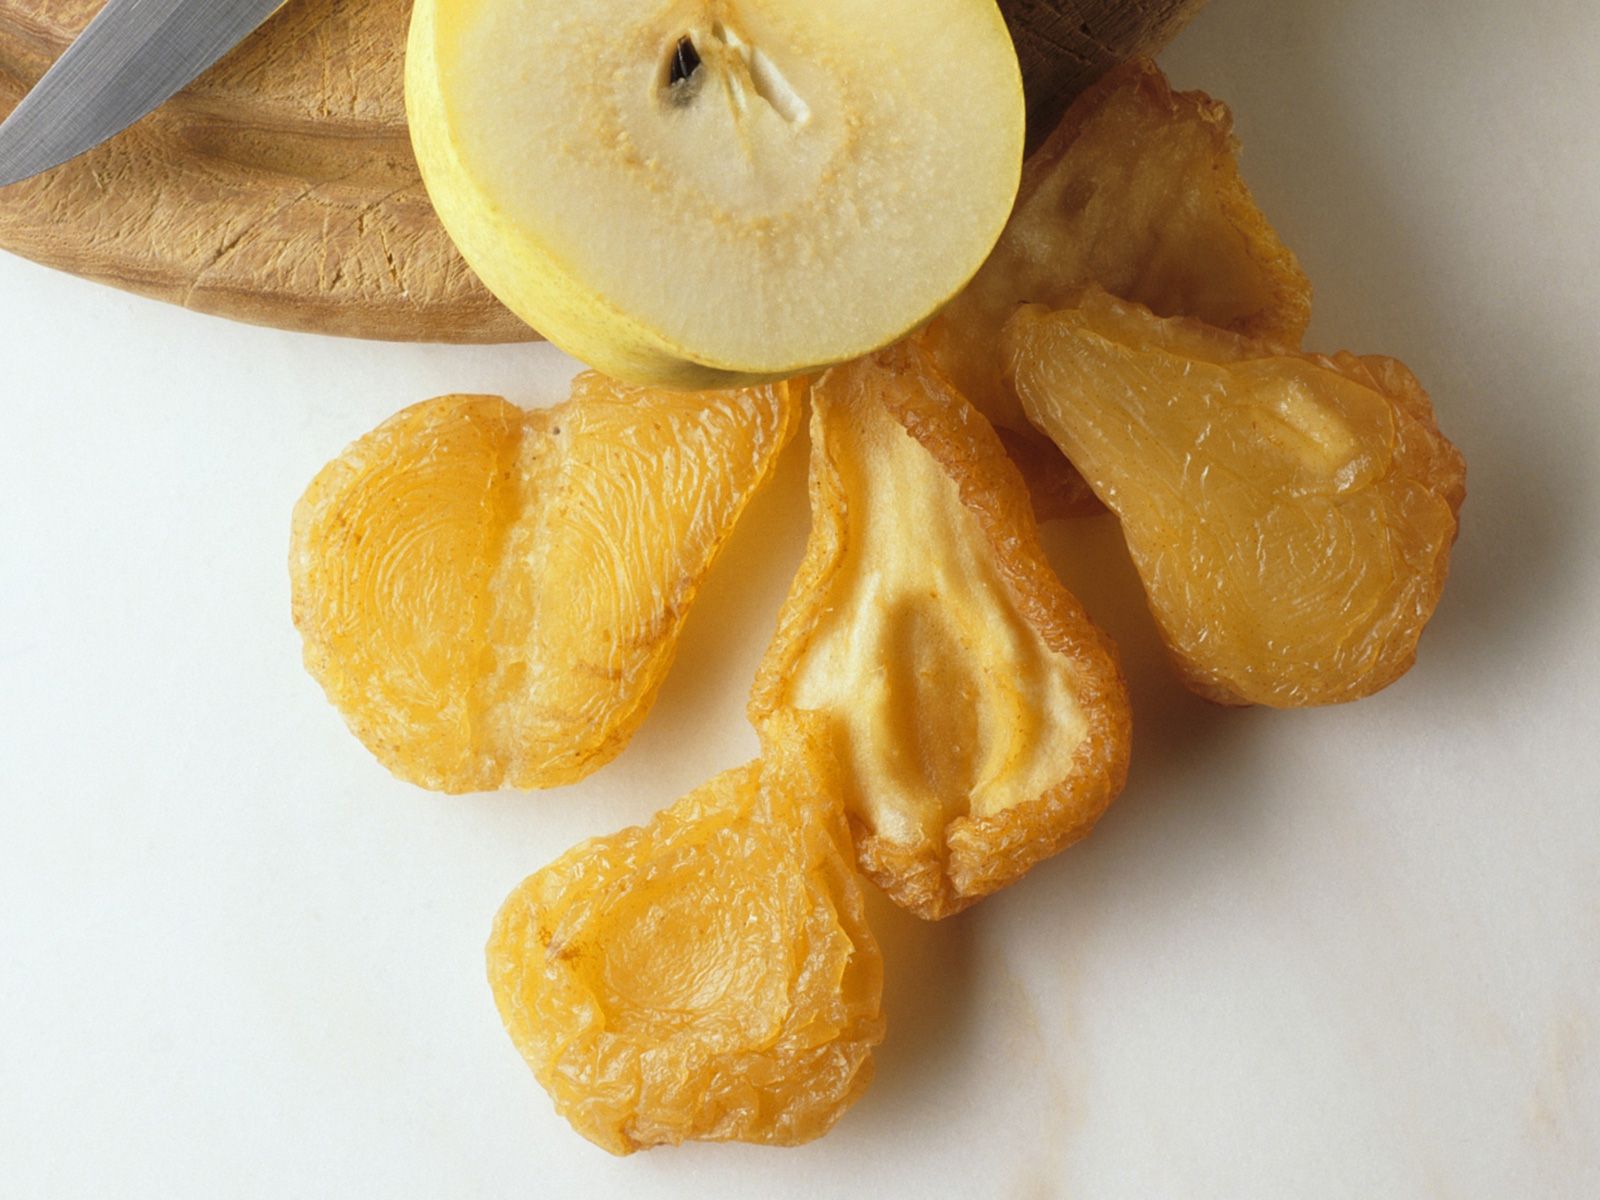
How To Dehydrate Pears In The Sun
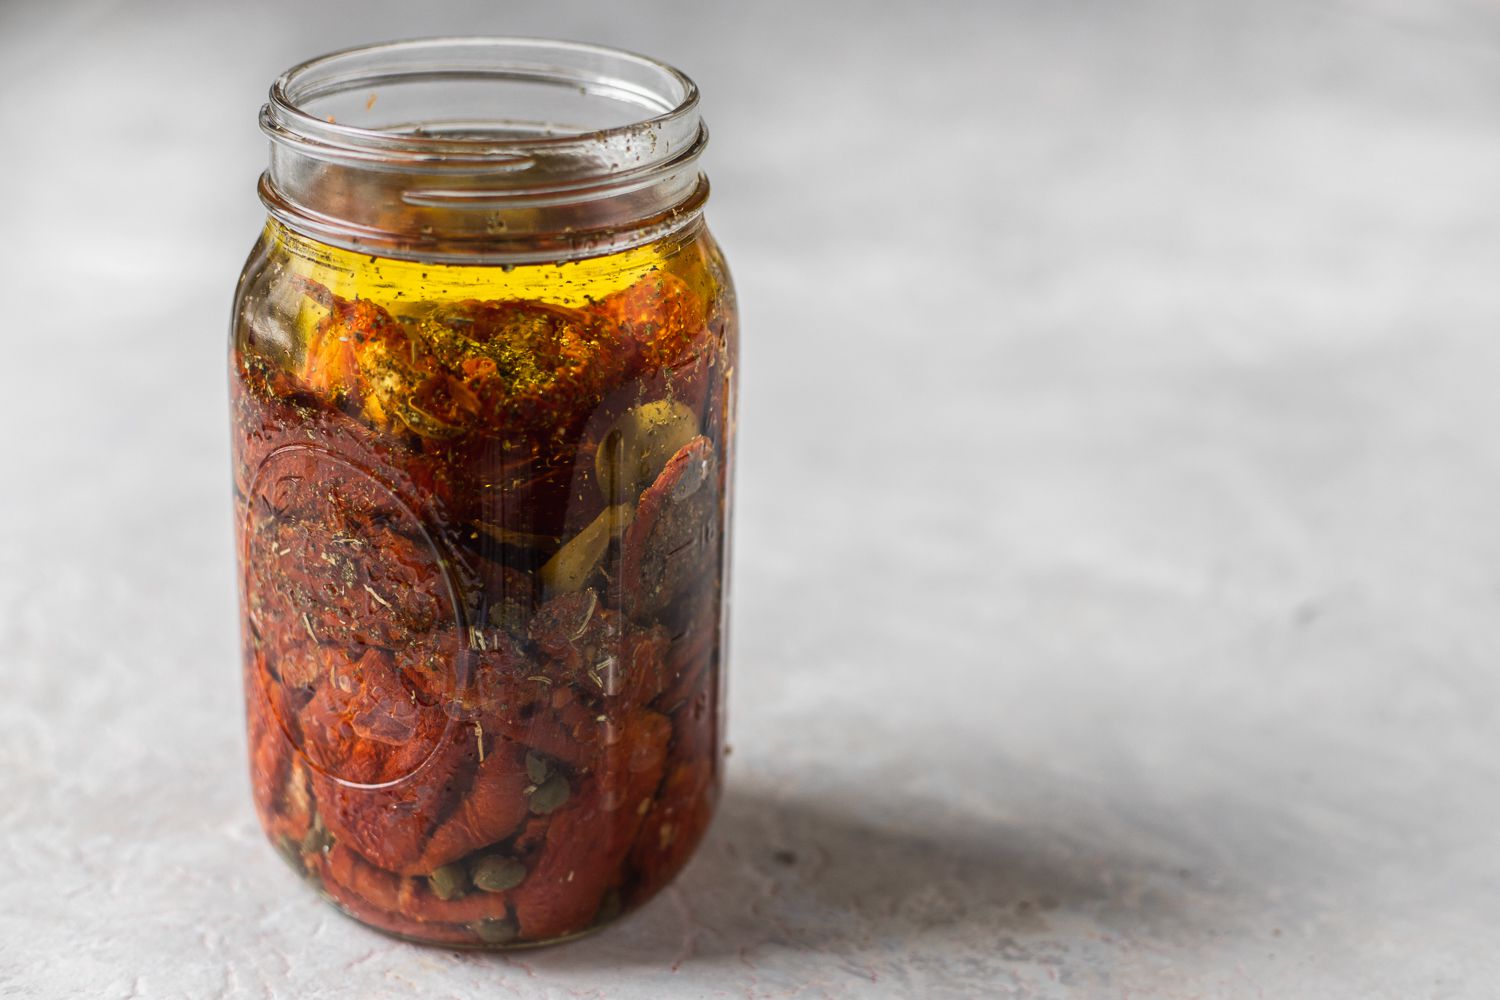
How To Cook Sun-Dried Tomatoes From A Jar