Preserving Freshness: How to Vacuum Seal Cookies
There’s nothing quite like the taste of freshly baked cookies. Whether you’ve spent hours perfecting the recipe or simply want to savor the flavor for as long as possible, vacuum sealing your cookies is a great way to preserve their freshness. By removing excess air and creating an airtight seal, you can extend the shelf life of your cookies and ensure they taste just as delicious days or even weeks later.
Why Vacuum Seal Cookies?
Vacuum sealing is a popular method for preserving food because it helps to prevent spoilage and maintain flavor and texture. When it comes to cookies, vacuum sealing offers several benefits:
- Extended Freshness: By removing air from the packaging, vacuum sealing helps to slow down the oxidation process, keeping your cookies fresh for longer periods.
- Protection from Moisture: Moisture can quickly lead to stale or soggy cookies. Vacuum sealing creates a barrier against moisture, helping to maintain the crispness of your treats.
- Convenient Storage: Vacuum-sealed cookies take up less space and can be easily stored in the pantry, freezer, or refrigerator, depending on the type of cookies and your storage needs.
How to Vacuum Seal Cookies
Vacuum sealing cookies is a straightforward process that can be done with a few simple tools. Here’s a step-by-step guide to help you preserve your favorite treats:
- Cool the Cookies: Before vacuum sealing, allow your cookies to cool completely. Sealing warm cookies can create condensation inside the packaging, which can affect their texture.
- Select the Right Packaging: Choose vacuum-seal bags or containers that are suitable for food storage. Make sure the packaging is clean and free from any moisture or crumbs that could interfere with the sealing process.
- Arrange the Cookies: Place the cookies in a single layer inside the vacuum-seal bag or container. Avoid overcrowding to ensure that the cookies maintain their shape and texture during the sealing process.
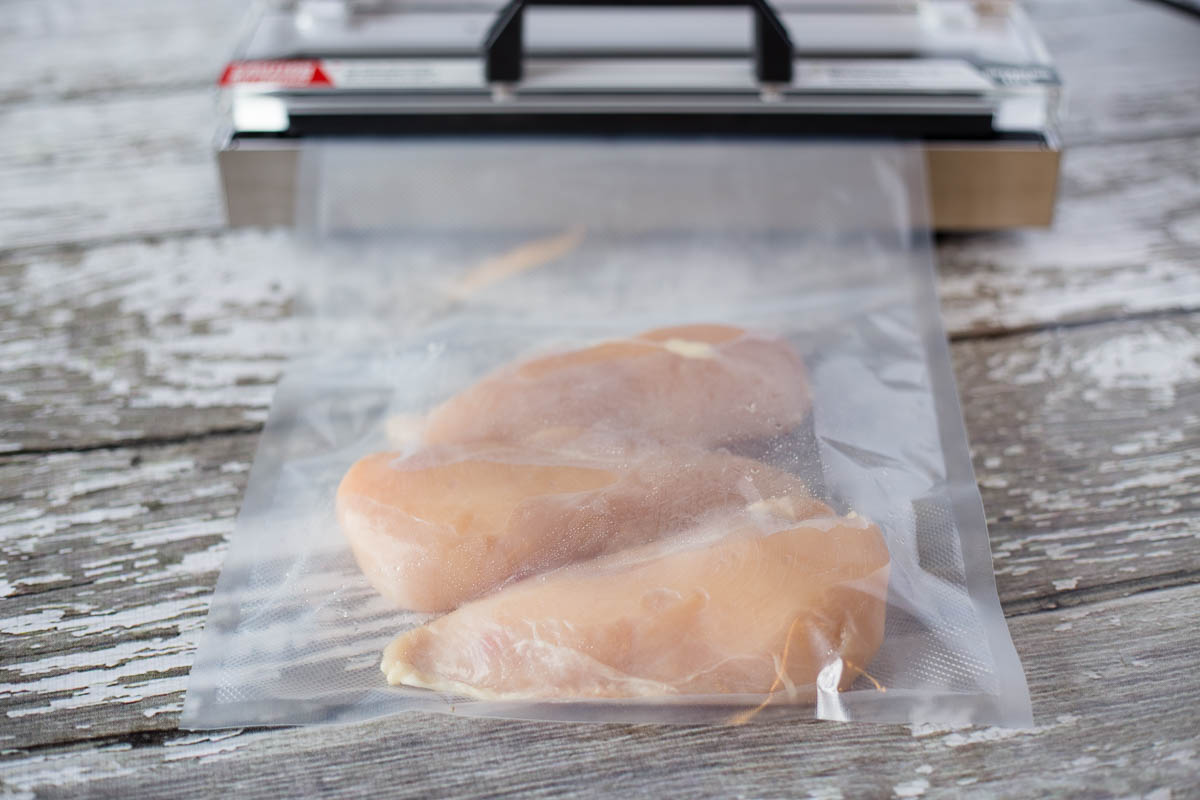
- Seal the Packaging: Follow the manufacturer’s instructions to seal the packaging. If using a vacuum-seal bag, use a vacuum sealing machine to remove the air and create a tight seal. For vacuum-seal containers, use the appropriate sealing mechanism to remove excess air.
- Label and Store: Once the cookies are vacuum sealed, label the packaging with the date and type of cookies. This will help you keep track of their freshness. Store the sealed cookies in a cool, dry place, such as the pantry or refrigerator, depending on the type of cookies and your storage preferences.
Tips for Vacuum Sealing Cookies
While vacuum sealing cookies is a simple process, there are a few tips to keep in mind to ensure the best results:
- Use Quality Packaging: Invest in high-quality vacuum-seal bags or containers to ensure a reliable seal and optimal protection for your cookies.
- Avoid Overfilling: When filling the packaging with cookies, leave enough space to create a proper seal. Overfilling can make it difficult to remove air and may compromise the seal.
- Consider Freezing: If you plan to store the cookies for an extended period, consider freezing them after vacuum sealing. Frozen vacuum-sealed cookies can maintain their freshness for several months.
- Monitor Freshness: Periodically check the sealed cookies for any signs of air leakage or staleness. If the seal is compromised, consider resealing the packaging to maintain freshness.
Enjoy Freshness with Vacuum-Sealed Cookies
Whether you’re planning to gift homemade cookies, stock up on your favorite treats, or simply want to make the most of your baking efforts, vacuum sealing is a practical and effective way to extend the shelf life of your cookies. By following the steps outlined above and keeping a few key tips in mind, you can enjoy the delicious taste of freshly baked cookies for longer, ensuring that every bite is just as delightful as the first.
Was this page helpful?
Read Next: How To Vacuum Seal Food
