Certainly! Here's the HTML-formatted blog post on How To Smoke Meat In An Electric Roaster:
Smoking Meat in an Electric Roaster Made Easy
Smoking meat is a time-honored tradition that infuses a rich, smoky flavor into your favorite cuts. While traditional smokers are popular for this purpose, using an electric roaster can be a convenient and effective alternative. Whether you’re a seasoned pitmaster or a novice cook, smoking meat in an electric roaster is a straightforward process that yields delicious results.
Choosing the Right Meat
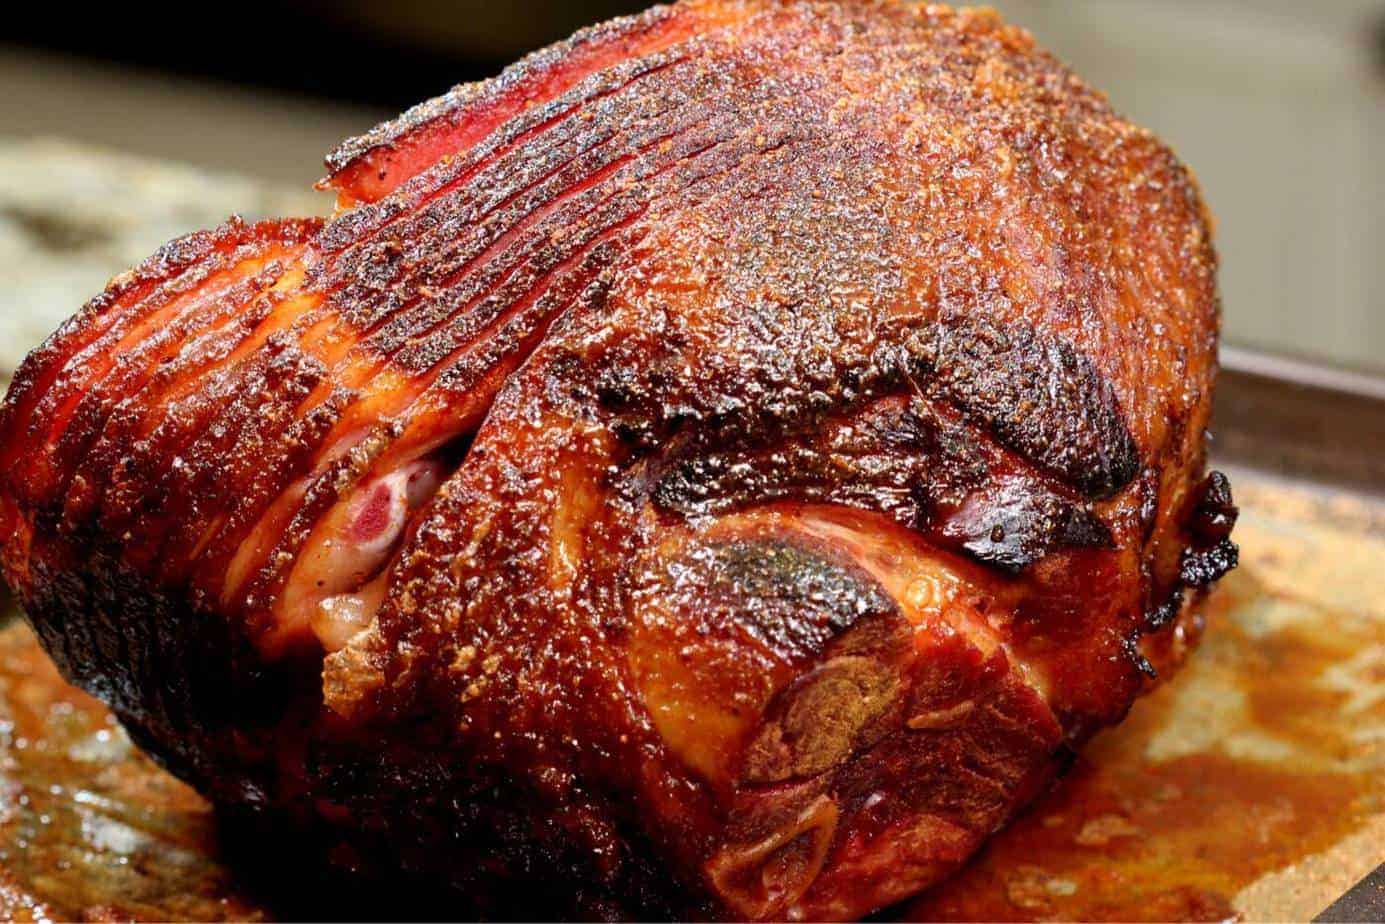
Before you start smoking meat in your electric roaster, it’s essential to select the right type of meat. Fatty cuts such as pork shoulder, beef brisket, and ribs are ideal for smoking as they can withstand the long cooking process and absorb the smoky flavor beautifully. Additionally, consider the size of the meat to ensure it fits comfortably in your electric roaster without overcrowding.
Preparing the Meat
Properly preparing the meat is crucial to achieving a flavorful and tender result. Here are the essential steps to prepare the meat for smoking:
- Trim excess fat: While some fat is desirable for flavor, trimming any excessive fat helps prevent flare-ups and allows the smoke to penetrate the meat evenly.
- Season generously: Use your favorite dry rub or marinade to season the meat, ensuring that the flavors complement the smokiness that will develop during the cooking process.
- Let it rest: After seasoning, allow the meat to rest at room temperature for about 30 minutes to allow the flavors to penetrate the meat.
Setting Up the Electric Roaster
Now that your meat is prepared, it’s time to set up your electric roaster for smoking. Follow these steps to ensure that your electric roaster is ready for the smoking process:
- Insert the wood chips: Place a handful of wood chips in the bottom of the roaster, ensuring that they are evenly distributed.
- Preheat the roaster: Set the electric roaster to the desired smoking temperature, typically around 225°F to 250°F (107°C to 121°C).
- Use a water pan: Fill the water pan with hot water to help regulate the temperature and maintain moisture during the smoking process.
Smoking the Meat
With the electric roaster preheated and ready, it’s time to start smoking the meat. Follow these steps to ensure a successful smoking process:
- Place the meat in the roaster: Carefully place the seasoned meat on the rack inside the electric roaster, ensuring that there is enough space around each piece for the smoke to circulate.
- Add more wood chips: As the smoking process continues, periodically add more wood chips to maintain a steady flow of smoke.
- Monitor the temperature: Keep an eye on the temperature gauge and make adjustments to the roaster’s settings as needed to maintain the desired smoking temperature.
Finishing and Serving
Once the meat has reached the desired level of smokiness and tenderness, it’s time to finish and serve your delicious smoked creation. Here are the final steps:
- Rest the meat: Remove the smoked meat from the electric roaster and let it rest for a few minutes to allow the juices to redistribute.
- Slice and enjoy: Slice the smoked meat against the grain and serve it with your favorite sides and sauces for a mouthwatering meal that’s sure to impress.
Smoking meat in an electric roaster is a rewarding cooking method that allows you to enjoy the rich, smoky flavors of barbecue in the comfort of your own kitchen. With the right techniques and a bit of patience, you can achieve outstanding results that will have your friends and family coming back for more.
So, fire up your electric roaster, select your favorite cut of meat, and get ready to embark on a flavorful journey into the world of smoked meats!
Was this page helpful?
Read Next: How To Smoke Cornish Hens On Pellet Grill
