Seasoning Your Banneton Basket: A Step-By-Step Guide
So, you’ve just purchased a brand new banneton basket and you’re excited to start using it for your homemade bread. But before you can start proofing your dough in this handy tool, it’s important to properly season it. Seasoning a banneton basket helps to prevent the dough from sticking to the sides and creates a beautiful, artisanal design on your bread. Here’s a step-by-step guide on how to season your banneton basket:
Step 1: Gather Your Materials
Before you begin the seasoning process, make sure you have all the necessary materials on hand. You will need:
- Unbleached flour
- A soft-bristled brush
- A clean, dry cloth
Step 2: Dust the Basket
Start by dusting the inside of the banneton basket with a generous amount of unbleached flour. Use your soft-bristled brush to ensure that the flour gets into all the nooks and crannies of the basket. This will create a thin layer of flour on the surface, which will help to prevent the dough from sticking during the proofing process.
Step 3: Remove Excess Flour
Once the basket is thoroughly dusted, gently tap it on the side to remove any excess flour. You want a thin, even coating of flour on the inside of the basket, so be sure to remove any clumps or excess flour that may be lingering.
Step 4: Let the Basket Rest
After dusting and removing excess flour, allow the banneton basket to rest for about 12-24 hours. This will give the flour a chance to adhere to the surface of the basket, creating a natural non-stick coating.
Step 5: Wipe Away Excess Flour
After the resting period, use a clean, dry cloth to gently wipe away any remaining flour from the surface of the basket. You want to remove any loose flour, leaving behind only the thin layer that has adhered to the basket.
Step 6: Repeat as Needed
Depending on the type of dough you plan to proof in the banneton basket, you may need to repeat the seasoning process a few times to build up a good layer of flour. Heavier, wetter doughs may require more seasoning to prevent sticking.
Once your banneton basket is properly seasoned, it’s ready to use for proofing your favorite bread recipes. With the right care and attention, your banneton basket can become a beloved tool in your bread-making arsenal, helping you to achieve beautifully shaped, artisan-style loaves.
Remember, the key to successful seasoning is patience and attention to detail. By following these steps, you can ensure that your banneton basket is well-prepared for all your future bread-baking endeavors.
Happy baking!
Was this page helpful?
Read Next: How To Season Vitaclay Slow Cooker
Related Articles
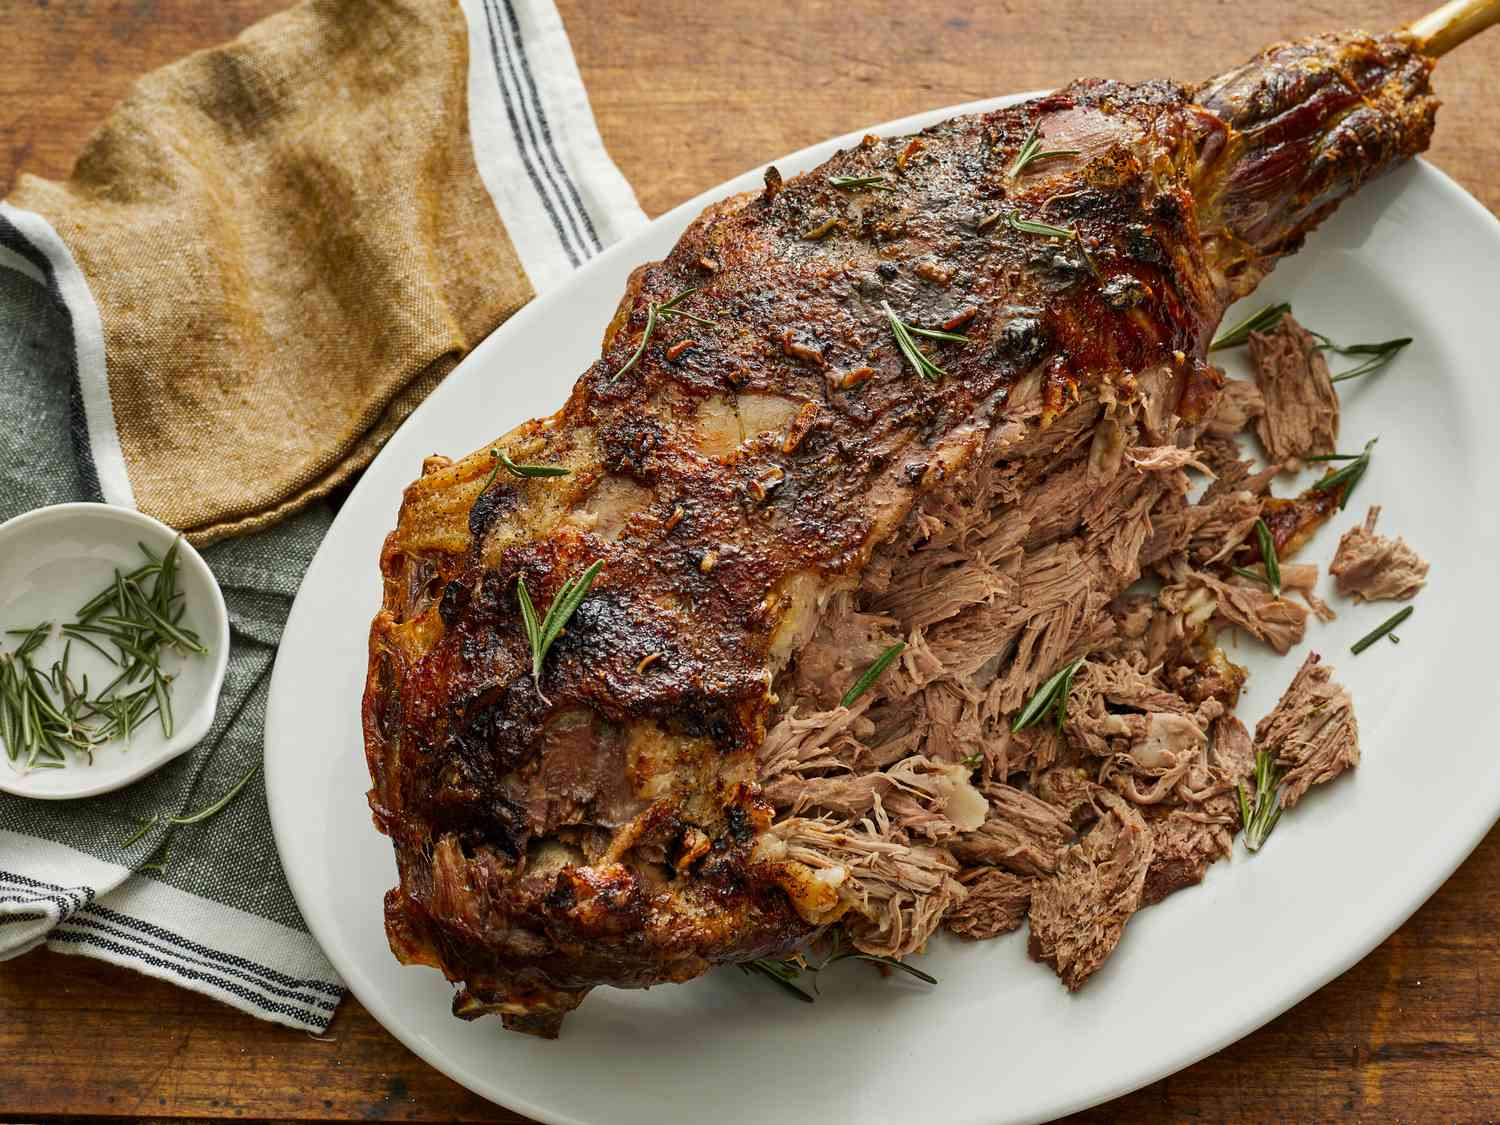
How To Season Lamb Leg
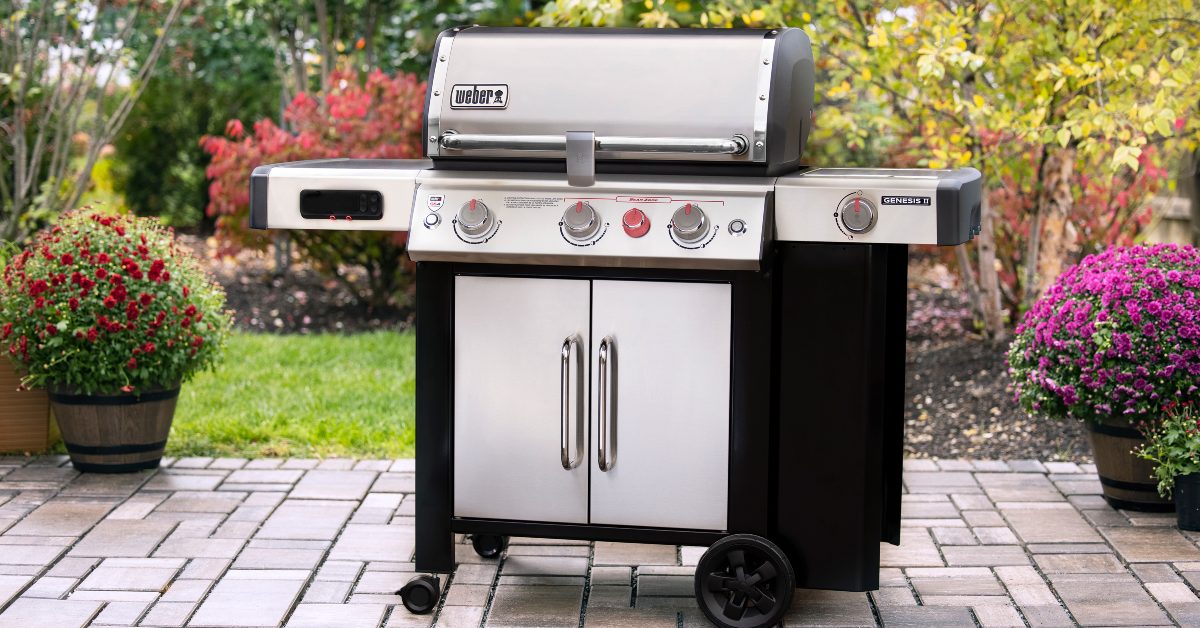
How To Season New Weber Grill
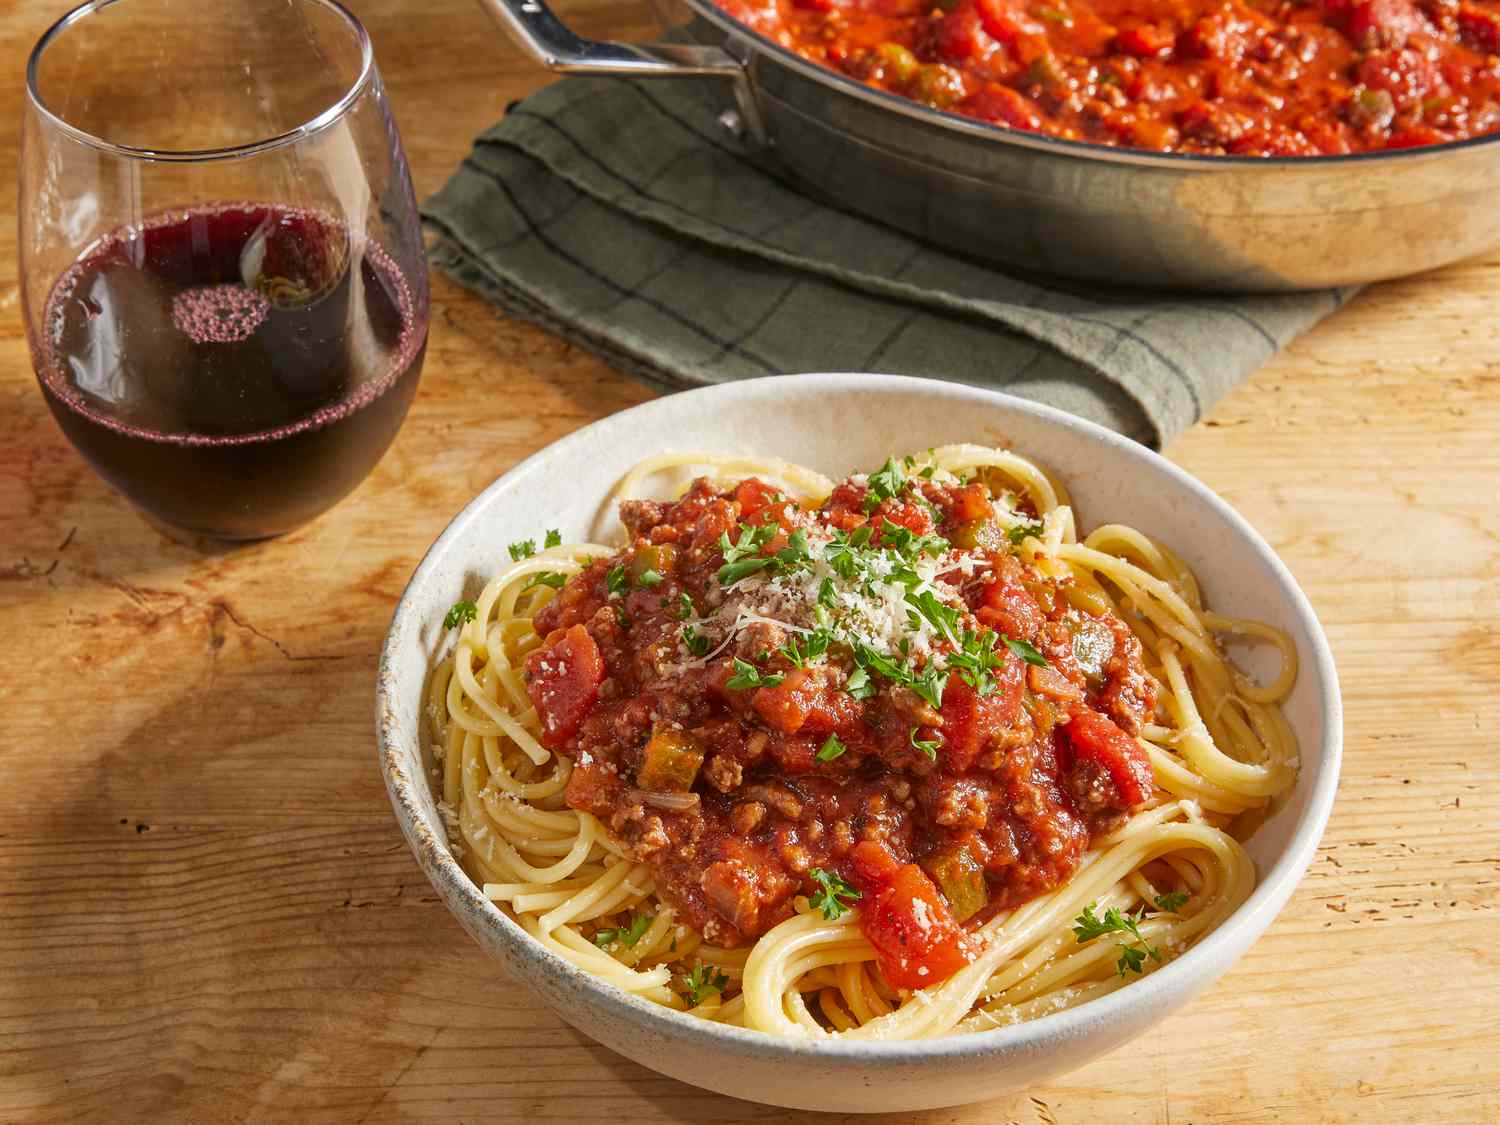
How To Season Hamburger Meat For Spaghetti
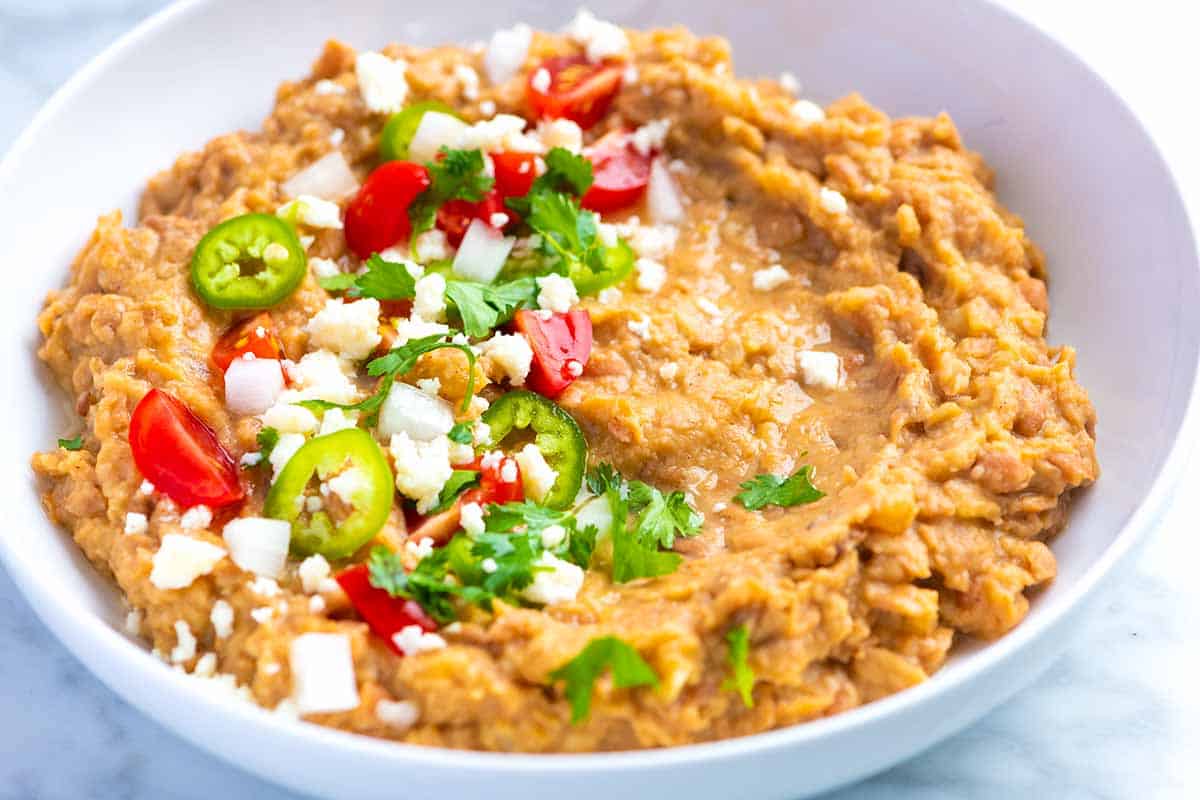
How To Season And Soften Canned Refried Beans
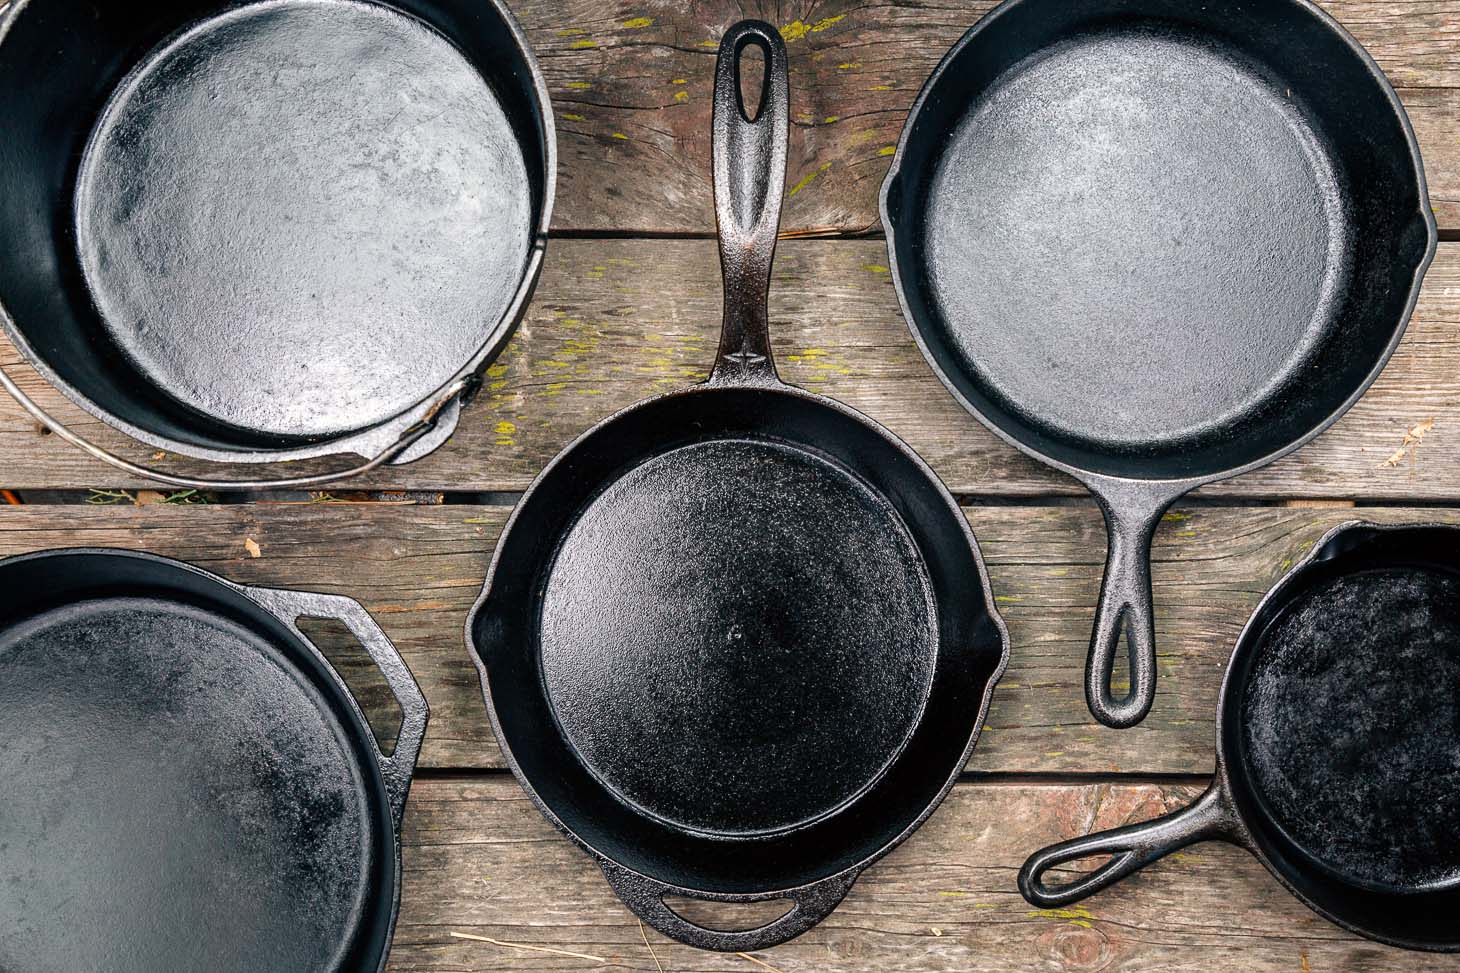
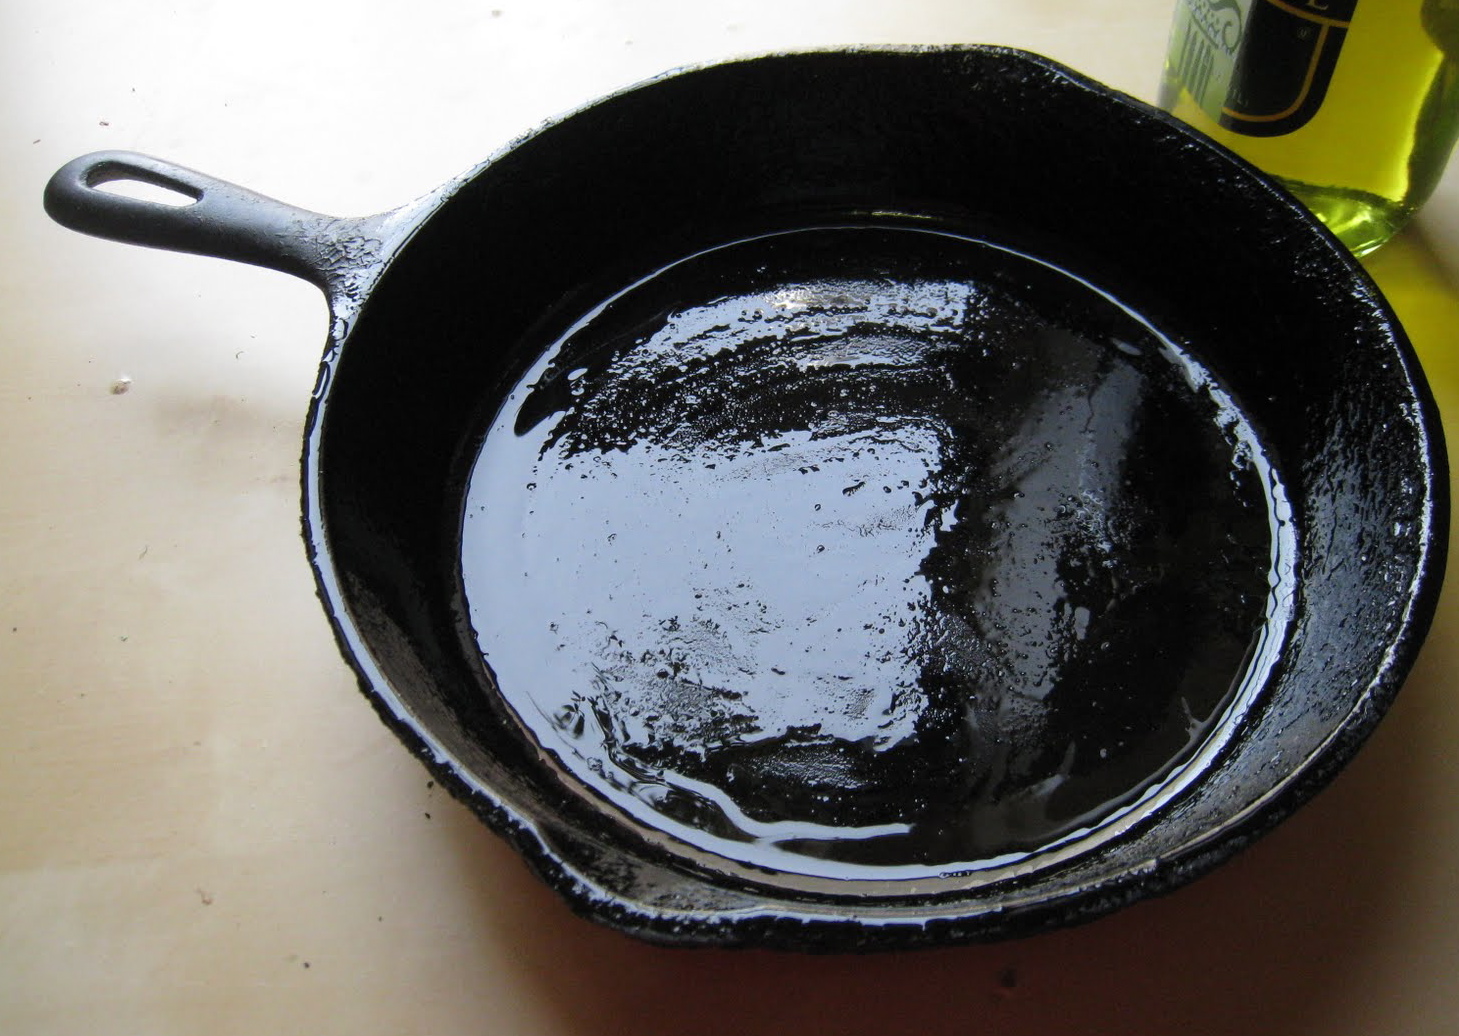
How To Season Calphalon Cast Iron?
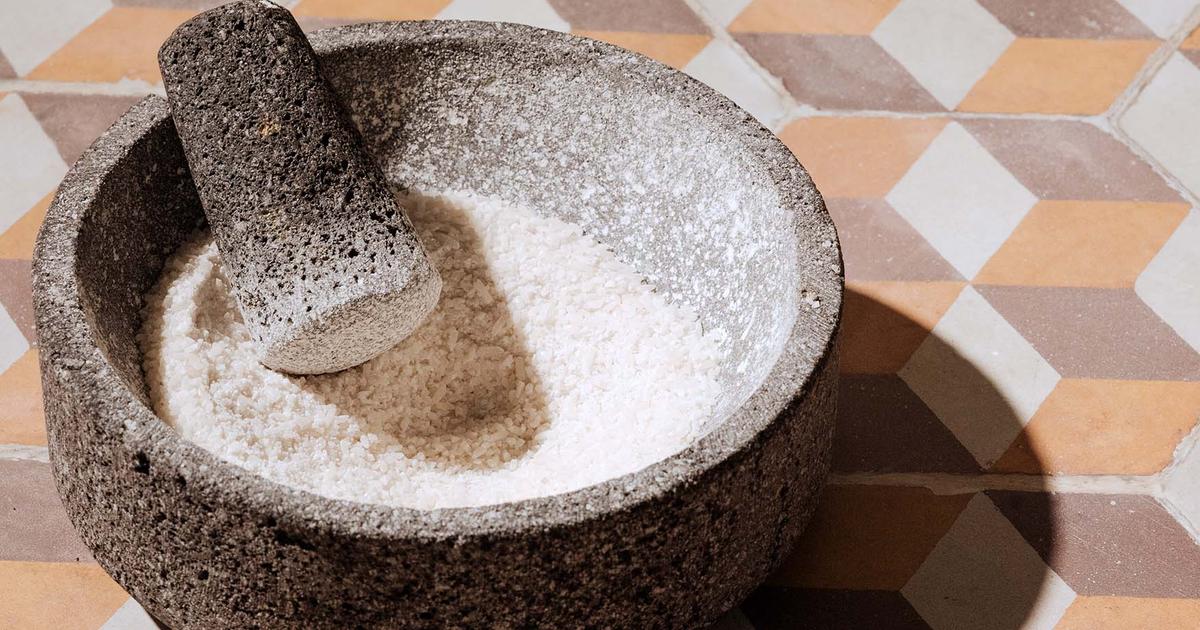
How To Season Molcajete
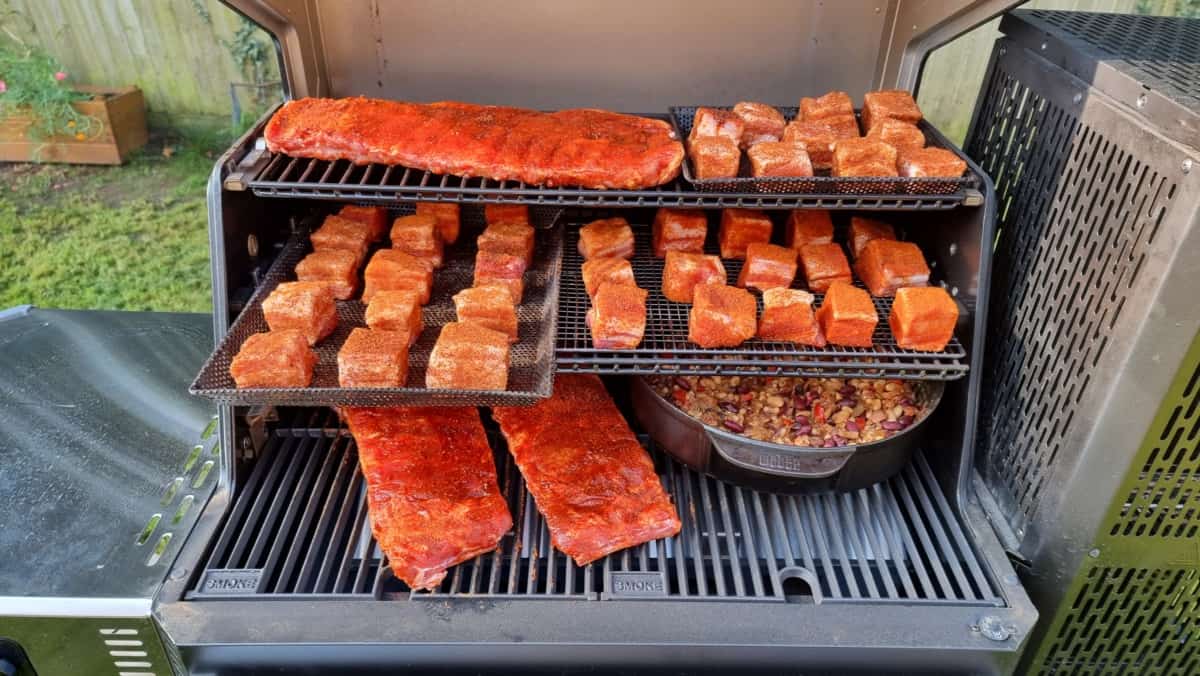
How To Season Masterbuilt 1050
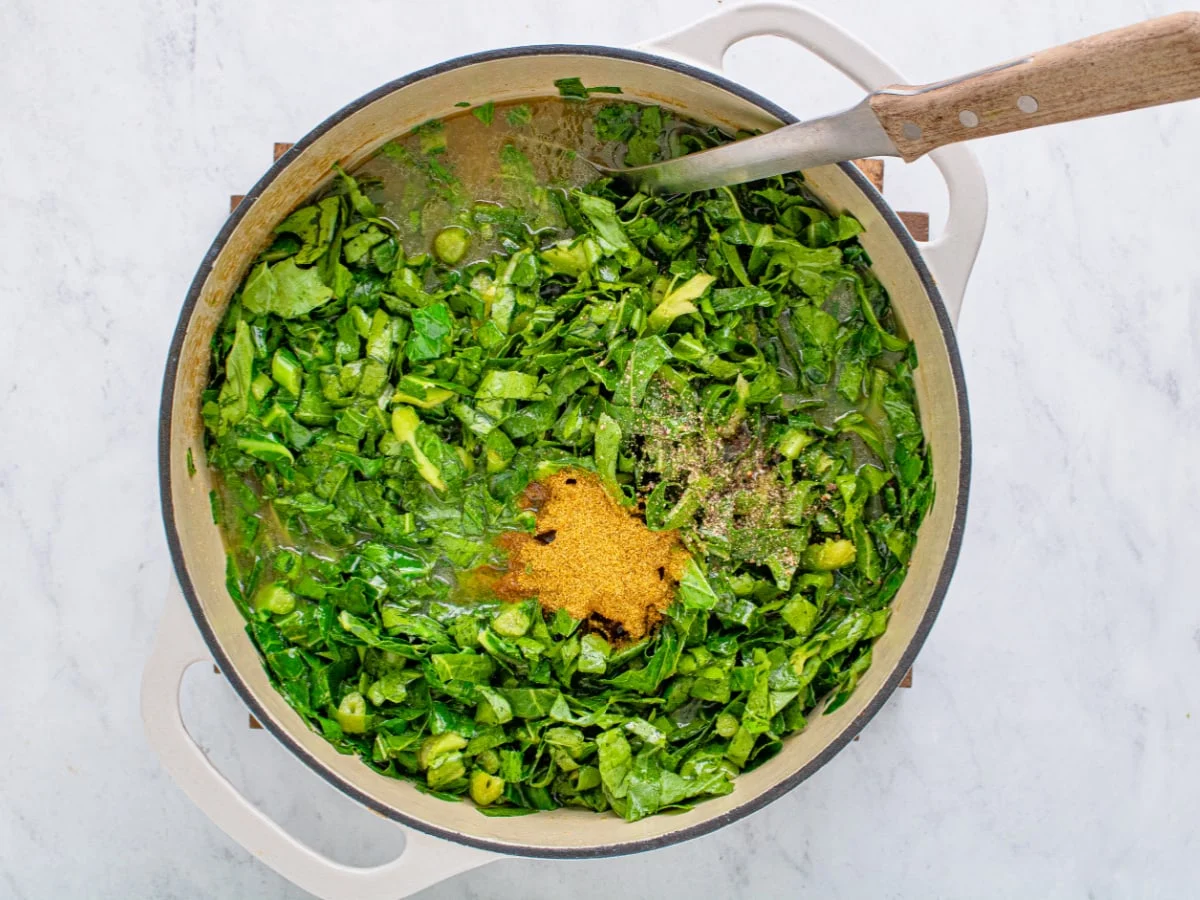
How To Season Frozen Collard Greens
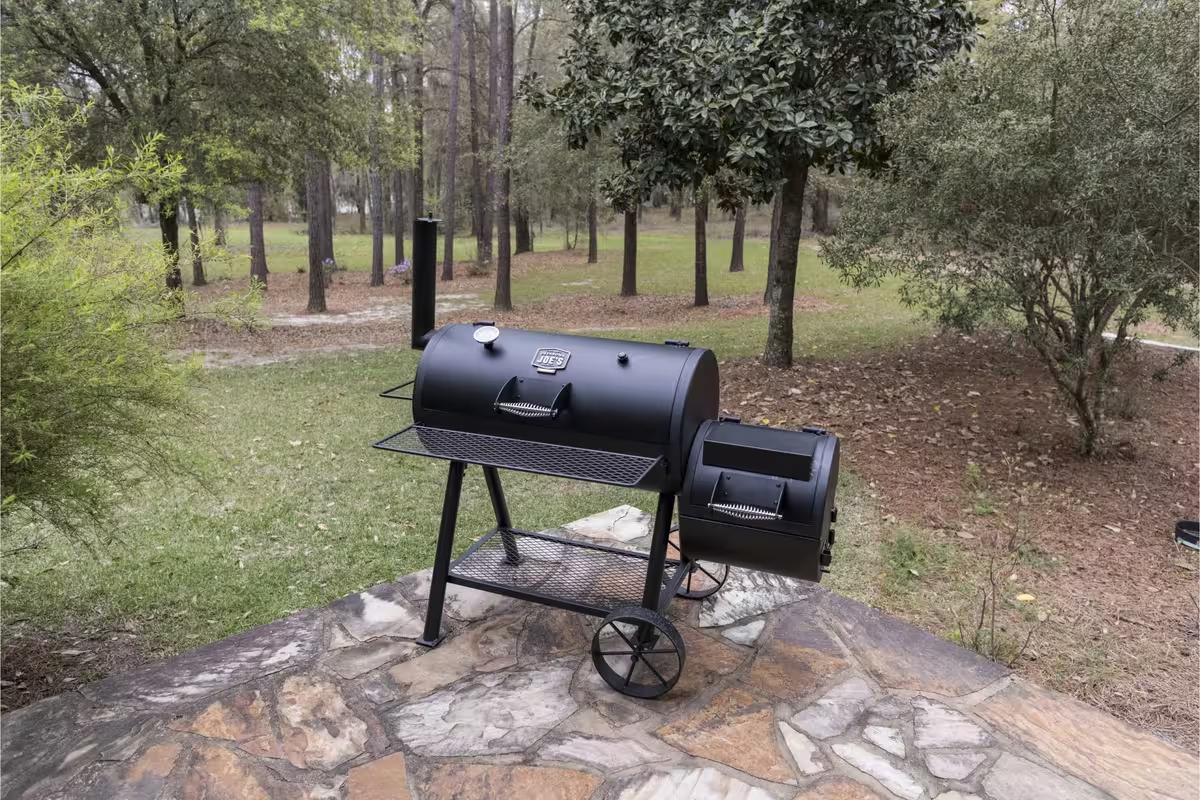
How To Season Oklahoma Joe Smoker
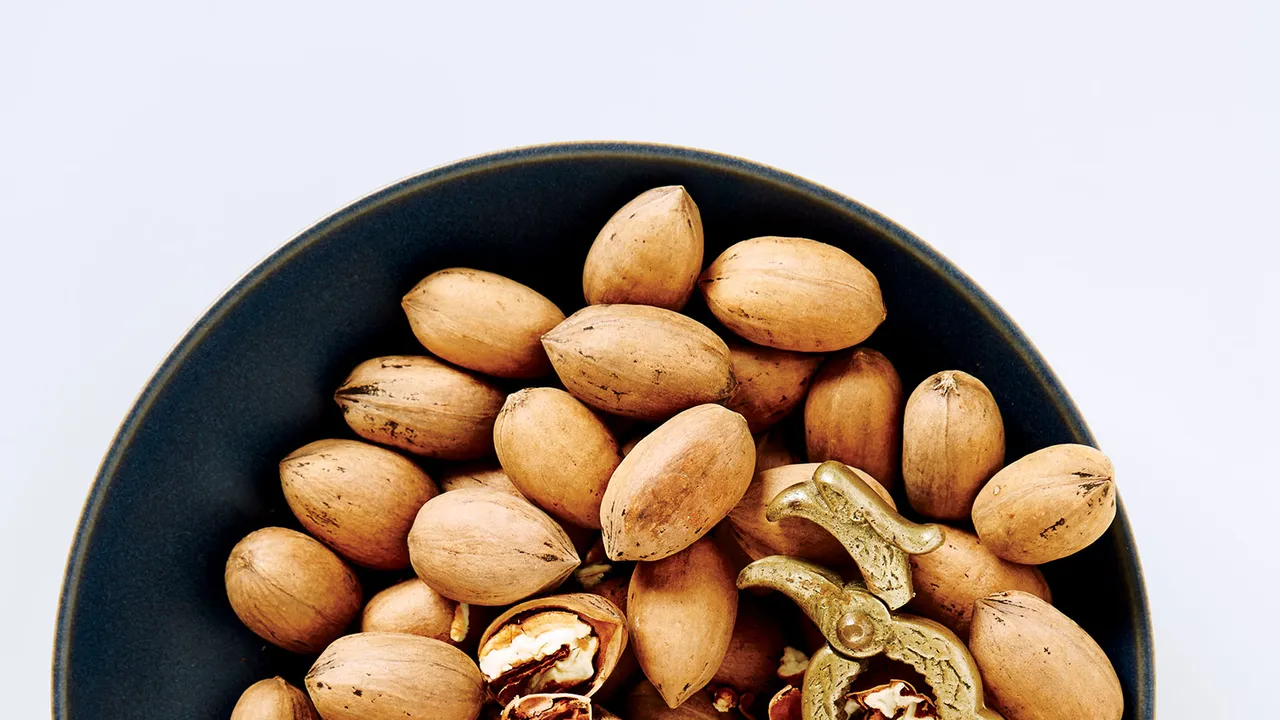
How To Season Nuts At Home
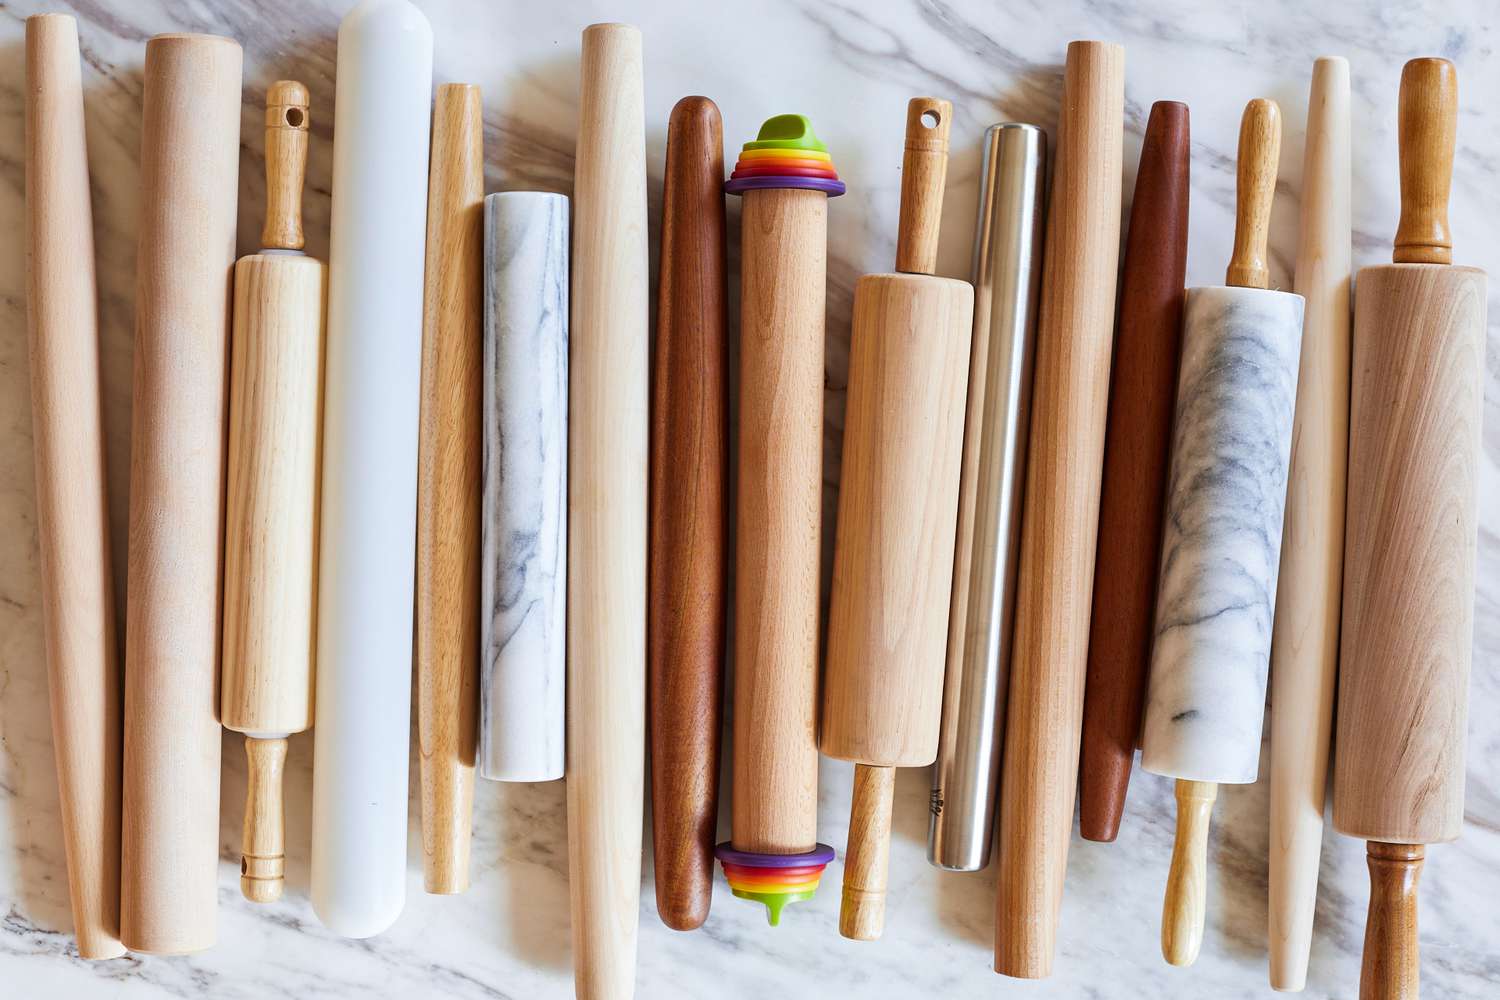
How To Season A Wood Rolling Pin