Sure, here's a blog post on how to grind Himalayan salt using HTML formatting:
Grinding Himalayan Salt: A Guide to Enhancing Your Culinary Experience
Are you looking to add a touch of exotic flavor to your dishes? Himalayan salt is a popular choice for seasoning due to its unique taste and rich mineral content. However, using whole Himalayan salt crystals may not always be practical for certain recipes. That’s where grinding the salt comes in. In this guide, we’ll walk you through the process of grinding Himalayan salt to elevate your culinary creations.
Why Grind Himalayan Salt?
Grinding Himalayan salt offers several benefits:
- Enhanced Flavor: Grinding the salt releases its natural minerals and imparts a more intense flavor to your dishes.
- Customizable Texture: By grinding the salt to your desired consistency, you can tailor it to suit different recipes and personal preferences.
- Even Distribution: Finely ground Himalayan salt disperses more evenly throughout your food, ensuring a consistent taste in every bite.
Tools for Grinding Himalayan Salt
Before you start grinding Himalayan salt, you’ll need the right tools:
- Salt Grinder: Invest in a high-quality salt grinder specifically designed for grinding coarse salts like Himalayan salt. Look for a grinder with adjustable settings to control the coarseness of the grind.
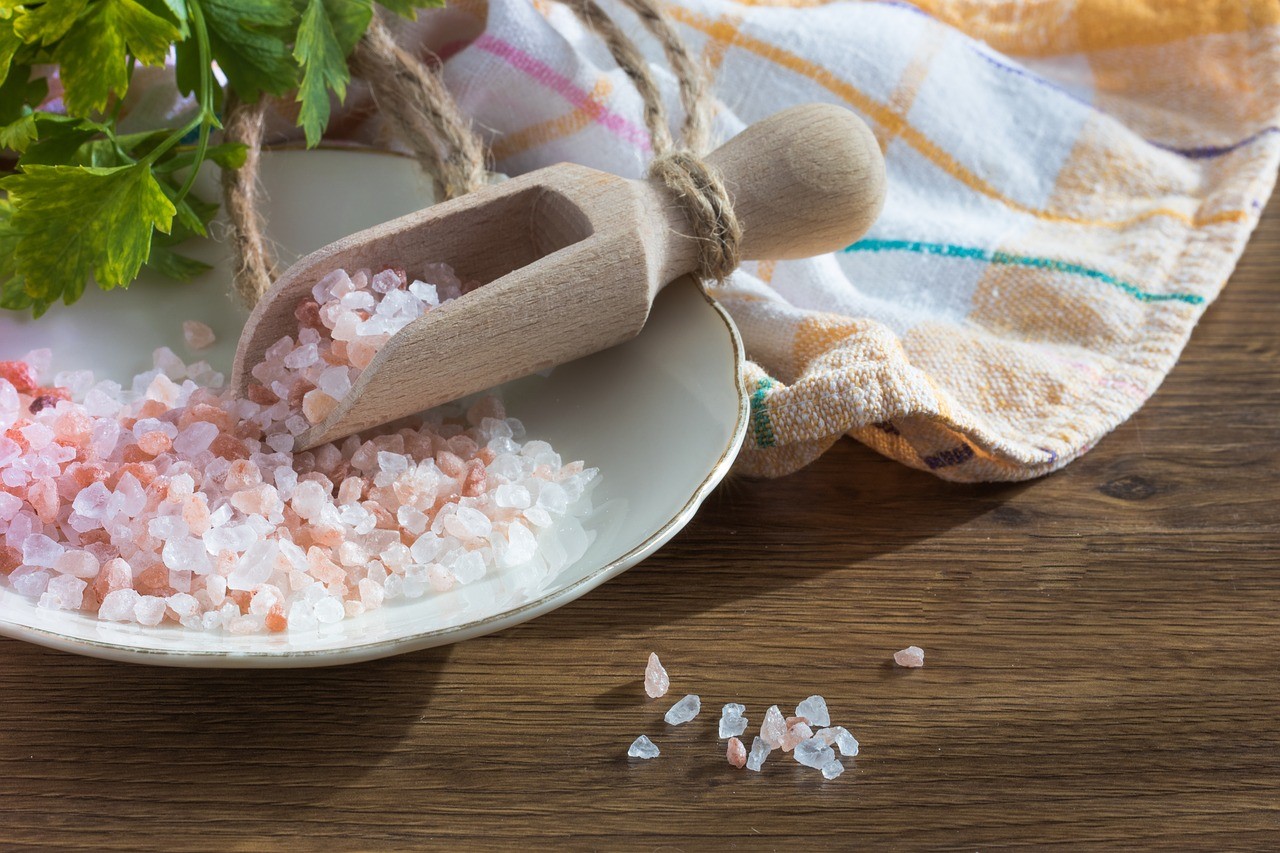
- Whole Himalayan Salt Crystals: Ensure you have a fresh supply of whole Himalayan salt crystals ready for grinding.
The Grinding Process
Now that you have your tools ready, follow these steps to grind Himalayan salt effectively:
- Fill the Grinder: Open the salt grinder and pour the whole Himalayan salt crystals into the chamber, ensuring it’s not overfilled.
- Adjust the Coarseness: If your grinder has adjustable settings, choose the coarseness level that suits your recipe. For example, a finer grind works well for seasoning delicate dishes, while a coarser grind adds a satisfying crunch to certain foods.
- Grind the Salt: Hold the grinder securely and turn the top handle or press the button, depending on the type of grinder you have. Rotate the handle or press the button in a steady, controlled manner to grind the salt to your desired texture.
- Test and Adjust: After grinding, sprinkle a small amount of the salt onto your palm to assess the texture. If it’s too coarse, adjust the grinder settings and grind the salt further until you achieve the desired fineness.
Storing Ground Himalayan Salt
Once you’ve ground your Himalayan salt to perfection, it’s essential to store it properly to maintain its freshness and flavor:
- Airtight Container: Transfer the ground salt into an airtight container to protect it from moisture and external odors.
- Cool, Dry Place: Store the container in a cool, dry area away from direct sunlight to preserve the salt’s quality.
- Avoid Exposure to Heat: Keep the ground salt away from heat sources such as stovetops or ovens to prevent clumping or degradation.
Enjoy the Fruits of Your Labor
Now that you’ve mastered the art of grinding Himalayan salt, it’s time to savor the delightful flavors it brings to your culinary creations. Experiment with different grind textures and let the unique taste of Himalayan salt elevate your dishes to new heights.
Whether you’re seasoning a gourmet meal or simply adding a finishing touch to a snack, freshly ground Himalayan salt is sure to impress your taste buds and those of your guests. So, grab your salt grinder and embark on a flavorful journey with this exquisite ingredient!
With these simple steps and a touch of creativity, you can elevate your culinary experience and bring out the best in your dishes using freshly ground Himalayan salt.
