Unlocking the Power of Fermented Elderberries
Welcome to the wonderful world of fermentation! If you’re looking for a fun and delicious way to preserve elderberries, fermenting them is the way to go. Not only does the fermentation process enhance the flavor of the elderberries, but it also unlocks their nutritional benefits, making them even more potent and beneficial for your health.
Why Ferment Elderberries?
Fermentation is a natural process that has been used for centuries to preserve food. When it comes to elderberries, fermenting them not only extends their shelf life but also enhances their taste and nutritional value. The fermentation process breaks down the sugars in the berries and creates beneficial enzymes, probiotics, and B vitamins, making the elderberries more digestible and nutritious.
How to Ferment Elderberries
Now that you understand the benefits of fermenting elderberries, let’s dive into the process of how to do it. Here’s a simple step-by-step guide to fermenting elderberries at home:
- Harvest or Purchase Fresh Elderberries: The first step is to obtain fresh, ripe elderberries. You can either harvest them yourself if they grow in your area or purchase them from a local farmer’s market or grocery store.
- Clean and Prepare the Elderberries: Remove the elderberries from the stems and wash them thoroughly to remove any dirt or debris. Allow them to dry completely before proceeding to the next step.
- Combine Elderberries with Sugar and Water: In a clean glass jar, combine the elderberries with sugar and water. The sugar acts as food for the beneficial bacteria and yeasts that will kickstart the fermentation process.
- Add Starter Culture (Optional): If you want to ensure a successful fermentation, you can add a starter culture, such as whey or a commercial fermentation starter, to the mixture. This will introduce beneficial bacteria to jumpstart the fermentation process.
- Cover and Ferment: Cover the jar with a clean cloth or coffee filter and secure it with a rubber band. This will allow air to flow in and out while keeping out any contaminants. Place the jar in a warm, dark place and allow the elderberries to ferment for several days to a week, depending on the desired level of fermentation.
- Check and Taste: During the fermentation process, it’s essential to check on the elderberries regularly. You can taste them to see if they have reached the desired level of fermentation and flavor. Once they have fermented to your liking, transfer the jar to the refrigerator to slow down the fermentation process.
Enjoying Fermented Elderberries
Once your elderberries have finished fermenting, there are countless ways to enjoy them. You can use them to make delicious elderberry soda, mix them into yogurt or smoothies, or simply enjoy them on their own as a tasty and nutritious snack. However you choose to enjoy them, fermented elderberries are sure to add a burst of flavor and nutrition to your day.
So, there you have it – a simple and rewarding way to preserve and enhance the nutritional value of elderberries. Give fermenting elderberries a try, and experience the delicious and health-boosting benefits for yourself!
Was this page helpful?
Read Next: How To Ferment Quinoa
Related Articles
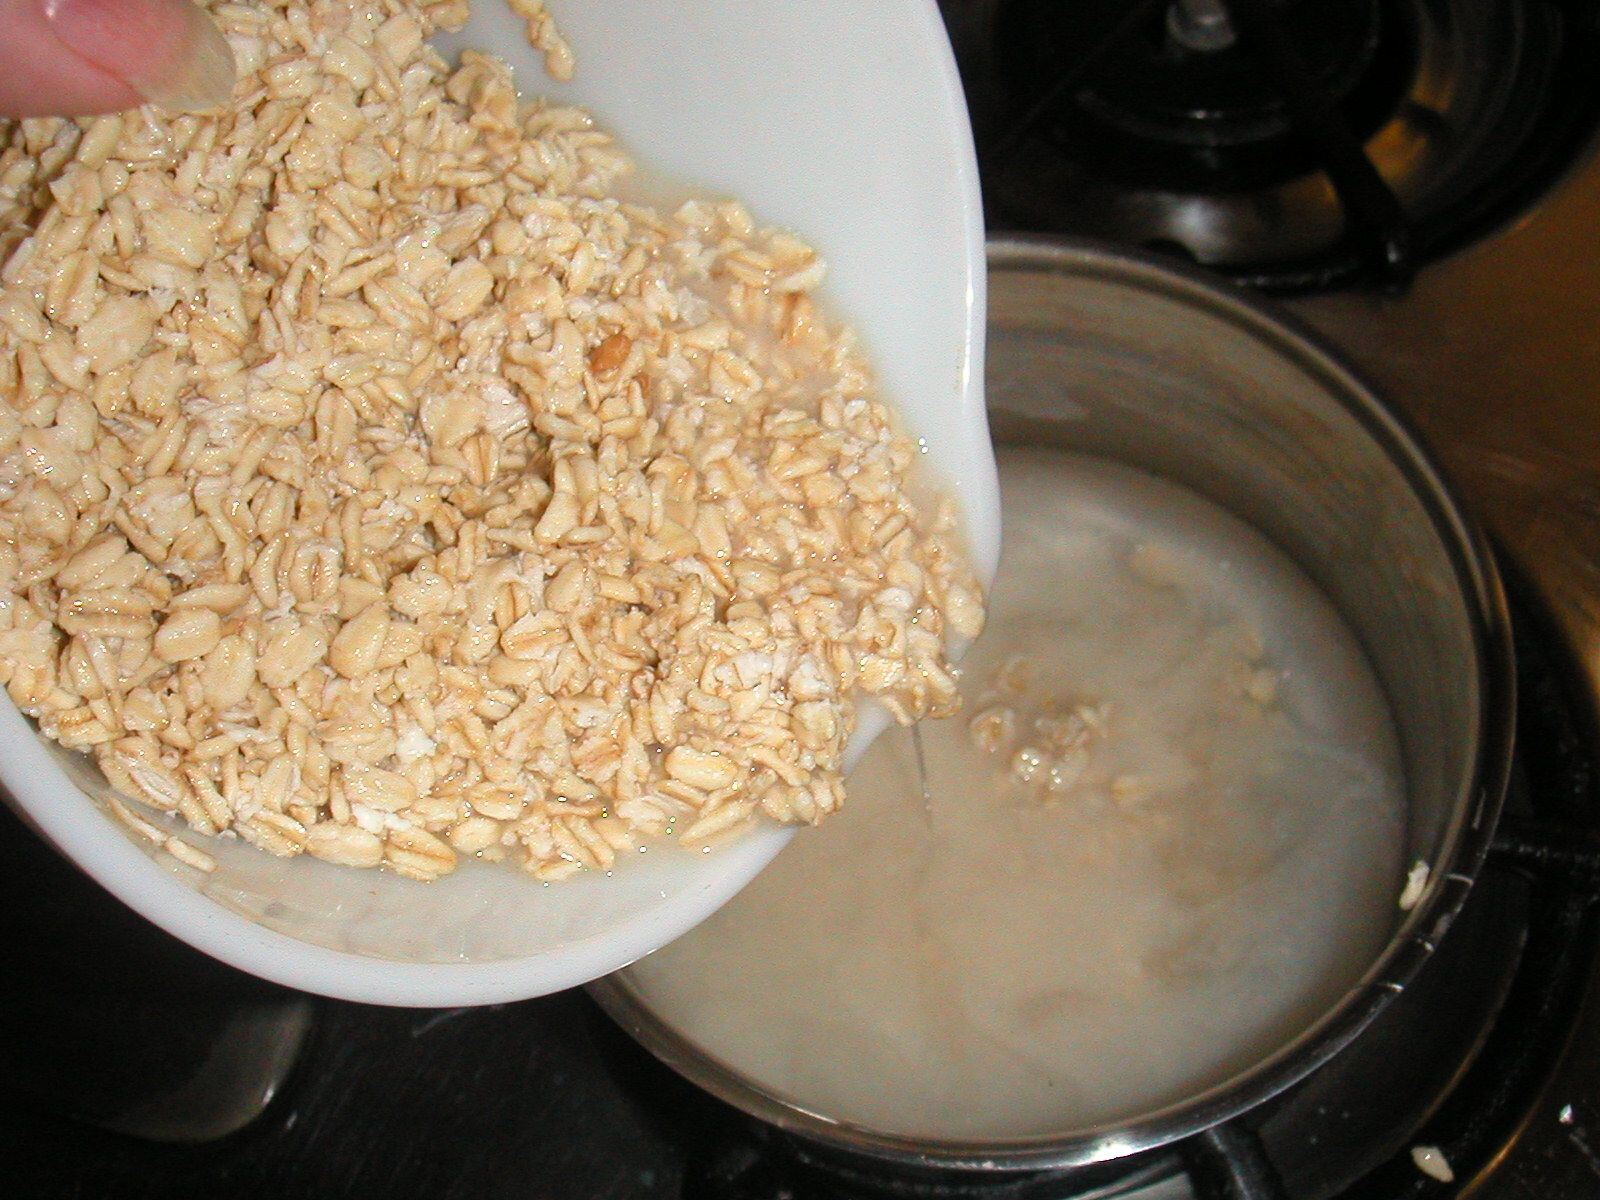
How To Ferment Oatmeal From Scratch
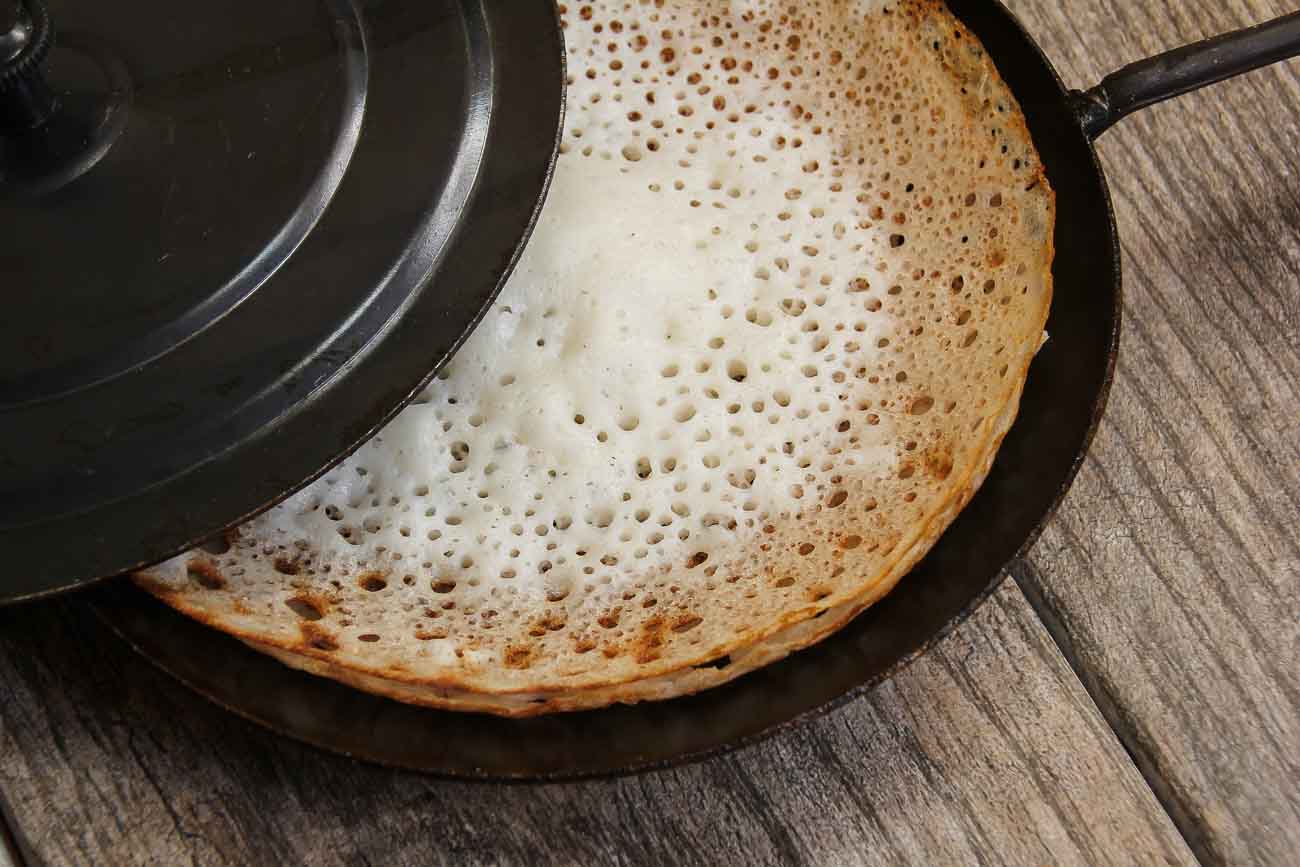
How To Ferment Appam Batter Quickly
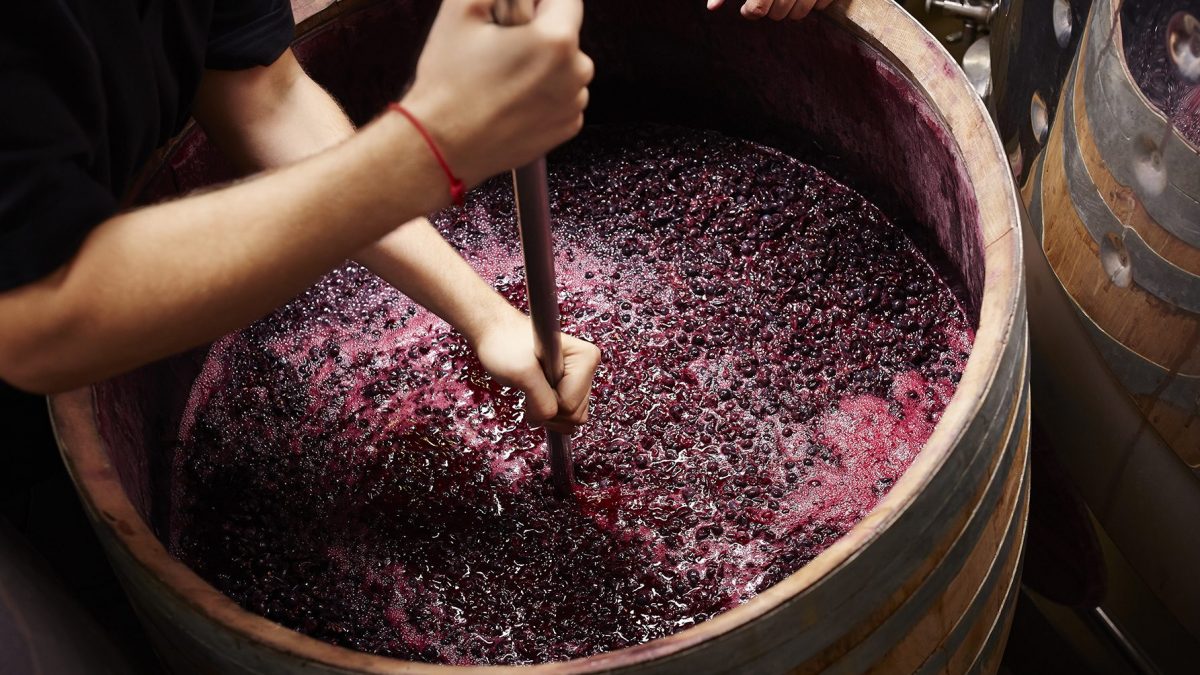
How To Ferment Grapes For Wine
How To Brine London Broil

How To Brine Kingfish For Smoking
How To Brine In Food Saver

How To Brine Brats

How To Brine Cube Steak
How To Brine Rump Roast

How To Brine String Beans Before Steaming Them
How To Brine A Chicken Alton Brown