Mastering the Art of Cutting Up Deer Hind Quarters
As a seasoned hunting enthusiast, there’s nothing quite as rewarding as successfully bagging a deer. However, the journey doesn’t end there. To fully enjoy the bounty of your harvest, it’s crucial to know how to properly cut up the deer hind quarters. In this guide, we will take you step-by-step through the process, ensuring that you make the most of those succulent cuts of meat.
Preparation is Key
Before diving into the task, it’s essential to gather the necessary tools. Here are the essentials:
- Sharp hunting knife
- Boning knife
- Cutting board
- Plastic bags or vacuum sealer
- Butcher’s twine
- Patience and focus
Step 1: Hang and Quarter the Deer
Hang the deer carcass from a sturdy beam or tree branch, ensuring it is at a comfortable height for you to work on. Begin by removing the legs from the body, which will allow for easier handling during the cutting process. Take one hind quarter and carefully separate it from the torso by making a clean cut through the connective tissue.
Step 2: Skin and Remove Excess Fat
Using your sharp hunting knife, start by skinning the hind quarter, working from the top down. Removing the skin will allow for easier access to the meat. Next, trim off any excess fat to ensure a leaner and more flavorful cut.
Step 3: Determine the Main Cuts
Begin by identifying the primary cuts of meat in the deer hind quarter. These generally include the sirloin, top round, bottom round, and shank. Here’s how to separate them:
- Sirloin: Located on the upper part of the hind quarter, this is a tender and juicy cut. Start by identifying the natural seams and muscle groups. Using your boning knife, carefully separate the sirloin and trim off any silver skin for optimal tenderness.
- Top Round: This is a versatile cut, perfect for roasting or slicing into steaks. Follow the natural seams to separate the top round from the rest of the hind quarter. Trim off any excess fat and silver skin.
- Bottom Round: Ideal for slow cooking or making stews, the bottom round is separated by following the natural seams. Remove any excess fat and silver skin to enhance tenderness.
- Shank: Located below the knee joint, the shank is rich in connective tissues. It is best suited for braising or making flavorful stocks and soups. Utilize your boning knife to carefully separate the shank from the rest of the hind quarter.
Step 4: Portion and Package
Now that you have perfectly separated the different cuts, it’s time to portion and package them for storage. Take each cut and determine your preferred serving sizes. Using butcher’s twine, tie the cuts to maintain their shape during storage.
Package the individual cuts into plastic bags, ensuring you remove as much air as possible before sealing. Alternatively, consider using a vacuum sealer for optimal freshness. Label each bag with the name of the cut and the date of packaging.
Final Thoughts
Mastering the art of cutting up deer hind quarters may take some practice, but with time and experience, you’ll become more proficient. Remember to handle the meat with care, maintaining cleanliness throughout the process. With the right tools and techniques, you can turn your hard-earned harvest into delicious meals that will delight your taste buds for months to come!
1. A sharp boning knife: This knife is essential for precise cuts and removing meat from the bone.
2. Meat saw: It allows you to cut through the bones easily.
3. Cutting board: Make sure you have a clean, sturdy cutting board to work on.
4. Disposable gloves: Wearing gloves will ensure hygiene and help prevent cross-contamination.
5. Butcher paper or vacuum sealer: These are necessary for storing and preserving the meat.
1. Always wear protective gloves to prevent contamination and reduce the risk of bacteria transfer.
2. Use a clean cutting board and sanitize your tools before and after use.
3. Make sure the deer hind quarters are fully thawed to avoid any accidents while cutting.
4. Keep your fingers away from the knife blade and work slowly and deliberately to avoid injuries.
5. Maintain good posture to prevent strain on your back and muscles.
1. Hang the hind quarters from a sturdy hook or place them on a clean and elevated surface.
2. Make an incision along the inside of the hind leg, from the ankle to the knee joint.
3. Use your hand to start peeling the skin away from the flesh, working your way up towards the hip joint.
4. Once the majority of the skin is removed, use a sharp knife to carefully cut around the hip joint, detaching the skin completely.
5. Trim off any remaining fat or membranes from the surface of the meat.
1. Identify the different muscle groups such as the sirloin, rump, top round, bottom round, eye of round, and shank.
2. With a sharp boning knife, carefully follow the natural seams of the muscles to separate them.
3. Cut against the grain for more tender cuts of meat.
4. Trim off any excess fat and silver skin while also removing any damaged or discolored sections.
5. Remember to label and refrigerate each cut properly to maintain freshness.
1. Wrap each cut in butcher paper or vacuum-sealed bags to protect them from freezer burn.
2. Label each package with the name of the cut and the date.
3. Store the wrapped cuts of meat in a freezer set at or below 0°F (-18°C).
4. Avoid freezer door openings to maintain a consistent temperature.
5. Use the meat within one year for optimal taste and texture.
Was this page helpful?
Read Next: How To Cut Oranges For Baby
Related Articles
How To Cut Veggies
How To Cut A Bone In Pork Shoulder In Half
How To Cut Romaine Hearts For Salad
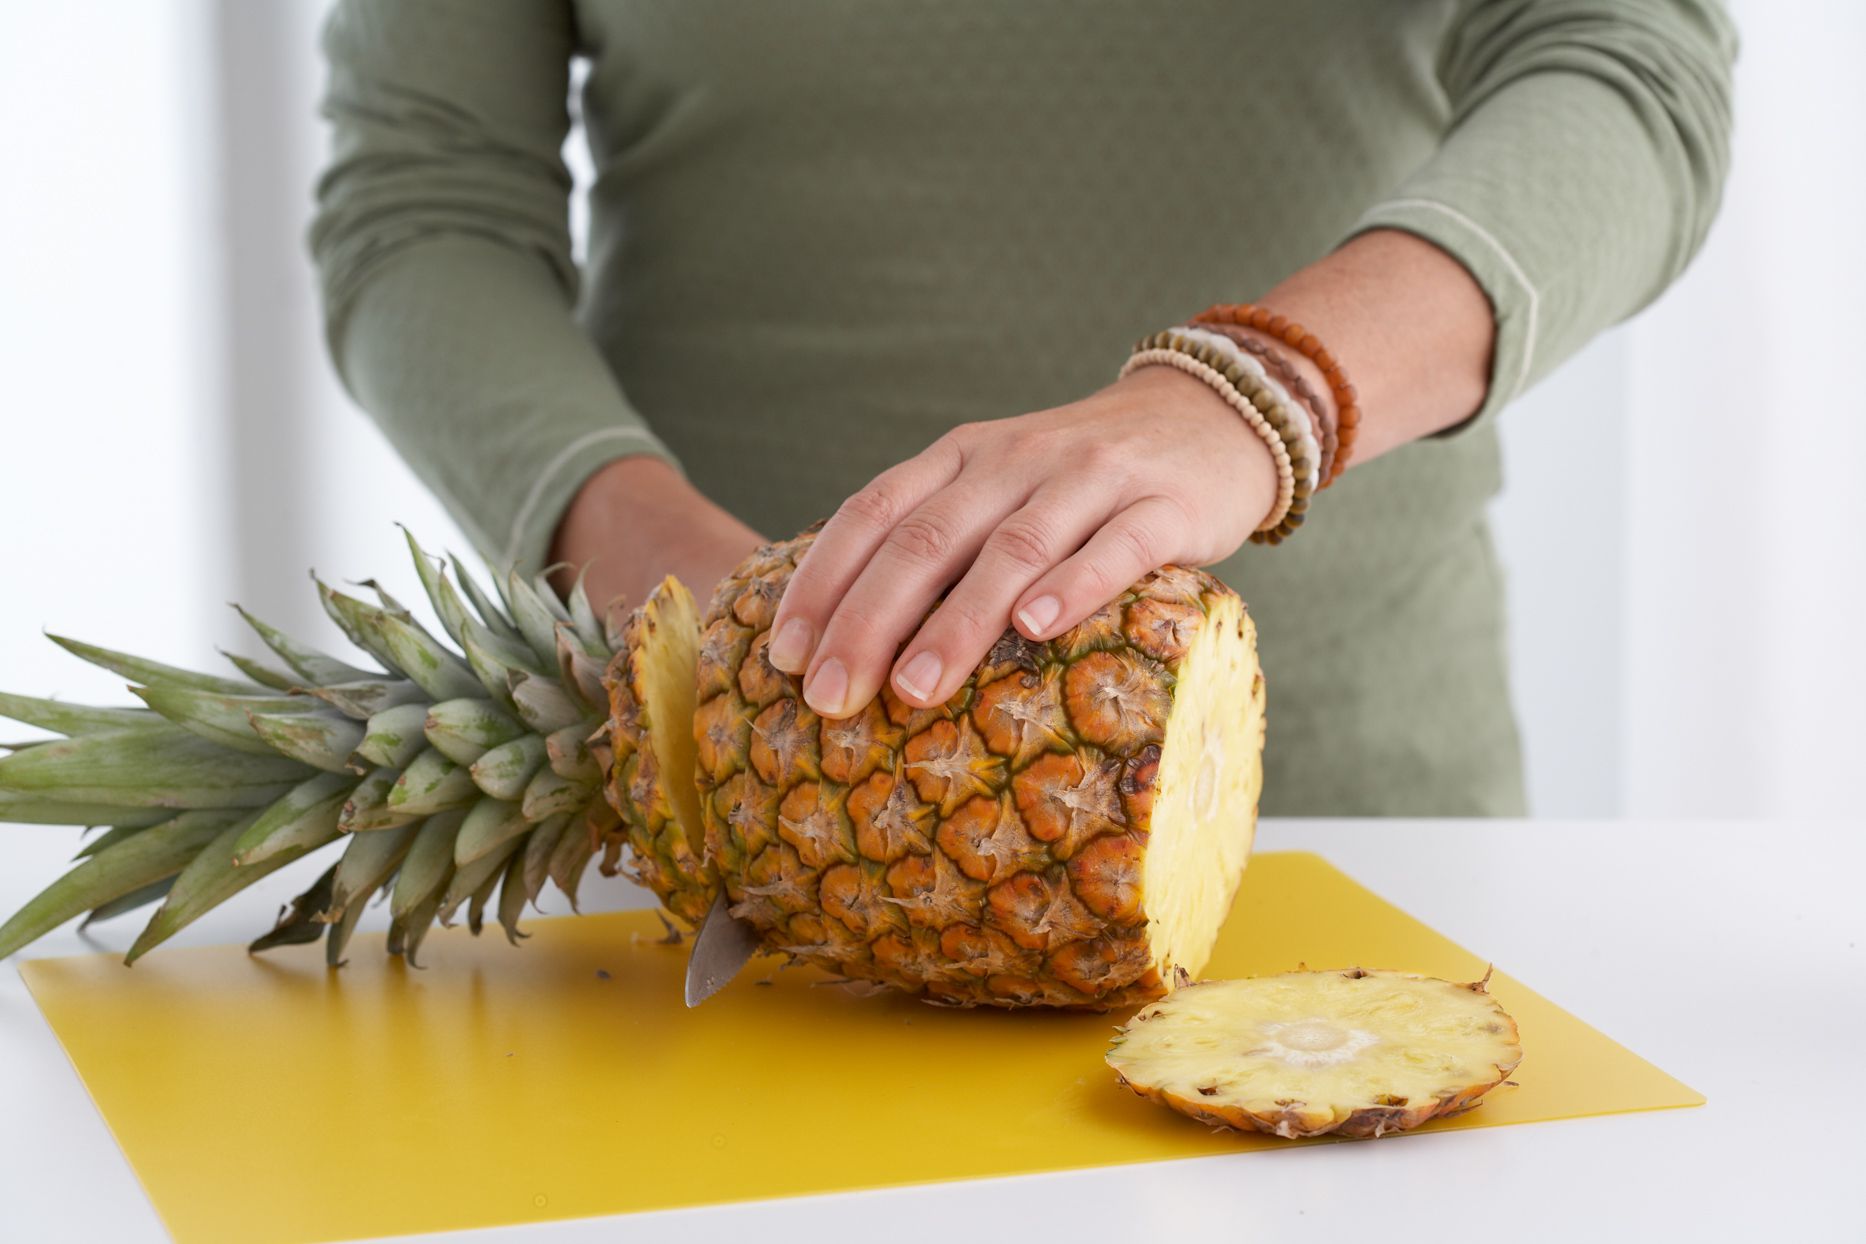
How To Cut A Whole Pineapple Into Rings
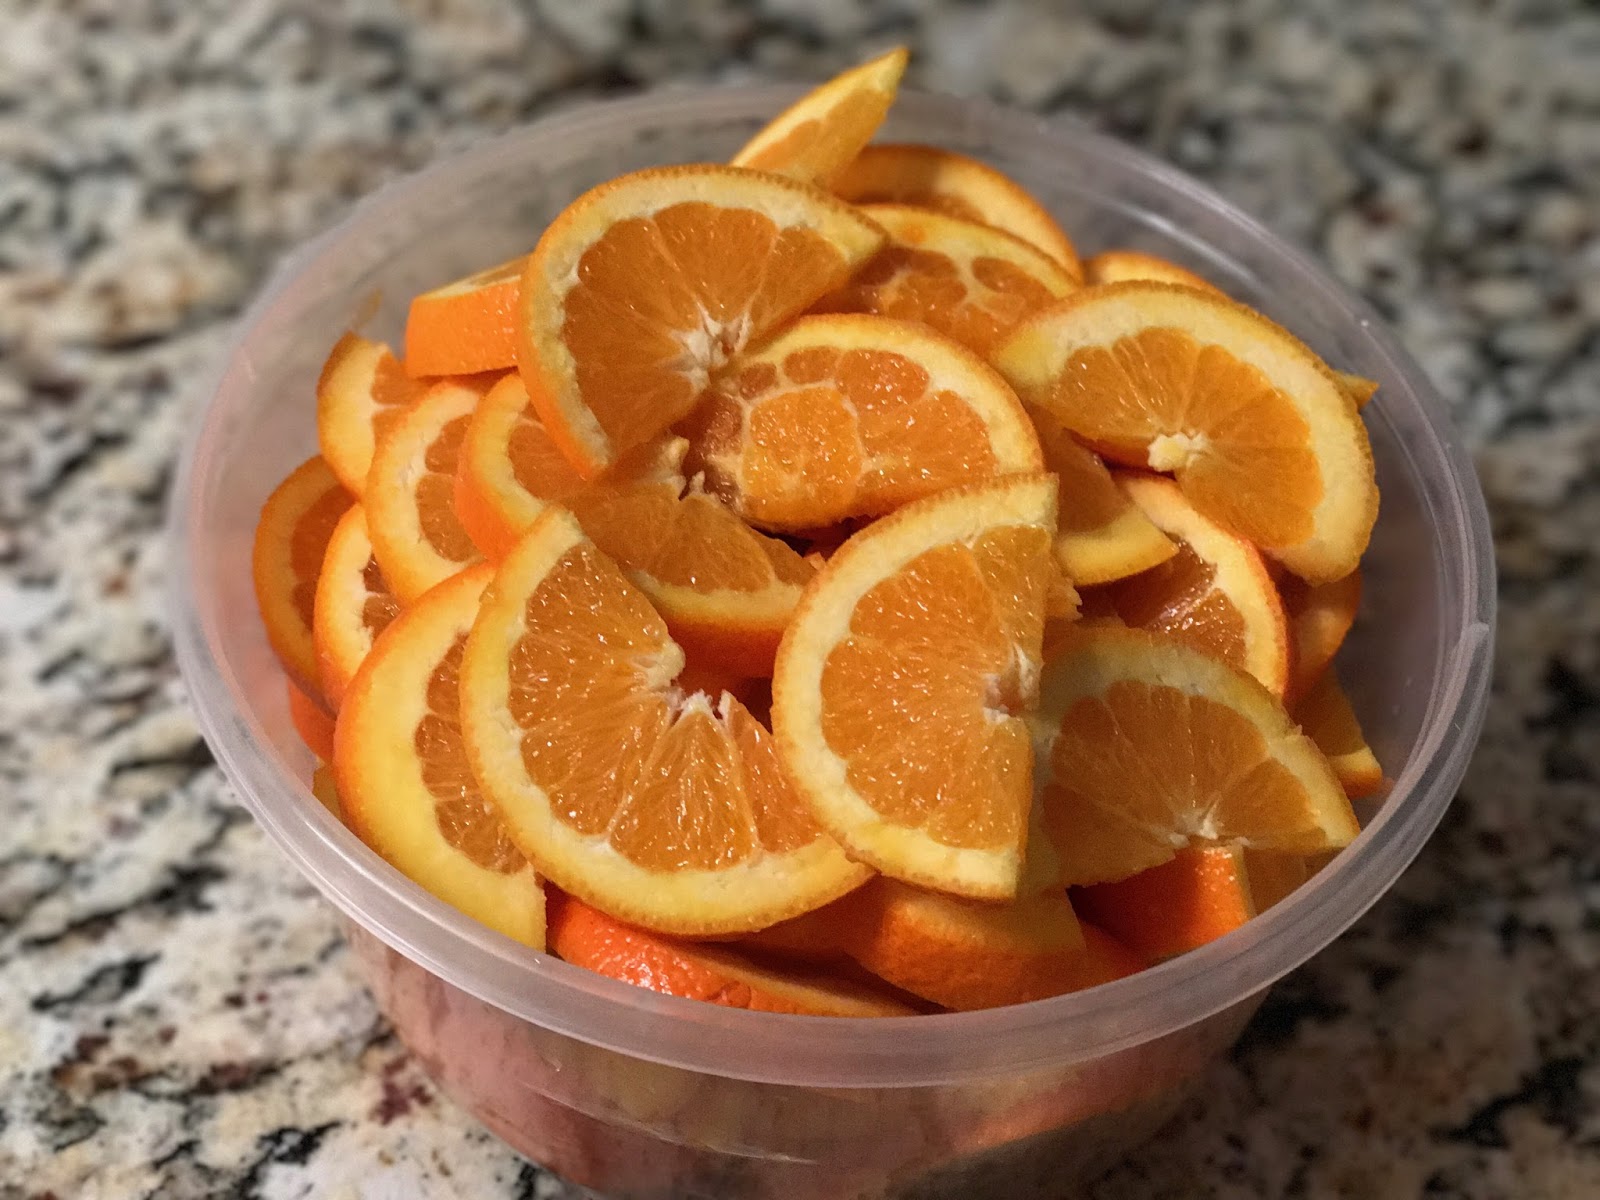
How To Cut Orange Slices For Soccer
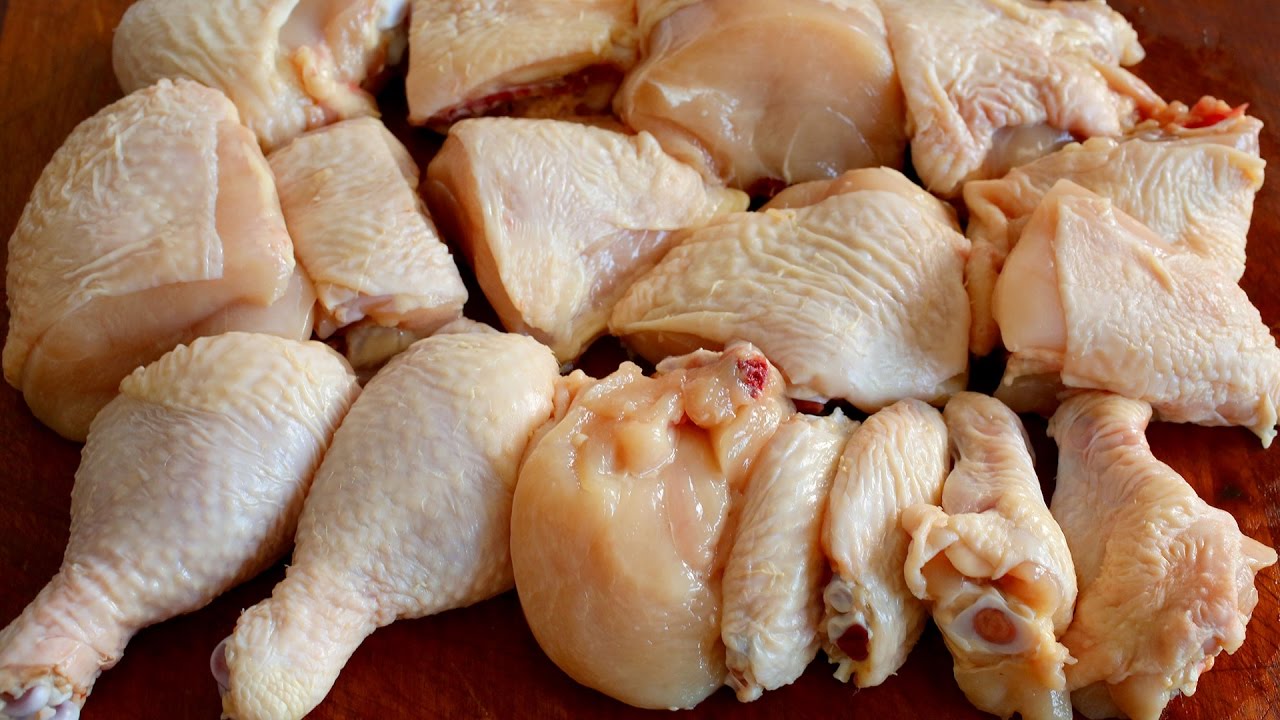
How To Cut A Chicken Into 12 Pieces
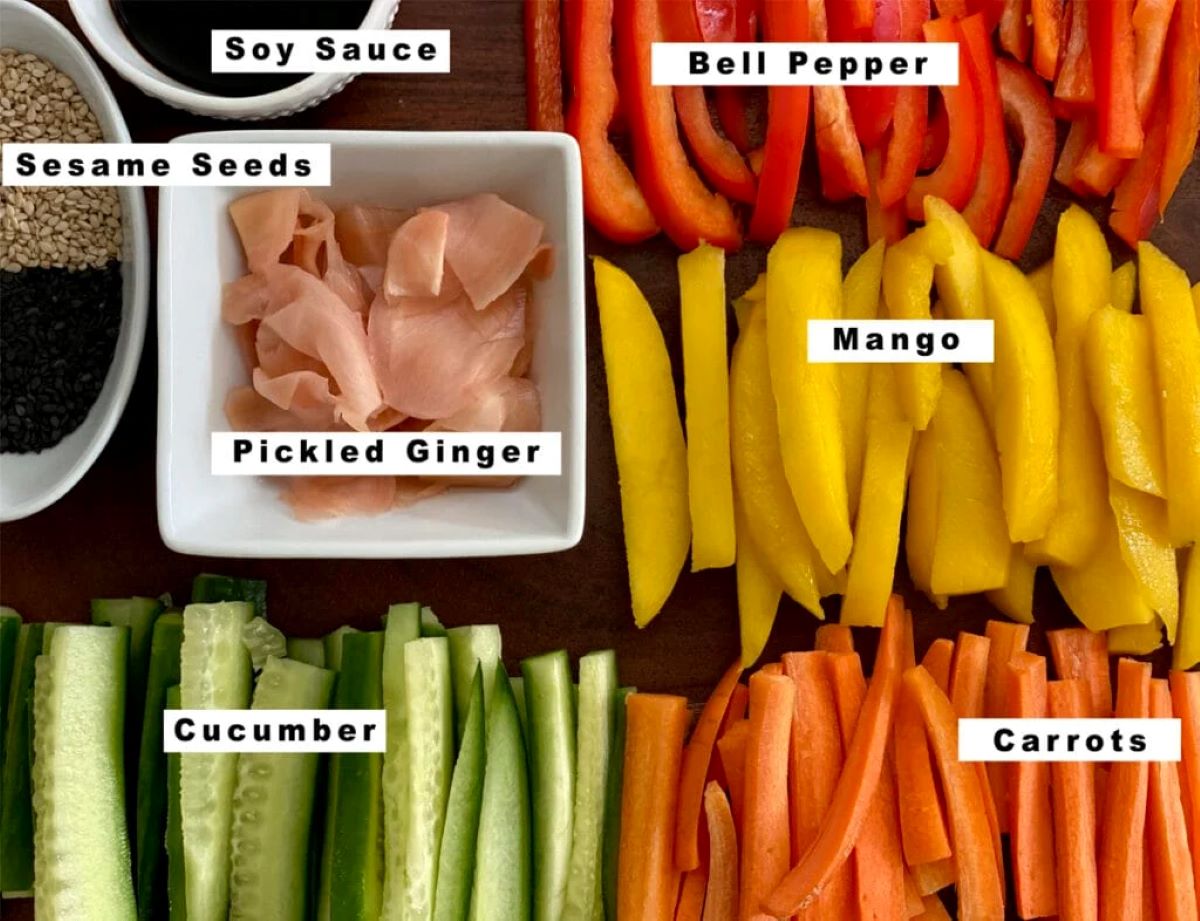
How To Cut Vegetables For Sushi
How To Cut Snow Peas
How To Cut Up A Chicken Alton Brown
How To Cut A Celery Root
How To Cut Orange For Salad