How To Cut the Top of a Pumpkin: A Step-by-Step Guide
If you’re planning on carving a pumpkin, one of the first steps is knowing how to cut the top off. It may seem like a simple task, but doing it properly can ensure a clean and easy carving experience. In this guide, we’ll walk you through the process of cutting the top off a pumpkin, so you can create the perfect jack-o’-lantern or prepare your pumpkin for delicious recipes.
Step 1: Gather Your Materials
Before you start, make sure you have the following items:
- A sharp knife or pumpkin carving tool
- A sturdy cutting board
- A marker or pen
- A spoon or scoop for removing the pumpkin seeds
Having these tools on hand will make the process much easier and safer.
Step 2: Choose the Right Pumpkin
When selecting a pumpkin to carve, look for one that is firm, without any soft spots or blemishes. A flat bottom will also help keep the pumpkin steady while you work on it. Ensure the stem is intact and sturdy, as this will make it easier to cut through.
Step 3: Mark Your Cutting Line
To create a clean and even cut, use a marker or pen to draw a circle around the stem of the pumpkin. This circle will serve as your cutting guide and will help you maintain control while cutting.
Step 4: Position and Secure the Pumpkin
Place the pumpkin on a stable surface, such as a cutting board, to prevent it from rolling around. You can also use a damp cloth or towel to stabilize the pumpkin even further.
Step 5: Begin Cutting
Hold your knife at a slight angle while positioning it just inside the marked circle. Slowly and carefully cut along the line, applying steady pressure. Remember to use caution and keep your fingers away from the blade’s path. Take your time, as rushing may result in an uneven cut or accidental slips.
Step 6: Remove the Top
Once you have cut all the way around the pumpkin, gently lift off the top. Set it aside, as it can be used later as a lid or decoration.
Step 7: Cleaning and Gutting the Pumpkin
Now that the top is removed, use a spoon or scoop to scrape out the seeds and stringy pulp from the inside of the pumpkin. You can save the seeds for roasting later if desired. Thoroughly clean the interior, ensuring no excess pulp remains, as this can cause your jack-o’-lantern to rot faster.
Step 8: Use Your Pumpkin for Carving or Cooking
With the top removed and the pumpkin cleaned out, you’re now ready to bring your creative vision to life. Carve your desired design using carving tools or simply admire the beauty of the pumpkin as it is. Alternatively, if you plan on using the pumpkin for cooking or baking, cut it into smaller, more manageable pieces for easier processing.
Now that you know the proper technique for cutting the top off a pumpkin, you can confidently embark on your carving or cooking adventure. Remember, safety should always be your priority, so exercise caution while handling sharp tools. Enjoy the process and have fun unleashing your creativity!
1. Choose a sharp, sturdy knife or a serrated pumpkin carving tool.
2. Start by cleaning the pumpkin thoroughly and dry it well.
3. Place the pumpkin on a stable surface and ensure it won’t roll or wobble.
4. Hold the pumpkin firmly with one hand and firmly insert the knife or tool about 2 inches away from the stem.
5. Slowly and gently cut a circle around the stem, angling the blade slightly inwards.
6. Once you’ve completed the circle, remove the cut lid by pulling upwards gently.
Remember to exercise caution while cutting to avoid any accidents.
1. Cutting a side opening: Instead of cutting off the top, you can slice a large opening on the side of the pumpkin. This can be useful if you prefer a different design or have limited space.
2. Removing the bottom: Another option is to remove the bottom of the pumpkin. This allows you to easily clean out the inside and place the pumpkin over a candle or light source without worrying about the lid falling off.
Both methods can be effective, so choose the one that suits your needs and preferences.
1. Warm the pumpkin: If the pumpkin feels too hard, you can place it in a warm, slightly damp cloth or in a microwave for a few seconds to soften the exterior slightly. This will make it easier to cut through.
2. Score the outline: Before cutting, use the tip of your knife or a marker to lightly score the line where you plan to cut. This will serve as a guide and help you achieve a more precise cut.
3. Use a sawing motion: Instead of using a straight downward motion, try using a gentle sawing motion while cutting through the pumpkin. This can prevent the blade from getting stuck and ensure a smoother cut.
Remember to exercise patience and caution while cutting to avoid any mishaps.
Was this page helpful?
Read Next: How To Cut Oyster Mushrooms
Related Articles
How To Cut Yucca
How To Cut Open A Bell Pepper
How To Cut Bone In Ham
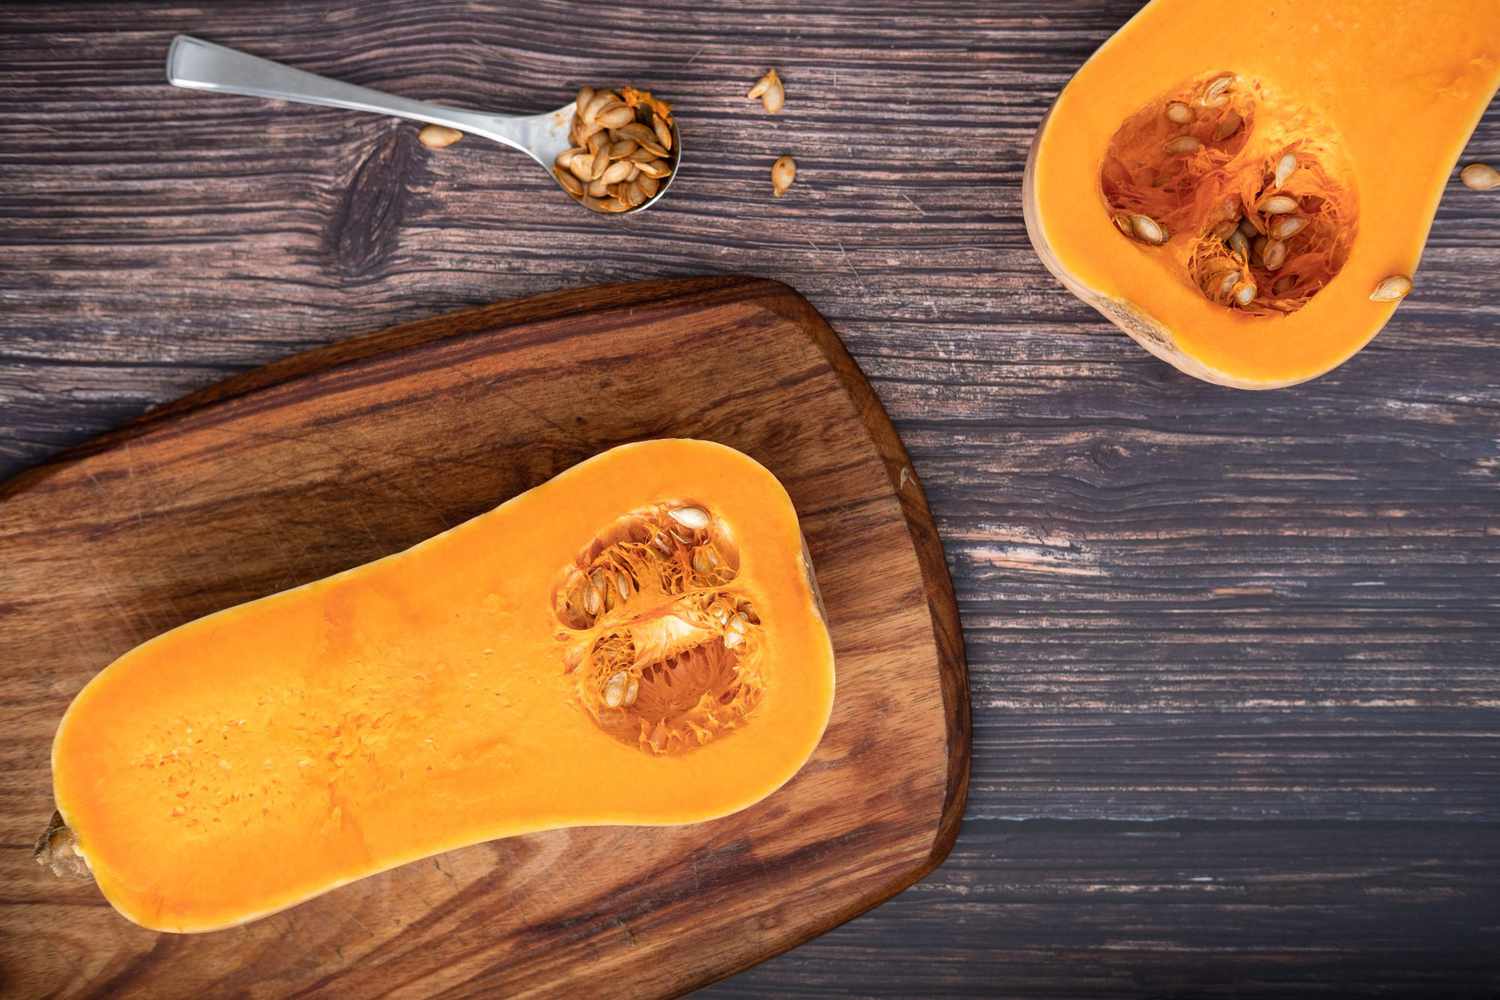
How To Cut Hard Squash
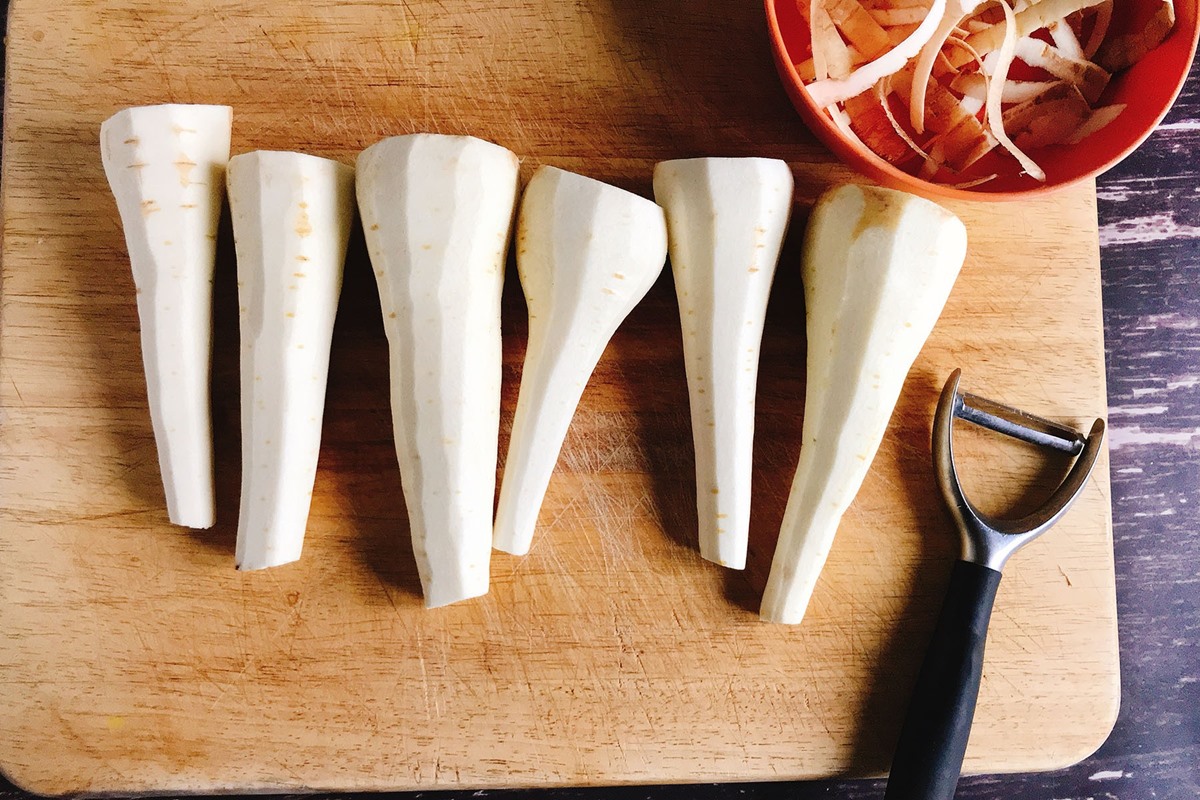
How To Cut Parsnip For Roasting
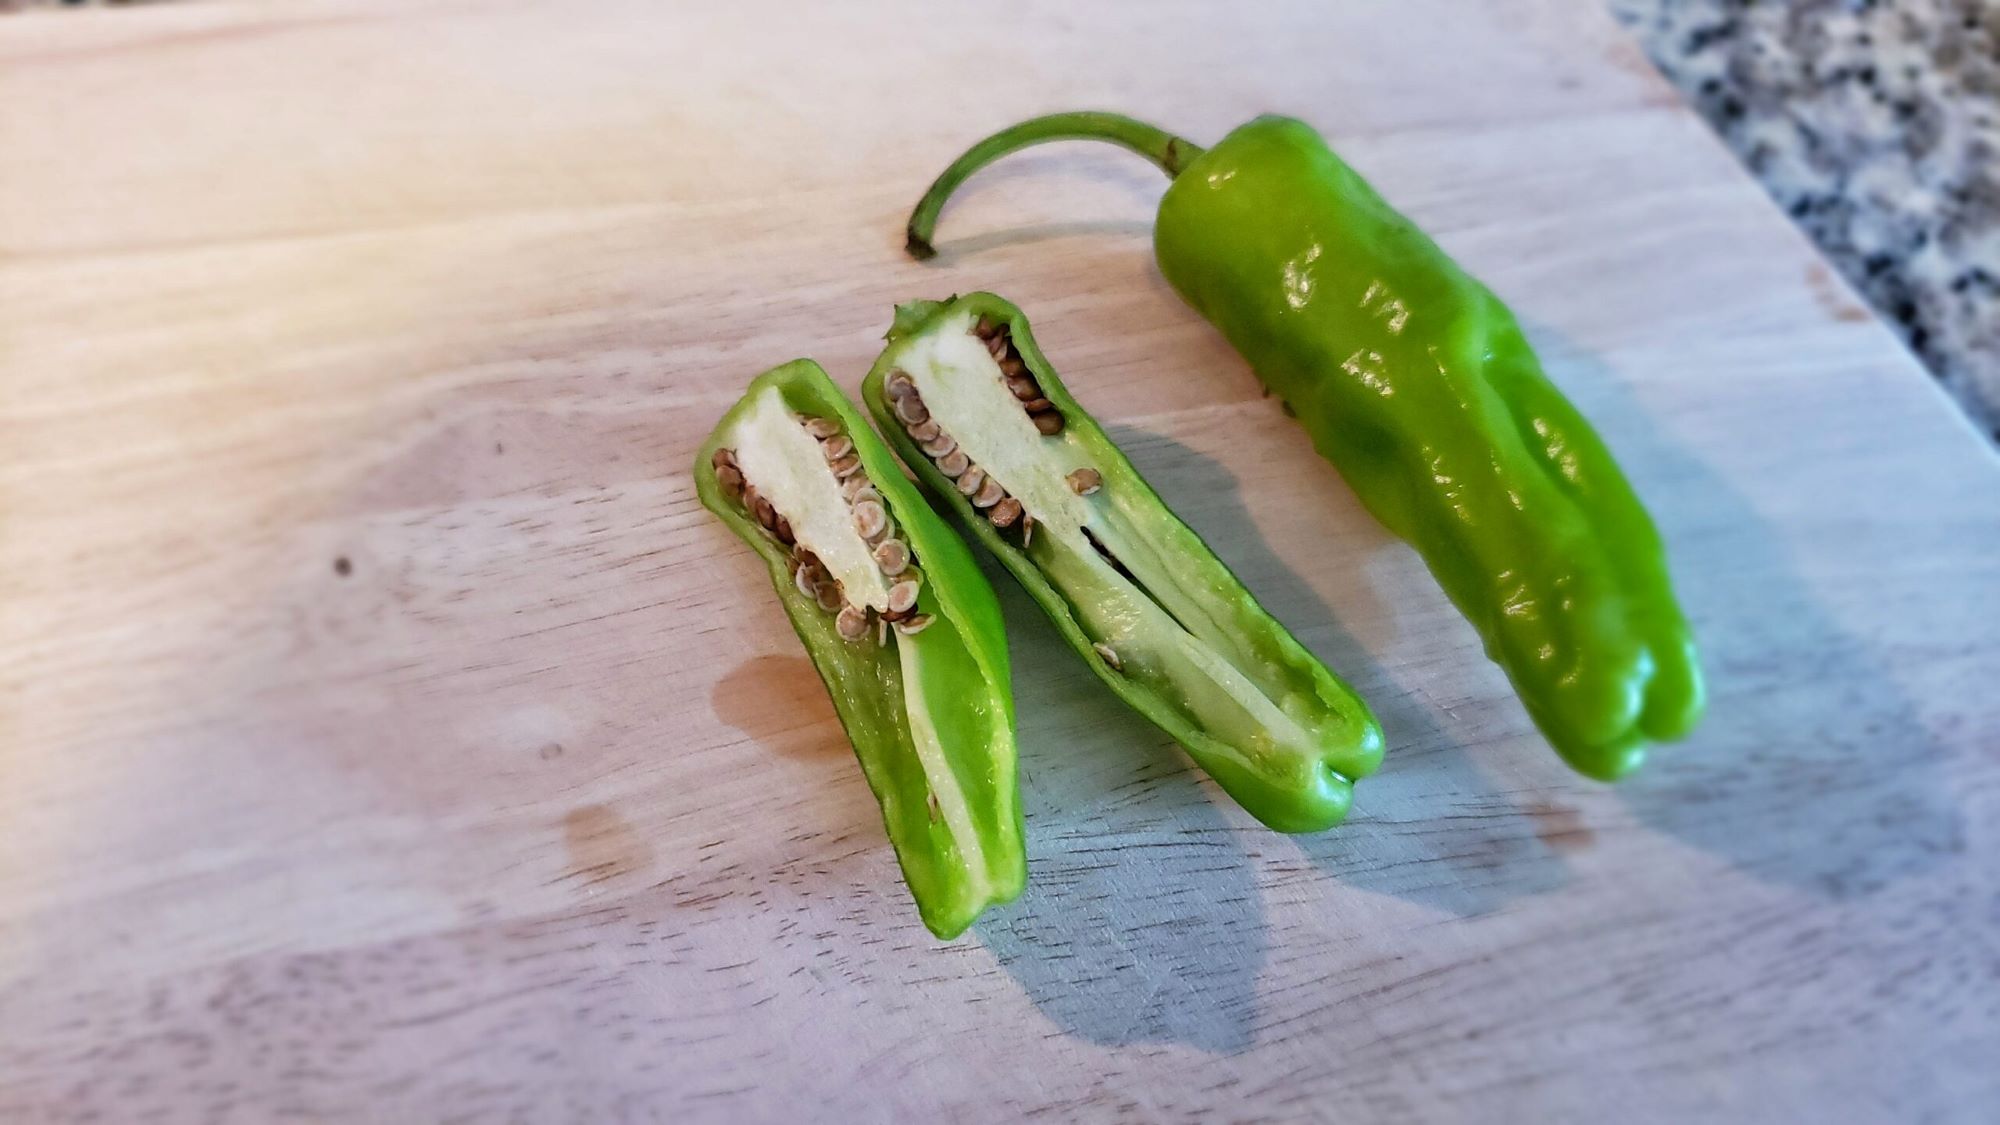
How To Cut Shishito Peppers
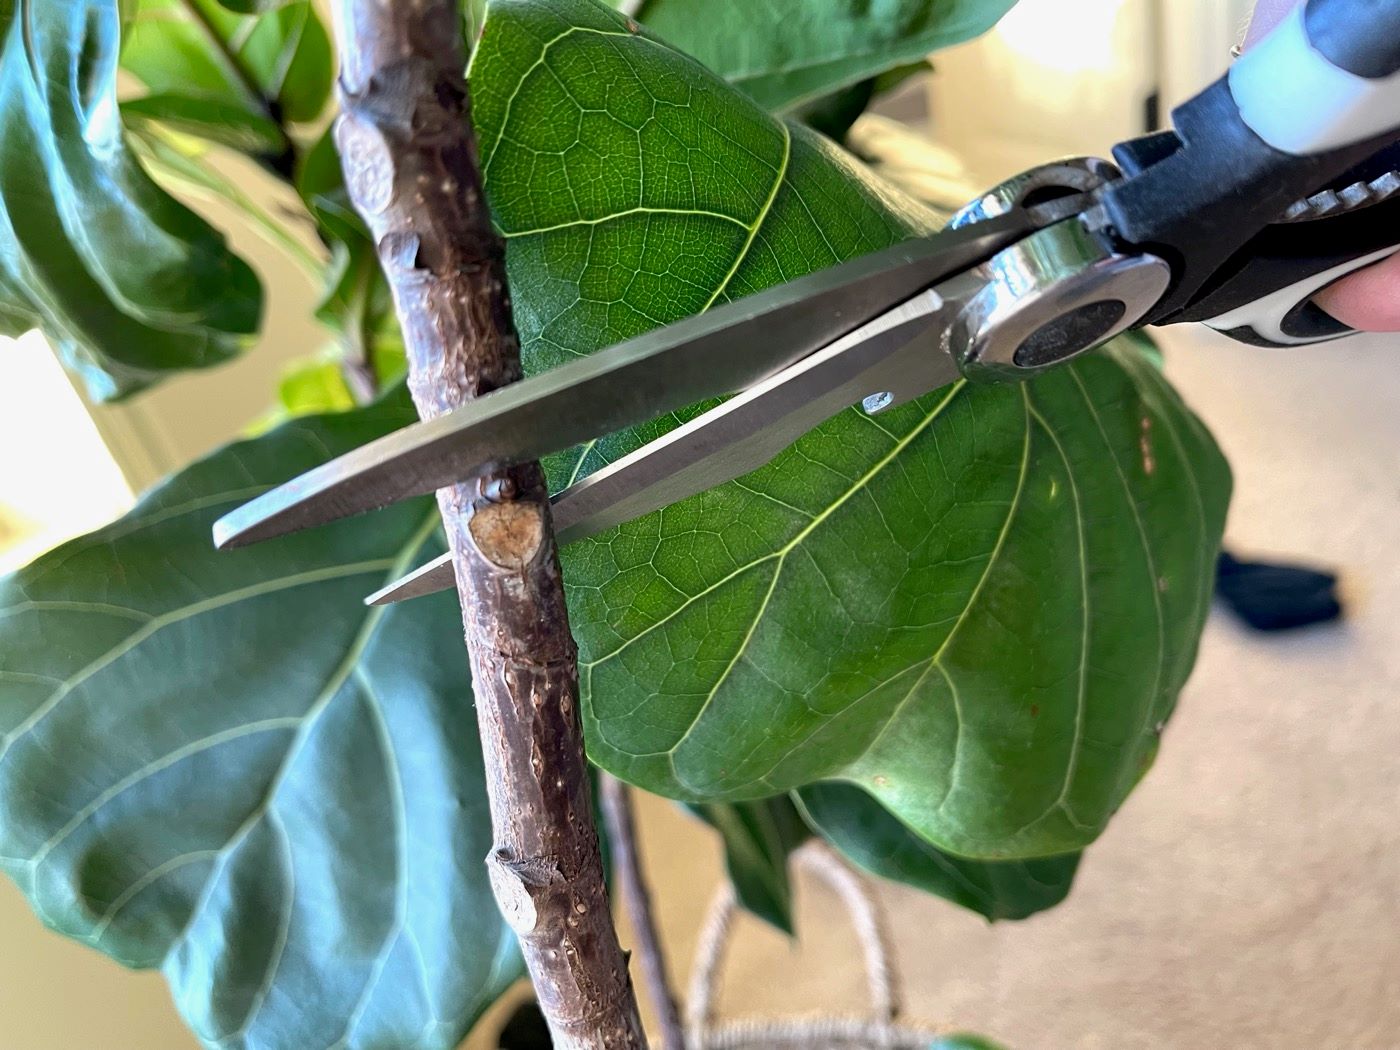
How To Cut Fiddle Leaf Fig Leaves
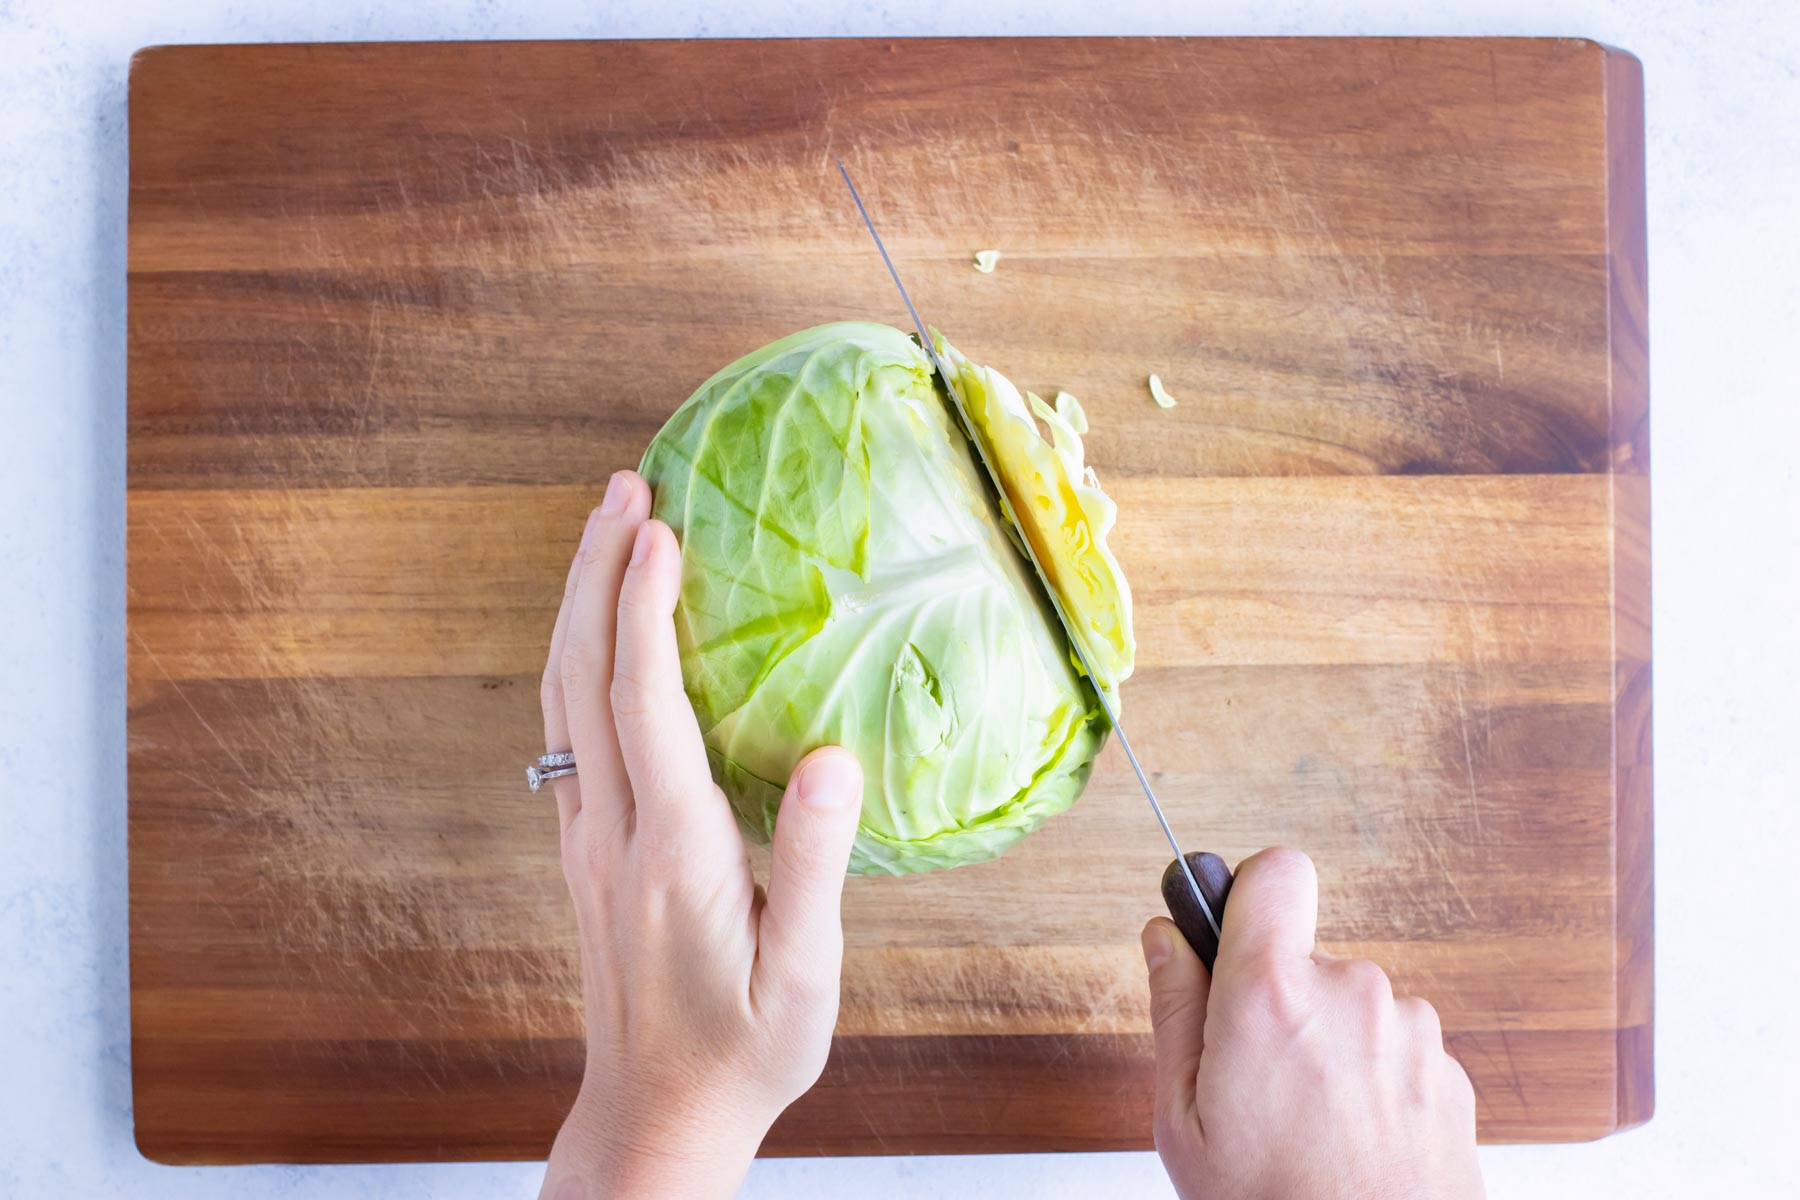
How To Cut Cabbage For Cabbage Rolls
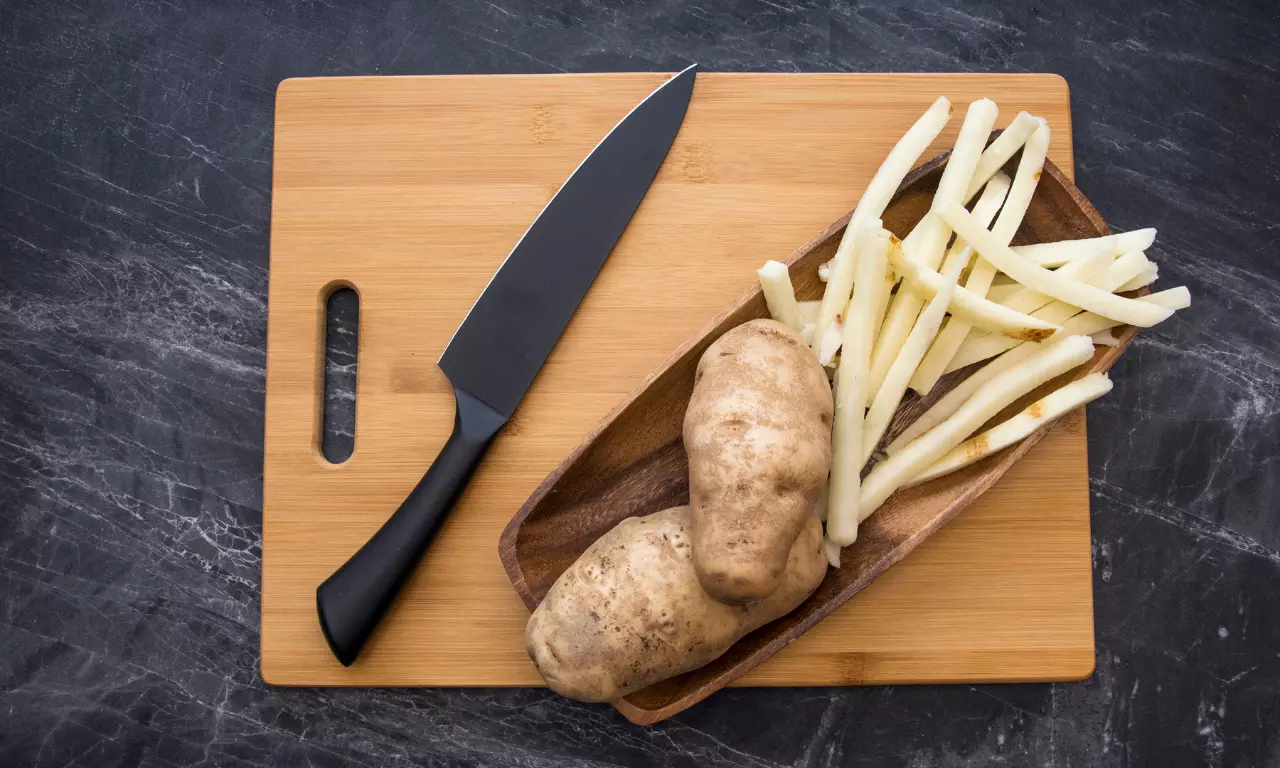
How To Cut Potatoes To Make French Fries

How To Cut Like A Chef
How To Cut Chayote For Caldo