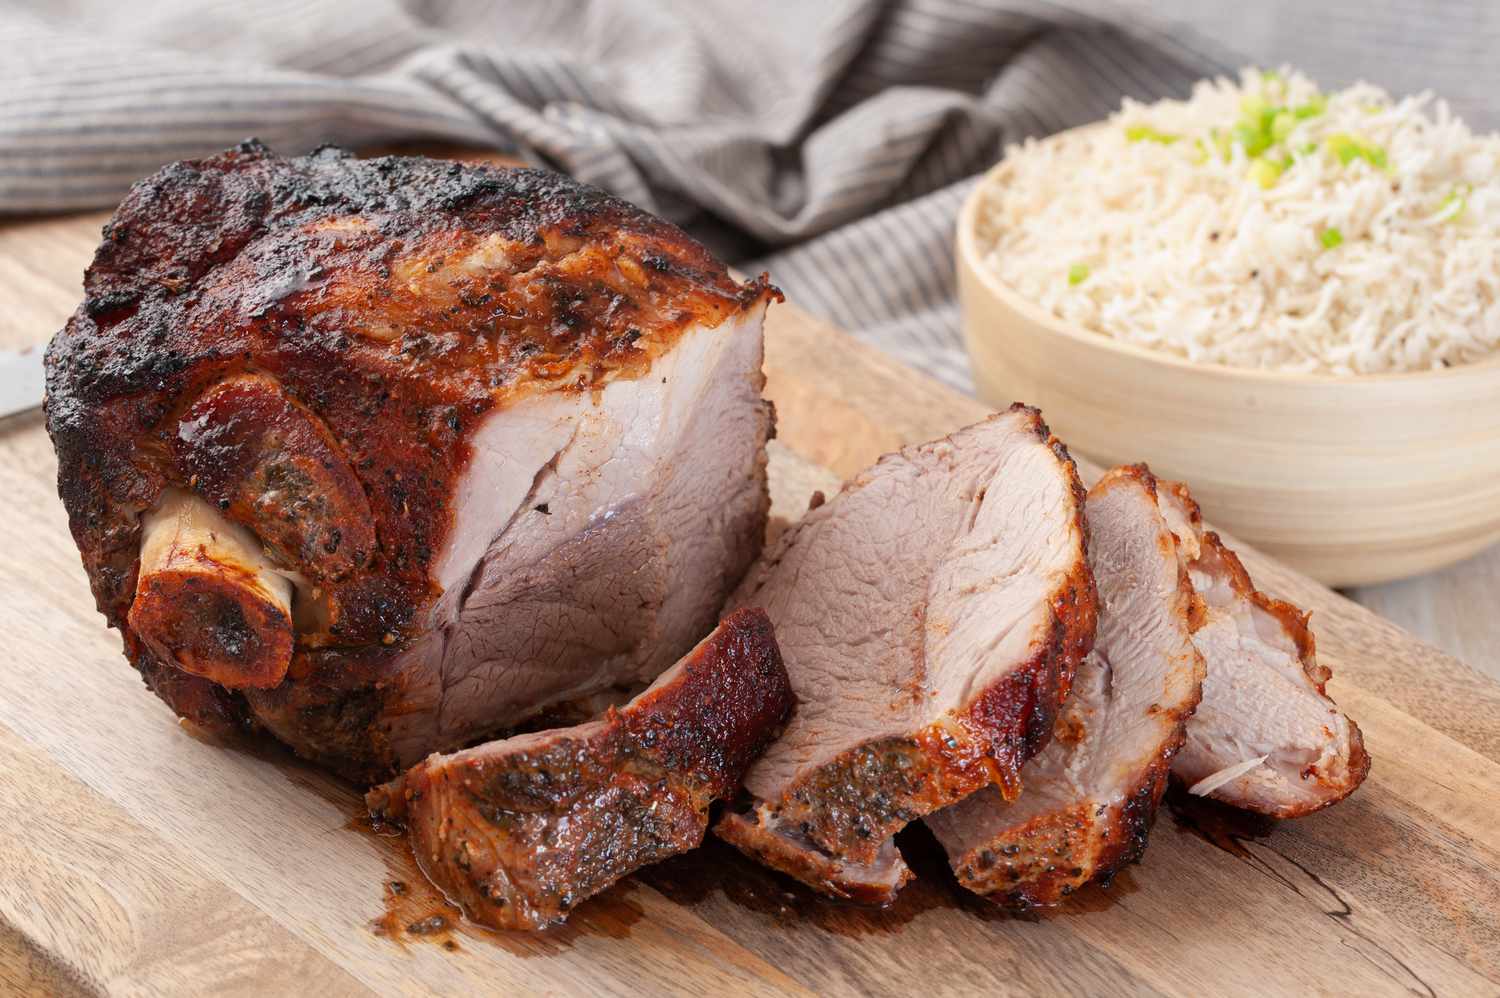
Cooking a Delicious Bone-In Pork Shoulder Roast
If you are a fan of succulent and tender meat, then a bone-in pork shoulder roast is one worth trying. This cut of meat is known for its rich flavor and incredible juiciness. Whether you are hosting a dinner party or simply looking for a hearty meal for your family, mastering the art of cooking a bone-in pork shoulder roast will make you the star of the kitchen. Here are some easy steps to prepare a mouthwatering roast that will leave everyone begging for seconds.
Preparation
Before cooking, it is important to properly prepare the bone-in pork shoulder roast:
- Bring the roast to room temperature: Remove the roast from the refrigerator and let it sit at room temperature for approximately 30 minutes. This will allow for more even cooking.
- Season generously: Rub the roast with your favorite blend of spices and herbs. A popular seasoning mix includes garlic powder, paprika, salt, pepper, and dried thyme.
- Score the fat: Using a sharp knife, gently score the fat cap on the roast. This will help the fat render and create a crispy, golden crust during cooking.
Cooking
There are various cooking methods you can use to cook a bone-in pork shoulder roast, such as roasting, braising, or smoking. We will focus on the roasting method here:
- Preheat the oven: Preheat your oven to 325°F (163°C).
- Choose a roasting pan: Select a roasting pan that is large enough to comfortably fit the pork roast. Make sure it has a rack to elevate the meat and allow for even cooking.
- Place the roast in the pan: Put the seasoned bone-in pork shoulder roast on the rack, fat side up.
- Insert a meat thermometer: Insert a meat thermometer into the thickest part of the roast, being careful not to touch the bone. This will help you monitor the internal temperature of the meat.
- Cooking time: The general rule of thumb is to cook the pork roast for about 25 to 30 minutes per pound. However, the most important factor is the internal temperature. The roast is ready when the thermometer reads 145°F (63°C).
- Resting time: Once the roast reaches the desired temperature, remove it from the oven and tent it loosely with aluminum foil. Let it rest for about 15 minutes to allow the juices to redistribute.
Serving
Your perfectly cooked bone-in pork shoulder roast is now ready to be enjoyed. Here are a few serving suggestions to enhance the flavors:
- Slice and serve: Use a sharp knife to slice the roast into thick, juicy pieces. Serve it on a platter, garnished with fresh herbs for added visual appeal.
- Accompaniments: Consider serving the pork roast with delicious sides such as roasted potatoes, steamed vegetables, or a fresh salad.
- Sauces and condiments: Elevate the flavors with a savory sauce like apple cider reduction, barbeque sauce, or a tangy mustard-based glaze.
Now that you have the knowledge to cook a bone-in pork shoulder roast, it’s time to unleash your culinary skills and impress your guests or family members. With its delectable aroma and melt-in-your-mouth tenderness, this roast will undoubtedly become a staple in your recipe repertoire. So roll up your sleeves and get ready to savor a truly unforgettable dining experience!
For those keen on mastering the art of cooking a bone-in pork shoulder roast, there are several standout recipes from the guide that are worth trying. The Classic Roasted Pork Shoulder with Garlic and Herb Rub is a great starting point for its straightforward approach and timeless flavors. For a more adventurous palate, the Moroccan-Spiced Pork Shoulder with Couscous offers a delightful blend of exotic spices and a satisfying side. For those who enjoy crispy textures, the Slow-Roasted Pork Shoulder with Crispy Skin provides a wonderful contrast between tender meat and crunchy exterior. Lastly, the Cuban Mojo Marinated Pork Shoulder introduces vibrant citrus and garlic flavors that are sure to impress. Each of these recipes utilizes the techniques outlined in the guide, ensuring a delicious and rewarding cooking experience.
Was this page helpful?
Read Next: How To Cook Red Hot Dogs
Related Articles
How To Cook Pork Backstrap
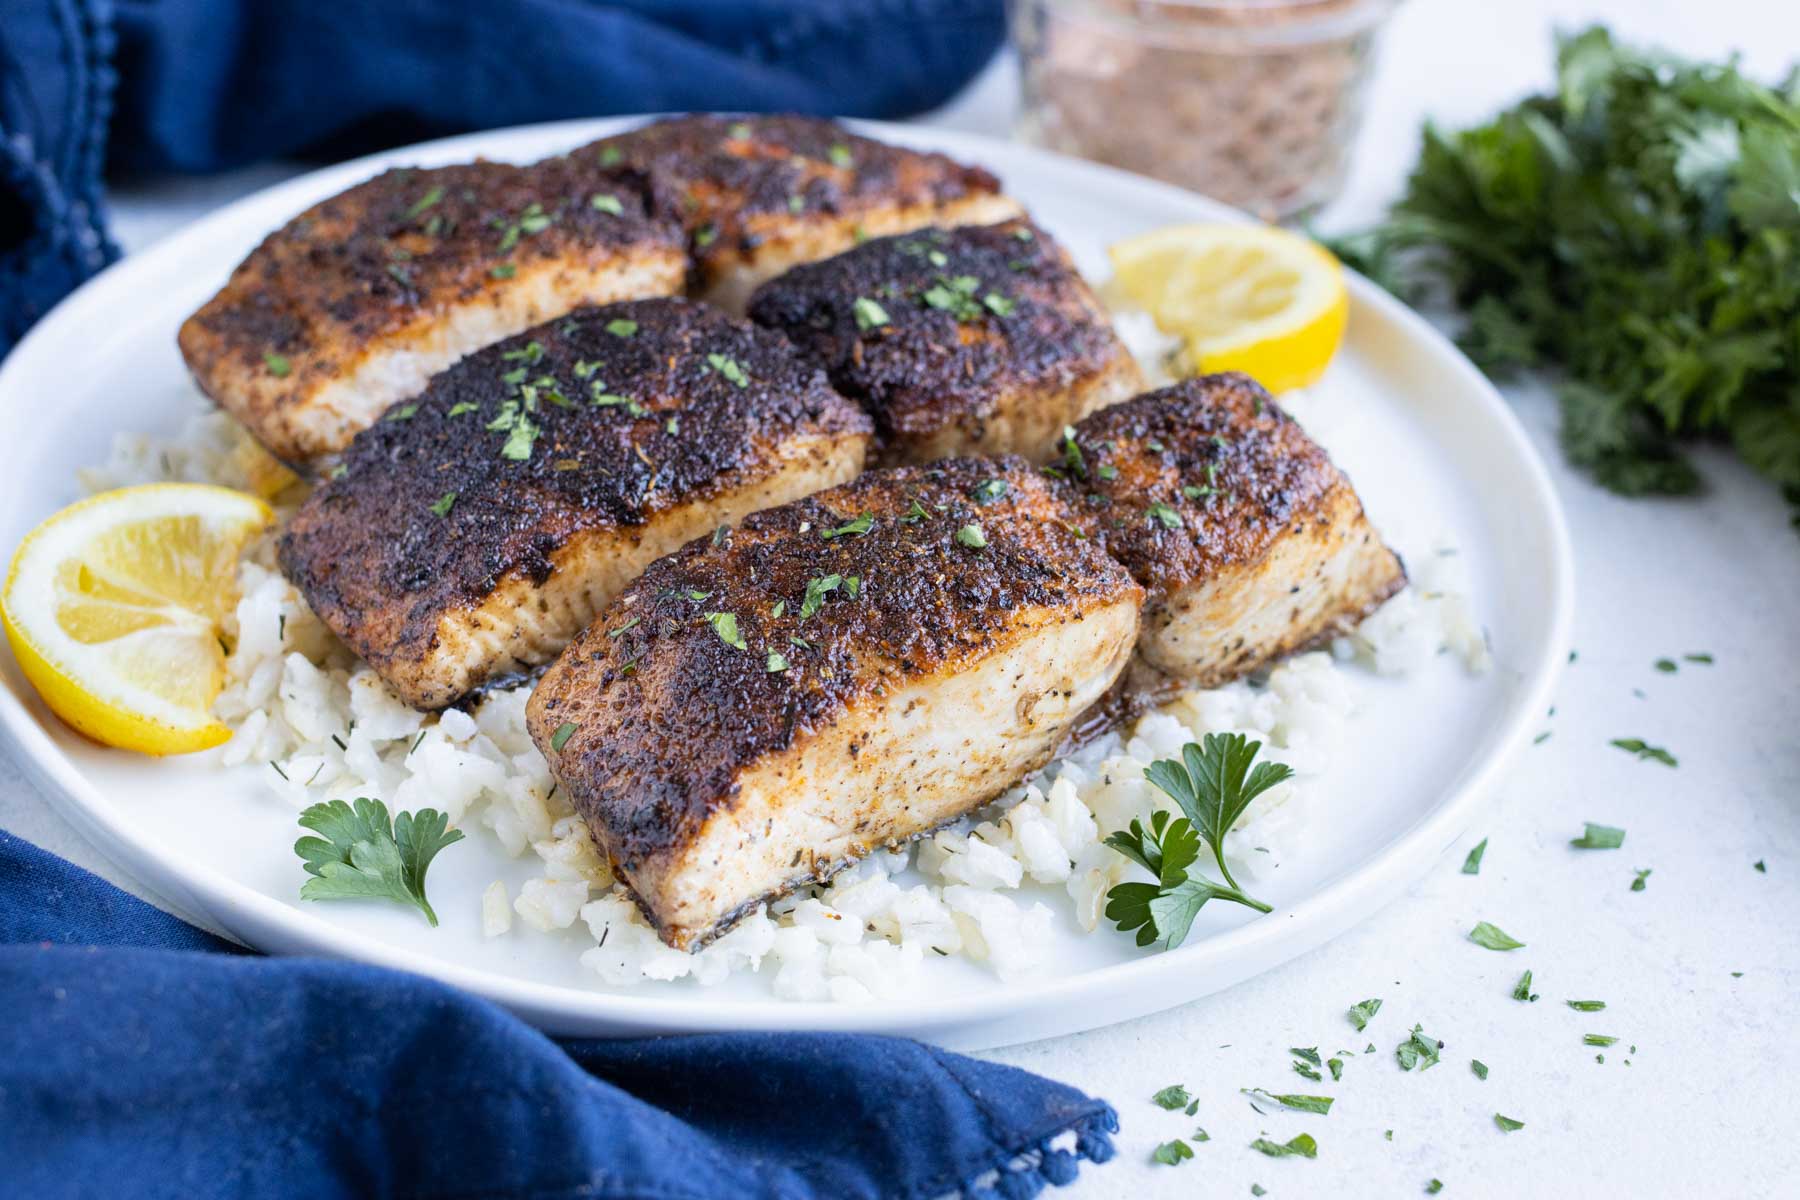
How To Cook Mahi Mahi With Skin On Stove
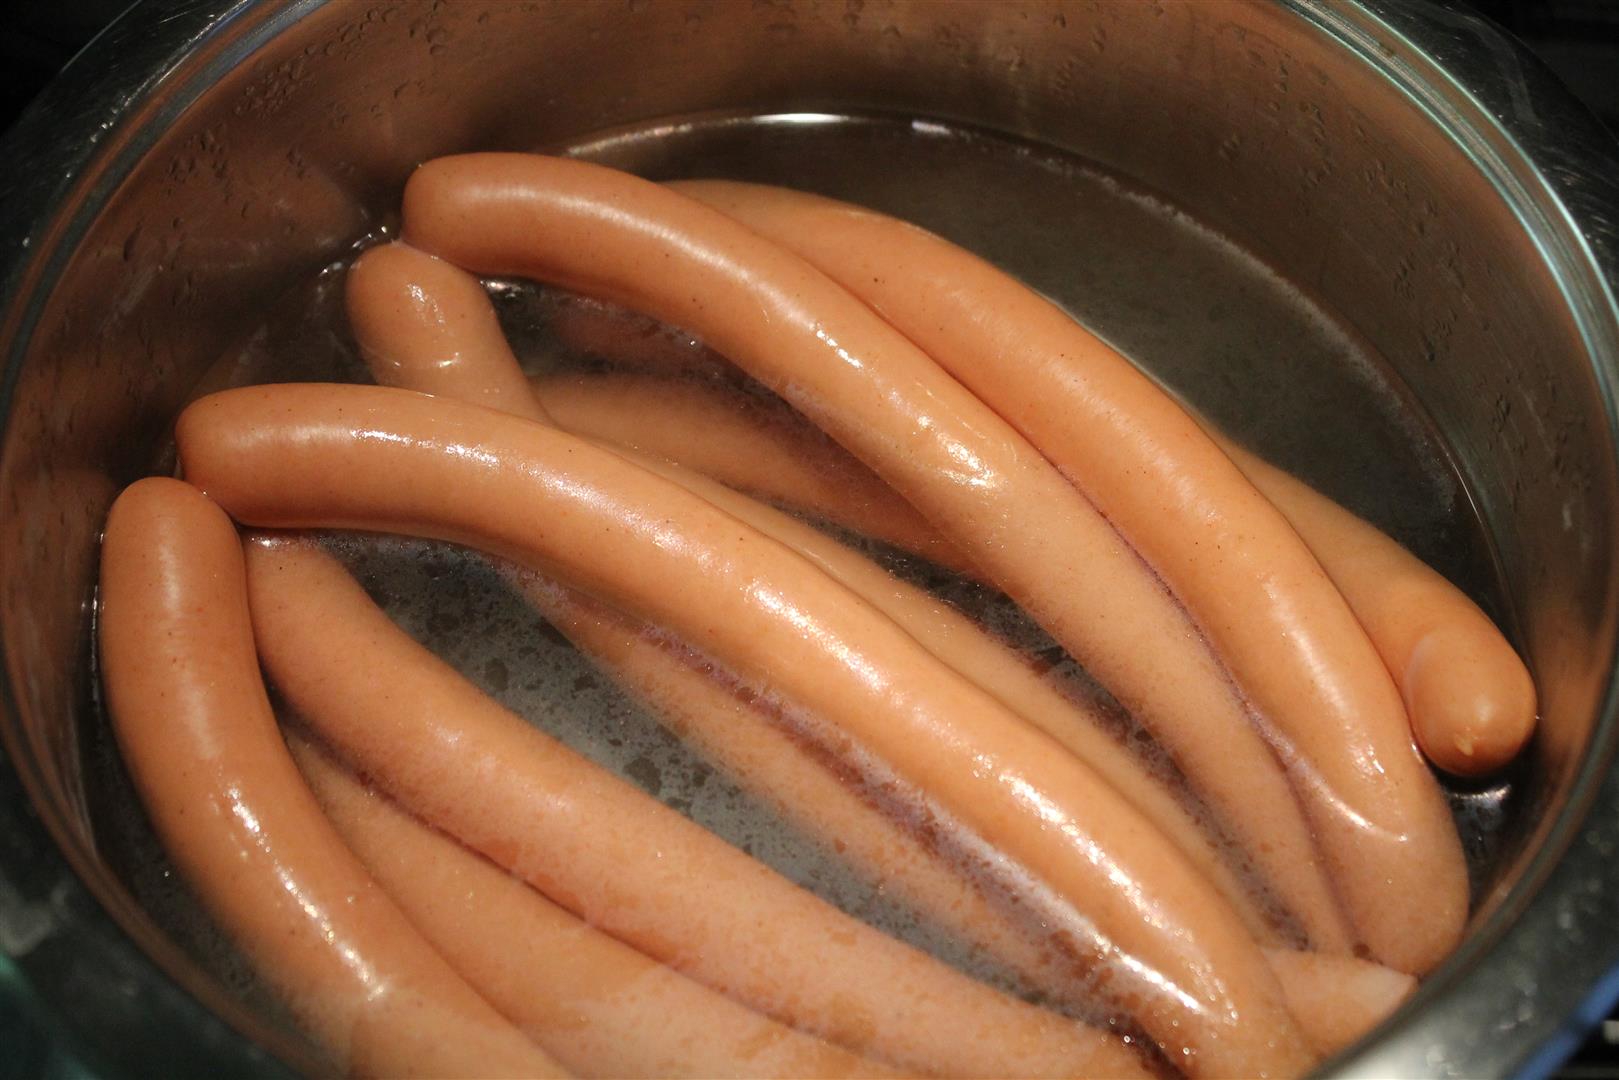
How To Cook Hot Dogs On Stove With Water
How To Cook Summer Sausage In Oven
How To Cook My Tho Noodles
How To Cook Potato Flakes
How To Cook Bone In Pork Boston Butt
How To Cook Frozen Beer Battered Cod In Air Fryer
How To Cook A Wild Rabbit
How To Cook White Grunt Fish
How To Cook Frozen Smoked Salmon