Easy and Delicious Quick Breads in Your Bread Machine
Are you a fan of freshly baked bread but don’t have the time to knead and wait for the dough to rise? A bread machine can be your best friend when it comes to baking quick and delicious bread at home. In this article, we’ll explore how you can use your bread machine to create mouthwatering quick breads in no time.
Choosing the Right Ingredients
Before you start baking, it’s important to gather the right ingredients. Quick breads typically require basic pantry staples such as flour, sugar, baking powder, salt, eggs, milk, and oil. You can also get creative by adding nuts, chocolate chips, dried fruits, or spices to enhance the flavor of your bread.
Preparing the Bread Machine
Every bread machine comes with its own set of instructions, so it’s crucial to familiarize yourself with the manual before getting started. Once you understand the settings and functions of your machine, you can begin preparing the baking pan by greasing it lightly to prevent the bread from sticking.
Following the Recipe
Now it’s time to mix your ingredients. Most quick bread recipes follow a simple process of combining the dry ingredients in one bowl and the wet ingredients in another. Once you have both mixtures ready, carefully pour them into the bread pan according to the recipe’s instructions.
Baking Settings
Set your bread machine to the “quick bread” or “cake” setting, depending on the options available. This setting is designed specifically for recipes that don’t require yeast and need a shorter baking time. The machine will take care of the mixing, kneading, and baking, allowing you to sit back and relax while the aroma of freshly baked bread fills your kitchen.
Adding Extra Ingredients
If you’re feeling adventurous, you can customize your quick bread by adding extra ingredients. Whether it’s a handful of blueberries, a sprinkle of cinnamon, or a swirl of caramel, don’t be afraid to experiment and make the recipe your own. Just be mindful of the machine’s capacity and avoid overfilling the pan.
Testing for Doneness
As the baking cycle nears its end, you can perform a quick doneness test by inserting a toothpick into the center of the bread. If it comes out clean, your quick bread is ready. If not, you may need to add a few more minutes to the baking time and check again until it’s fully baked.
Cooling and Enjoying
Once the bread is done, carefully remove the pan from the machine and allow it to cool on a wire rack for a few minutes. Then, gently remove the bread from the pan and let it cool completely before slicing. The anticipation of tasting your freshly baked quick bread is almost as delightful as the bread itself!
With these simple steps, you can easily bake a variety of quick breads in your bread machine. Whether you prefer classic banana bread, zesty lemon loaf, or indulgent chocolate chip bread, the possibilities are endless. So, roll up your sleeves, gather your ingredients, and let your bread machine do the work while you savor the delightful aromas wafting from your kitchen.
Was this page helpful?
Related Articles
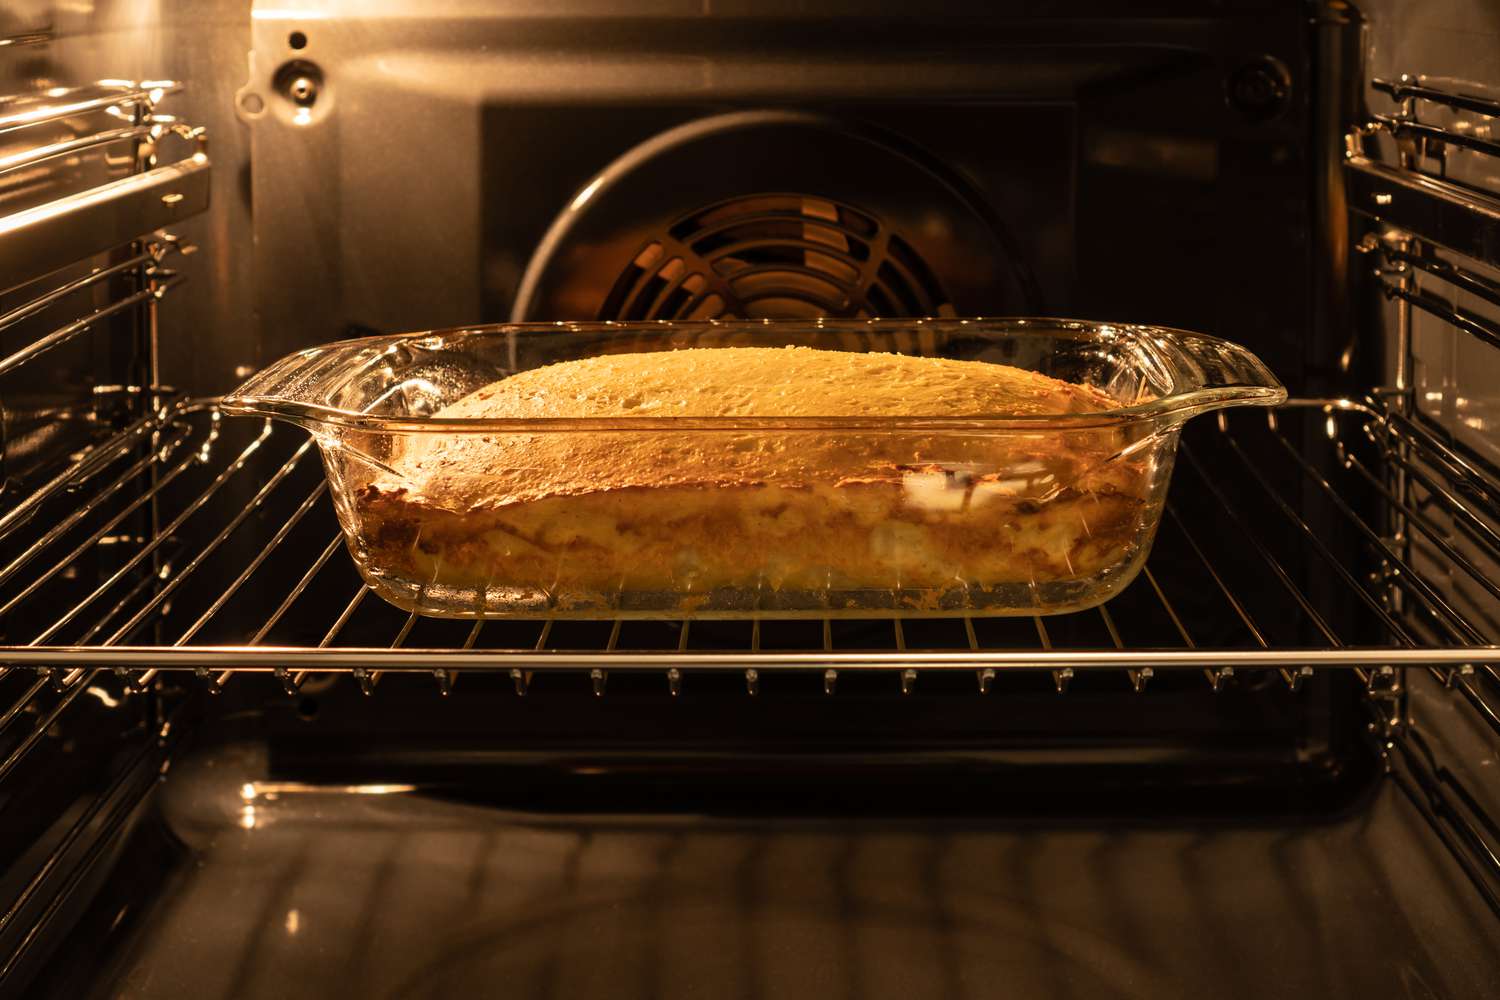
How To Bake With Glass Pans
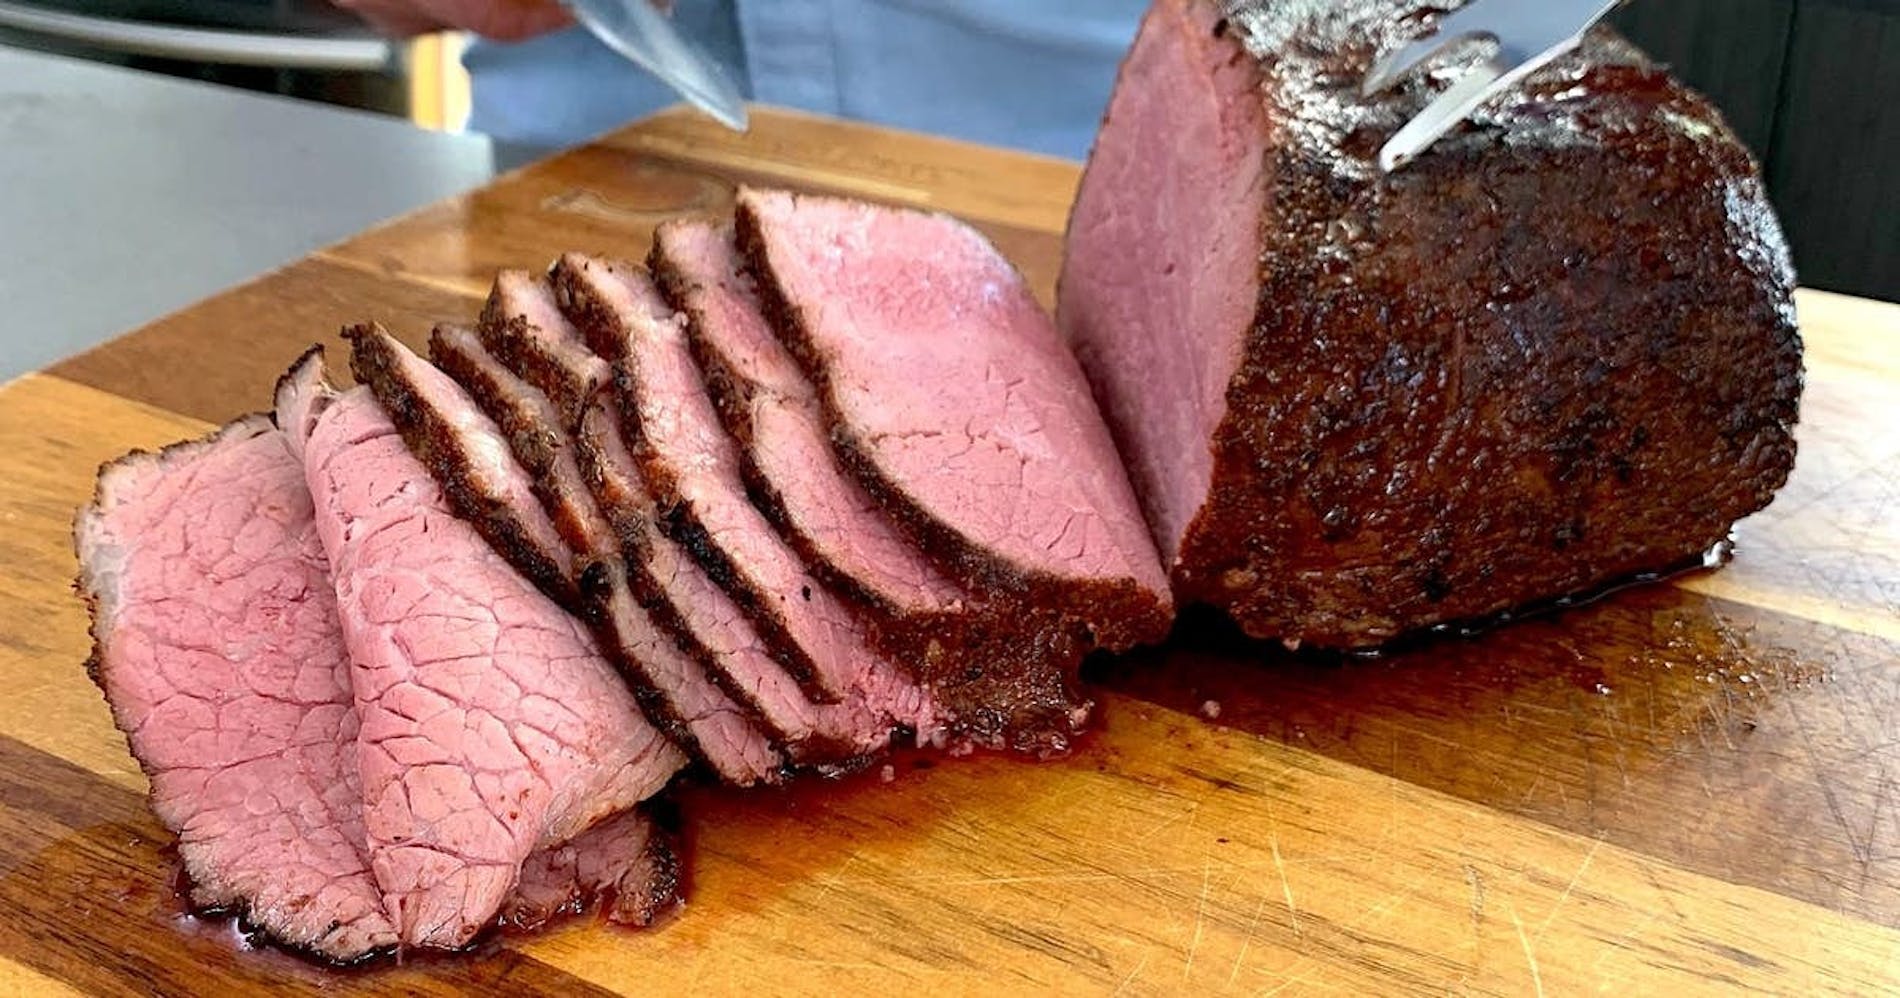
How To Bake A Tri Tip Roast In A Convection Oven
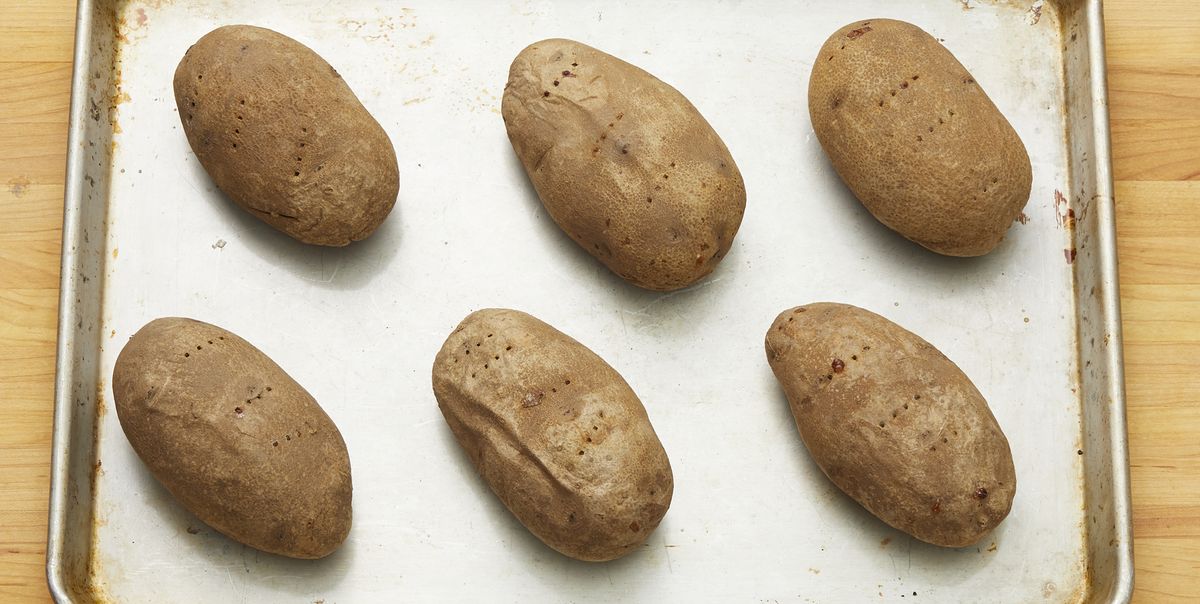
How To Bake Potatoes In A Gas Oven
How To Bake Cake In Oven Preheat Temperature
How To Bake At A Lower Temperature
How To Bake Lasagna: Oven Temperature

How To Bake Alligator Nuggets
How To Bake Large Cream Puffs In A Convection Oven
How To Bake Half A Box Of Cake Mix
How To Thoroughly Bake Frozen Biscuits

How To Bake Freshwater Bass