How to Bake Delicious Flour Tortilla Shells
Are you craving some crispy, golden-brown flour tortilla shells to use for tacos, salads, or wraps? Look no further! Baking your own tortilla shells is a simple and rewarding process that will take your homemade meals to the next level. With just a few basic ingredients and some easy-to-follow steps, you can create flavorful and crispy tortilla shells right in your own kitchen.
Ingredients:
- Flour tortillas
- Olive oil or cooking spray
- Salt (optional)
Instructions:
- Preheat the Oven: Start by preheating your oven to 375°F (190°C). This will ensure that your tortilla shells bake evenly and become crispy.
- Prepare the Tortillas: Lay the flour tortillas flat on a clean surface. Lightly brush both sides of each tortilla with olive oil or spray them with cooking spray. This will help the tortillas crisp up in the oven.
- Shape the Tortillas: Carefully drape each tortilla over the oven rack bars, creating a shell shape. If you prefer a flat tortilla, you can also lay them directly on the oven rack or on a baking sheet.
- Bake to Perfection: Place the prepared tortillas in the preheated oven and bake for 7-10 minutes, or until they are golden brown and crispy. Keep a close eye on them to prevent burning.
- Cool and Enjoy: Once the tortilla shells are done, carefully remove them from the oven and let them cool for a few minutes. They will continue to crisp up as they cool. Once cooled, fill them with your favorite ingredients and enjoy!
Now that you know how to bake your own flour tortilla shells, the possibilities are endless. Whether you fill them with seasoned meats, fresh veggies, or creamy sauces, you can create delicious and customizable meals that will impress your family and friends. So, next time you’re in the mood for some crispy tortilla shells, skip the store-bought ones and try making your own at home. You won’t be disappointed!
With just a few simple steps and minimal ingredients, you can elevate your meals and enjoy the satisfaction of creating something delicious from scratch. So, roll up your sleeves, preheat that oven, and get ready to bake the best flour tortilla shells you’ve ever tasted!
Was this page helpful?
Read Next: How To Bake Corn Flour Bread
Related Articles
How To Bake Chicken Without Olive Oil
How To Bake Two Cakes At Once In An Instant Pot
How To Bake Chicken Burgers In The Oven
How To Bake With Silicone Baking Cups
How To Bake Canned Tuna
How To Bake Steak Well Done In A Convection Oven
How To Bake Bread In A NuWave Oven
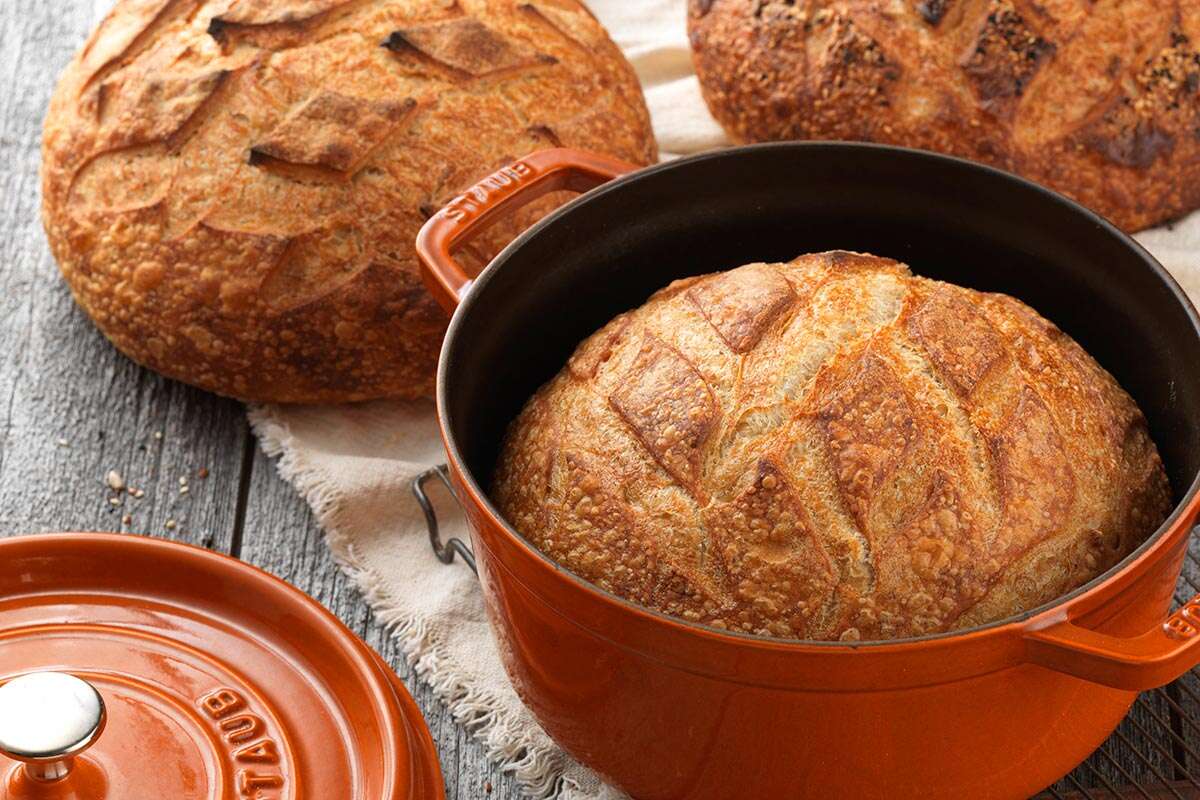
How To Bake Sourdough Bread Without A Dutch Oven Or Pizza Stone
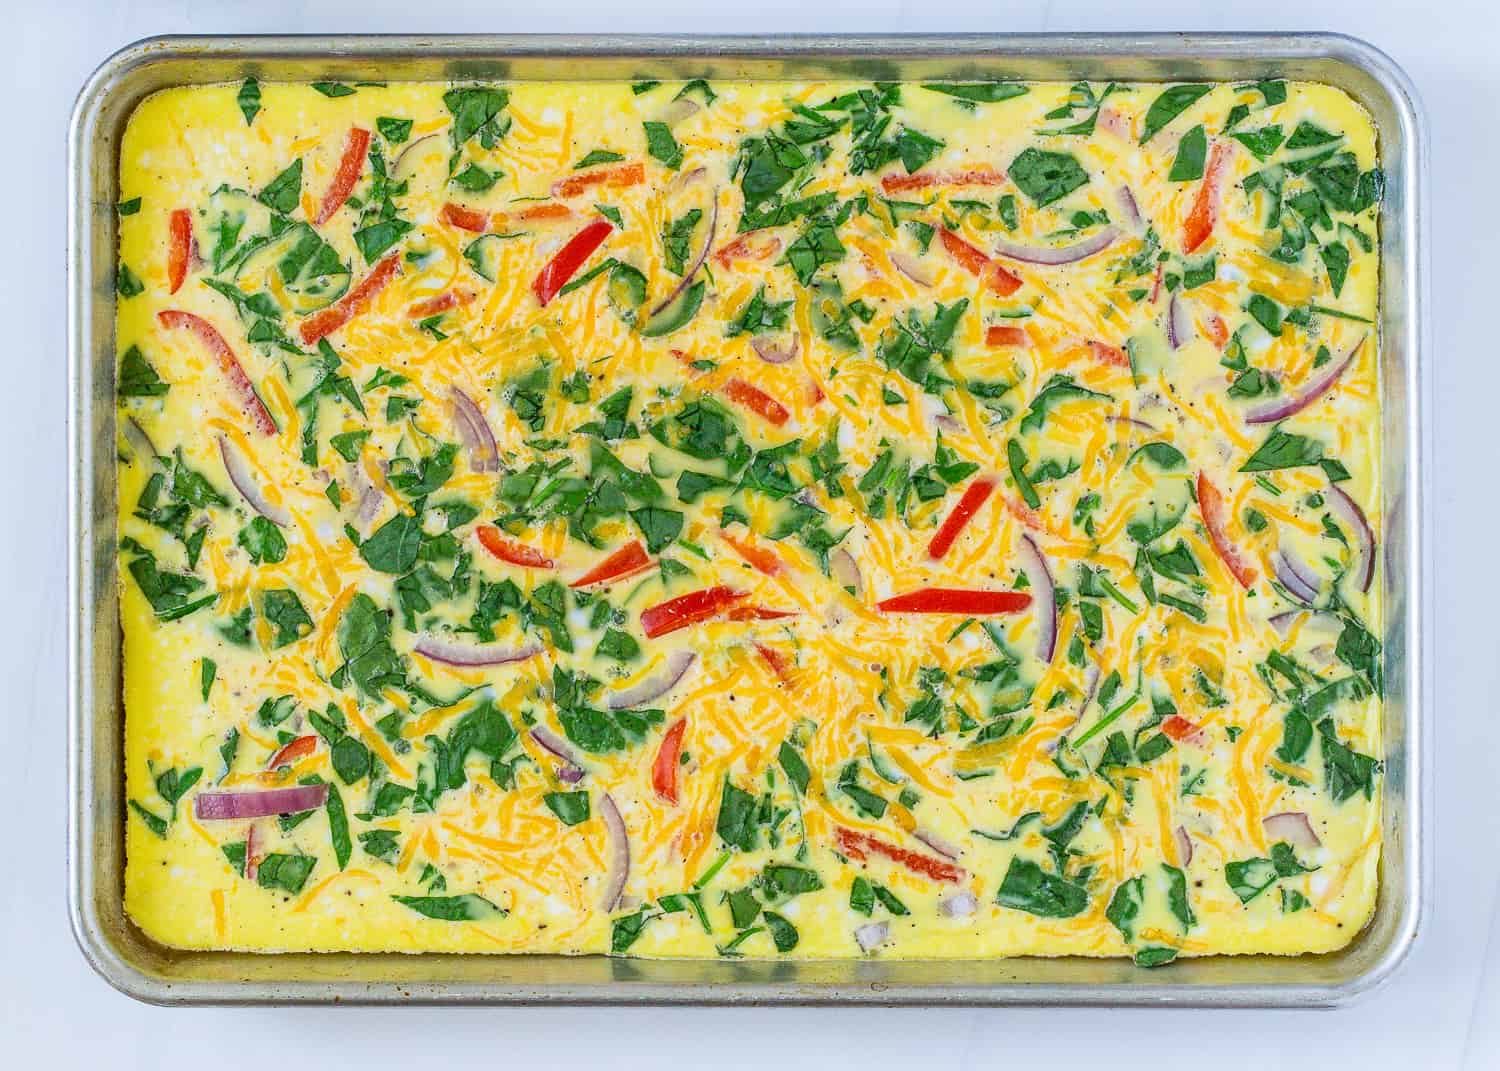
How To Bake Scrambled Eggs In A 9×13 Pan
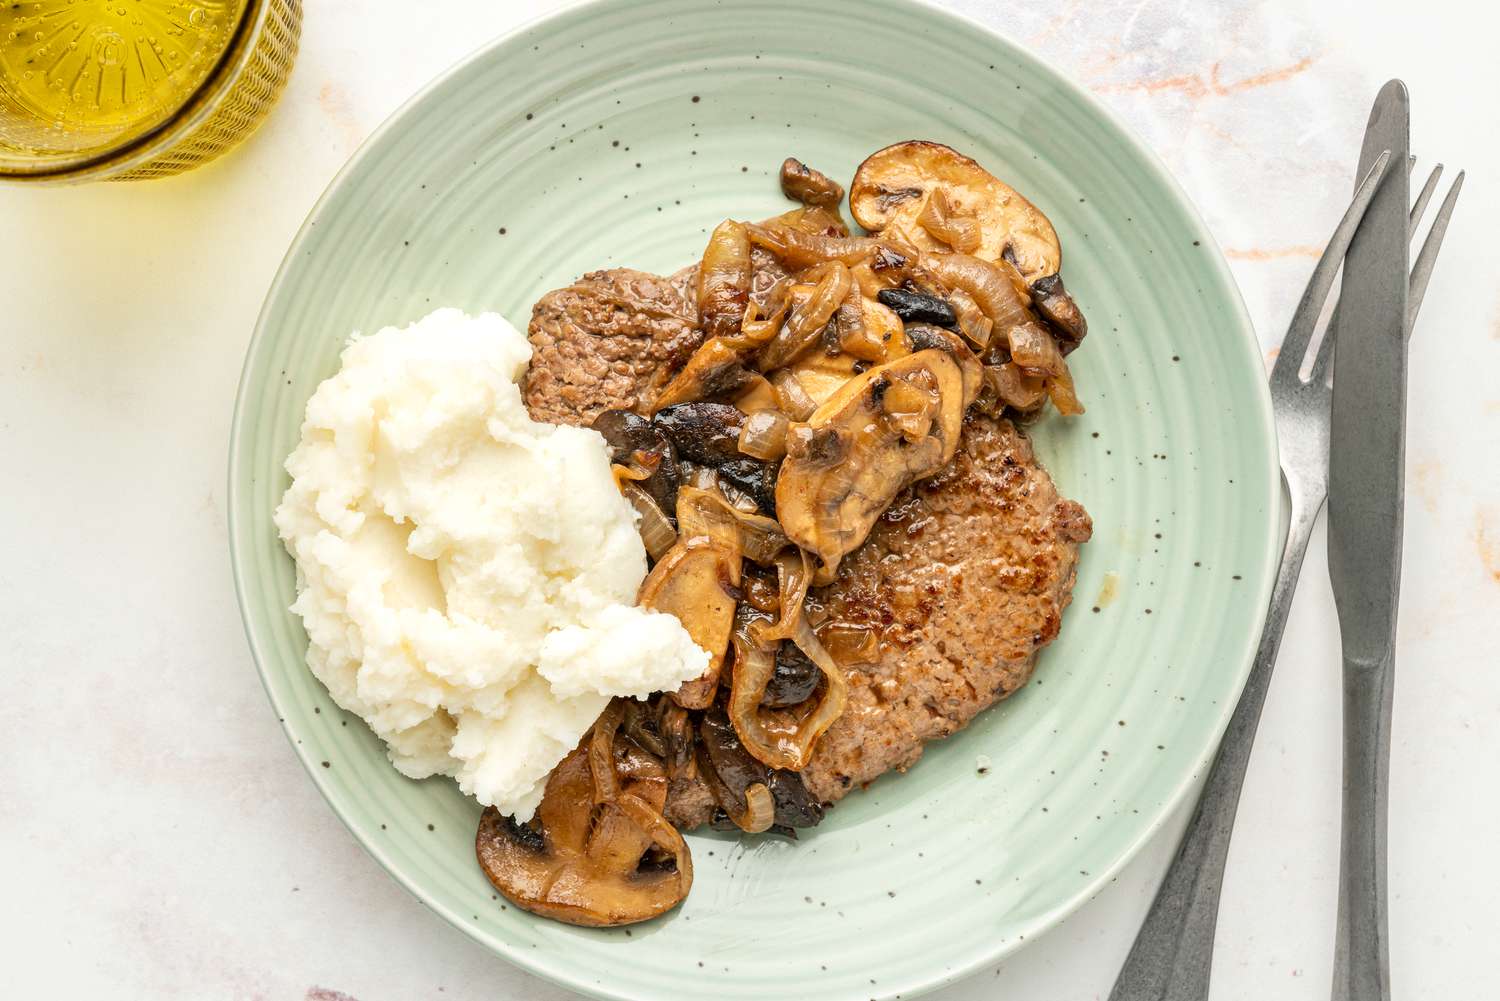
How To Bake A Cube Steak In The Oven
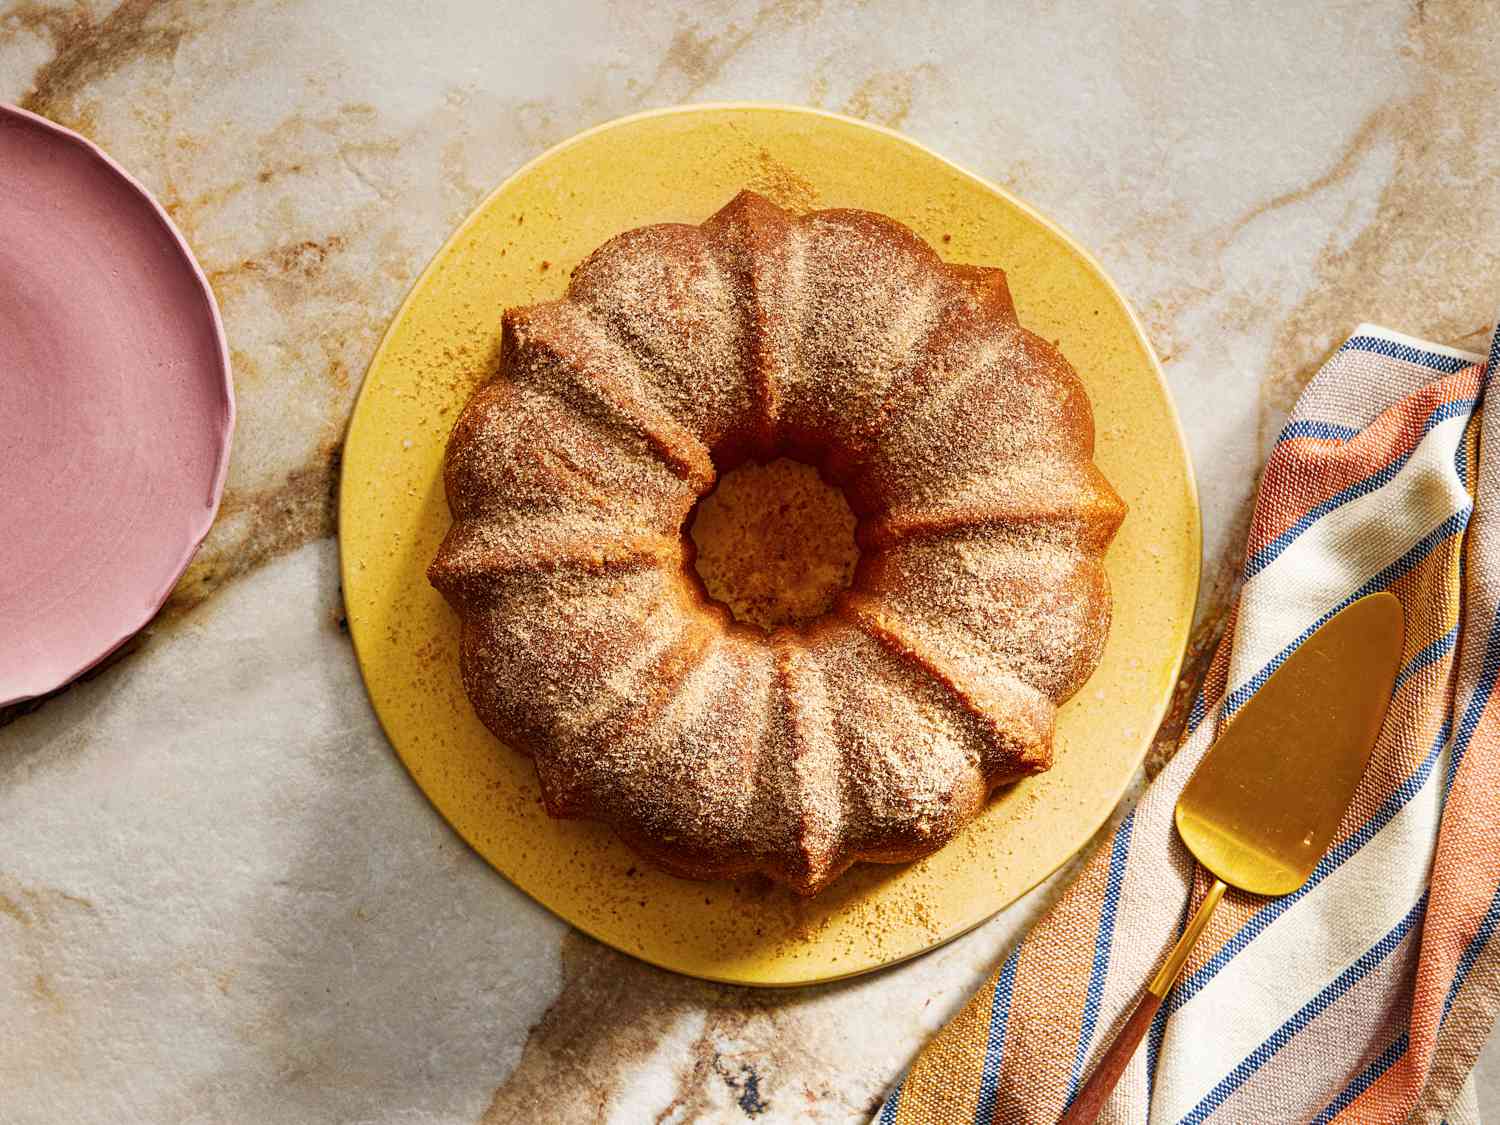
How To Bake A Pudding-Filled Bundt Cake