Creating a Dome-Shaped Cake: A Delicious Baking Adventure
Are you ready to take your baking skills to the next level? Baking a dome-shaped cake can be a fun and rewarding experience. Whether you’re a beginner or an experienced baker, creating a perfectly rounded cake can be a delightful challenge. In this guide, we’ll walk you through the steps to bake a dome-shaped cake that will impress your friends and family.
Ingredients You’ll Need:
- 2 1/2 cups all-purpose flour
- 1 1/2 cups granulated sugar
- 1 cup unsalted butter, softened
- 4 large eggs
- 1 cup milk
- 2 teaspoons baking powder
- 1 teaspoon vanilla extract
- 1/2 teaspoon salt
Step 1: Preparing the Batter
Start by preheating your oven to 350°F (175°C). In a large mixing bowl, cream together the softened butter and sugar until light and fluffy. Add the eggs one at a time, beating well after each addition. Stir in the vanilla extract. In a separate bowl, combine the flour, baking powder, and salt. Gradually add the dry ingredients to the creamed mixture, alternating with the milk. Mix until just combined.
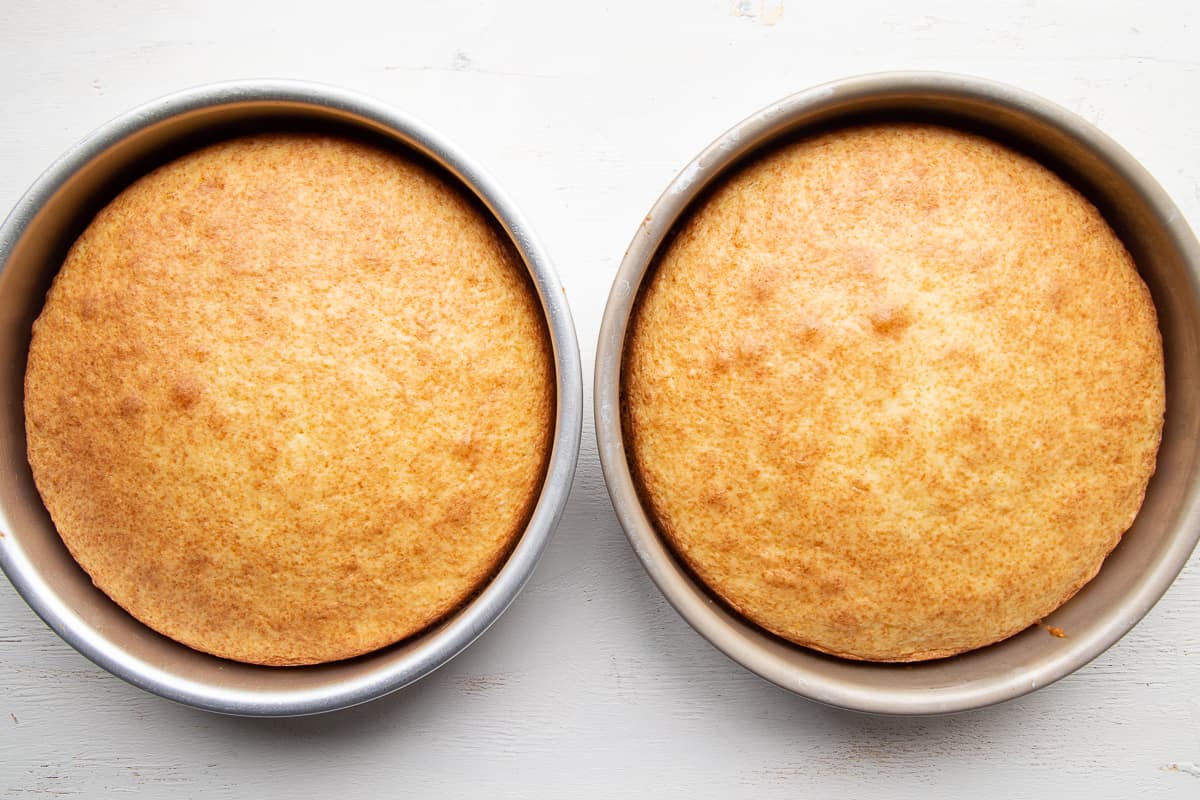
Step 2: Choosing the Right Pan
For a dome-shaped cake, it’s important to use the right pan. A hemisphere cake pan or a stainless steel mixing bowl can be used to achieve the desired shape. Make sure to grease and flour the pan thoroughly to prevent the cake from sticking.
Step 3: Baking the Cake
Pour the prepared batter into the greased and floured pan, filling it about two-thirds full. Smooth the top with a spatula to ensure an even surface. Place the pan in the preheated oven and bake for 45-50 minutes, or until a toothpick inserted into the center comes out clean. Keep in mind that the baking time may vary depending on the size of the pan you’re using.
Step 4: Cooling and Unmolding
Once the cake is baked, allow it to cool in the pan for 10-15 minutes. Then, carefully invert the pan onto a wire rack and gently lift it to release the cake. Let the cake cool completely before decorating.
Step 5: Decorating Your Dome-Shaped Cake
Now comes the fun part – decorating your dome-shaped cake! You can frost the cake with your favorite icing, or get creative with fondant, fresh fruit, or edible flowers. Let your imagination run wild and turn your cake into a work of art.
With these simple steps, you can bake a stunning dome-shaped cake that will be the star of any celebration. Whether it’s a birthday, anniversary, or just a special treat for yourself, this unique cake is sure to impress. So, roll up your sleeves, gather your ingredients, and get ready to bake a show-stopping dome-shaped cake that will have everyone asking for seconds!
Was this page helpful?
Read Next: How To Bake A Lamb Burger
Related Articles

How To Bake Frozen Burrito In The Oven
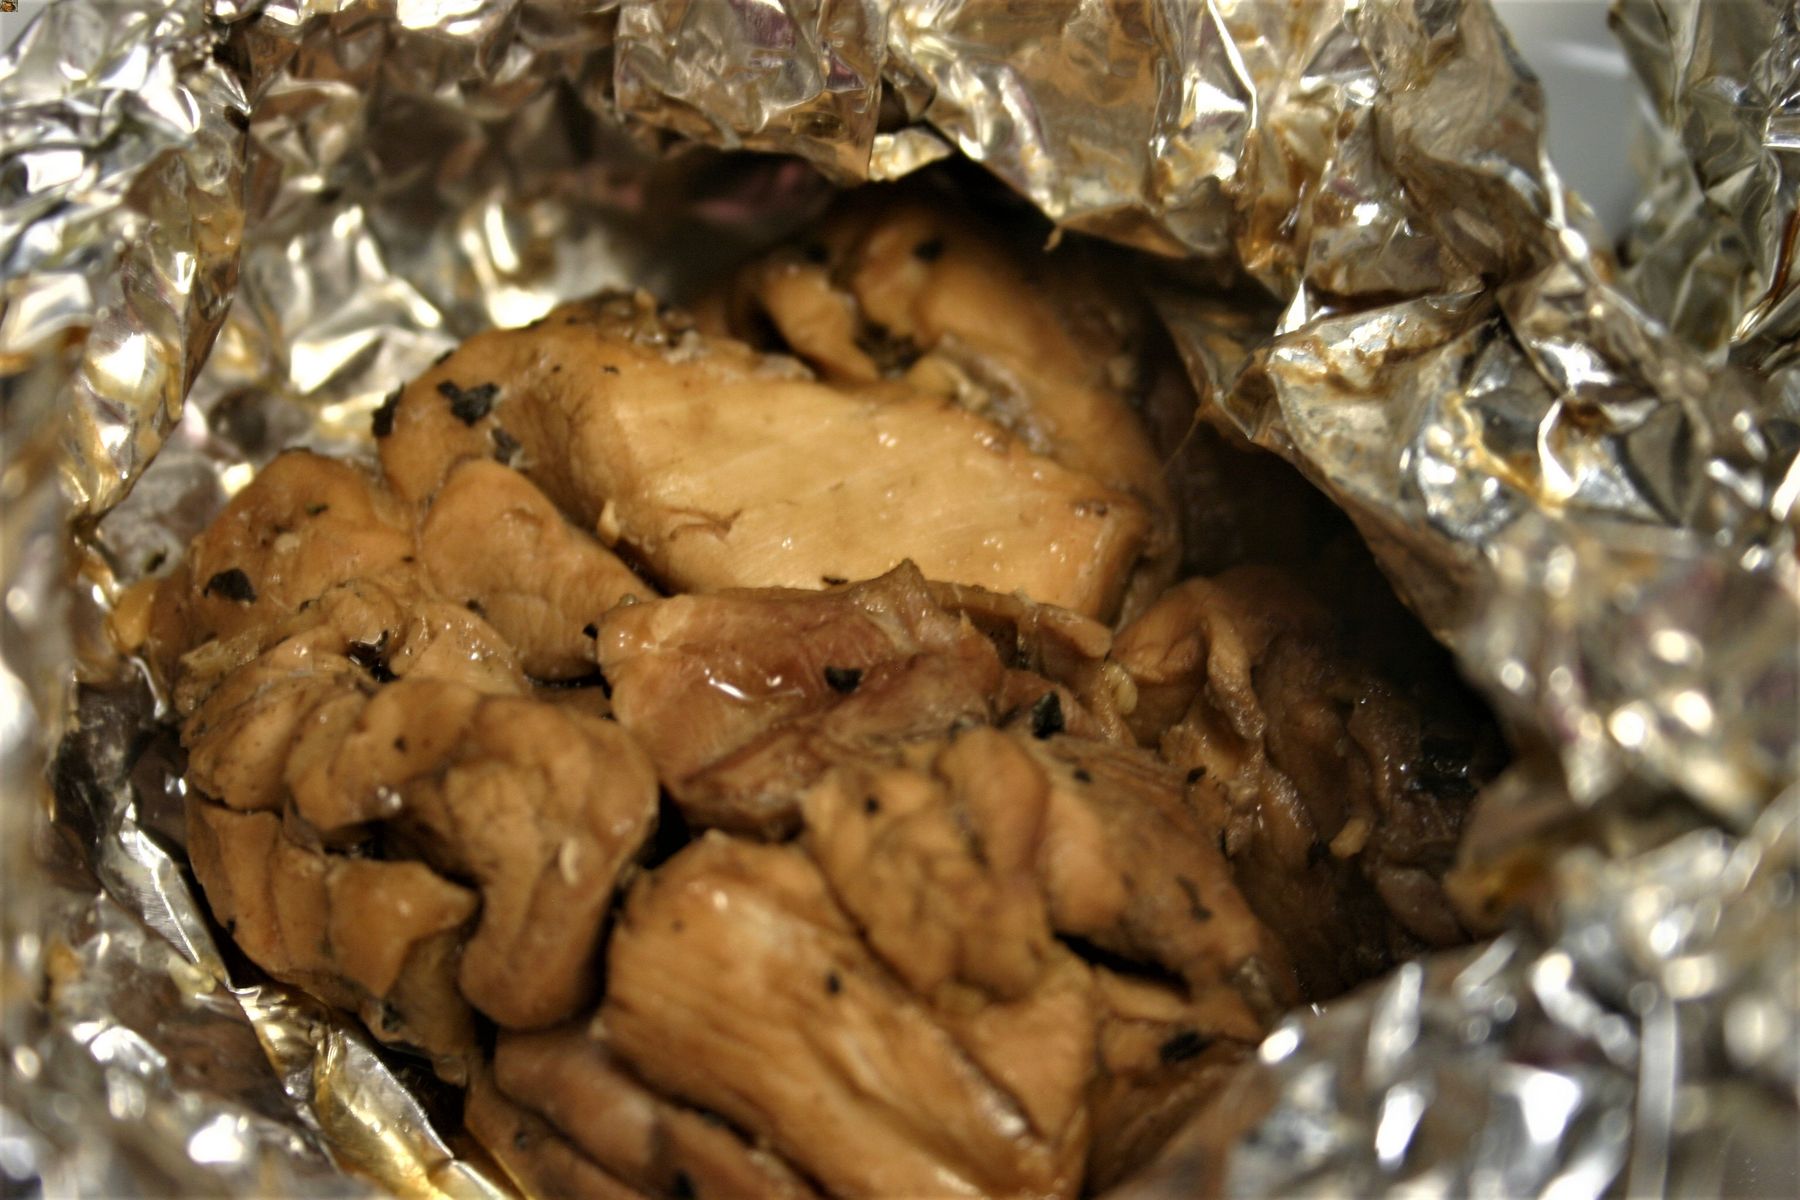
How To Bake Foil-Wrapped One-Inch Chicken Thighs

How To Bake Fish With Flour And Eggs

How To Bake Breaded Fish In A Convection Oven
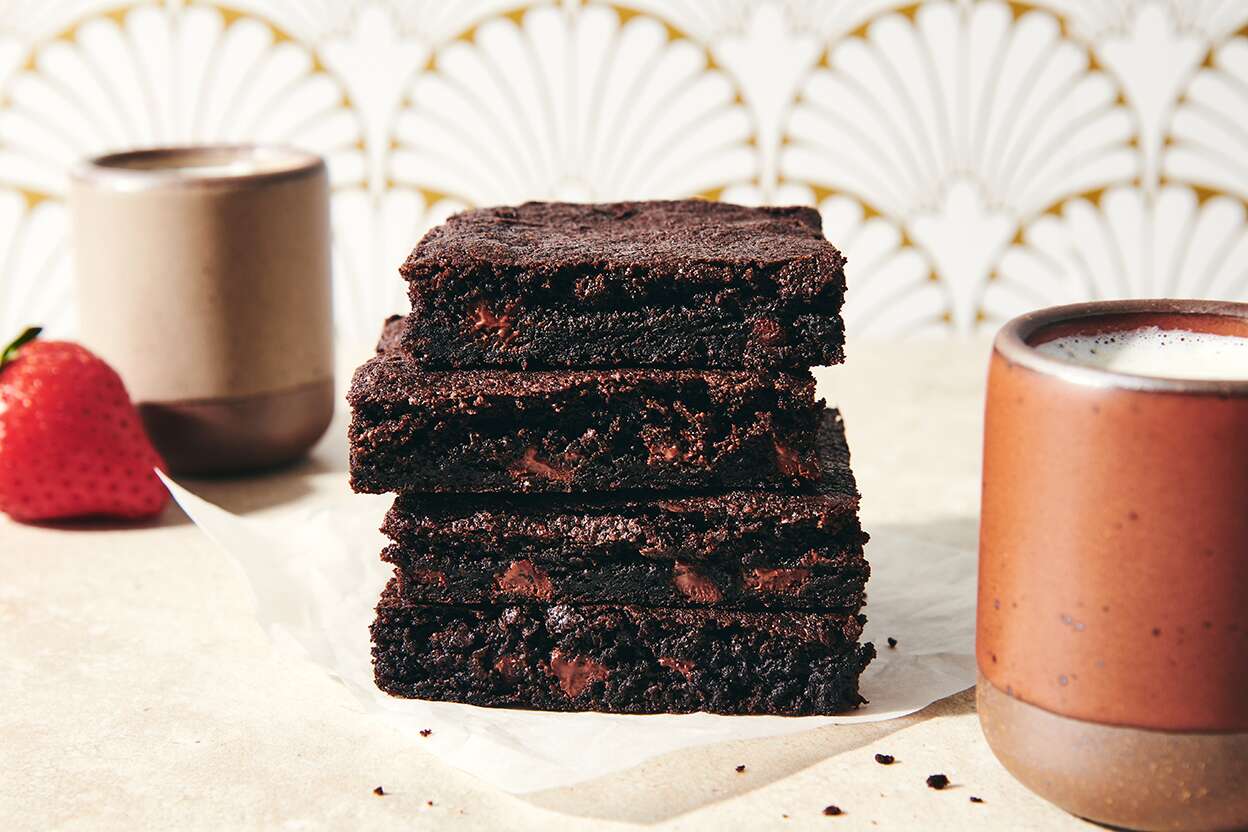
How To Bake Boxed Brownies In A Toaster Oven
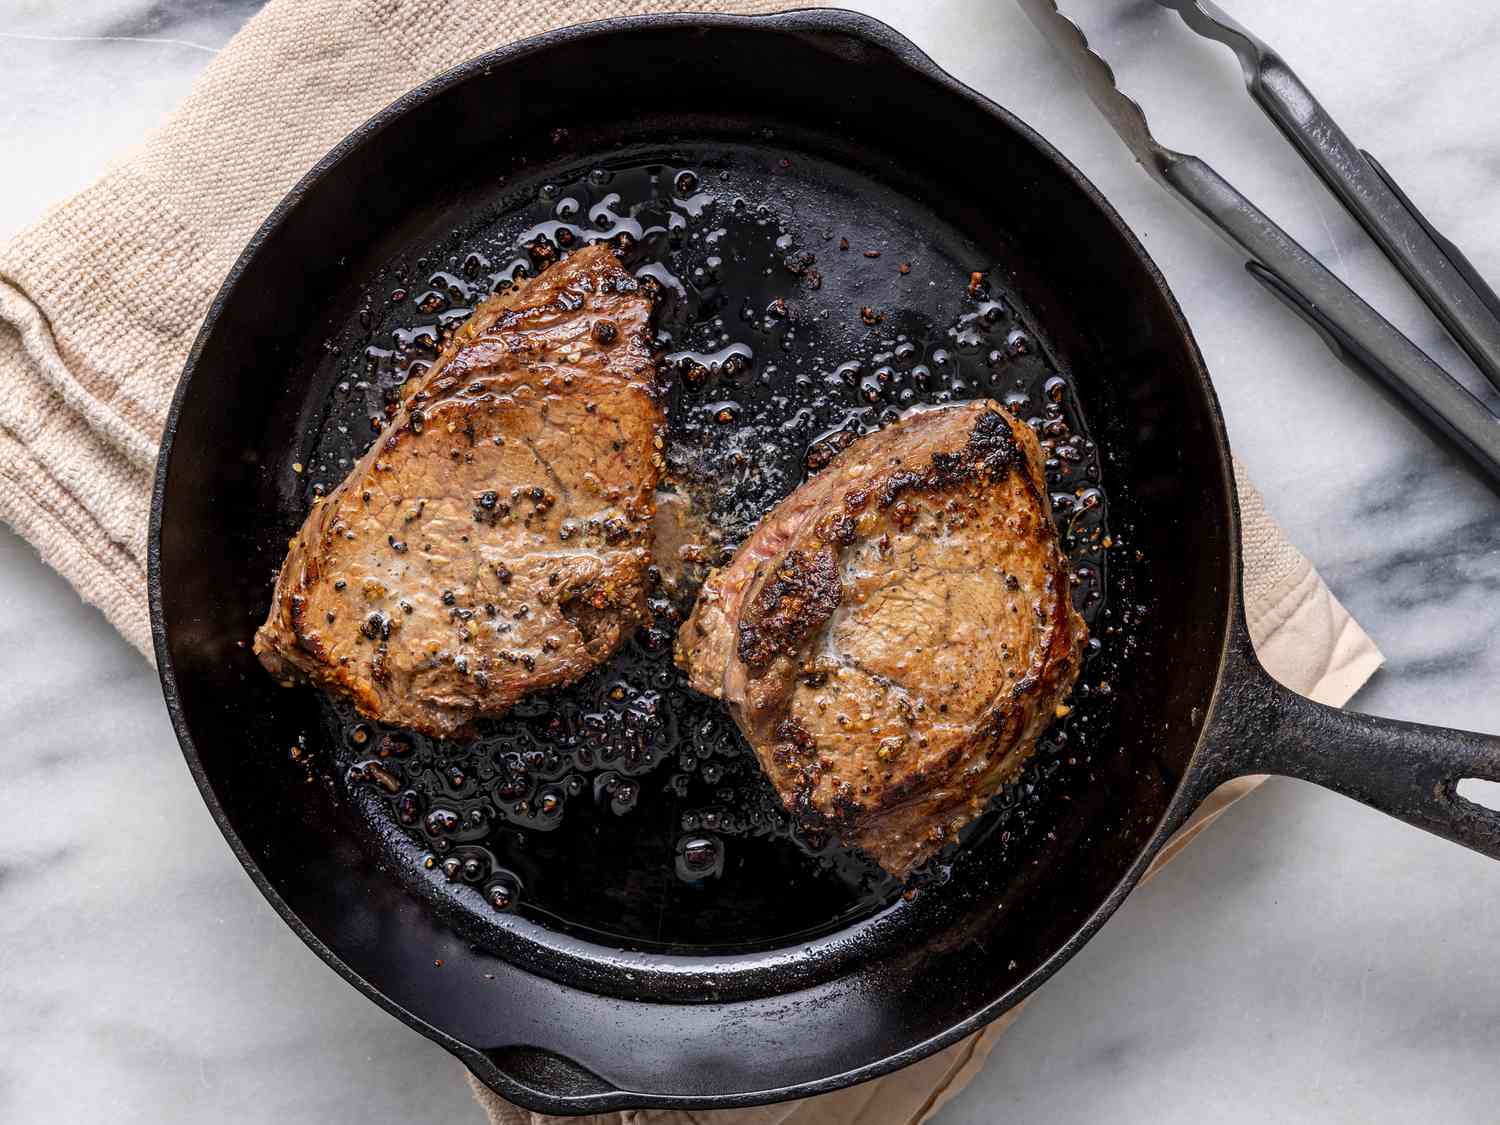
How To Bake A Ribeye Steak In The Oven At 350
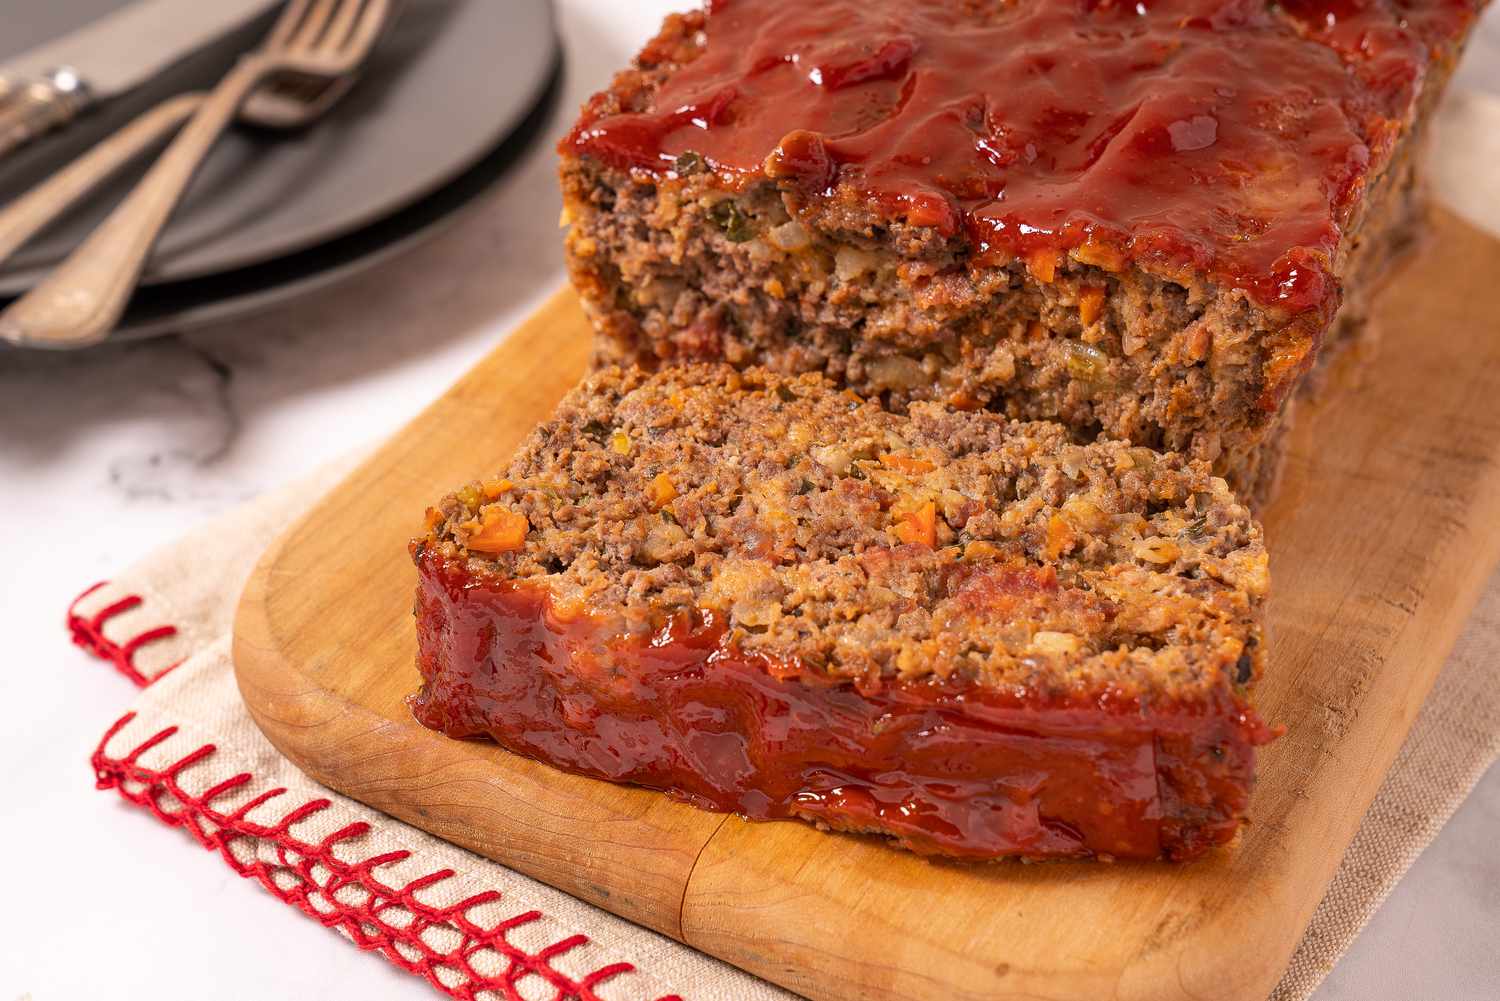
How To Bake A 2-Pound Meatloaf
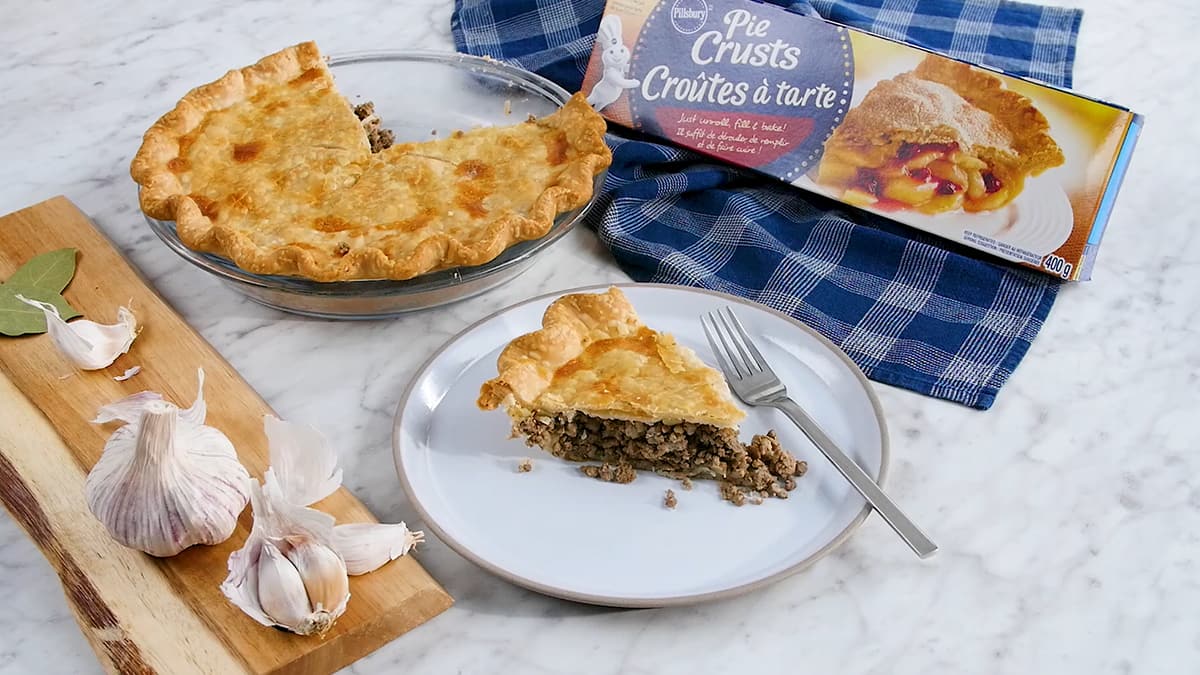
How To Bake A Pillsbury Pie Crust
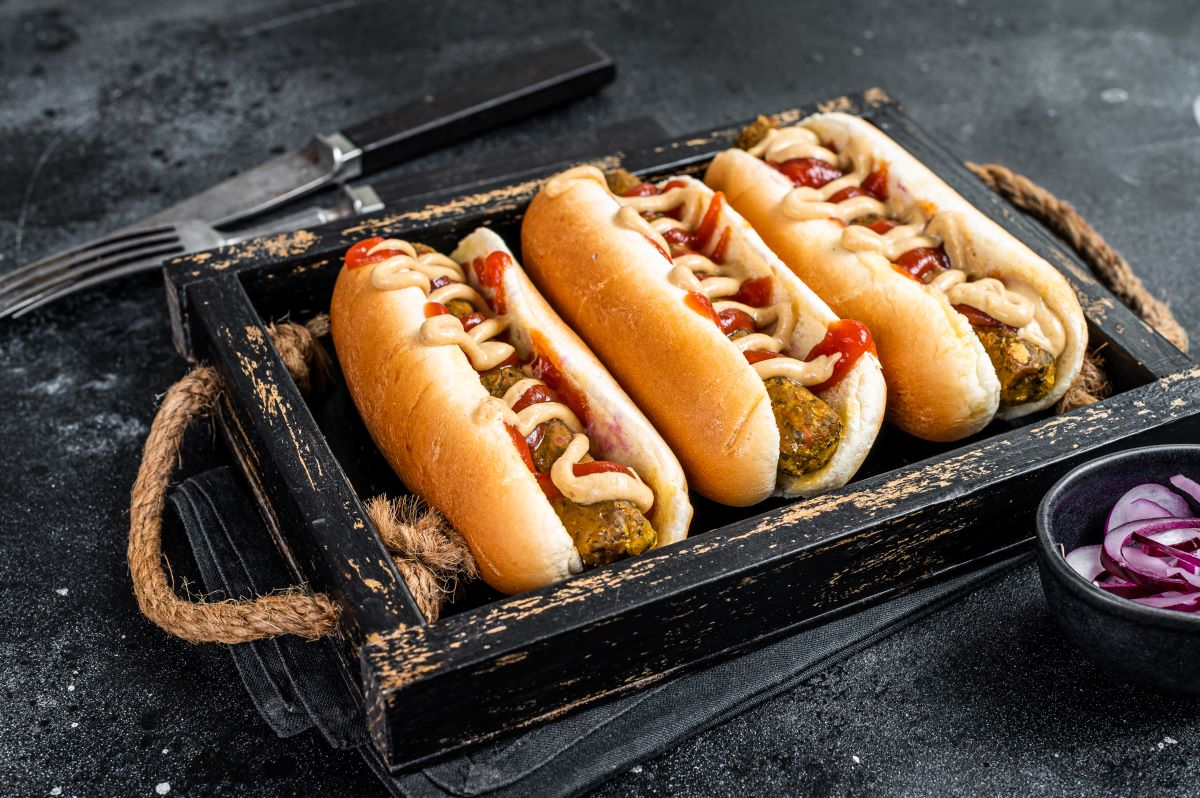
How To Bake Hot Dogs In A Commercial Convection Oven

How To Bake Bread In Ninja Foodi
How To Bake A Cake In A Ninja Dual Air Fryer