Creating a Geode Cake doesn’t have to break the bank. With a little creativity and some DIY spirit, you can craft a stunning centerpiece that’s both affordable and breathtaking. This article is your go-to guide for making budget-friendly geode cakes that look like a million bucks!
Unleashing Your Inner Baker
First, let’s bust the myth: you don’t need to be a professional to make a geode cake. With these tips, anyone can create a geological masterpiece.
1. Choosing Your Cake Base
- Budget Tip: Bake from scratch or save time with a budget-friendly boxed mix.
- Variety: Vanilla, chocolate, or even red velvet – pick a flavor that complements your geode colors.
2. The Geode Formation
- Carving the Cake: Carefully cut out a section of your cake to form the geode shape.
- Budget Tip: Use a small knife and follow a simple, natural-looking pattern.
3. Making Edible Crystals
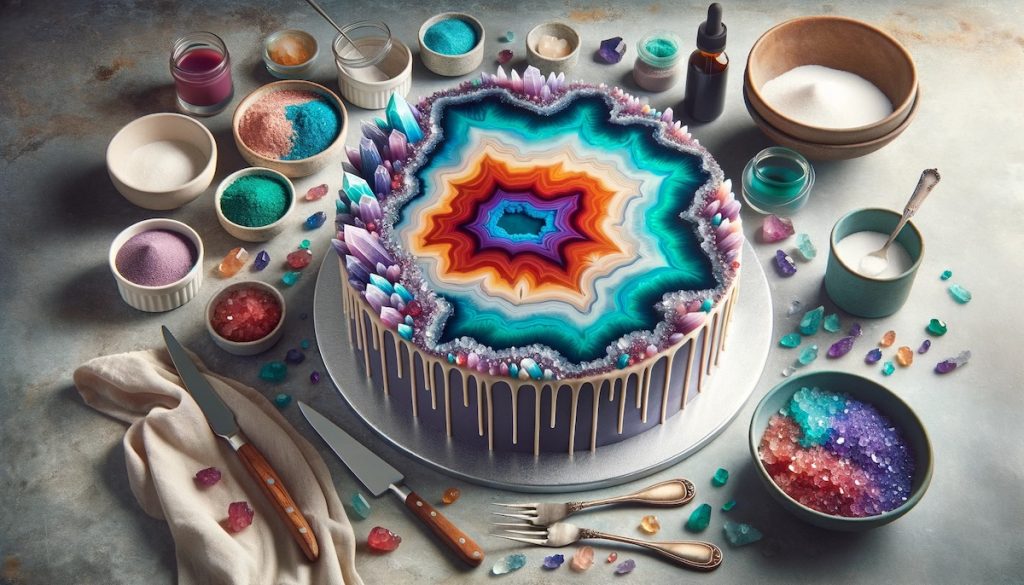
- Sugar Crystals: A mixture of sugar, water, and food coloring can create stunning crystals.
- Budget-Friendly Alternative: Crushed candies like rock candy or sugar sprinkles.
4. Assembling Your Geode
- Layering: Start with darker colors inside and lighten as you move outwards.
- Budget Tip: Use a small paintbrush or spoon to carefully place your edible crystals.
5. The Finishing Touches
- Gold Leaf: For an extra wow factor, add gold leaf around the edges (optional).
- Budget Alternative: Gold-colored icing or edible paint.
Innovative Budget Hacks
- Bulk Buying: Purchase sugar or sprinkles in bulk for better savings.
- Repurpose Tools: Use everyday kitchen tools for carving and decorating.
- Practice Makes Perfect: Experiment with smaller cupcakes or mini-cakes first.
Showcasing Your Creation
- Photography: Capture your masterpiece in good lighting.
- Social Sharing: Post your creation on social media using #BudgetGeodeCake.
Conclusion
Creating a geode cake on a budget is all about creativity and experimentation. With these tips and tricks, you’re well on your way to making a stunning, geologically-inspired cake that won’t drain your wallet. Remember, the beauty of a geode cake lies in its uniqueness – each creation is as individual as a real geode! Happy baking!
Was this page helpful?
Related Articles