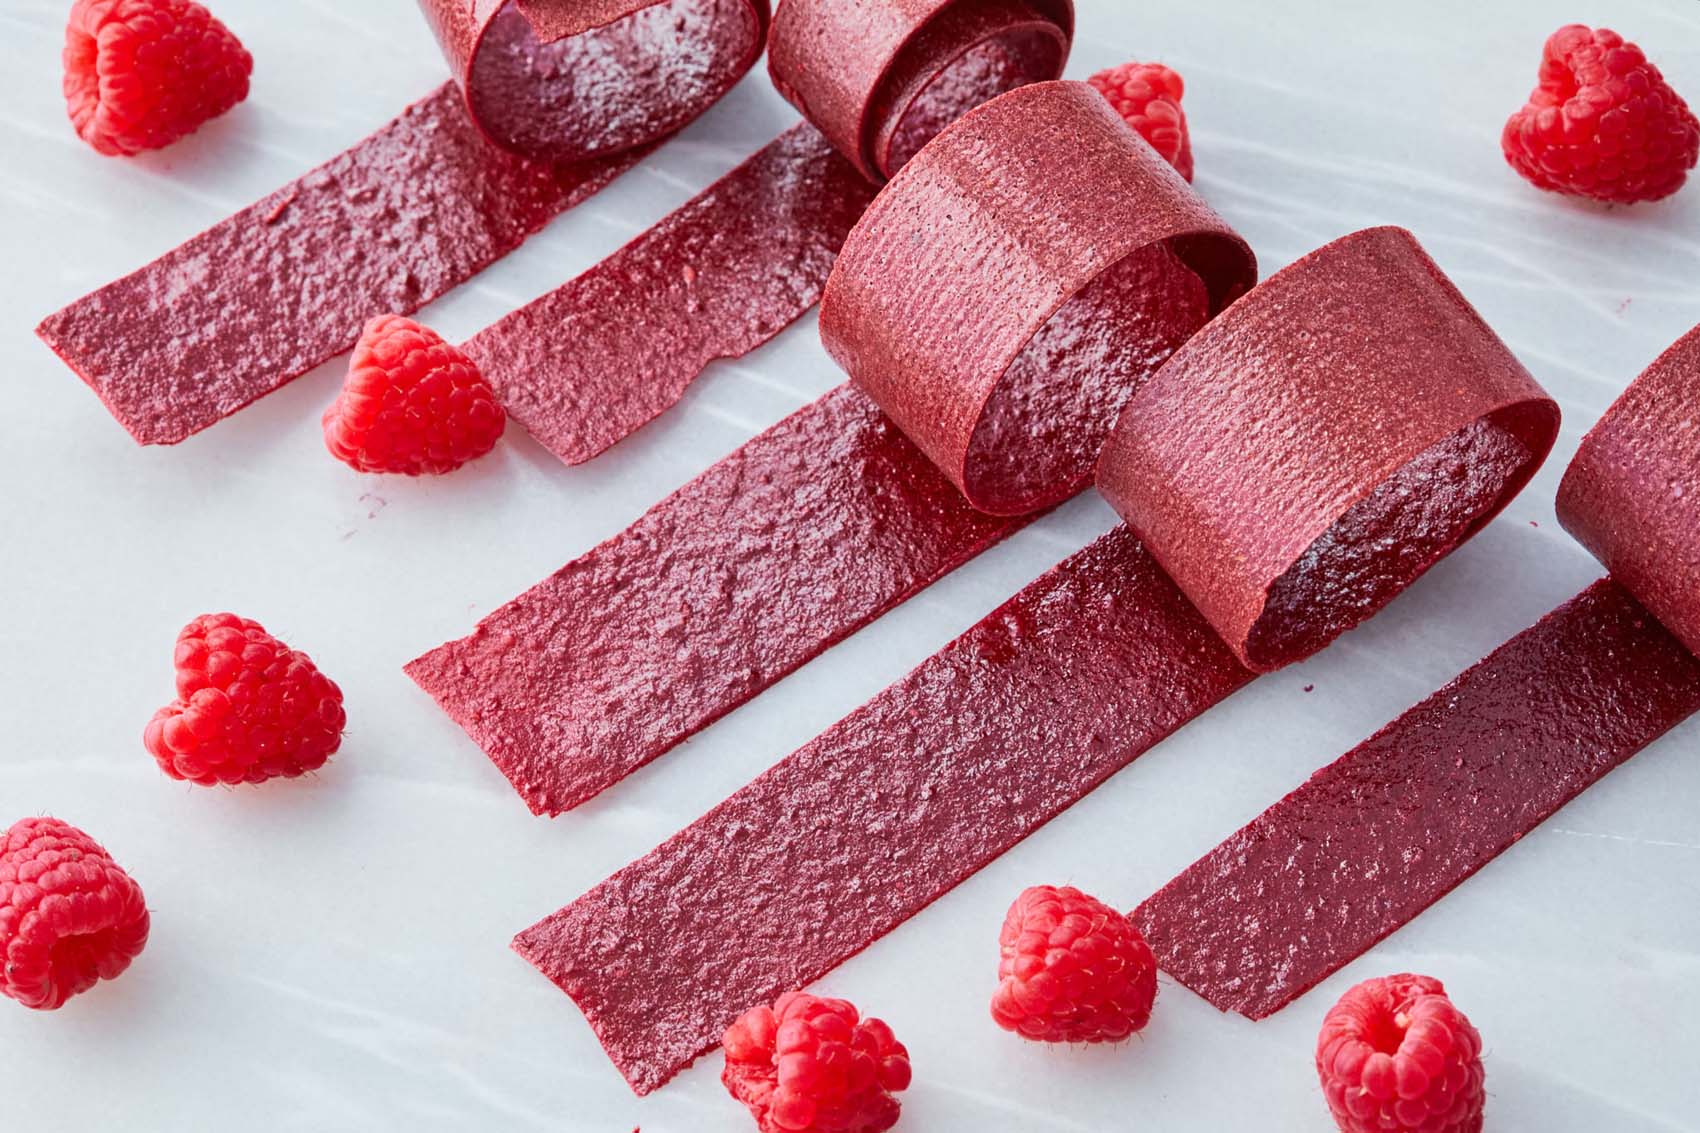
Making homemade fruit leather is a fun, tasty way to enjoy fruit. Imagine creating colorful, chewy snacks that are both healthy and delicious. Fruit leather tessellations take this treat to the next level by turning them into beautiful, interlocking shapes. This guide will help you master the art of making perfect fruit leather tessellations, from choosing the right fruits to drying them just right. Get ready to impress your friends and family with these eye-catching, mouth-watering snacks. Whether for lunchboxes or a sweet treat, fruit leather tessellations are sure to become a favorite in your kitchen.
Gather Your Ingredients for Homemade Fruit Leather Tessellations
- 3 cups of fresh fruit (berries, apples, or peaches work well)
- 1/4 cup of honey or maple syrup (adjust based on sweetness of fruit)
- 2 tablespoons of lemon juice to preserve color and add tartness
- Water (optional, depending on fruit juiciness)
Essential Tools for Making Fruit Leather Tessellations
Tools Needed for Mastering the Perfect Homemade Fruit Leather Tessellations
-
Blender or Food Processor
- Purees the fruit into a smooth consistency.
-
Baking Sheet
- Holds the fruit puree while it dries.
-
Parchment Paper or Silicone Baking Mat
- Prevents sticking and makes removal easy.
-
Offset Spatula
- Spreads the puree evenly on the baking sheet.
-
Oven or Dehydrator
- Dries the fruit puree into leather.
-
Sharp Knife or Pizza Cutter
- Cuts the dried fruit leather into tessellations.
-
Ruler
- Ensures precise and even cuts.
-
Airtight Container
- Stores the finished fruit leather to keep it fresh.
For perfect homemade fruit leather tessellations, evenly spread pureed fruit on a silicone mat. Low, consistent oven temperature ensures uniform drying without burning, creating delightful, chewy, geometric snack pieces.
Why Make Homemade Fruit Leather Tessellations?
Creating homemade fruit leather tessellations offers a fun, creative way to enjoy nutritious snacks. This process transforms simple ingredients into vibrant, chewy treats, encouraging healthier eating habits. Crafting these tessellations at home allows for customization of flavors and shapes, making snack time both exciting and beneficial for all ages.
Engaging in the art of making fruit leather at home fosters a deeper appreciation for natural ingredients. It's a delightful way to incorporate more fruits into one's diet, packed with vitamins and fiber. Plus, designing unique tessellations adds an element of creativity to cooking, turning ordinary snacks into edible masterpieces.
Step-by-Step Guide to Perfect Fruit Leather Tessellations
Mastering the Perfect Homemade Fruit Leather Tessellations
Ingredients:
- Fresh fruit (strawberries, apples, mangoes, etc.)
- Honey or sugar (optional)
- Lemon juice
Tools:
- Blender or food processor
- Baking sheet
- Parchment paper
- Spatula
- Knife or pizza cutter
Step-by-Step Guide:
-
Prepare the Fruit:
- Wash and peel the fruit.
- Remove any seeds or pits.
- Cut the fruit into small pieces.
-
Blend the Fruit:
- Place the fruit pieces in a blender or food processor.
- Add a splash of lemon juice to preserve color and enhance flavor.
- Blend until the mixture is smooth.
- Taste the puree. If it's too tart, add a bit of honey or sugar.
-
Preheat the Oven:
- Set the oven to 140°F (60°C). If your oven doesn't go that low, set it to the lowest possible temperature.
-
Prepare the Baking Sheet:
- Line a baking sheet with parchment paper.
- Pour the fruit puree onto the parchment paper.
- Use a spatula to spread the puree into an even layer, about 1/8 inch thick.
-
Dry the Fruit Leather:
- Place the baking sheet in the oven.
- Leave the oven door slightly ajar to allow moisture to escape.
- Dry the fruit leather for 6-8 hours. Check periodically. It should be tacky but not sticky.
-
Cool and Cut:
- Remove the baking sheet from the oven.
- Let the fruit leather cool completely.
- Once cooled, use a knife or pizza cutter to cut the fruit leather into desired shapes.
-
Create Tessellations:
- Arrange the cut pieces into geometric patterns.
- Ensure the pieces fit together without gaps.
-
Store Properly:
- Roll the fruit leather pieces in parchment paper.
- Store in an airtight container.
- Keep in a cool, dry place.
-
Enjoy:
- Unroll and enjoy your homemade fruit leather tessellations.
-
Experiment:
- Try different fruit combinations.
- Add spices like cinnamon or nutmeg for extra flavor.
- Use cookie cutters for fun shapes.
Tips:
- Use ripe fruit for the best flavor.
- Avoid using too much sweetener.
- Ensure the puree layer is even to dry uniformly.
- Rotate the baking sheet halfway through drying for even results.
Troubleshooting:
- If the fruit leather is too sticky, it needs more drying time.
- If it's too brittle, it dried too long.
Crafting Your Culinary Masterpiece
Homemade fruit leather tessellations are not just a treat; they're a canvas for creativity and a testament to your culinary skills. With the right blend of fruit puree, a touch of sweetener, and a sprinkle of patience, you've got everything you need to create these chewy, healthy snacks. Remember, the key to perfect fruit leather lies in the thickness of your puree spread and the consistency of your oven's low temperature. Experiment with different fruits and patterns to make each batch uniquely yours. Whether you're packing them for a snack or serving them at a gathering, these edible delights are sure to impress. So, grab your favorite fruits and let your kitchen adventures begin. After all, every chef knows that the real joy comes from sharing your creations with others.
Frequently Asked Questions About Homemade Fruit Leather Tessellations
How do I make fruit leather at home?
Blend your favorite fruits until smooth. Spread the puree thinly on a lined baking sheet. Dry it in the oven at a low temperature (around 140°F) for several hours until it's no longer sticky. Let it cool, then cut into shapes.
What fruits work best for fruit leather?
Berries, apples, peaches, and mangoes are great choices. Avoid fruits with high water content like watermelon, as they take longer to dry.
Can I add sweeteners to my fruit leather?
Yes, you can add honey, agave, or sugar to taste. Just blend it with the fruit puree before drying.
How do I store homemade fruit leather?
Store it in an airtight container or wrap it in plastic wrap. Keep it in a cool, dry place. It can last for several weeks.
Why is my fruit leather sticky?
It might not be fully dried. Return it to the oven for a bit longer. Make sure to check it frequently to avoid over-drying.
Can I make fruit leather without an oven?
Yes, you can use a food dehydrator. Spread the puree on the dehydrator trays and follow the manufacturer's instructions for drying times.
How thin should I spread the fruit puree?
Aim for about 1/8 inch thick. Too thick and it won't dry properly; too thin and it might become brittle.
Was this page helpful?
Related Articles
How To Dehydrate Fruit Leather
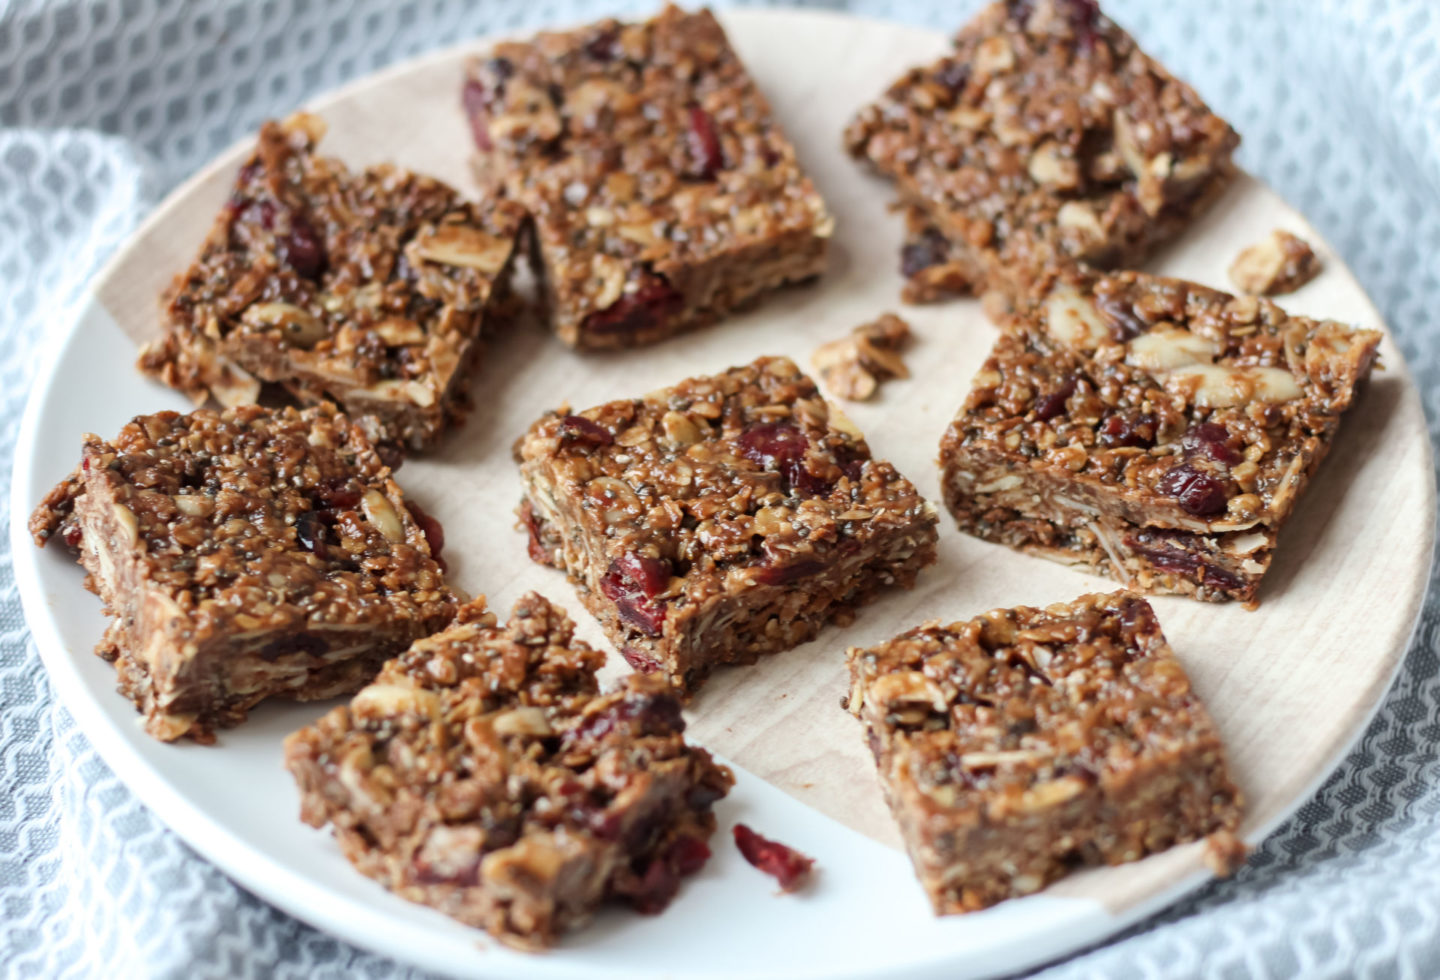
We Asked Restaurant Chefs For Their Favorite Chewy Snacks
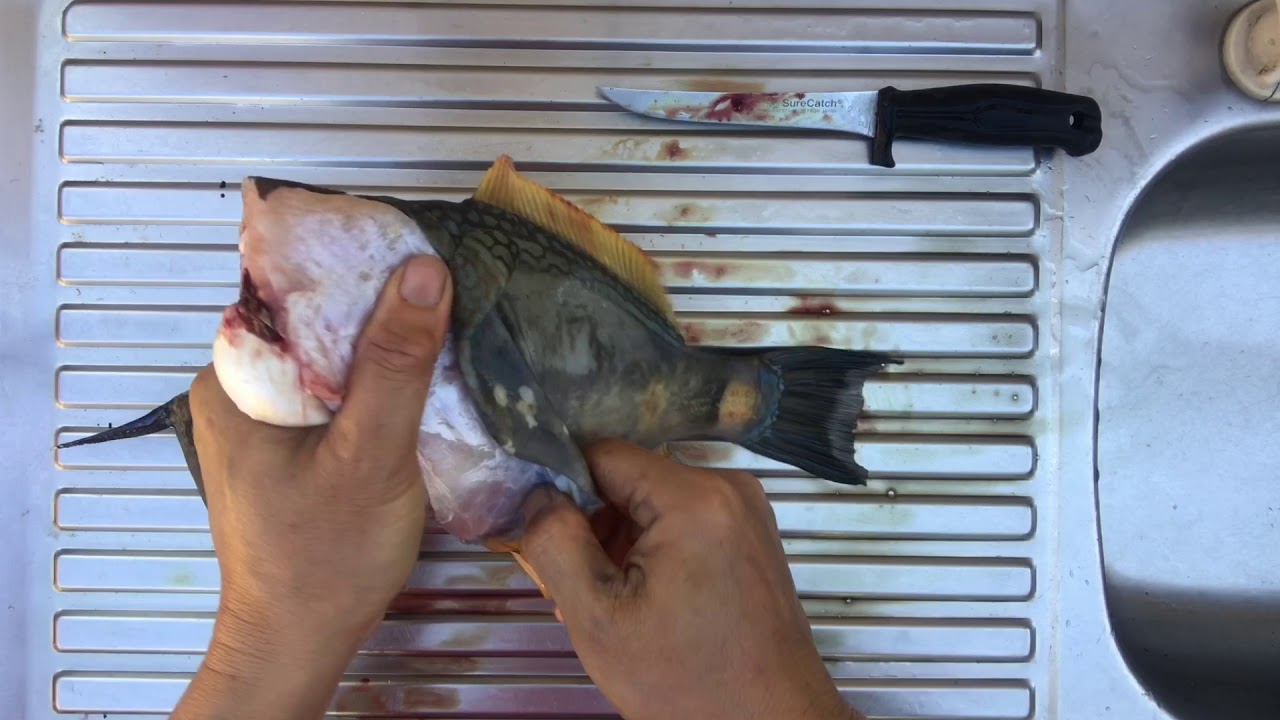
How To Fillet Leather Jacket

16 Satisfying Daniel Fast Snack Ideas

Kids Can Make: Healthy Snacks
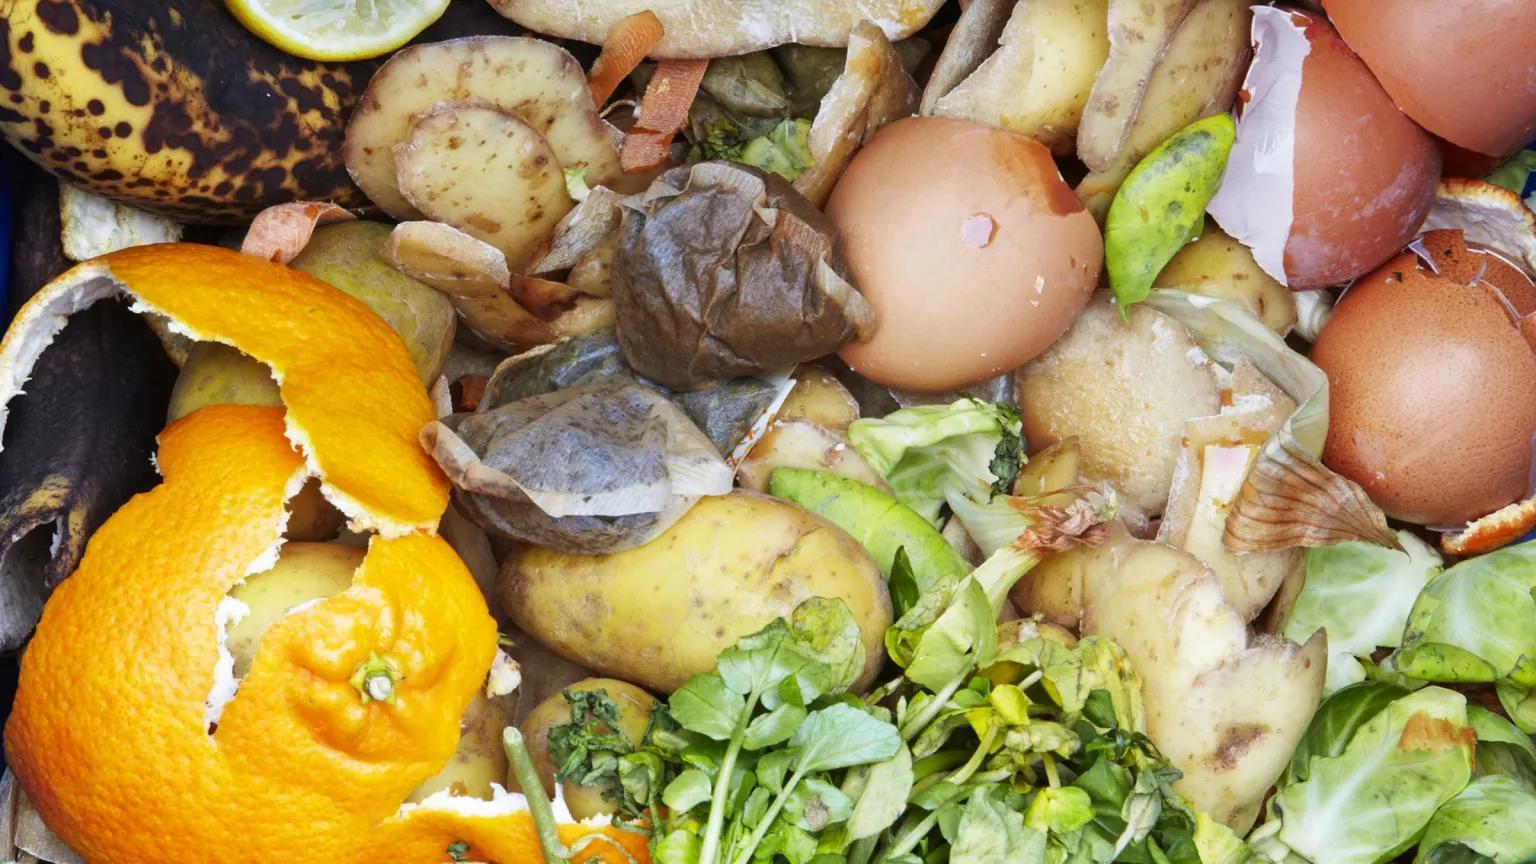
How To Use Up Fruit & Vegetable Scraps

27 Best Camping Snacks to Enjoy in the Great Outdoors
How To Dehydrate Yogurt
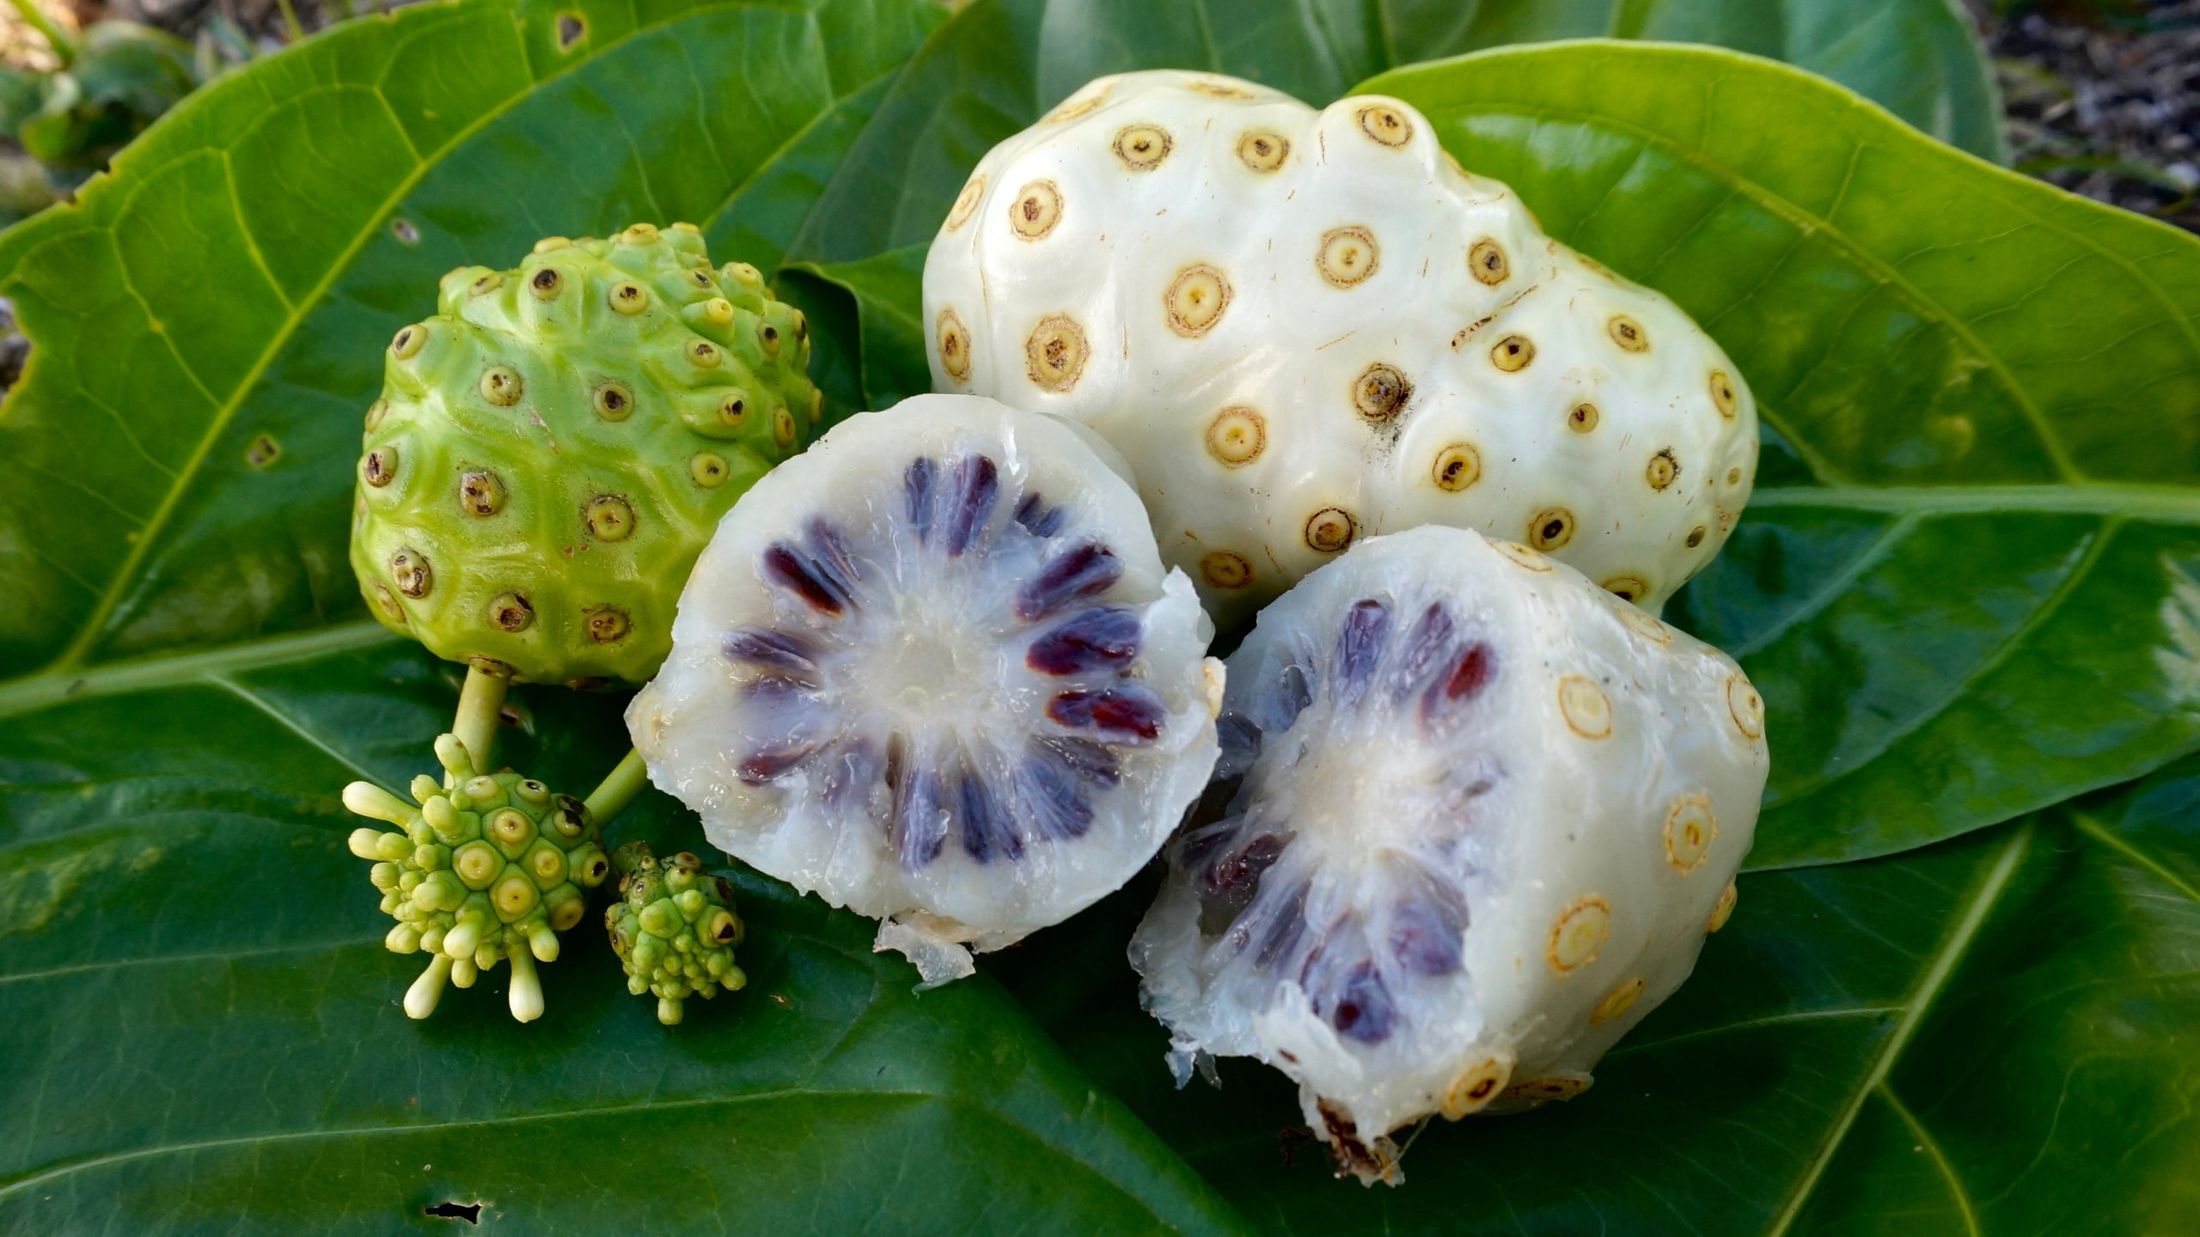
How To Eat Red Noni Fruit
How To Make Incredibly Cute Eclair Bears
What Makes The Perfect Jelly?
