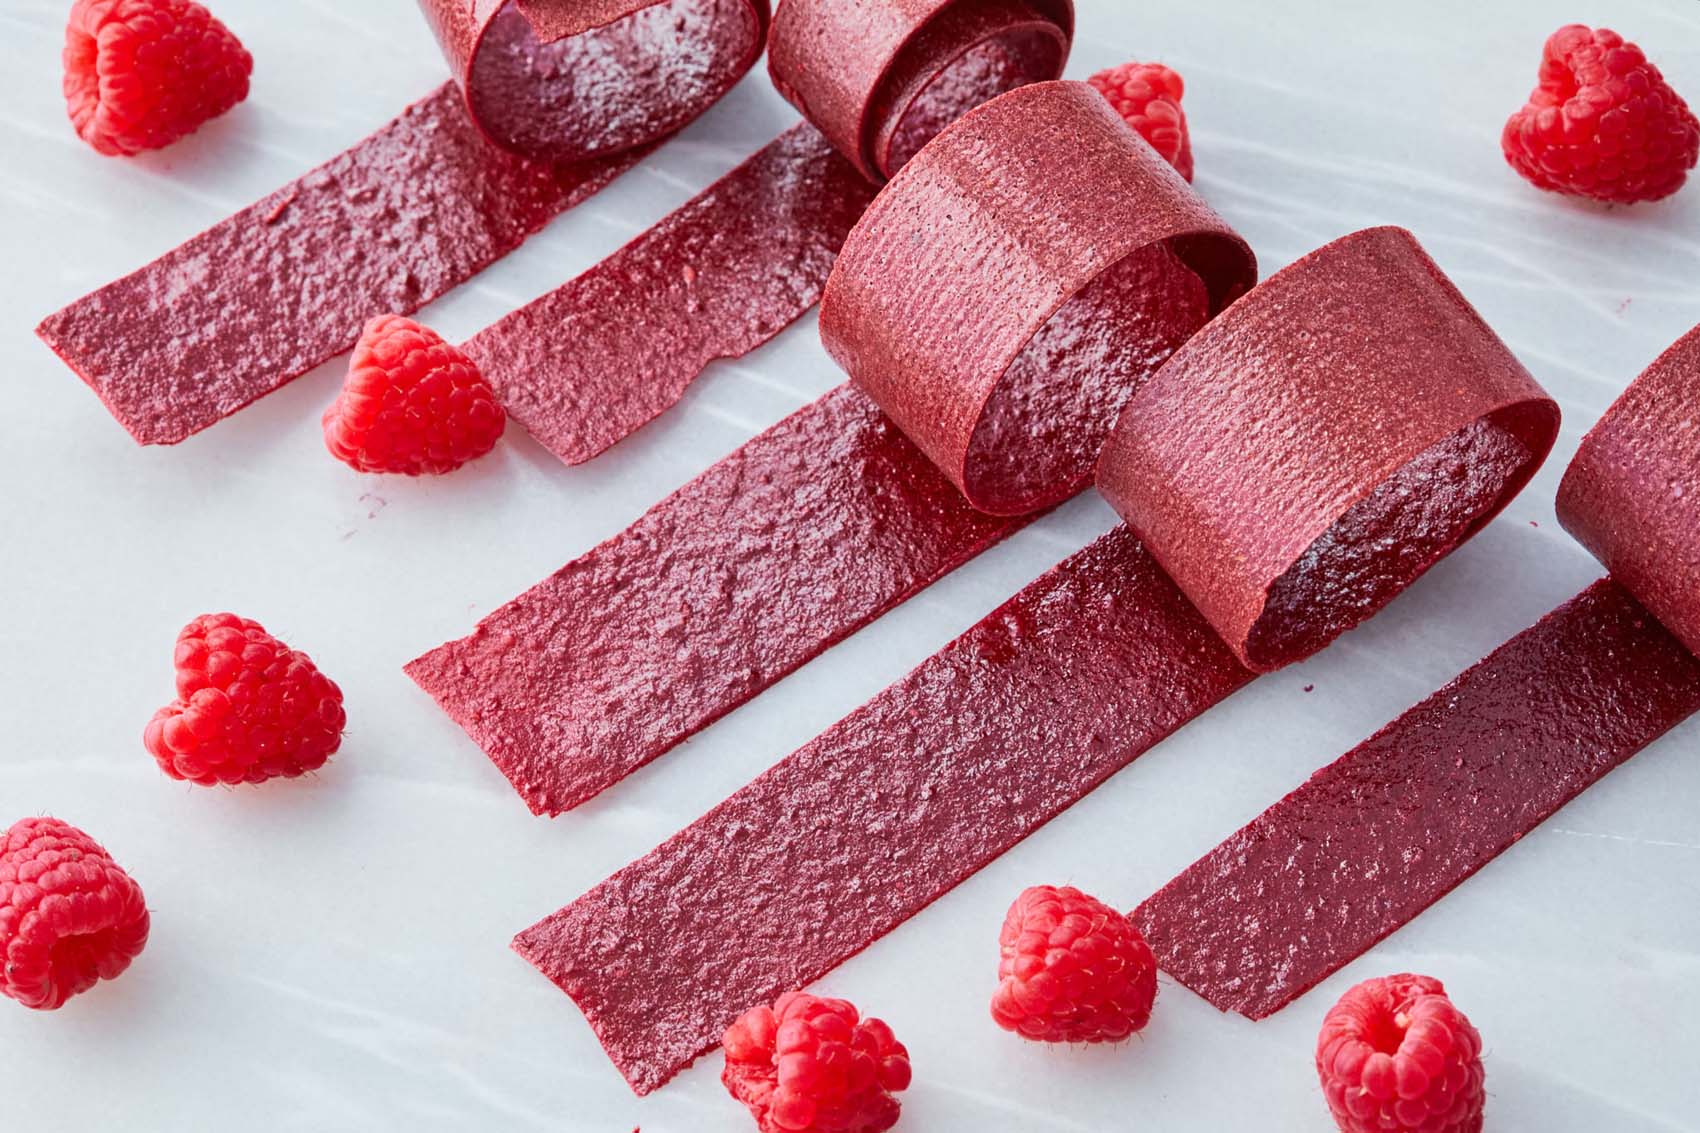
Creating homemade fruit leather bas-relief combines art and cooking into a fun, tasty project. Imagine turning fresh fruit into a chewy, flavorful snack while crafting beautiful designs. This guide will help you master the basics, from selecting the best fruits to perfecting your technique. Whether you're a beginner or an experienced cook, you'll find tips and tricks to make your fruit leather both delicious and visually stunning. Get ready to impress friends and family with your edible masterpieces. Let's dive into the world of homemade fruit leather bas-relief and start creating something amazing.
What You Need to Make Homemade Fruit Leather Bas-Relief
Ingredients for Homemade Fruit Leather Bas-Relief
- 4 cups of fresh fruit (strawberries, apples, peaches, or mixed berries)
- 1/2 cup of water
- 1/4 cup of honey or maple syrup
- 1 tablespoon of lemon juice
- Optional: 1 teaspoon of vanilla extract
Essential Tools for Crafting Fruit Leather Bas-Relief
-
Blender or Food Processor
For pureeing fruits into a smooth consistency. -
Fine Mesh Strainer
Helps remove seeds and any unwanted pulp to ensure a smooth leather. -
Large Baking Sheet
Necessary for spreading the fruit mixture evenly before drying. -
Parchment Paper or Silicone Baking Mat
Prevents sticking and allows for easy removal of the fruit leather. -
Oven or Dehydrator
Used for the slow drying process that turns puree into leather. -
Rubber Spatula
Assists in spreading the fruit mixture evenly across the baking sheet. -
Sharp Knife or Pizza Cutter
For cutting the finished fruit leather into strips or shapes. -
Airtight Containers or Ziplock Bags
Ideal for storing fruit leather, keeping it fresh.
Use pureed fruit, spread thin on parchment, and dehydrate at low heat. Peel off when dry. Store in airtight containers to keep it fresh.
Why Create Homemade Fruit Leather Bas-Relief?
Creating homemade fruit leather is more than a culinary endeavor; it's a journey into healthier, preservative-free snacking. This process allows for complete control over ingredients, ensuring snacks are not only delicious but also tailored to dietary preferences and restrictions.
Moreover, mastering bas-relief techniques elevates this simple snack into an art form. By skillfully manipulating texture and design, one transforms ordinary fruit leather into visually stunning creations, blending culinary skills with artistic expression.
Step-by-Step Guide to Homemade Fruit Leather Bas-Relief
Mastering the Art of Homemade Fruit Leather Bas-Relief
-
Gather Ingredients and Tools
- Fresh fruit (strawberries, apples, mangoes, etc.)
- Lemon juice
- Honey or sugar (optional)
- Blender or food processor
- Baking sheet
- Parchment paper
- Spatula
- Knife or cookie cutters
-
Prepare the Fruit
- Wash and peel the fruit.
- Remove seeds or pits.
- Cut into small pieces for easier blending.
-
Blend the Fruit
- Place fruit pieces in a blender or food processor.
- Add a splash of lemon juice to preserve color.
- Blend until smooth.
- Taste and add honey or sugar if needed.
-
Strain the Puree
- Pour the blended fruit through a fine mesh sieve.
- Use a spatula to press the puree through.
- Discard any solids left in the sieve.
-
Prepare the Baking Sheet
- Line a baking sheet with parchment paper.
- Pour the strained puree onto the parchment paper.
- Spread evenly with a spatula to about 1/8 inch thick.
-
Create the Bas-Relief Design
- Use a knife or cookie cutters to gently score the surface.
- Create patterns or shapes without cutting through the parchment.
- Ensure designs are visible but not too deep.
-
Dry the Fruit Leather
- Preheat the oven to its lowest setting (usually around 140°F).
- Place the baking sheet in the oven.
- Dry for 6-8 hours or until the fruit leather is no longer sticky.
- Check periodically to avoid over-drying.
-
Cool and Remove
- Allow the fruit leather to cool completely.
- Peel off the parchment paper carefully.
- If sticky, use a knife to help lift the edges.
-
Cut and Store
- Cut the fruit leather into strips or shapes.
- Roll up strips in parchment paper.
- Store in an airtight container.
-
Enjoy Your Creation
- Use as a snack or decoration.
- Share with friends and family.
- Experiment with different fruits and designs.
Bringing It All Together
Homemade fruit leather is a fun, tasty way to enjoy fruit. With just a few simple ingredients like fresh fruit, lemon juice, and a bit of sweetener, you can create a healthy snack that beats store-bought versions. Spread the pureed fruit mixture thinly on a baking sheet, dry it out in a low oven, and you’ve got yourself a delicious treat. Remember to store it properly in an airtight container to keep it fresh. Experiment with different fruits and flavors to find your favorite combinations. Whether you’re packing it in a lunchbox or enjoying it as an afternoon snack, homemade fruit leather is sure to be a hit. Give it a try and see how easy and rewarding it can be to make your own!
Frequently Asked Questions About Homemade Fruit Leather Bas-Relief
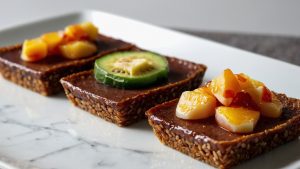
What exactly is fruit leather bas-relief?
Imagine your favorite fruit roll-up from childhood, but elevated to a work of art. Fruit leather bas-relief involves creating edible masterpieces by dehydrating pureed fruit into thin, chewy sheets. Then, we sculpt and shape these sheets into intricate designs, adding depth and texture, much like traditional bas-relief sculptures.
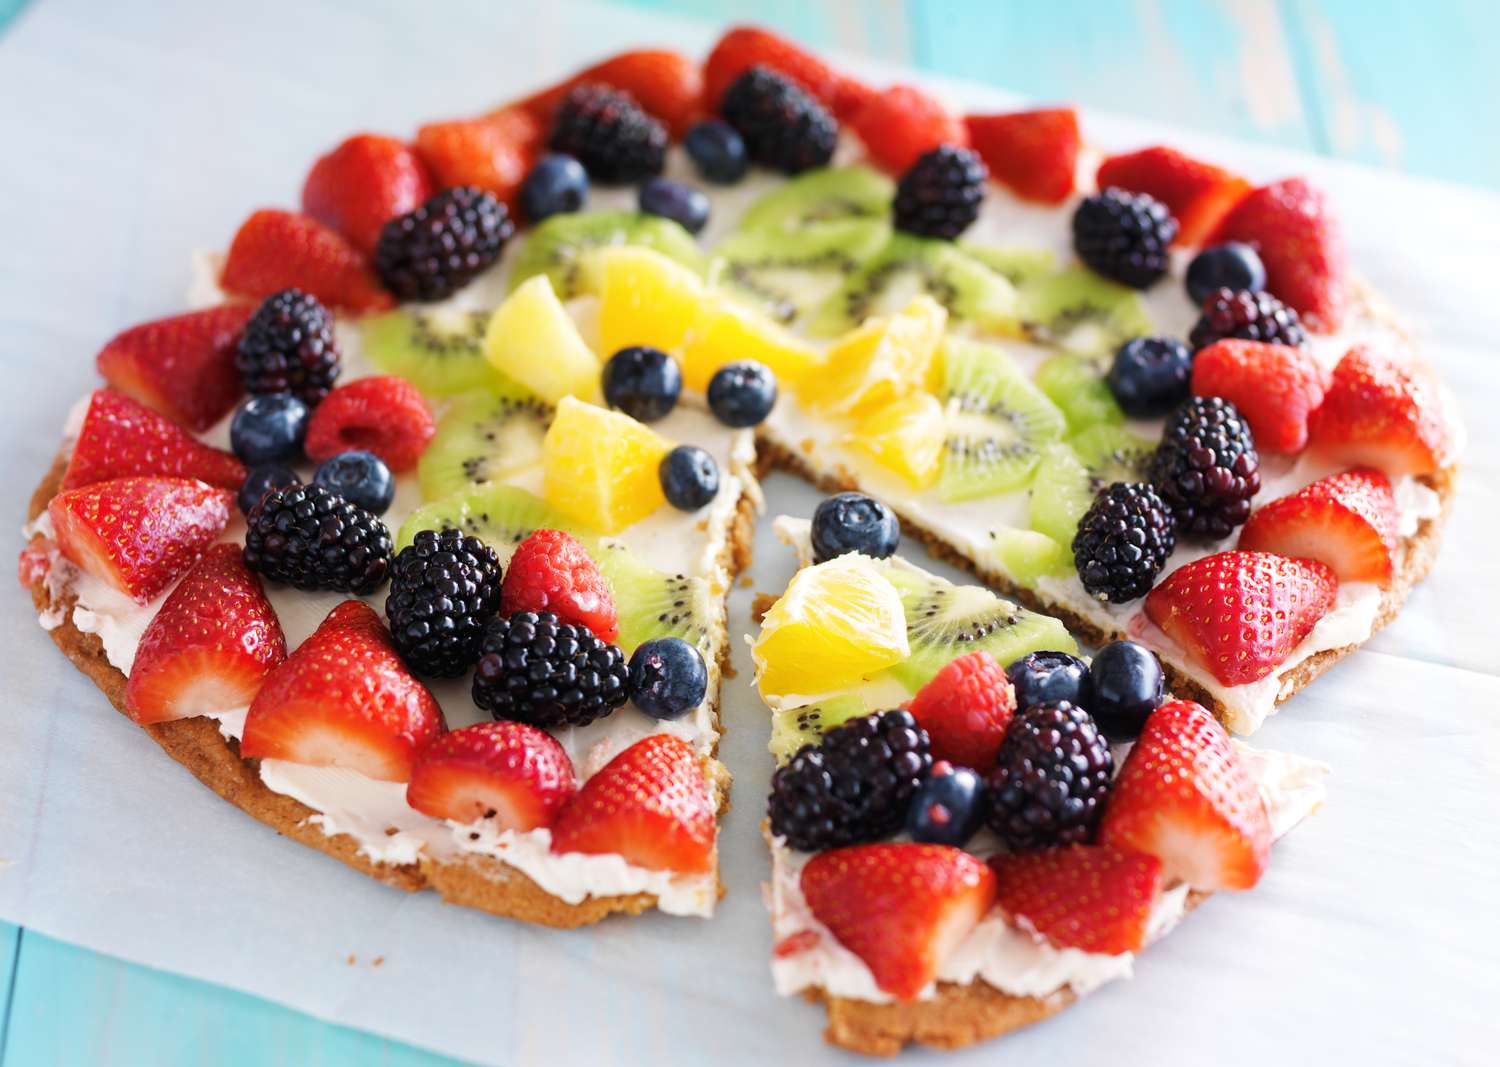
How do I choose the right fruits for my fruit leather?
Opt for ripe, in-season fruits since they'll give you the best flavor and natural sweetness. Berries, apples, peaches, and apricots are all fantastic choices. Mixing different fruits can also create unique taste profiles and colors, making your fruit leather both delicious and visually appealing.
Can I add spices or flavorings to my fruit leather?
Absolutely! Feel free to experiment with cinnamon, vanilla extract, or even a dash of chili powder to add an unexpected twist to your creations. Just remember, a little goes a long way. You want to enhance the fruit's natural flavors, not overpower them.
What equipment do I need to make fruit leather bas-relief?
You'll need a blender or food processor to puree your fruits, a dehydrator or an oven for drying out the fruit leather, and parchment paper to line your trays. For sculpting your bas-relief designs, a set of small, sharp knives or sculpting tools will come in handy.
How long does it take to dry fruit leather?
Drying times can vary based on several factors, including the thickness of your fruit leather, the type of fruit used, and whether you're using a dehydrator or an oven. Generally, it can take anywhere from 4 to 8 hours. You'll know it's done when the fruit leather is tacky but not sticky.
Is homemade fruit leather healthier than store-bought?
Definitely! When you make fruit leather at home, you control the ingredients. That means no added sugars, artificial flavors, or preservatives. Just pure, natural goodness. Plus, making your own allows you to experiment with flavors and create something truly unique.
Can I store my fruit leather bas-relief creations?
Sure can! Once completely cooled, wrap your fruit leather pieces in wax paper or plastic wrap and store them in an airtight container. Kept in a cool, dry place, they'll last for several weeks. For longer storage, you can even freeze them.
Was this page helpful?
Related Articles
How To Dehydrate Fruit Leather
How To Fillet Leather Jacket
How To Drink Kratom Leaf
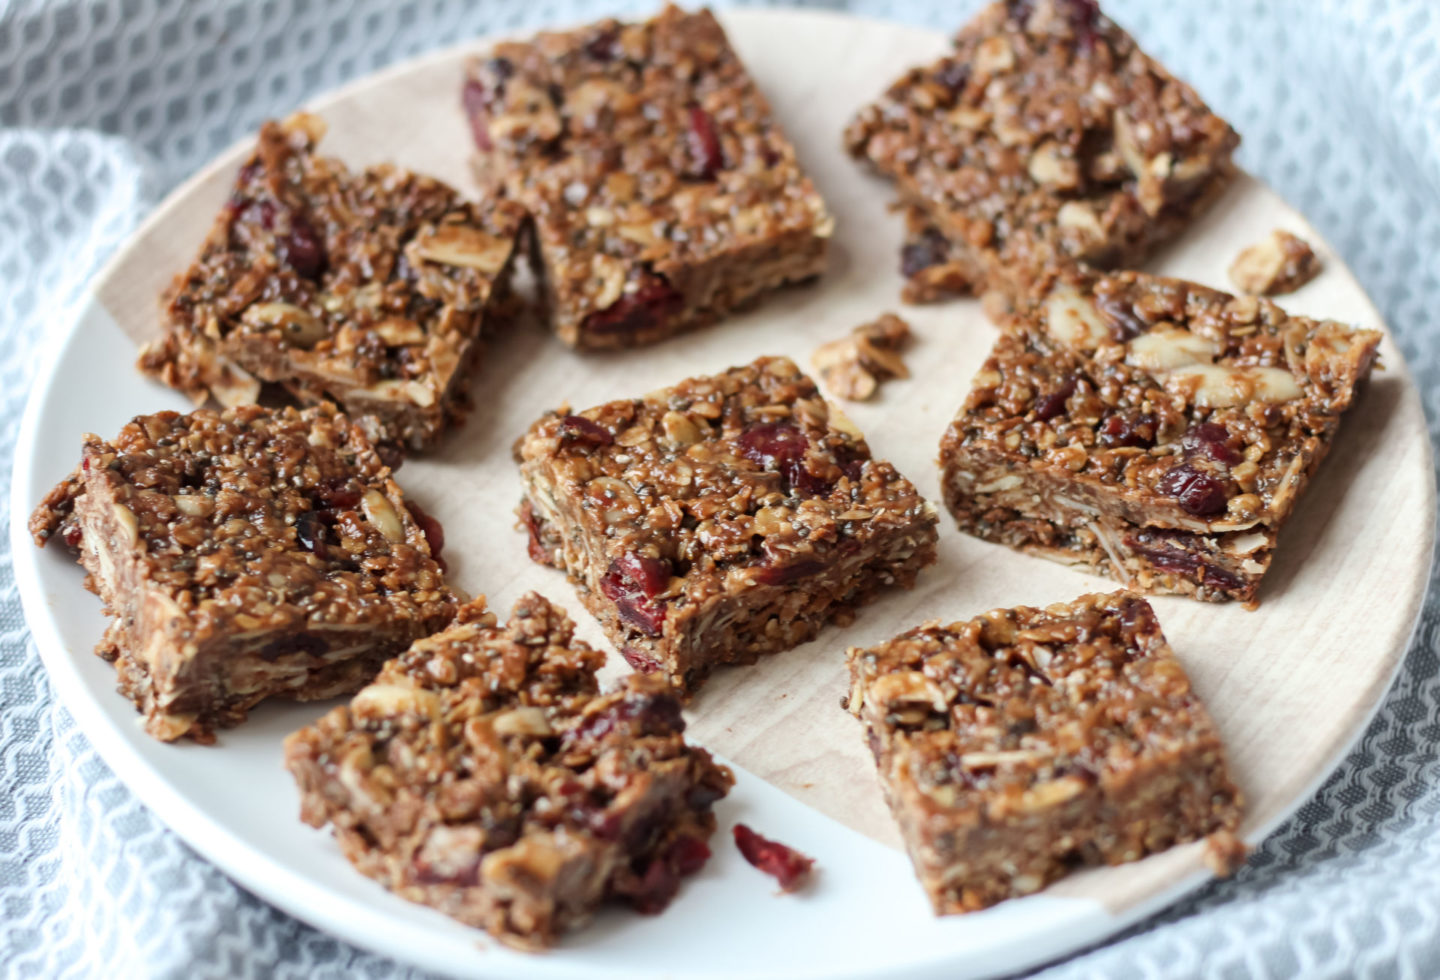
We Asked Restaurant Chefs For Their Favorite Chewy Snacks
16 Satisfying Daniel Fast Snack Ideas
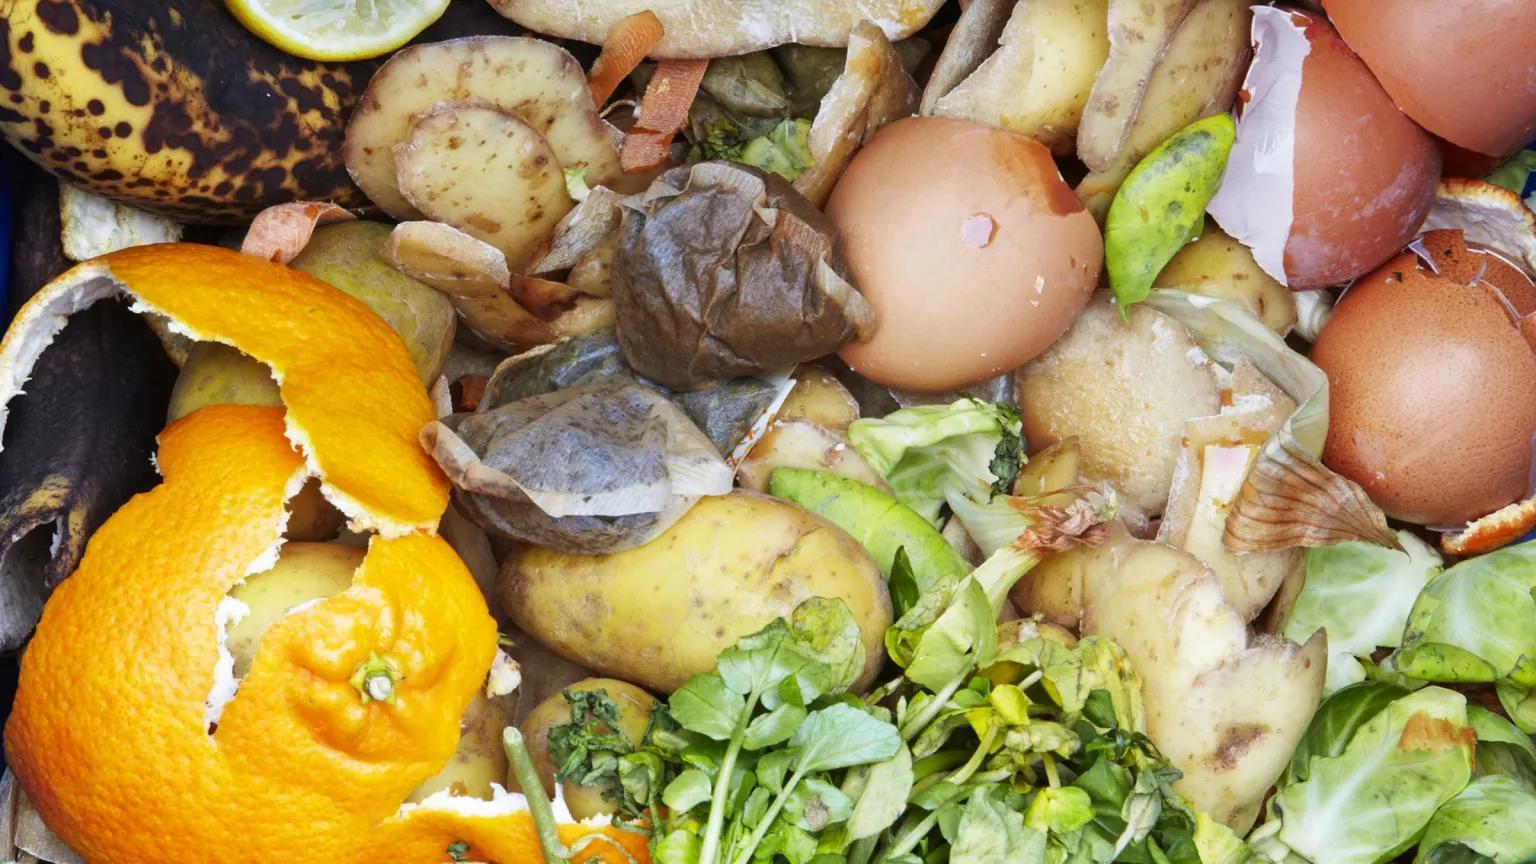
How To Use Up Fruit & Vegetable Scraps

27 Best Camping Snacks to Enjoy in the Great Outdoors
Kids Can Make: Healthy Snacks
How To Drink Castor Oil For Constipation
How To Cut Strawberries For 18 Month Old

8 Refreshing Mexican Beverages Without Alcohol