Making coconut yogurt at home can be a fun and rewarding experience. This dairy-free alternative is perfect for those with lactose intolerance or anyone looking to try something new. With just a few ingredients, you can create a creamy, delicious yogurt that’s both healthy and satisfying. Plus, you have full control over the sweetness and flavor. Whether you enjoy it plain, with fruit, or as part of a smoothie, homemade coconut yogurt offers endless possibilities. Ready to get started? Let’s dive into the simple steps and tips for mastering this tasty treat.
Gather Your Ingredients for Mastering the Art of Homemade Coconut Yogurt
Mastering the Art of Homemade Coconut Yogurt
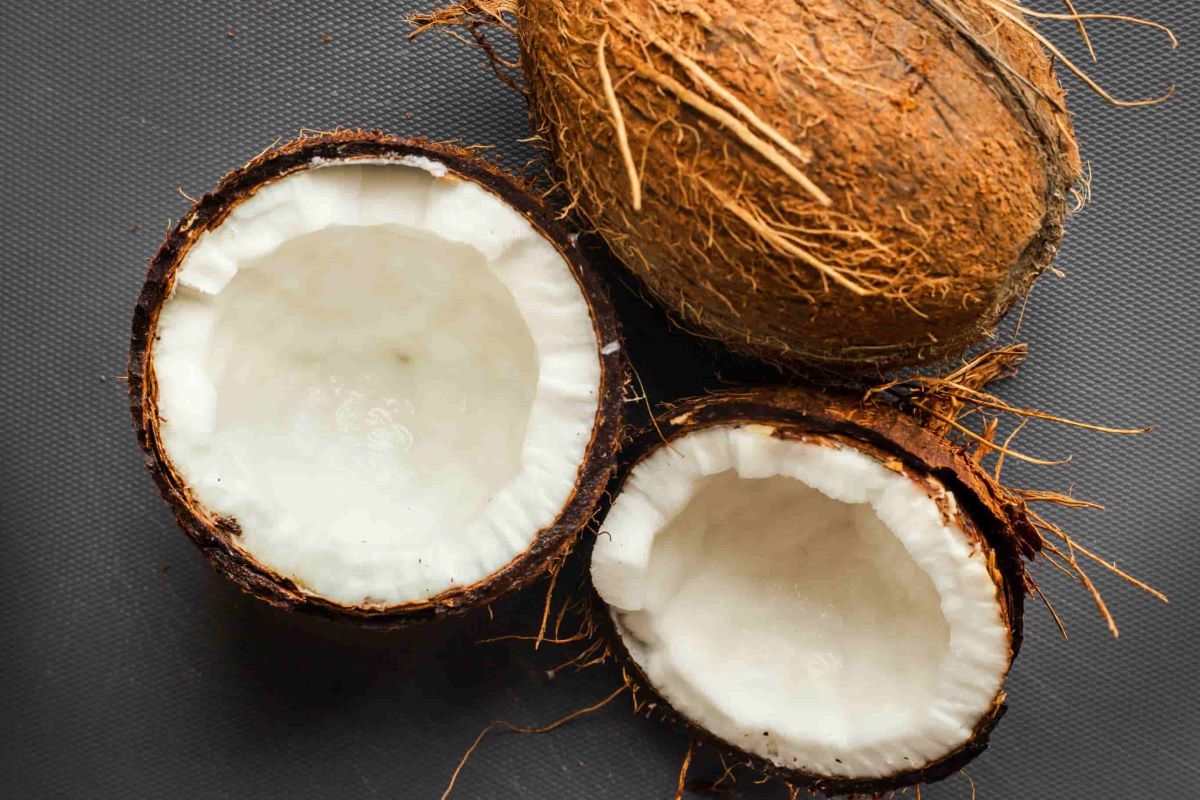
- 2 cans full-fat coconut milk
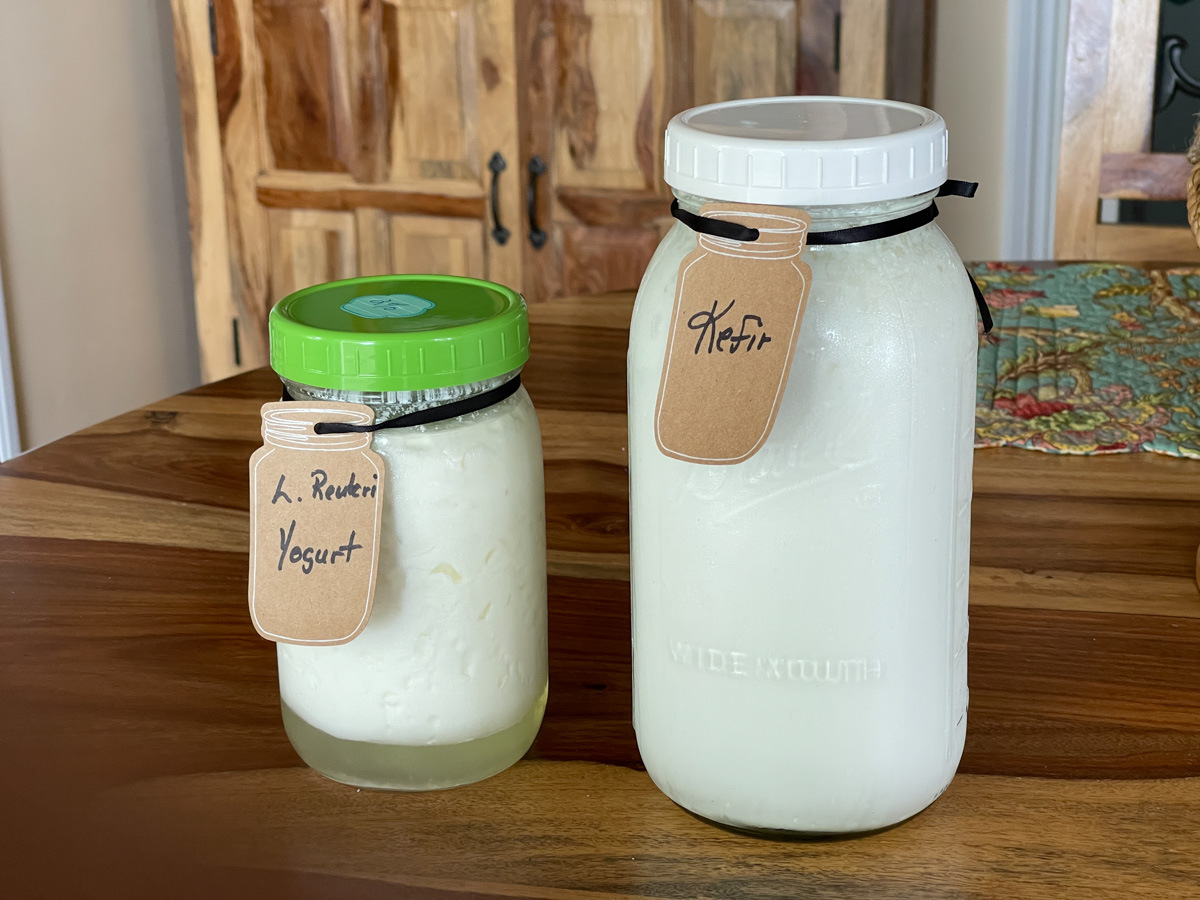
- 2 probiotic capsules (dairy-free)
- 1 tablespoon maple syrup (optional)
- 1 teaspoon vanilla extract (optional)
- 1 tablespoon agar-agar powder (optional, for thicker yogurt)
- 1 pinch sea salt
Essential Tools for Homemade Coconut Yogurt
Tools Needed for Mastering the Art of Homemade Coconut Yogurt
- Blender: For mixing coconut milk and other ingredients smoothly.
- Saucepan: To heat the coconut milk gently.
- Thermometer: Ensures the milk reaches the right temperature.
- Mixing Spoon: For stirring ingredients together.
- Whisk: Helps blend the yogurt starter into the milk.
- Yogurt Starter: Contains the live cultures needed for fermentation.
- Glass Jars: Store the yogurt during fermentation.
- Cheesecloth: Strains the yogurt for a thicker consistency.
- Rubber Bands: Secure the cheesecloth over the jars.
- Oven or Yogurt Maker: Maintains a consistent warm temperature for fermentation.
- Measuring Cups and Spoons: Ensure accurate ingredient measurements.
- Spatula: Scrapes down the sides of the blender or saucepan.
- Ladle: Transfers the yogurt mixture into jars without spilling.
- Towel: Covers the jars during fermentation to keep them warm.
- Refrigerator: Chills the yogurt after fermentation to set it.
Homemade coconut yogurt requires patience and precision. Use quality coconut milk, a reliable probiotic, and maintain a consistent fermentation temperature for tangy, creamy results. Perfect for dairy-free diets.
Why Make Homemade Coconut Yogurt?
Creating homemade coconut yogurt is not just about crafting a delicious alternative to dairy-based products; it's also about embracing health-conscious living. This process allows individuals to control ingredients, ensuring a preservative-free and customizable experience. Moreover, it caters to those with dietary restrictions, offering a creamy, vegan option that enriches the diet with probiotics.
In this culinary endeavor, enthusiasts find joy in the simplicity and creativity of making coconut yogurt from scratch. It's a rewarding journey that transforms basic ingredients into a rich, flavorful delight. This practice fosters a deeper connection with food, encouraging a mindful approach to eating and a celebration of homemade goodness.
Step-by-Step Guide to Mastering the Art of Homemade Coconut Yogurt
Mastering the Art of Homemade Coconut Yogurt
-
Gather Ingredients
- 2 cans of full-fat coconut milk
- 2 probiotic capsules (ensure they are dairy-free if you're vegan)
- Sweetener of choice (optional, such as maple syrup or agave)
-
Sterilize Equipment
- Wash all utensils, jars, and any equipment you'll use with hot, soapy water.
- Rinse thoroughly to remove any soap residue.
-
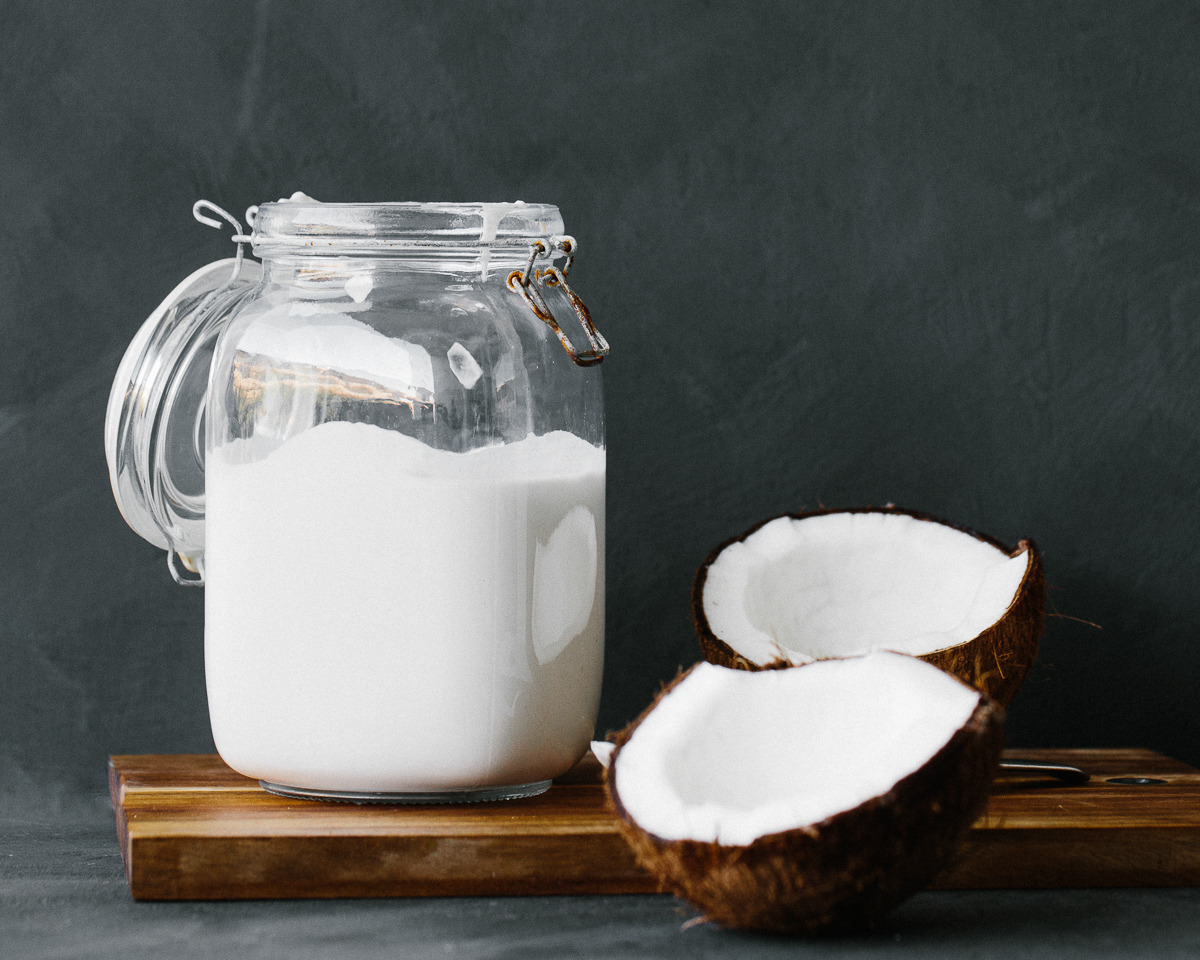
Prepare Coconut Milk
- Shake cans of coconut milk well.
- Pour into a clean, large bowl.
- If milk is separated, whisk until smooth and creamy.
-
Activate Probiotics
- Open probiotic capsules and sprinkle powder over coconut milk.
- Stir with a plastic or wooden spoon (metal can deactivate probiotics).
- If using sweetener, add it now and mix well.
-
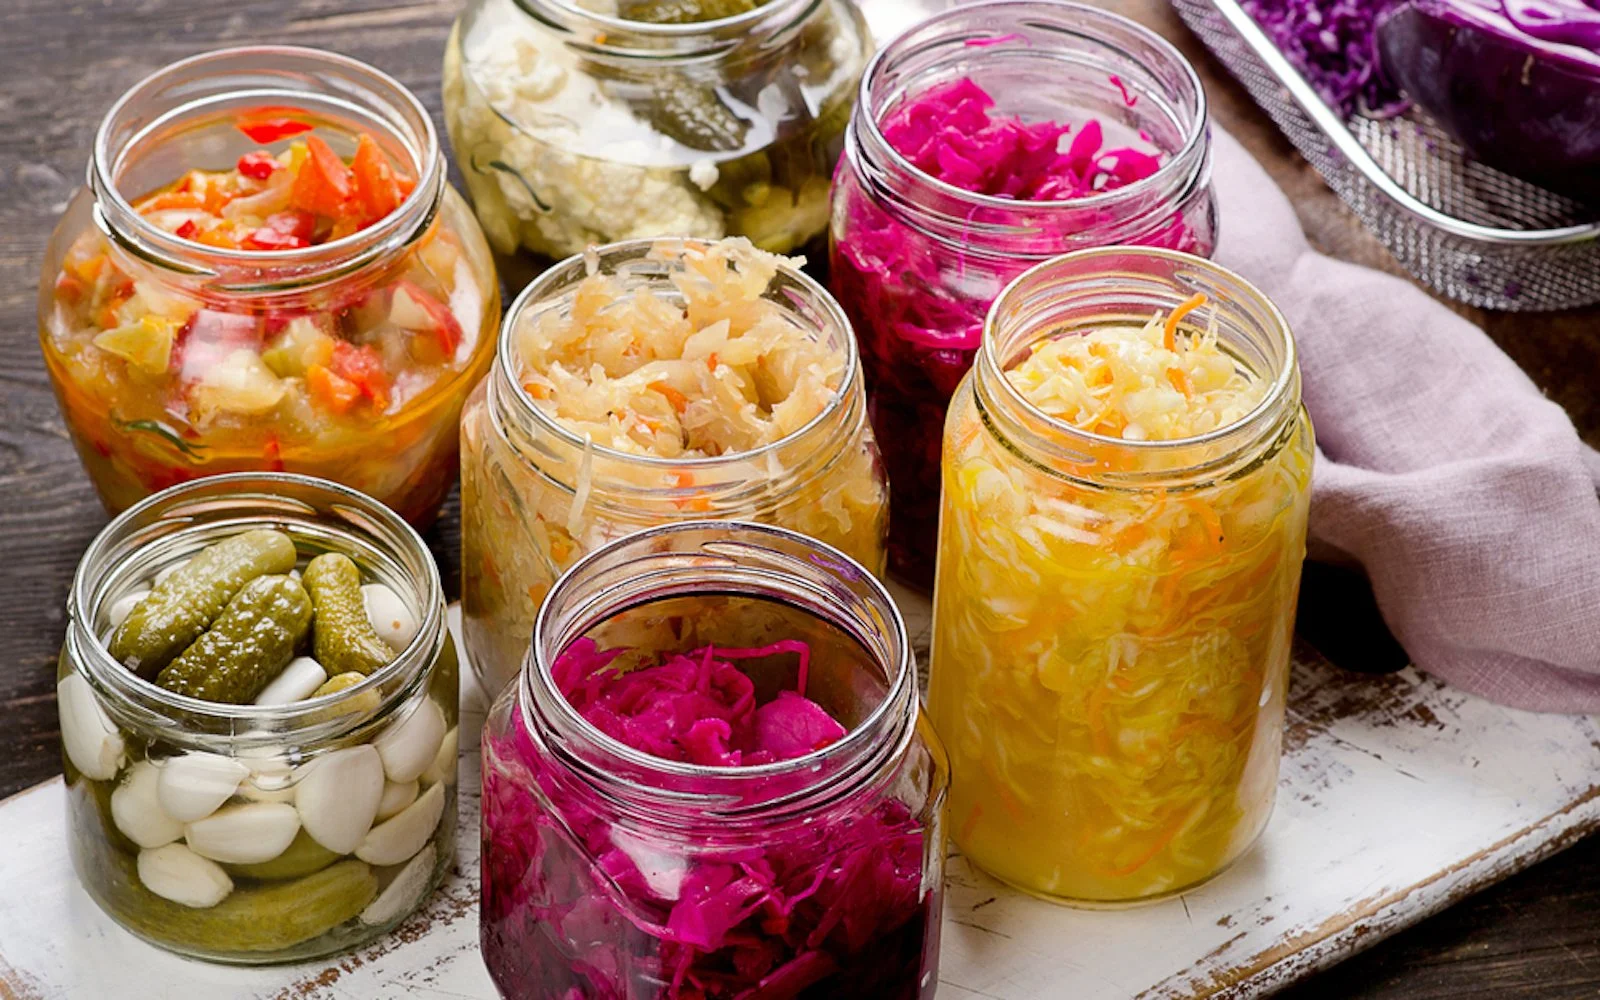
Ferment
- Transfer mixture to a sterilized glass jar or container.
- Cover with a clean cloth or paper towel. Secure with a rubber band.
- Place in a warm spot, away from direct sunlight, for 24-48 hours.
- Check at 24 hours for thickness and tanginess. If desired, ferment for another 24 hours.
-
Refrigerate
- Once fermentation reaches desired level, remove cloth.
- Seal container with a lid.
- Chill in refrigerator for at least 6 hours. This stops fermentation and thickens yogurt.
-
Serve or Store
- Enjoy homemade coconut yogurt as is, or with fruits, nuts, or granola.
- Store in the refrigerator for up to a week.
Tips for Success
- Temperature Matters: Ideal fermenting temperature is between 70-75°F (21-24°C). If your home is cooler, consider using a yogurt maker or placing the jar in a turned-off oven with the light on.
- Probiotic Choice: Use high-quality, dairy-free probiotics with at least 10 billion CFUs for best results.
- Texture Variations: For thicker yogurt, after chilling, pour off any liquid on top or mix it back in for a creamier texture.
- Flavor Add-Ins: After fermentation, enhance your yogurt with vanilla extract, cinnamon, or fruit purees for added flavor.
Your Homemade Coconut Yogurt Awaits
Making homemade coconut yogurt is easier than you think. With just a few ingredients and some patience, you can create a delicious, creamy treat that's perfect for breakfast or a snack. Start with high-quality coconut milk, add a probiotic starter, and let time work its magic. The result? A tangy, rich yogurt that's free from preservatives and artificial flavors. Plus, you can customize it with your favorite fruits, nuts, or sweeteners. Not only is it healthier, but it's also more satisfying knowing you made it yourself. So, grab your supplies, follow the steps, and enjoy the process. Your taste buds will thank you!
Frequently Asked Questions About Homemade Coconut Yogurt
What ingredients do I need to make homemade coconut yogurt?
You'll need coconut milk, probiotic capsules, and a sweetener like honey or maple syrup. Optional add-ins include vanilla extract or fruit puree for extra flavor.
How long does it take to make coconut yogurt?
The preparation time is about 10 minutes, but the fermentation process takes around 24 to 48 hours. Patience is key for that perfect tangy taste!
Can I use any coconut milk?
It's best to use full-fat coconut milk for a creamy texture. Avoid brands with added preservatives or stabilizers, as they can affect the fermentation process.
How do I know if my yogurt has fermented properly?
Your coconut yogurt should have a slightly tangy smell and a thick, creamy consistency. If it smells off or has mold, discard it and try again.
What can I do if my yogurt is too runny?
If your yogurt is too runny, try adding a thickener like agar-agar or tapioca starch. You can also strain it through a cheesecloth to remove excess liquid.
How should I store my homemade yogurt?
Store your coconut yogurt in an airtight container in the refrigerator. It should last about one to two weeks. Always use a clean spoon to avoid contamination.
Can I use the same starter for my next batch?
Yes, you can use a few tablespoons of your previous batch as a starter for the next one. This can be done up to three times before you need fresh probiotics.
Was this page helpful?
Related Articles

How To Cook With Less Oil

How To Bake Bread In Ninja Foodi
How To Ferment Milk
How To Eat Coconut Pulp

17 Simple Desserts That Don’t Require an Oven
How To Ferment Coconut Milk

How To Temper Yogurt Into Madras

What Is Haydari

How To Substitute Cream Of Chicken Soup

Healthy Diet Plan: 35 Snacks & Sweet Treats
How To Eat Probiotics Without Dairy