Mastering the Soup Setting on your Instant Pot
Are you ready to take your culinary skills to the next level? The Instant Pot has become a beloved kitchen essential for many home cooks. Its versatility and convenience make it a perfect tool for creating delicious meals in a fraction of the time. In this article, we will guide you through the steps to master the soup setting on your Instant Pot.
Step 1: Gather your ingredients
The key to a flavorful soup is using fresh, high-quality ingredients. Whether you’re making a comforting chicken noodle soup or a hearty vegetable stew, start by gathering all the ingredients you’ll need. This may include a variety of vegetables, protein like meat or tofu, herbs, spices, and broth.
Step 2: Prep your ingredients
Before you start cooking, it’s important to properly prepare your ingredients. Chop vegetables, dice meat, and mince garlic to ensure even cooking. This will also help to infuse flavors throughout the soup.
Step 3: Set up your Instant Pot
Now it’s time to set up your Instant Pot for the soup setting. Ensure the inner pot is clean and placed securely in the appliance. Add the prepped ingredients following the recipe instructions. Most recipes will call for adding liquid like broth or stock to help build the base of the soup.
Step 4: Select the soup setting
Locate the soup setting on your Instant Pot control panel. It is usually labeled with a soup icon or the word “soup”. Press the button to activate the setting. The Instant Pot will automatically adjust the time and temperature for cooking soup.
Step 5: Set the cooking time
The Instant Pot will display a default cooking time for the soup setting, but it can be adjusted depending on the recipe and ingredients. Use the “+” or “-” buttons on the control panel to set the desired cooking time. Refer to your recipe for guidance or use the suggested cooking times below:
- Vegetable Soup: 4-6 minutes
- Chicken Noodle Soup: 8-10 minutes
- Beef Stew: 20-25 minutes
- Tomato Soup: 6-8 minutes
Step 6: Start the cooking process
Once you’ve set the cooking time, simply press the start button on your Instant Pot. The appliance will take a few minutes to build up pressure before the cooking cycle begins. You’ll know that it’s pressurized when the float valve pops up.
Step 7: Natural or Quick Release
After the cooking cycle is complete, you have the option to either do a natural release or a quick release. For delicate ingredients like seafood or greens, a natural release is recommended to prevent overcooking and preserve their texture. To do a natural release, simply let the Instant Pot depressurize naturally, which can take around 10-15 minutes. For other recipes, you can perform a quick release by carefully turning the steam release valve to venting position using a long-handled spoon or utensil.
Step 8: Enjoy your delicious soup!
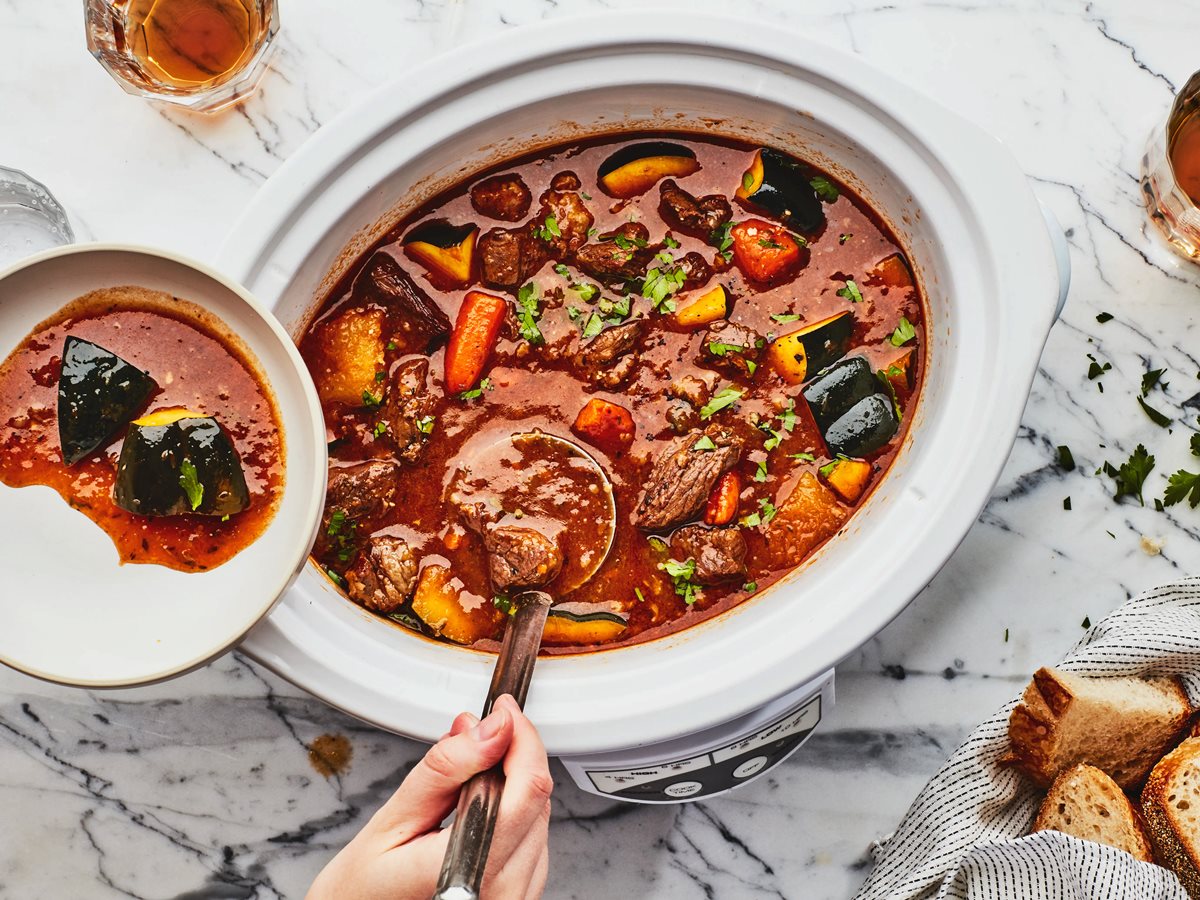
Your soup is now ready to be savored! Carefully remove the lid of the Instant Pot and give your soup a gentle stir. Taste and adjust the seasoning if needed. Serve it hot with crusty bread or your favorite accompaniments.
By following these steps, you can effortlessly create a variety of mouthwatering soups using the soup setting on your Instant Pot. Experiment with different ingredients and flavors to customize your dishes to your liking. Enjoy the comfort and convenience of homemade soups all year round!
1. Make sure not to overfill the Instant Pot. Leave some room for ingredients to expand during cooking.
2. Layer ingredients properly, with denser items at the bottom and quick-cooking ingredients on top.
3. Take into account the natural release time when planning your meals, as this can affect the overall cooking time.
4. Adjust seasoning at the end of cooking since flavors can intensify during the process.
5. Follow the recommended cooking time for your specific recipe, and always consult the Instant Pot user manual for guidelines.
Was this page helpful?
Related Articles

How To Thicken Chicken Tortilla Soup

How To Thicken Bean Soup

How To Make Nigerian Pepper Soup

How To Use Silken Tofu In Soup
How To Use Lemongrass In Soup
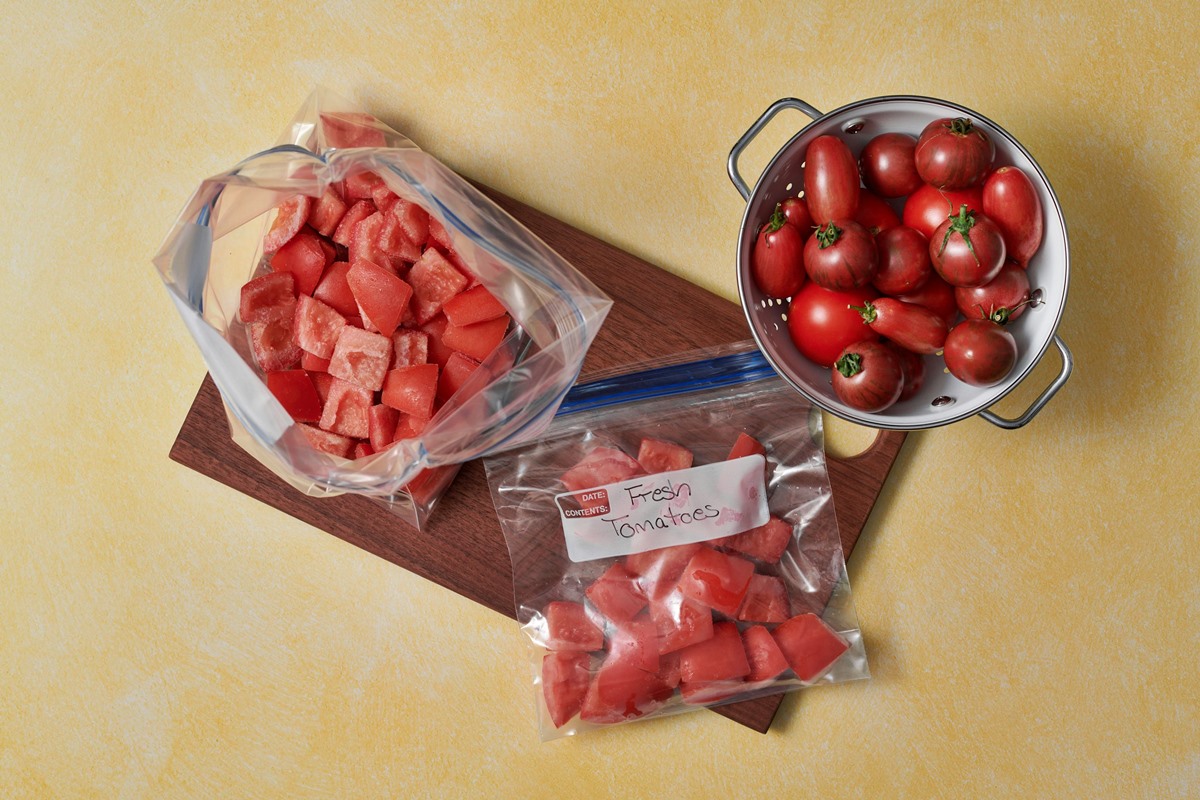
How To Use Frozen Tomatoes In Soup
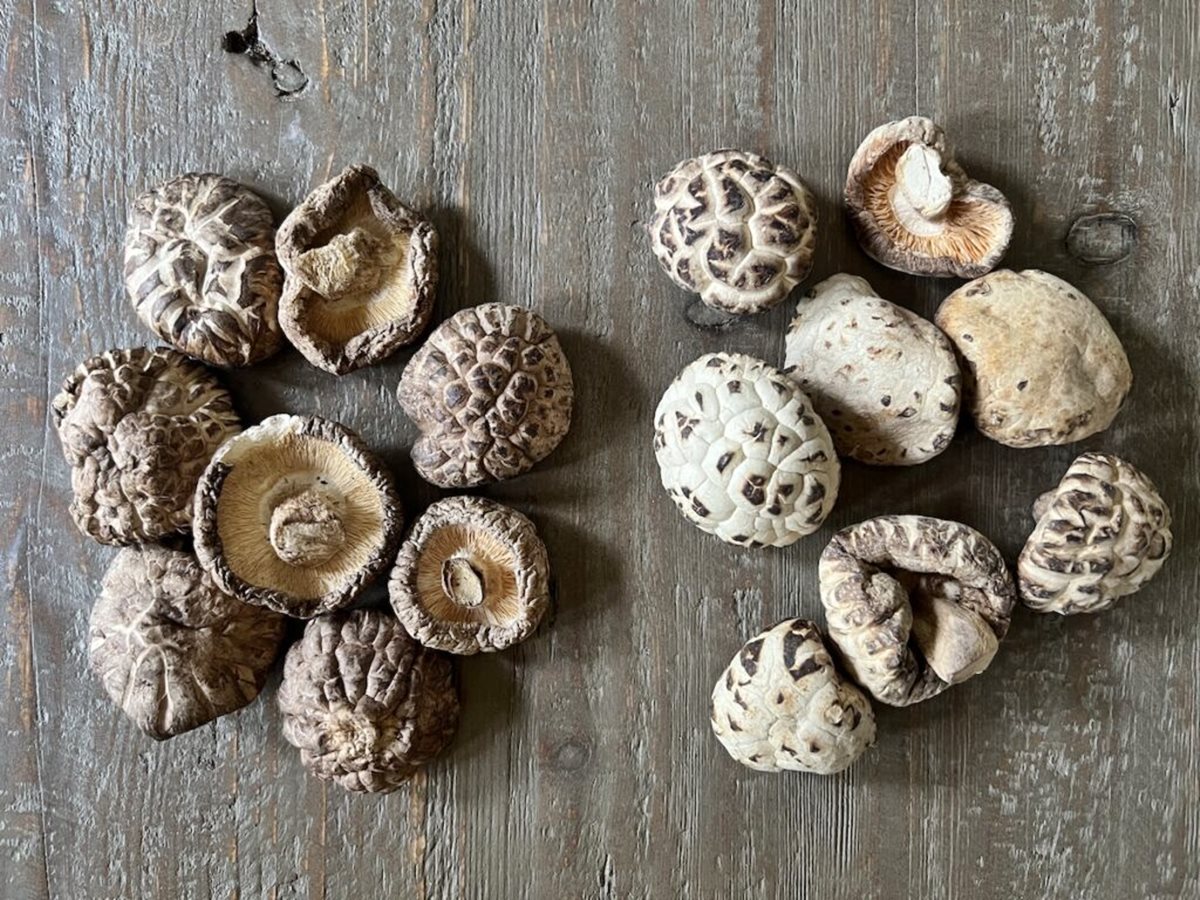
How To Use Dried Shiitake Mushrooms In Soup
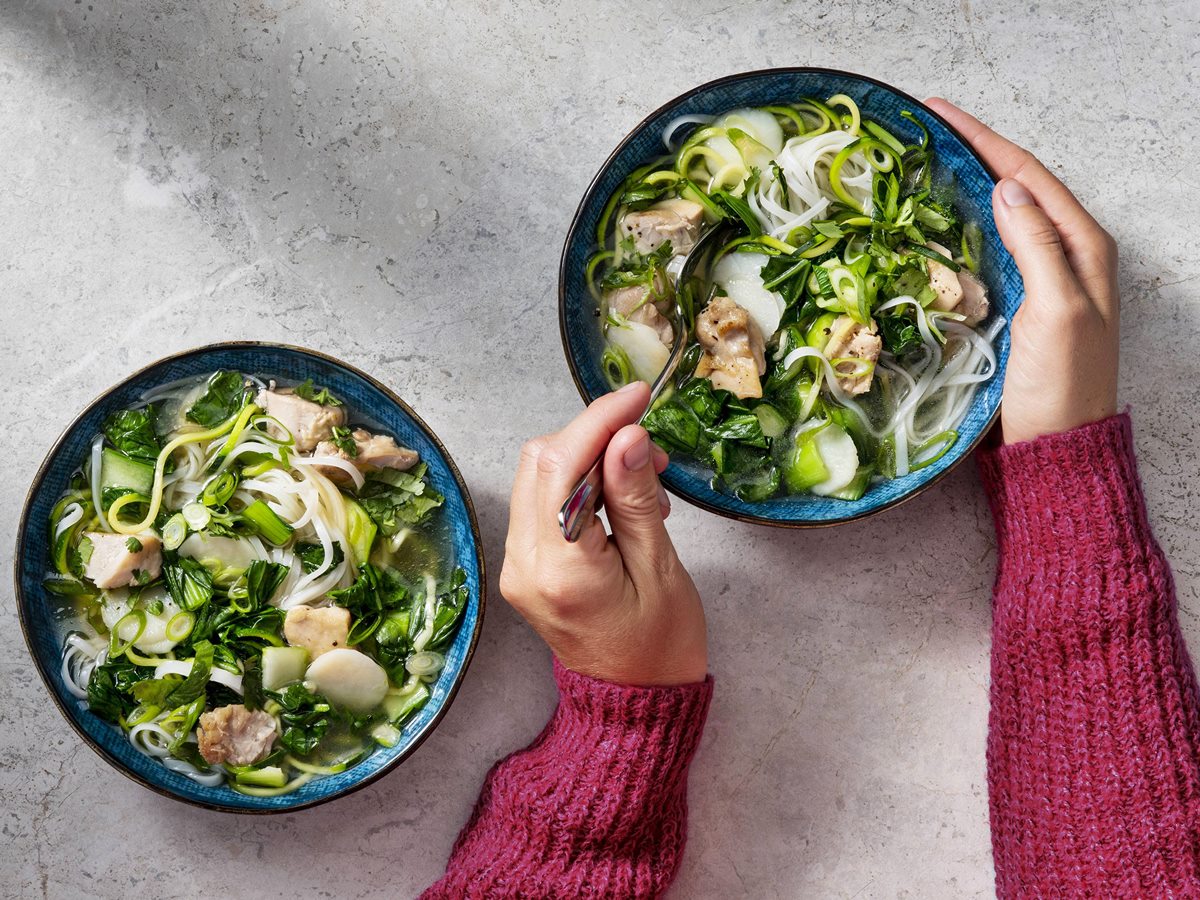
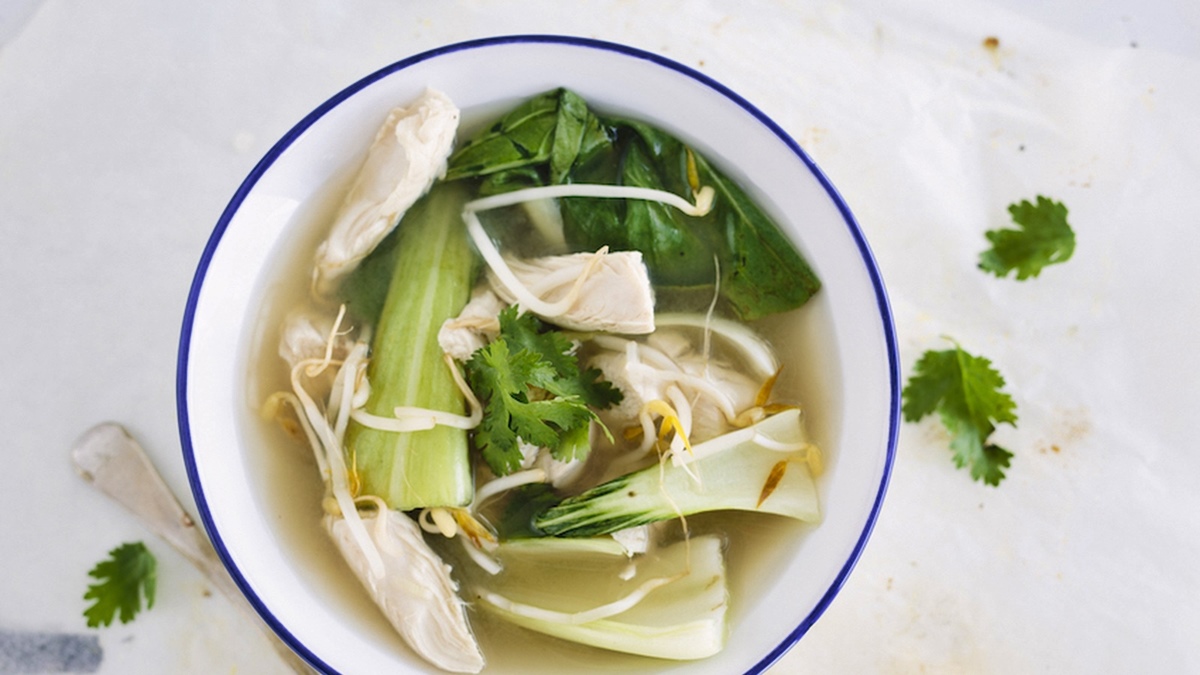
How To Use Bok Choy In Soup

How To Use An Immersion Blender For Soup
How To Throw Out Soup

How To Thicken Up Tomato Soup