Creating Sushi Masterpieces with Polymer Clay
Are you a sushi lover who also enjoys crafting? If so, why not combine your passions and create your own miniature sushi with polymer clay? This fun and creative project allows you to showcase your love for sushi in a unique and artistic way. Whether you’re a beginner or an experienced crafter, making sushi with polymer clay is an enjoyable and rewarding activity. Let’s dive into the steps for creating your very own polymer clay sushi!
Gather Your Materials
Before you begin crafting your polymer clay sushi, it’s essential to gather all the necessary materials. Here’s what you’ll need:
- Assorted colors of polymer clay
- Clay sculpting tools
- Cutting blade or craft knife
- Rolling pin
- Baking sheet
- Oven for baking clay
- Reference images of sushi for inspiration
Creating the Sushi Pieces
Now that you have your materials ready, it’s time to start crafting your polymer clay sushi. Here are the basic steps for creating some popular sushi pieces:
1. Nigiri Sushi
Start by taking a small piece of clay and rolling it into an oval shape. Use your fingers or clay tools to create an indentation in the middle to represent the rice. Then, add a thin slice of clay on top to resemble the fish or seafood. Use your reference images to ensure the proportions and details are accurate.
2. Maki Sushi
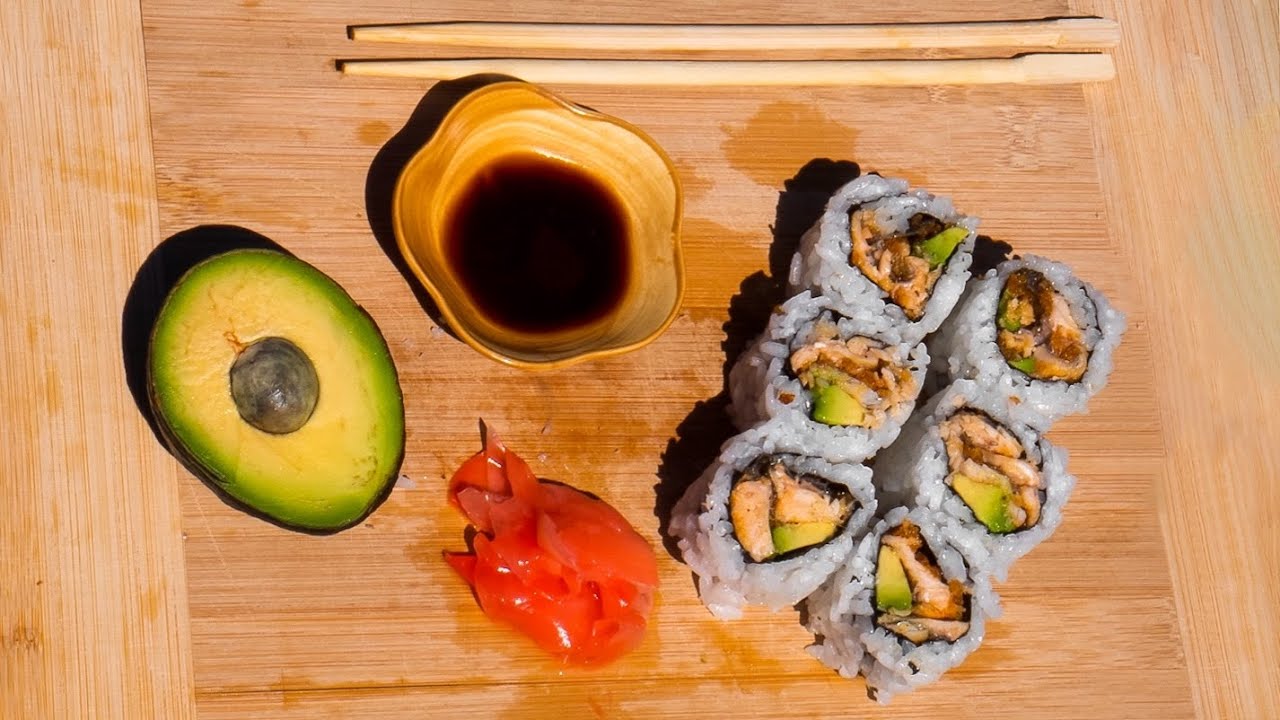
For maki sushi, roll out a thin layer of clay in the desired color for the seaweed wrap. Then, add a layer of rice-colored clay on top and roll it into a cylinder. Carefully slice the cylinder into individual maki pieces, and add tiny pieces of colorful clay to represent the fillings, such as avocado, cucumber, or fish.
3. Sashimi
To create sashimi pieces, roll out a thin, rectangular piece of clay to represent the fish or seafood. Use your sculpting tools to add texture and details to mimic the appearance of raw fish. You can also add a small dollop of “wasabi” by mixing green and yellow clay together.
Baking Your Creations
Once you’ve crafted your polymer clay sushi pieces, it’s time to bake them according to the instructions on the clay packaging. Preheat your oven to the recommended temperature and carefully place your creations on a baking sheet. Keep a close eye on them as they bake, and be sure to follow the recommended baking time to prevent overcooking.
Finishing Touches
After your polymer clay sushi has finished baking and has cooled, you can add some final touches to enhance their appearance. Consider using a glossy glaze to give the sushi a realistic shine, or use acrylic paint to add details such as sesame seeds or soy sauce.
Display and Enjoy
Once your polymer clay sushi pieces are complete, you can proudly display them as miniature works of art. Whether you showcase them in a shadow box, use them as unique jewelry pieces, or simply admire them on a decorative plate, your handmade sushi creations are sure to impress.
Creating sushi with polymer clay is a delightful way to express your love for this beloved Japanese cuisine while indulging in a fun and imaginative craft. So, gather your materials, unleash your creativity, and start sculpting your own delectable polymer clay sushi!
Was this page helpful?
Read Next: How To Make Sushi Donuts Recipes
