How To Cut Frozen Bread: A Comprehensive Guide
Picture this: it’s morning, you’re craving a slice of bread, but the only option you have is a frozen loaf. Don’t worry, we’ve all been there! Cutting frozen bread may seem like a daunting task at first, but with a few simple steps, you’ll have perfectly sliced bread ready to be toasted or enjoyed as is. Let’s dive into the art of cutting frozen bread and make your breakfast dreams come true!
Tools You’ll Need
Before we start, let’s gather all the necessary tools:
- 1 sharp bread knife
- Cutting board or surface
- Thawing option (optional)
Thawing or Not Thawing?
In some cases, you may want to thaw your frozen bread before cutting. Thawing can help make the slicing process easier and prevent any breakage. This step is especially important if you prefer uniform slices or need the bread for delicate recipes like sandwiches or French toast.
Step 1: If you decide to thaw the bread, place it in a plastic bag and let it sit at room temperature for a couple of hours or overnight in the refrigerator. Ensure the bag is sealed properly to prevent moisture loss.
Step 2: If you’re in a hurry and don’t want to wait for the bread to defrost naturally, try using a microwave or oven to gently warm it up. Be careful not to heat it for too long, as this can result in a partially toasted exterior or uneven slices.
The Cutting Process
Now that your frozen bread is ready, it’s time to tackle the cutting process:
Step 1: Place your frozen bread loaf on a stable cutting board or surface. Make sure it doesn’t slide or move around while you’re slicing.
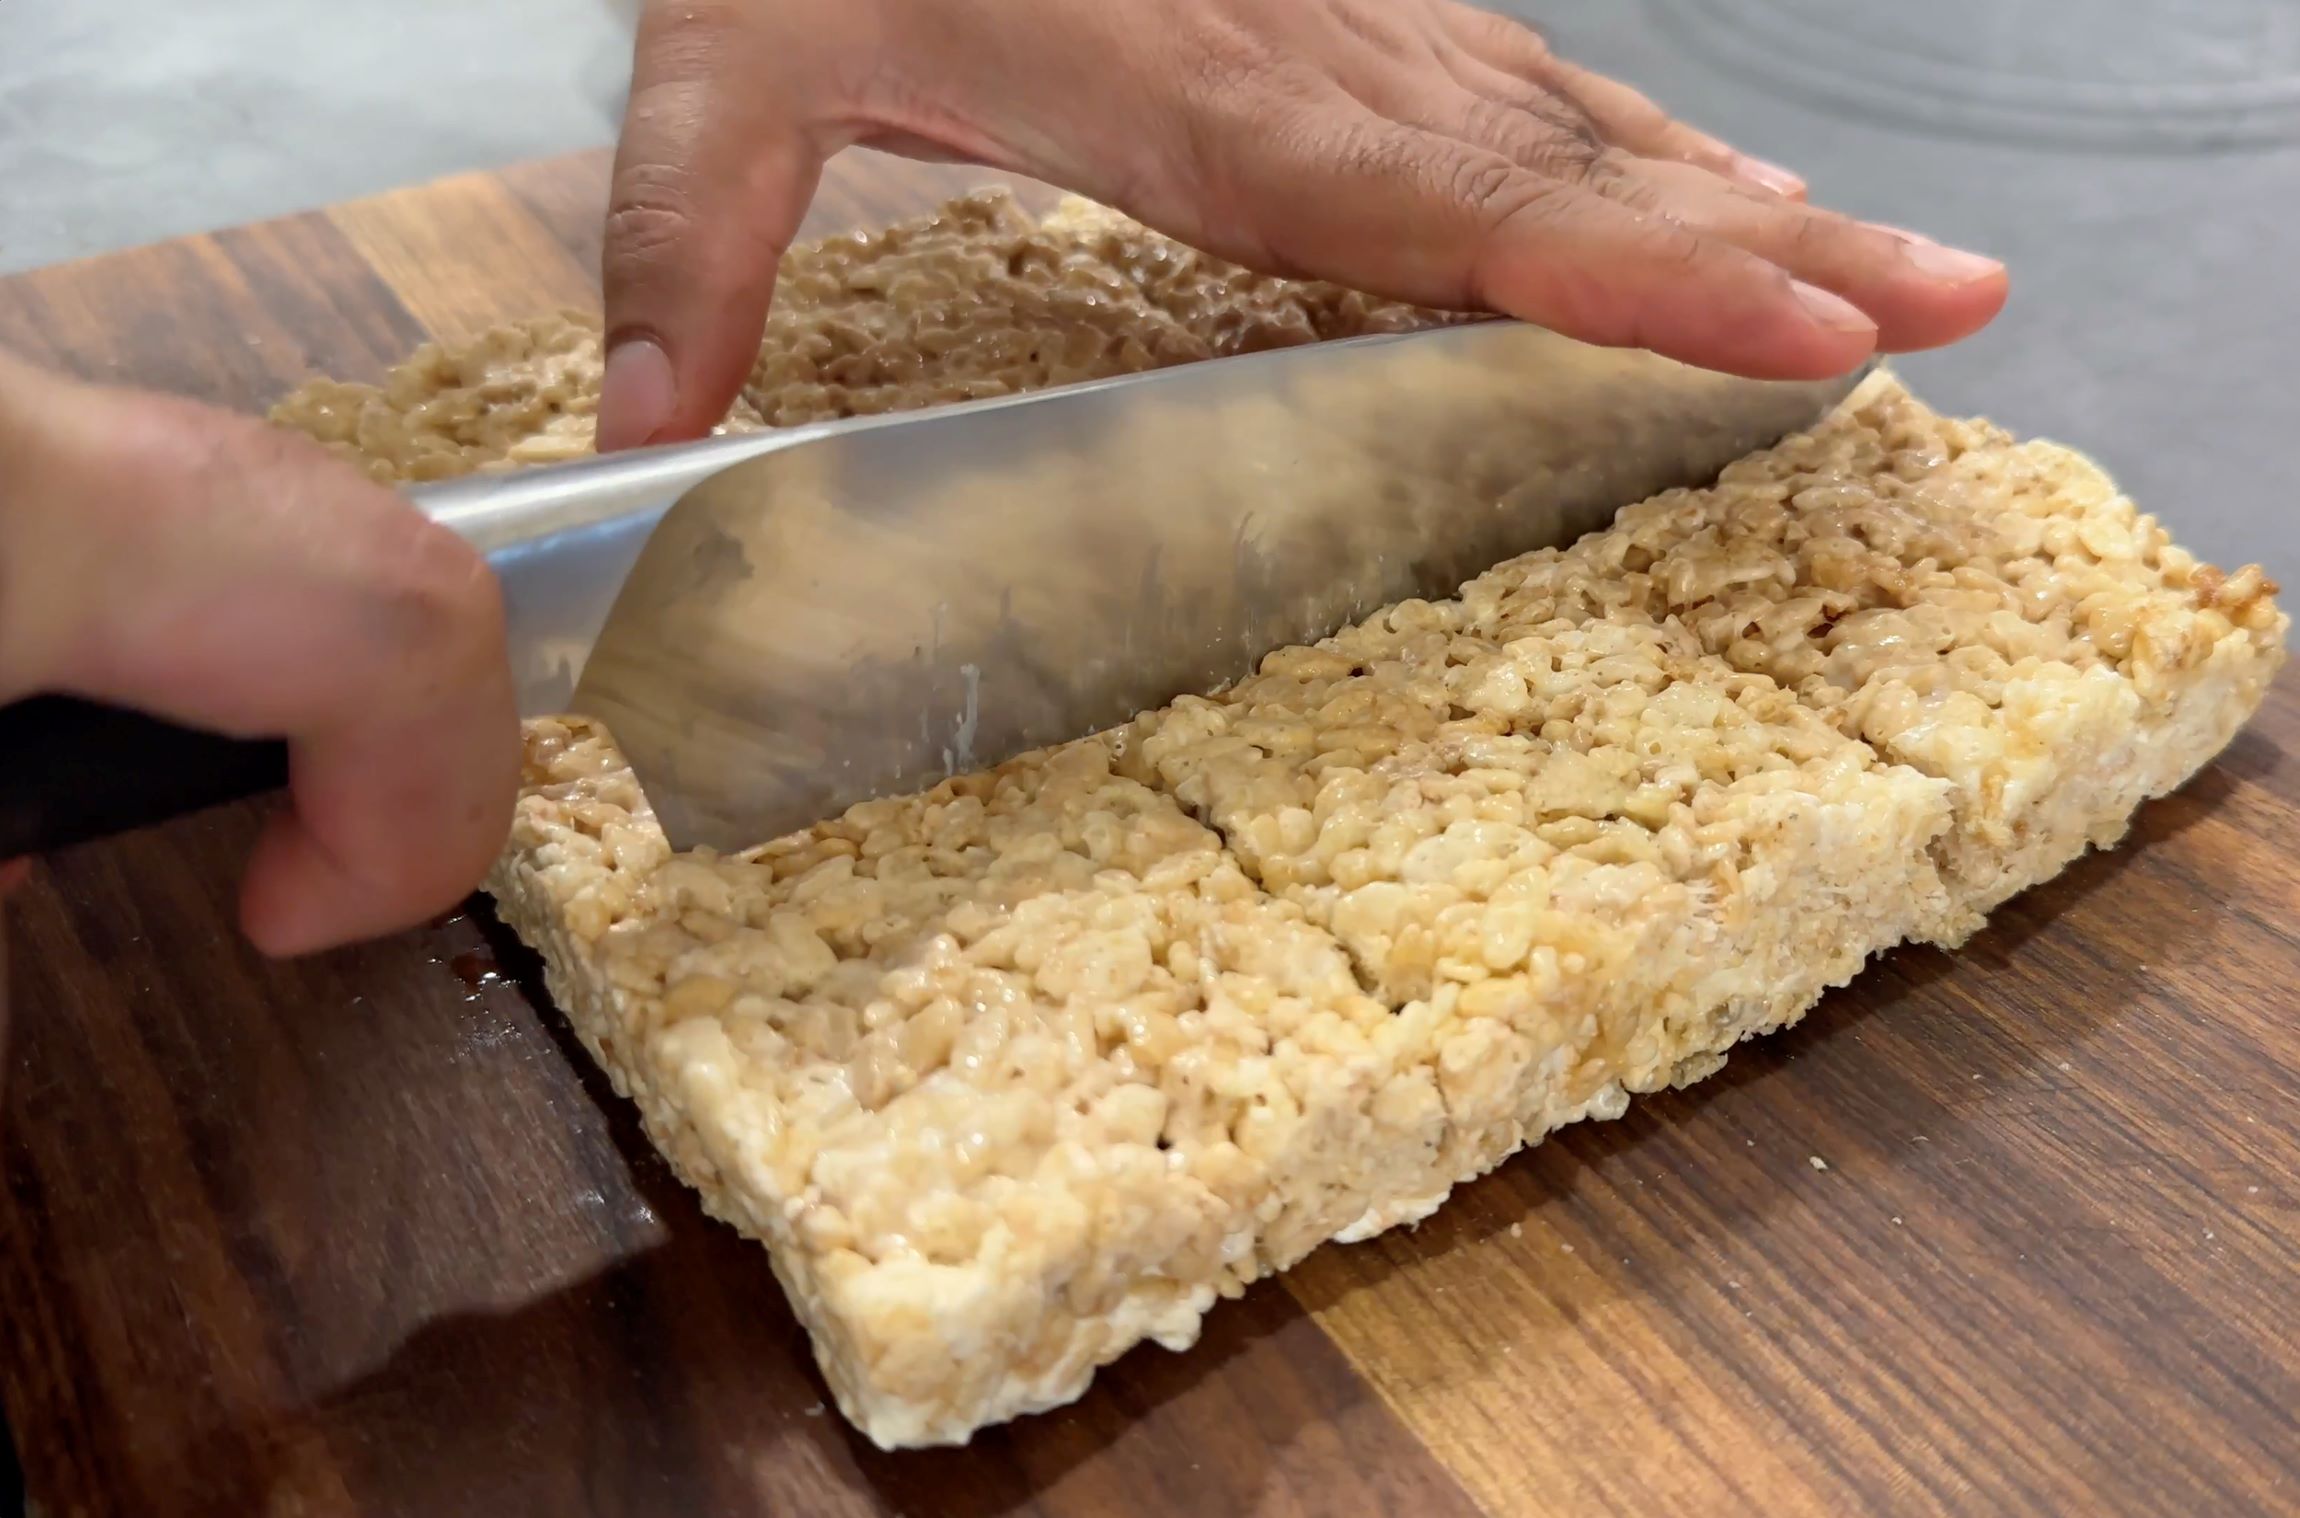
Step 2: Take your sharp bread knife and hold it firmly in your dominant hand. Align the knife with the bread, placing it at one end of the loaf.
Step 3: Apply steady pressure and gently saw back and forth, using a back-and-forth motion rather than a downward pushing motion. This will prevent the bread from squishing or breaking.
Step 4: Continue sawing back and forth until you’ve sliced through the entire width of the loaf. Take your time and be patient, ensuring each slice is clean and precise.
Step 5: Repeat the process for each slice you need. Remember to readjust your grip on the bread as needed to maintain stability and control.
Storing and Enjoying Your Sliced Bread
Once you’ve finished cutting your frozen bread, it’s important to store it properly to maintain freshness:
Step 1: Place the sliced bread in an airtight container or resealable bag to prevent freezer burn.
Step 2: Label the container with the date, indicating when the bread was sliced.
Step 3: Return the sliced bread to the freezer for future use.
When you’re ready to enjoy your bread, simply take out the desired slices and toast, defrost, or use them as needed. With your carefully sliced frozen bread, the possibilities are endless!
Now that you know the secrets of cutting frozen bread, you can confidently transform those icy loaves into perfectly sliced pieces of culinary delight. Whether you’re making a sandwich, toast, or any other recipe, this guide has got you covered. Embrace the art of cutting frozen bread and elevate your breakfast game!
Was this page helpful?
Read Next: How To Cut The Point Of A Brisket
