How To Cut A Frozen Roast In Half: A Step-by-Step Guide
Handling a frozen roast can be a challenge, but with the right technique, you can easily cut it in half without risking injury or compromising the quality of the meat. Whether you need to portion the roast for a smaller meal or simply want to speed up the cooking process, this guide will walk you through the steps to safely and effectively cut a frozen roast in half.
What You’ll Need:
- A sturdy cutting board
- A sharp chef’s knife or a meat saw
- A towel or oven mitts
- A safe and clean working area
Step 1: Prepare and Evaluate
Before you start, ensure that your work area is clean and free from any clutter. Take your frozen roast out of the freezer and assess its size and shape. Keep in mind that you’ll need a sharp knife or a meat saw to cut through the frozen meat effectively.
Step 2: Safety First
Handling a frozen roast requires caution to prevent accidents. Protect your hands by either using a towel or wearing oven mitts to insulate them from the cold and minimize the risk of injury.
Step 3: Choose the Right Tool
Depending on the size and thickness of the roast, you can either use a sharp chef’s knife or a meat saw. A chef’s knife is suitable for smaller roasts, while a meat saw may be necessary for larger cuts. Make sure your knife or saw is clean and properly sharpened to ensure clean cuts.
Step 4: Get a Good Grip
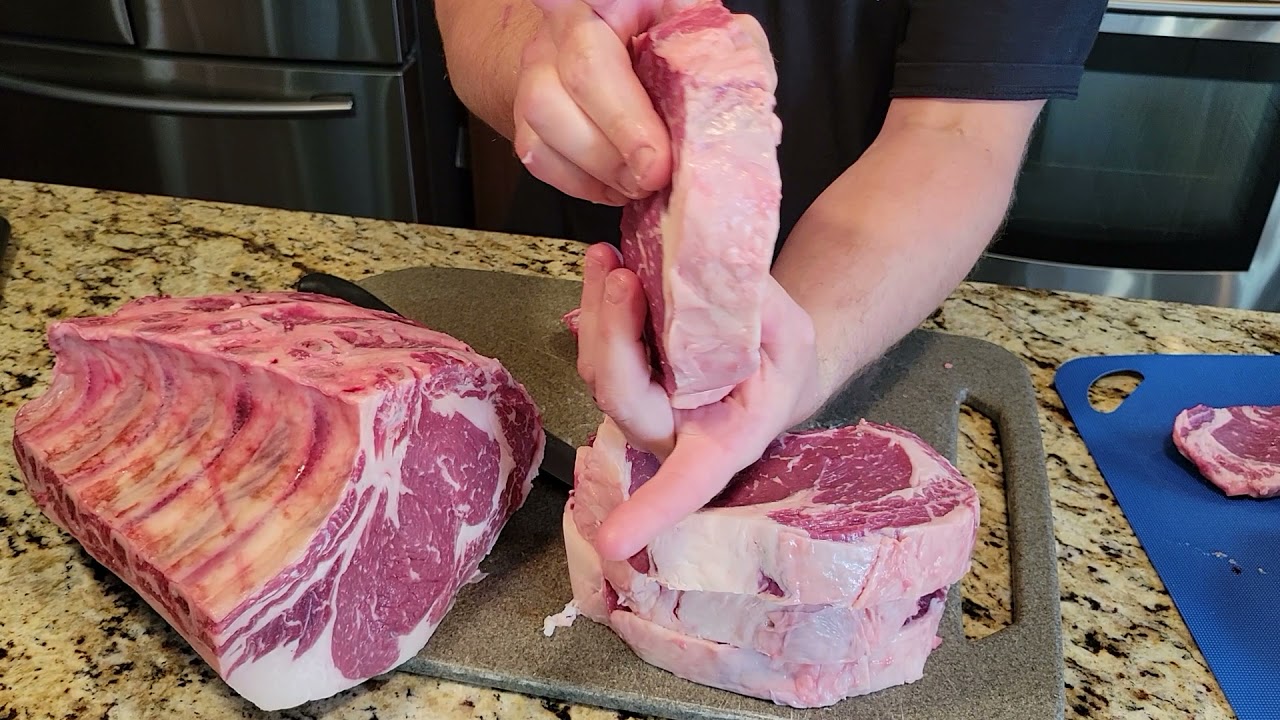
Hold the frozen roast firmly with one hand, using the towel or oven mitts to protect your fingers. Position your hand away from the area where you will be cutting to avoid accidents. Ensure a secure grip to maintain control throughout the cutting process.
Step 5: Make the Initial Cut
With your chosen tool, carefully make an initial cut along the desired section where you want to divide the roast. Apply steady and even pressure, allowing the blade to guide through the frozen meat. Take your time and avoid applying excessive force to prevent any mishaps.
Step 6: Continue the Cut
Once you have made the initial cut, gradually work your way through the frozen roast, continuing to apply consistent pressure. If you encounter any tough spots, consider using a sawing motion, especially if the meat is exceptionally thick. Remember, patience is key when dealing with frozen meat.
Step 7: Separate the Halves
Once the roast is cut in half, carefully separate the two pieces. Take extra care when pulling them apart to avoid any accidental slipping or cutting. Place each half on separate cutting boards or plates for further preparation.
Step 8: Seal and Store
If you’re only using one of the halves and intend to store the other portion for later use, ensure each half is properly wrapped and sealed to prevent freezer burn. Use freezer-safe bags or airtight containers to maintain the quality of the meat.
Step 9: Clean Up
Finally, clean your cutting board, knife, and any utensils used in the process with warm, soapy water. Pay attention to thorough cleaning to avoid any cross-contamination or bacterial growth.
By following these simple steps, you can confidently and safely cut a frozen roast in half. Remember to prioritize safety and use the appropriate tools, and soon enough, you’ll have perfectly portioned roast ready for your next delicious meal.
Was this page helpful?
Read Next: How To Cut Up A Deer For Meat
