Unlock the Secrets of Cooking a Mouthwatering Roast in an Electric Roaster
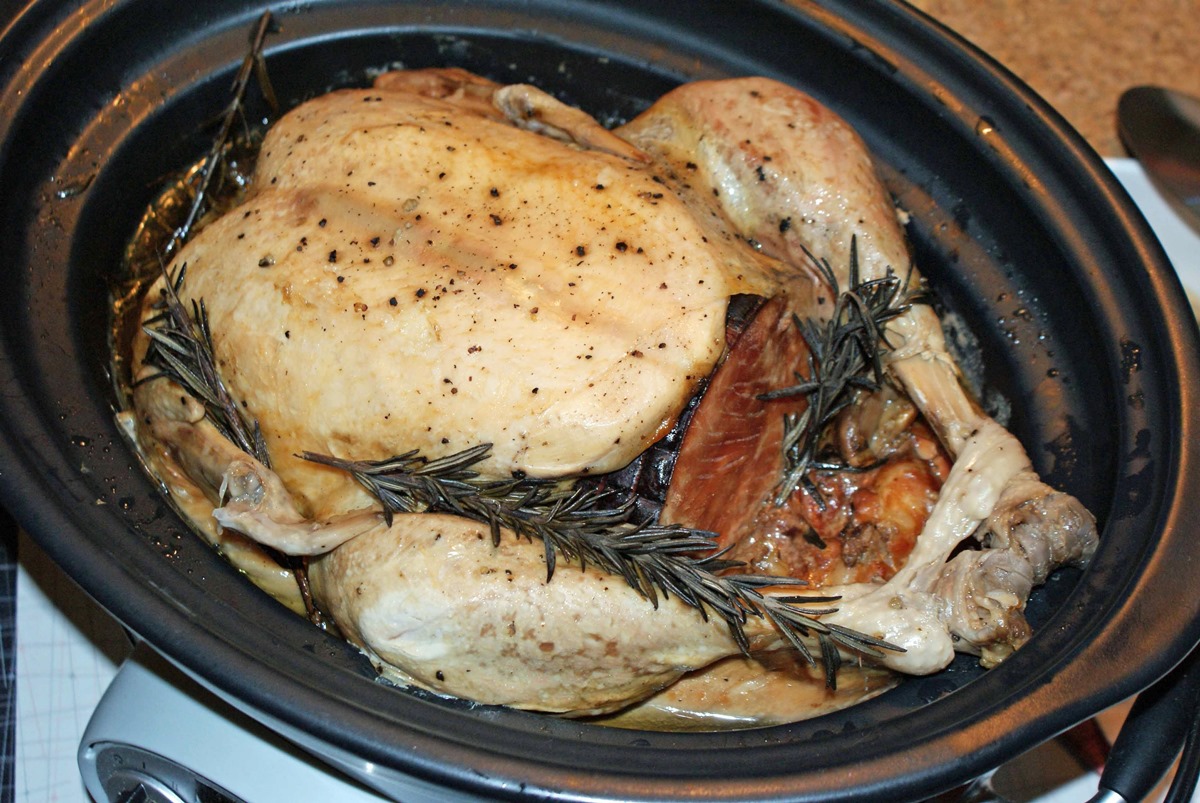
Roasts are a classic comfort food, and cooking them to perfection can be a daunting task. However, with the help of an electric roaster, you can achieve a deliciously tender and flavorful roast without the hassle. In this article, we will guide you through the step-by-step process of cooking a roast in an electric roaster, ensuring a mouthwatering meal for you and your loved ones.
Choose the Right Cut of Meat
The first step to a successful roast is selecting the right cut of meat. While a variety of cuts can be used, traditionally, tougher cuts such as chuck roasts or briskets work best. These cuts have more connective tissue, which breaks down during the slow cooking process, resulting in a tender and juicy roast.
Preparation is Key
Before cooking, it’s important to properly prepare the roast. Follow these tips:
- Thaw the roast completely if using a frozen one. This allows for even cooking.
- Pat the roast dry with paper towels. This helps to create a flavorful crust.
- Season the roast generously with salt, pepper, and any other desired herbs and spices. Allow it to sit at room temperature for about 30 minutes to enhance the flavors.
Set Up Your Electric Roaster
Now it’s time to prepare your electric roaster:
- Place the roasting rack into the electric roaster. This keeps the roast elevated, allowing the heat to circulate evenly.
- Preheat the electric roaster to the desired cooking temperature based on your recipe. This can typically be set between 275°F (135°C) and 325°F (163°C) for roasts.
Cooking Time and Temperature
When it comes to cooking a roast in an electric roaster, low and slow is the way to go:
- For tender and succulent results, cook the roast at a lower temperature for a longer time.
- Plan for around 20 minutes of cooking time per pound of meat. However, it’s important to consult a trusted recipe or cooking chart for specific guidelines, as different cuts and sizes may require slight adjustments.
Monitor and Baste
While the roast is cooking, it’s crucial to monitor its progress:
- Use a meat thermometer to check the internal temperature. For medium-rare, aim for an internal temperature of 145°F (63°C), and for medium, aim for 160°F (71°C).
- Every hour or so, open the electric roaster to baste the roast with its delectable juices. This helps to keep the meat moist and adds extra flavor.
Rest and Serve
Once the roast reaches the desired internal temperature, remove it from the roaster and transfer it to a cutting board. To ensure maximum juiciness, let the roast rest for at least 15 minutes before carving. This allows the juices to redistribute throughout the meat.
Finally, carve the roast to your desired thickness and serve it with your favorite sides like roasted vegetables, creamy mashed potatoes, or a fresh green salad. The result? A scrumptious roast that will leave everyone at the table craving for more.
Now that you know the secrets of cooking a mouthwatering roast in an electric roaster, it’s time to put your newfound knowledge to the test! Enjoy the flavors, aromas, and joy that a perfectly cooked roast brings to any special occasion or gathering.
More Delicious Roast Recipes to Try in Your Electric Roaster
Now that you've mastered the art of using an electric roaster, why not test your skills with a variety of delectable recipes? From the rich and hearty flavors of the classic beef chuck roast recipe to the aromatic rosemary garlic lamb shoulder recipe, there's a dish to suit every palate. We highly recommend trying the garlic butter prime rib roast recipe for an indulgent dinner or the citrus herb turkey roast recipe for a refreshing twist on poultry. Each recipe offers a unique blend of spices and techniques that will utilize your roaster in new and exciting ways, ensuring your meals are always memorable.
Was this page helpful?
Read Next: How To Cook Potatoes In Ninja Foodi

