Easy and Delicious Bread Baking in an Air Fryer
Are you a bread lover who wants to try something new and exciting? Look no further than your trusty air fryer! Baking bread in an air fryer is a game-changer, and it’s easier than you might think. With the right technique and a few simple ingredients, you can enjoy fresh, homemade bread in no time. Let’s dive into the world of air fryer bread baking and discover how you can create delicious loaves right in your own kitchen.
Why Bake Bread in an Air Fryer?
Using an air fryer to bake bread offers several advantages. Here are a few reasons why you should give it a try:
- Time-Saving: Air fryers preheat quickly and bake bread faster than traditional ovens, saving you time and energy.
- Even Cooking: The circulating hot air in an air fryer ensures that your bread bakes evenly on all sides, resulting in a perfectly golden crust.
- No Need to Knead: Some air fryer bread recipes require minimal kneading, making the process simpler and less labor-intensive.
- Space-Saving: If you have a small kitchen or limited counter space, an air fryer can serve as a versatile all-in-one appliance for baking, roasting, and more.
Ingredients for Air Fryer Bread
Before you start baking, gather the following ingredients:
- 2 cups all-purpose flour
- 1 tablespoon sugar
- 1 teaspoon salt
- 1 packet active dry yeast
- 1 cup warm water
- 2 tablespoons olive oil
Steps to Bake Bread in an Air Fryer
Now that you have your ingredients ready, follow these simple steps to bake bread in your air fryer:
- Activate the Yeast: In a bowl, combine the warm water, sugar, and yeast. Let it sit for 5-10 minutes until the mixture becomes frothy.
- Mix the Dough: In a separate bowl, mix the flour and salt. Add the activated yeast mixture and olive oil. Knead the dough until it becomes smooth and elastic.
- Let it Rise: Place the dough in a greased bowl, cover it with a kitchen towel, and let it rise in a warm place for about an hour, or until it doubles in size.
- Shape the Loaf: Once the dough has risen, punch it down and shape it into a loaf. Place the loaf in a greased air fryer-safe pan or basket.
- Bake in the Air Fryer: Preheat your air fryer to 350°F (175°C). Place the pan or basket in the air fryer and bake the bread for 25-30 minutes, or until it’s golden brown and sounds hollow when tapped.
- Cool and Enjoy: Once the bread is baked, remove it from the air fryer and let it cool on a wire rack. Slice and enjoy your freshly baked bread!
Experiment with Flavors and Toppings
Once you’ve mastered the basic technique of baking bread in an air fryer, feel free to get creative with different flavors and toppings. You can add herbs, cheese, or even dried fruits and nuts to your dough for a unique twist. Additionally, try brushing the top of your bread with melted butter and sprinkling it with sea salt or sesame seeds before baking for an extra burst of flavor and texture.
Conclusion
Baking bread in an air fryer is a fun and rewarding experience that yields delicious results. Whether you’re a seasoned baker or a beginner, using an air fryer to bake bread opens up a world of possibilities in the kitchen. So, grab your ingredients, preheat your air fryer, and get ready to enjoy the delightful aroma of freshly baked bread wafting through your home.
With a few simple steps and a bit of creativity, you can elevate your bread-baking game and impress your family and friends with your homemade loaves. So, what are you waiting for? It’s time to unleash the full potential of your air fryer and indulge in the joy of baking your own bread!
Was this page helpful?
Read Next: How To Bake A Potato Like Texas Roadhouse
Related Articles
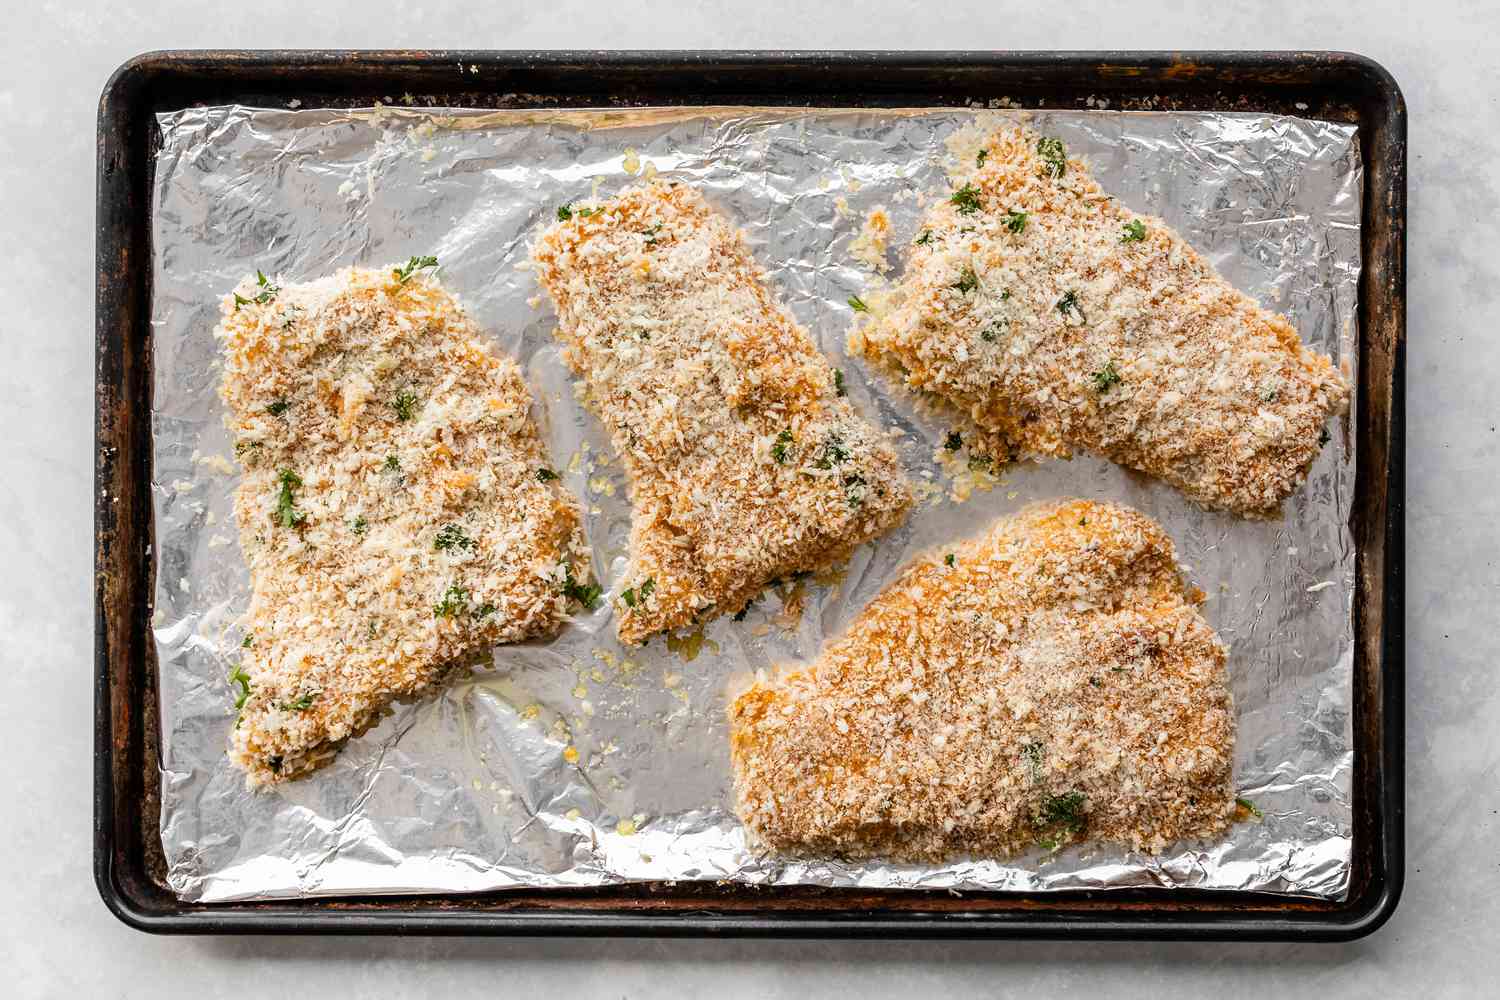
How To Bake Haddock Fillets In The Oven

How To Bake A Whole Catfish
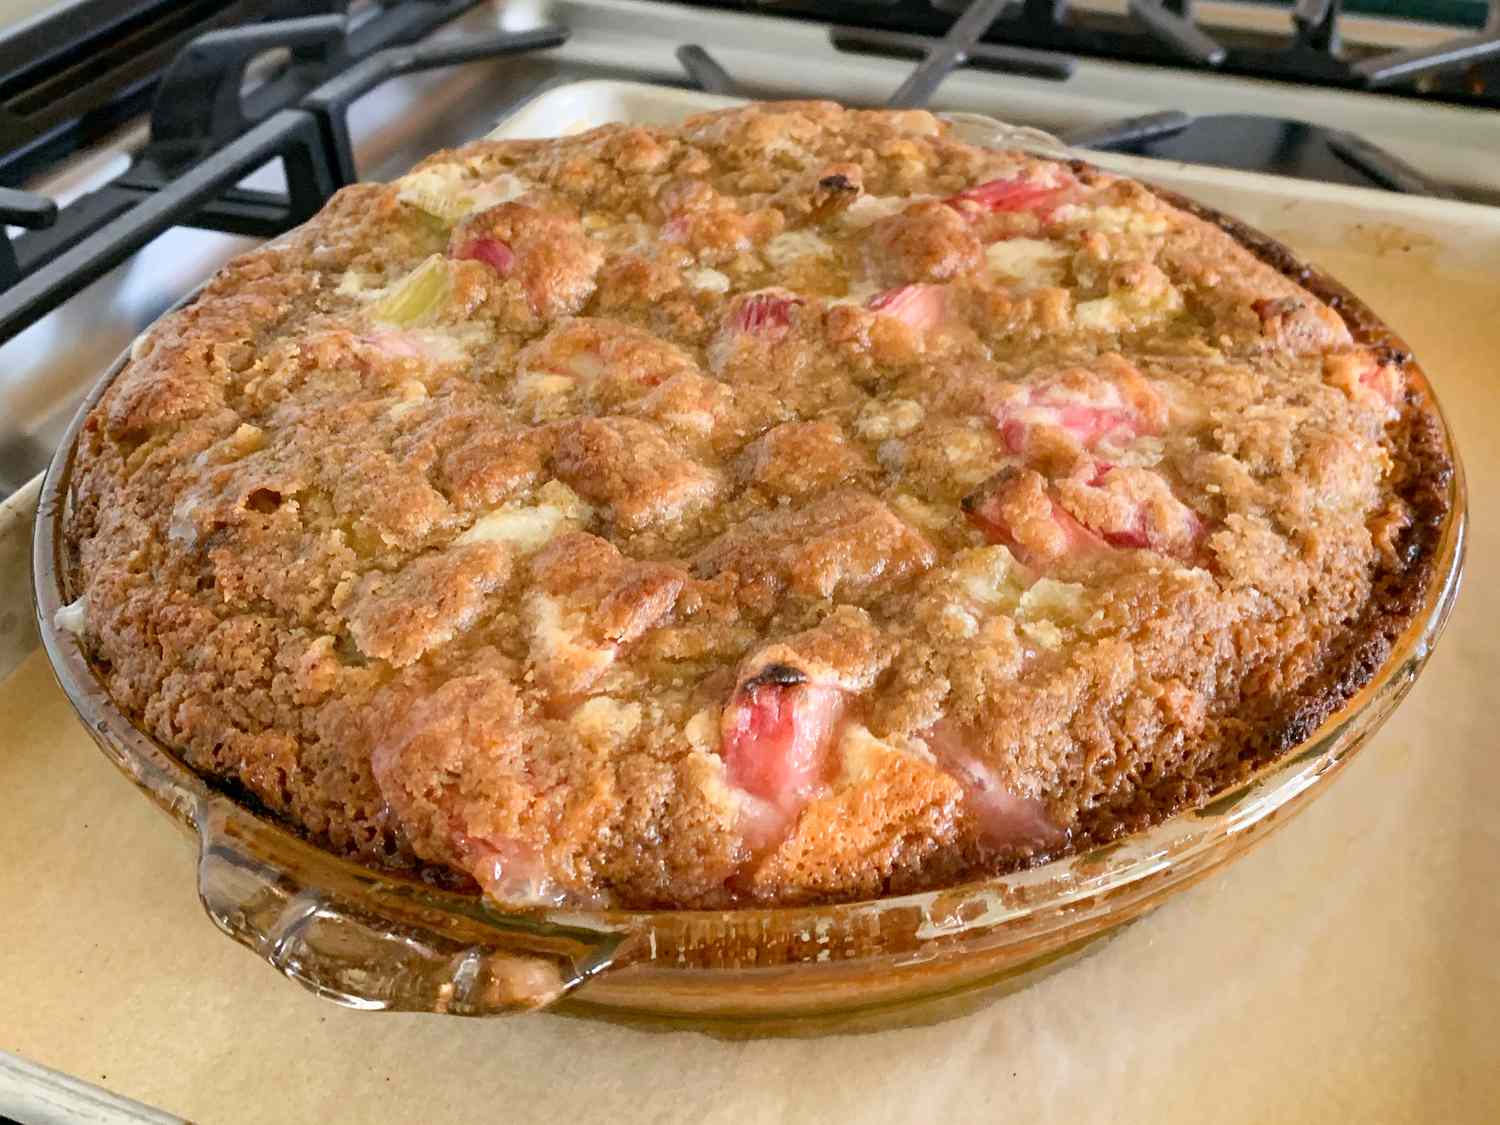
How To Bake With Frozen Rhubarb
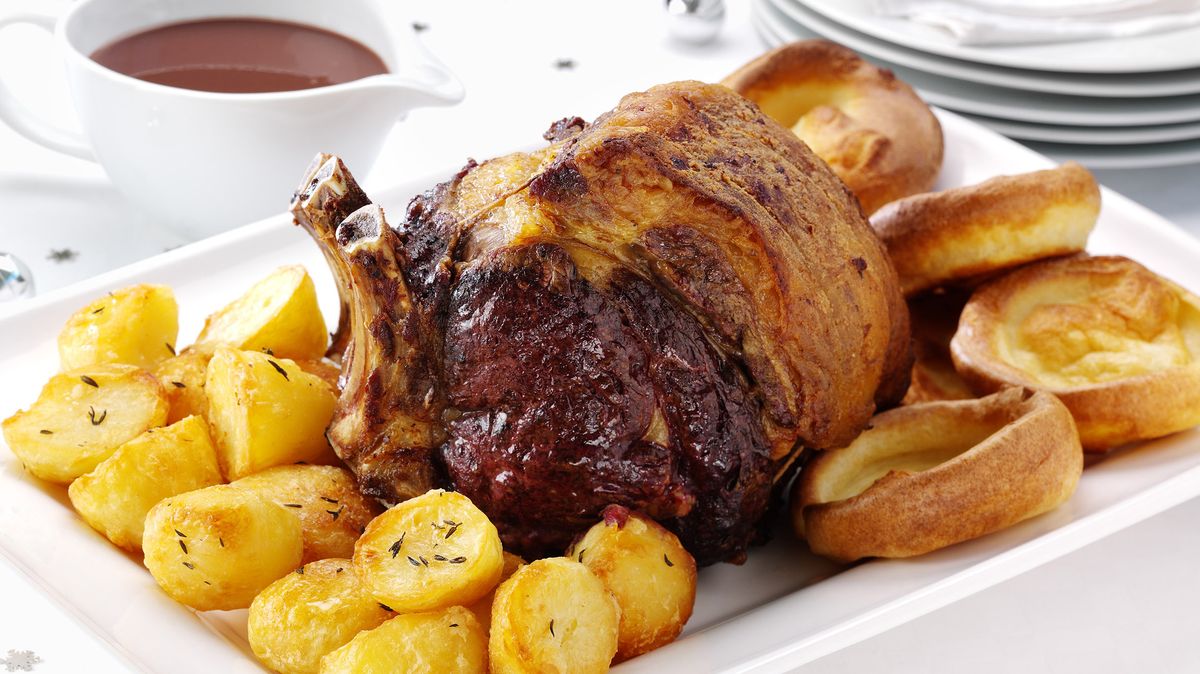
How To Eat Yorkshire Pudding With Roast
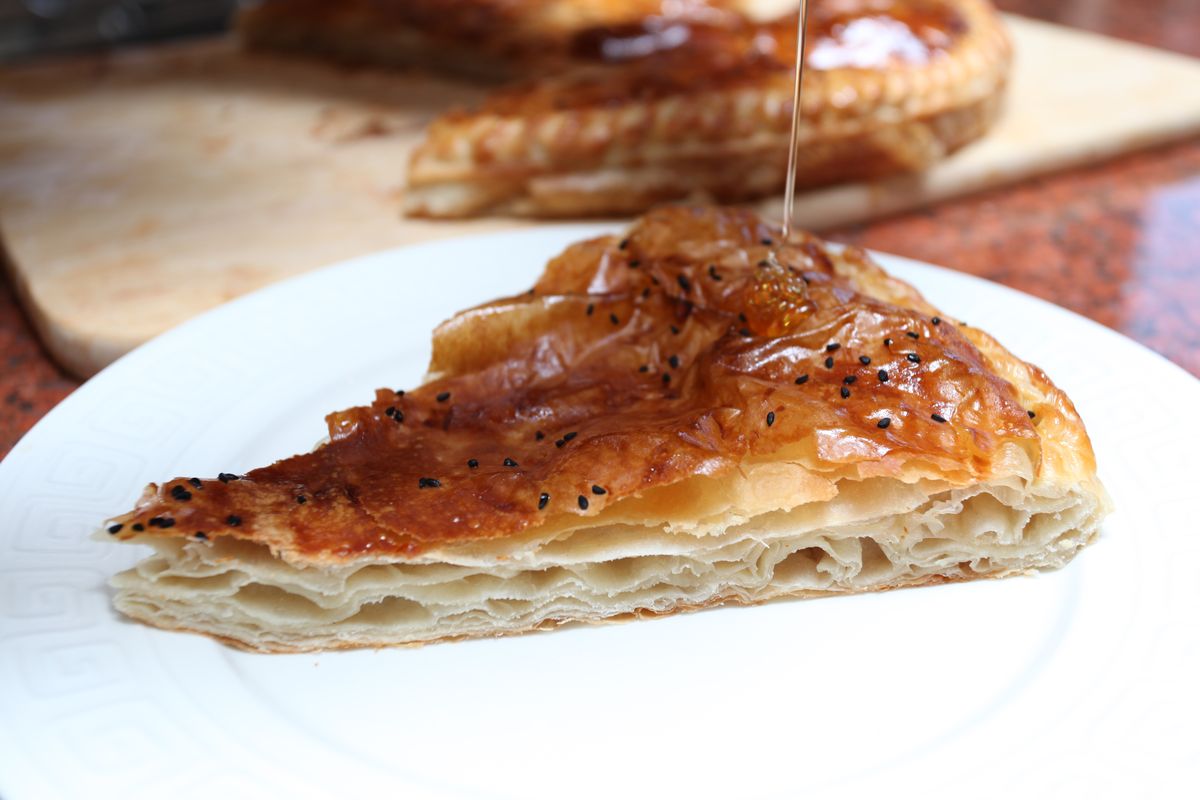
How To Eat Yemeni Sabaya

How To Eat With A Hiatal Hernia

How To Eat Whole Crabs
How To Eat Whole Cooked Fish

How To Eat Uncut Pizza In Italy

How To Eat Uncut Kimchi

How To Eat Tuyo