Cooking with ultrasonic cavitation might sound like science fiction, but it's a real technique transforming kitchens. This method uses high-frequency sound waves to create tiny bubbles in liquids. When these bubbles collapse, they generate intense heat and pressure, breaking down ingredients at a molecular level. This process can enhance flavors, tenderize meats, and even create unique textures. Imagine infusing herbs into oil in minutes or making ultra-smooth purees without a blender. Ultrasonic cavitation offers endless culinary possibilities, making it a fascinating tool for both professional chefs and home cooks eager to experiment with new cooking methods.
Gather Your Ingredients for The Science of Cooking with Ultrasonic Cavitation
Ingredients
- Meat or Vegetables
- 1 lb chicken breast or 1 lb carrots
- Liquid
- 2 cups chicken broth or vegetable broth
- Seasonings
- 1 tsp salt
- 1/2 tsp black pepper
- 1 tsp garlic powder
- 1 tsp onion powder
- Oil
- 2 tbsp olive oil or vegetable oil
- Herbs
- 1 tbsp fresh thyme or 1 tbsp fresh rosemary
- Optional Add-ins
- 1 cup diced tomatoes
- 1 cup sliced mushrooms
Essential Tools for This Process
Tools Needed for Cooking with Ultrasonic Cavitation
- Ultrasonic Homogenizer: Essential for creating cavitation bubbles.
- Beakers: For holding liquids during the process.
- Thermometer: To monitor temperature changes.
- Protective Gear: Safety goggles and gloves to protect from splashes.
- Stirring Rods: For mixing ingredients.
- pH Meter: To measure acidity levels.
- Digital Scale: For precise ingredient measurements.
- Timer: To keep track of processing times.
- Cleaning Supplies: To maintain equipment hygiene.
- Soundproof Enclosure: Reduces noise from the ultrasonic device.
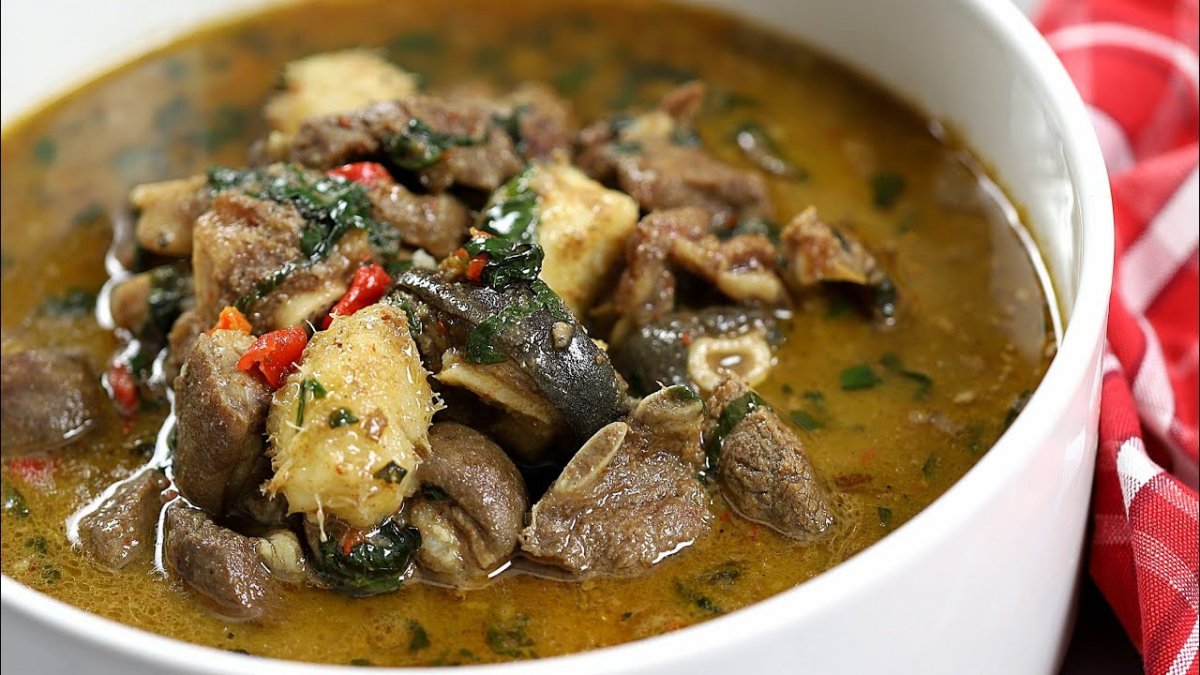
Ultrasonic cavitation uses sound waves to create tiny bubbles in liquids. This process can tenderize meat, infuse flavors, and speed up marination, making dishes more flavorful and tender.
Understanding the Need for The Science of Cooking with Ultrasonic Cavitation
Ultrasonic cavitation uses sound waves to create tiny bubbles in liquids. These bubbles collapse, generating intense heat and pressure. This process can tenderize meat, infuse flavors, and emulsify sauces. Cooking with ultrasonic cavitation enhances texture and flavor while reducing cooking time, making dishes more delicious and efficient.
Step-by-Step Instructions for The Science of Cooking with Ultrasonic Cavitation
Step-by-Step Guide to The Science of Cooking with Ultrasonic Cavitation
-
Understanding Ultrasonic Cavitation
- Ultrasonic Cavitation uses high-frequency sound waves to create microscopic bubbles in liquids.
- These bubbles collapse, generating heat and pressure that can alter food textures and enhance flavors.
-
Choosing the Right Equipment
- Ultrasonic Baths: Commonly used for small-scale applications.
- Ultrasonic Probes: Ideal for larger quantities or more intense cavitation.
- Ensure the equipment has adjustable frequency settings for precise control.
-
Preparing Ingredients
- Cut ingredients into uniform pieces to ensure even cavitation.
- Marinate or season ingredients beforehand to infuse flavors during the process.
- Use liquids like water, broth, or oil as the medium for cavitation.
-
Setting Up the Ultrasonic Device
- Fill the ultrasonic bath or container with the chosen liquid medium.
- Submerge the ingredients in the liquid, ensuring they are fully covered.
- Adjust the frequency and power settings based on the desired outcome.
-
Initiating the Cavitation Process
- Turn on the ultrasonic device and monitor the process.
- Observe the formation of bubbles and adjust settings if necessary.
- Duration of cavitation can vary from a few minutes to several hours depending on the ingredients and desired texture.
-
Monitoring and Adjusting
- Check the ingredients periodically to assess texture and flavor development.
- Adjust frequency and power as needed to achieve optimal results.
- Avoid over-cavitation which can lead to undesirable textures.
-
Post-Cavitation Processing
- Remove ingredients from the ultrasonic bath carefully.
- Pat dry if necessary and proceed with additional cooking steps like grilling, baking, or sautéing.
- Taste and adjust seasoning as needed.
-
Cleaning and Maintenance
- Turn off and unplug the ultrasonic device.
- Empty the liquid medium and clean the container thoroughly.
- Wipe down the device and store it properly for future use.
-
Experimenting with Different Ingredients
- Try different combinations of liquids and ingredients to explore new flavors and textures.
- Document results to refine techniques and improve future outcomes.
- Share findings with others to expand knowledge and inspire creativity.
-
Safety Precautions
- Wear protective gear like gloves and goggles when handling ultrasonic devices.
- Follow manufacturer instructions for safe operation.
- Ensure proper ventilation to avoid inhalation of vapors from the liquid medium.
-
Advanced Techniques
- Combine ultrasonic cavitation with other modernist techniques like sous-vide or molecular gastronomy.
- Experiment with emulsions and foams using ultrasonic energy.
- Explore potential applications in fermentation and preservation.
-
Troubleshooting Common Issues
- Uneven cavitation: Adjust ingredient placement and liquid levels.
- Over-cavitation: Reduce power or shorten duration.
- Device malfunction: Consult the manual or contact the manufacturer for assistance.
A Final Stir on Ultrasonic Cavitation Cooking
Embracing ultrasonic cavitation in the kitchen opens up a new frontier for culinary enthusiasts and professional chefs alike. This technique, blending science and cooking, transforms how we approach food preparation, from tenderizing meat to infusing flavors. Its efficiency in breaking down cell walls in fruits and vegetables for better texture and flavor extraction, alongside its ability to marinate meats deeply and quickly, showcases its potential to revolutionize traditional cooking methods. As we continue experimenting and understanding its full capabilities, ultrasonic cavitation promises to elevate our culinary creations to new heights, making dishes more flavorful, tender, and enjoyable. Whether you're a home cook looking to explore new techniques or a professional chef aiming to innovate, incorporating ultrasonic cavitation into your cooking repertoire could be the game-changer you've been searching for.
Common Questions About This Technique
What is ultrasonic cavitation in cooking?
Ultrasonic cavitation uses high-frequency sound waves to create tiny bubbles in liquids. When these bubbles collapse, they generate intense heat and pressure, which can break down food at a molecular level. This technique can enhance flavors, tenderize meat, and even speed up marination.
How does ultrasonic cavitation improve flavor?
The process helps infuse flavors more deeply into food. By breaking down cell walls, it allows marinades, spices, and other seasonings to penetrate more thoroughly, resulting in richer, more intense flavors.
Is ultrasonic cavitation safe for home cooking?
Yes, it's safe when used correctly. However, it's typically more common in professional kitchens due to the specialized equipment required. Always follow the manufacturer's guidelines to ensure safety.
Can ultrasonic cavitation tenderize tough cuts of meat?
Absolutely! The technique breaks down tough muscle fibers, making even the toughest cuts tender and juicy. It’s like giving your meat a high-tech massage.
What types of dishes benefit most from ultrasonic cavitation?
Marinades, sauces, and soups see significant improvements. It’s also great for making emulsions like mayonnaise or vinaigrettes, as it helps blend ingredients more smoothly.
Do I need special equipment for ultrasonic cavitation?
Yes, you’ll need an ultrasonic cleaner or a specialized ultrasonic cavitation device. These aren’t typically found in home kitchens but are becoming more accessible as the technology advances.
How long does the ultrasonic cavitation process take?
It varies depending on what you’re cooking. Marinating might take just a few minutes, while tenderizing meat could take a bit longer. Always refer to specific recipes or equipment guidelines for best results.
Was this page helpful?
Related Articles
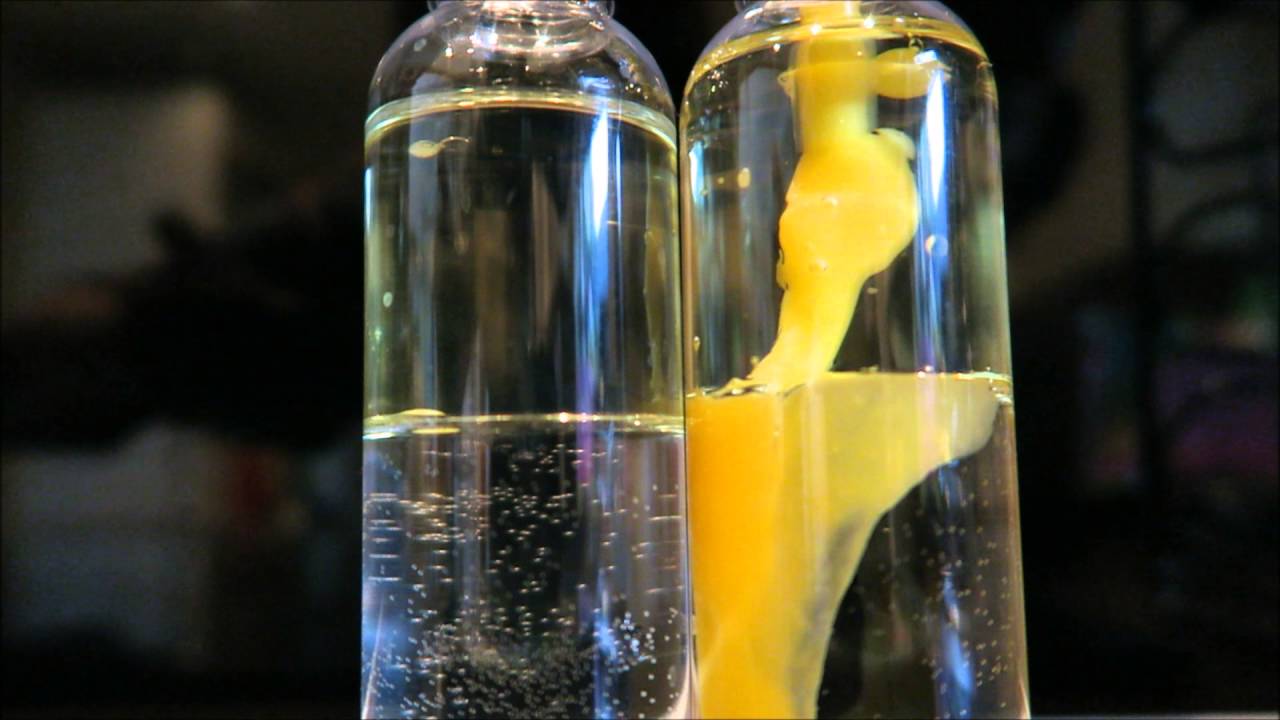
How To Emulsify Oil And Water
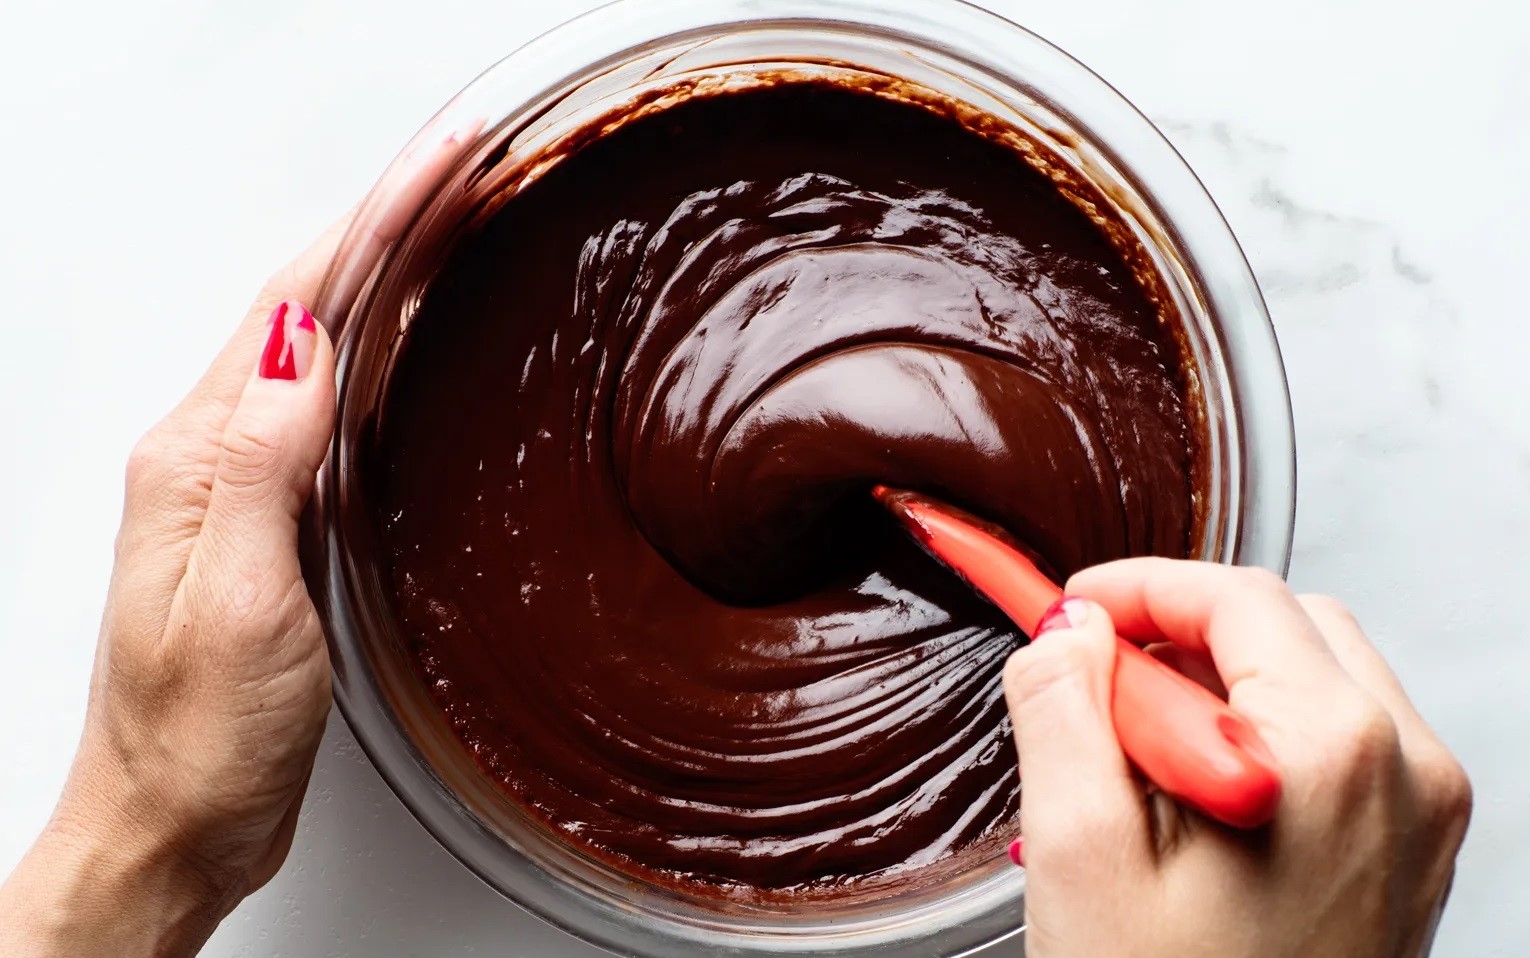
How To Emulsify Chocolate
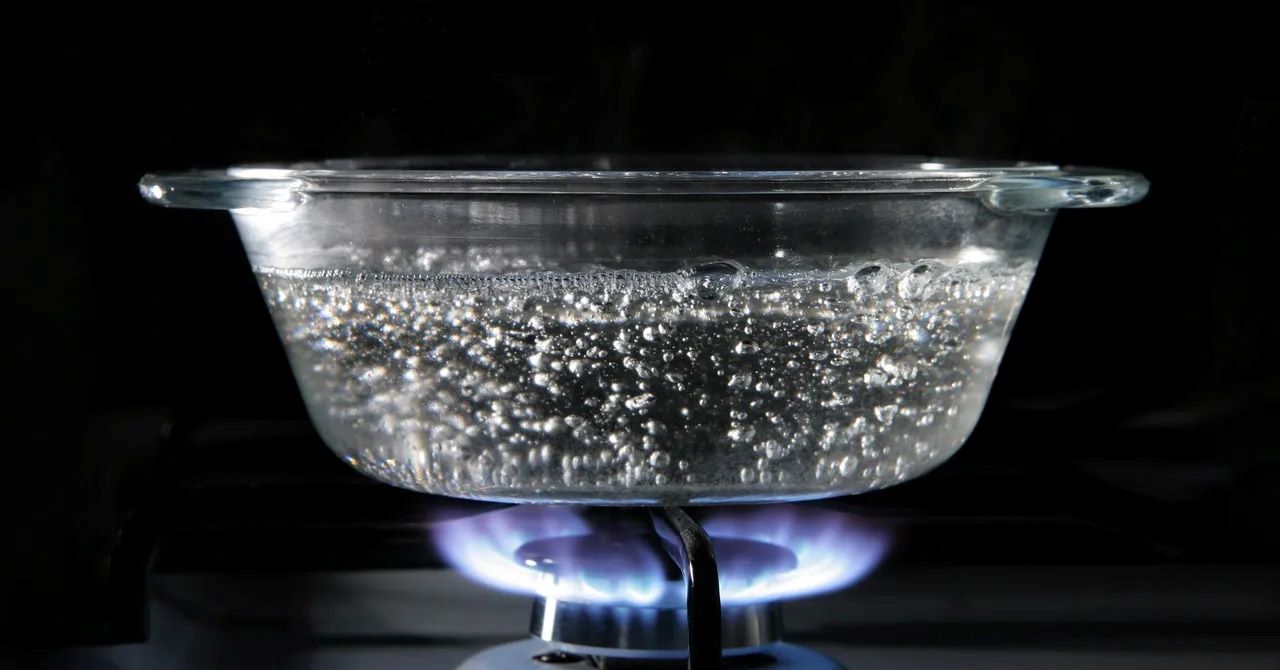
What Is Boiling Water
What Is Ice Cream In A Bag
The Science Of Baking Bread (and How To Do It Right)

How To Eat Food Efficiently: A Guide To Food Science
How To Cook Steak Tenderloin
The Science Of The Best Sorbet
What Is The Temperature Of A Bowl Of Ice Cream?

Coffee Science: How To Make The Best French Press Coffee At Home
How To Pan Fry Marinated Steak