What You Need to Know About Vacuum Sealing Canning Jars
Welcome to the wonderful world of vacuum sealing canning jars! If you’re looking to preserve your food for longer periods, then vacuum sealing is the way to go. It’s a simple and effective method that can help you extend the shelf life of your favorite foods. In this guide, we’ll walk you through the process of vacuum sealing canning jars so you can enjoy fresh, flavorful foods for months to come.
Why Vacuum Seal Canning Jars?
Before we dive into the how-to, let’s talk about why vacuum sealing canning jars is a great idea. Vacuum sealing removes air from the jar, creating an airtight environment that helps prevent the growth of bacteria and mold. This means your food stays fresher for longer, preserving its flavor and nutrients. Whether you’re a seasoned canner or just getting started, vacuum sealing canning jars is a game-changer when it comes to food preservation.
How to Vacuum Seal Canning Jars
Now, let’s get into the nitty-gritty of vacuum sealing canning jars. Here’s a step-by-step guide to help you get started:
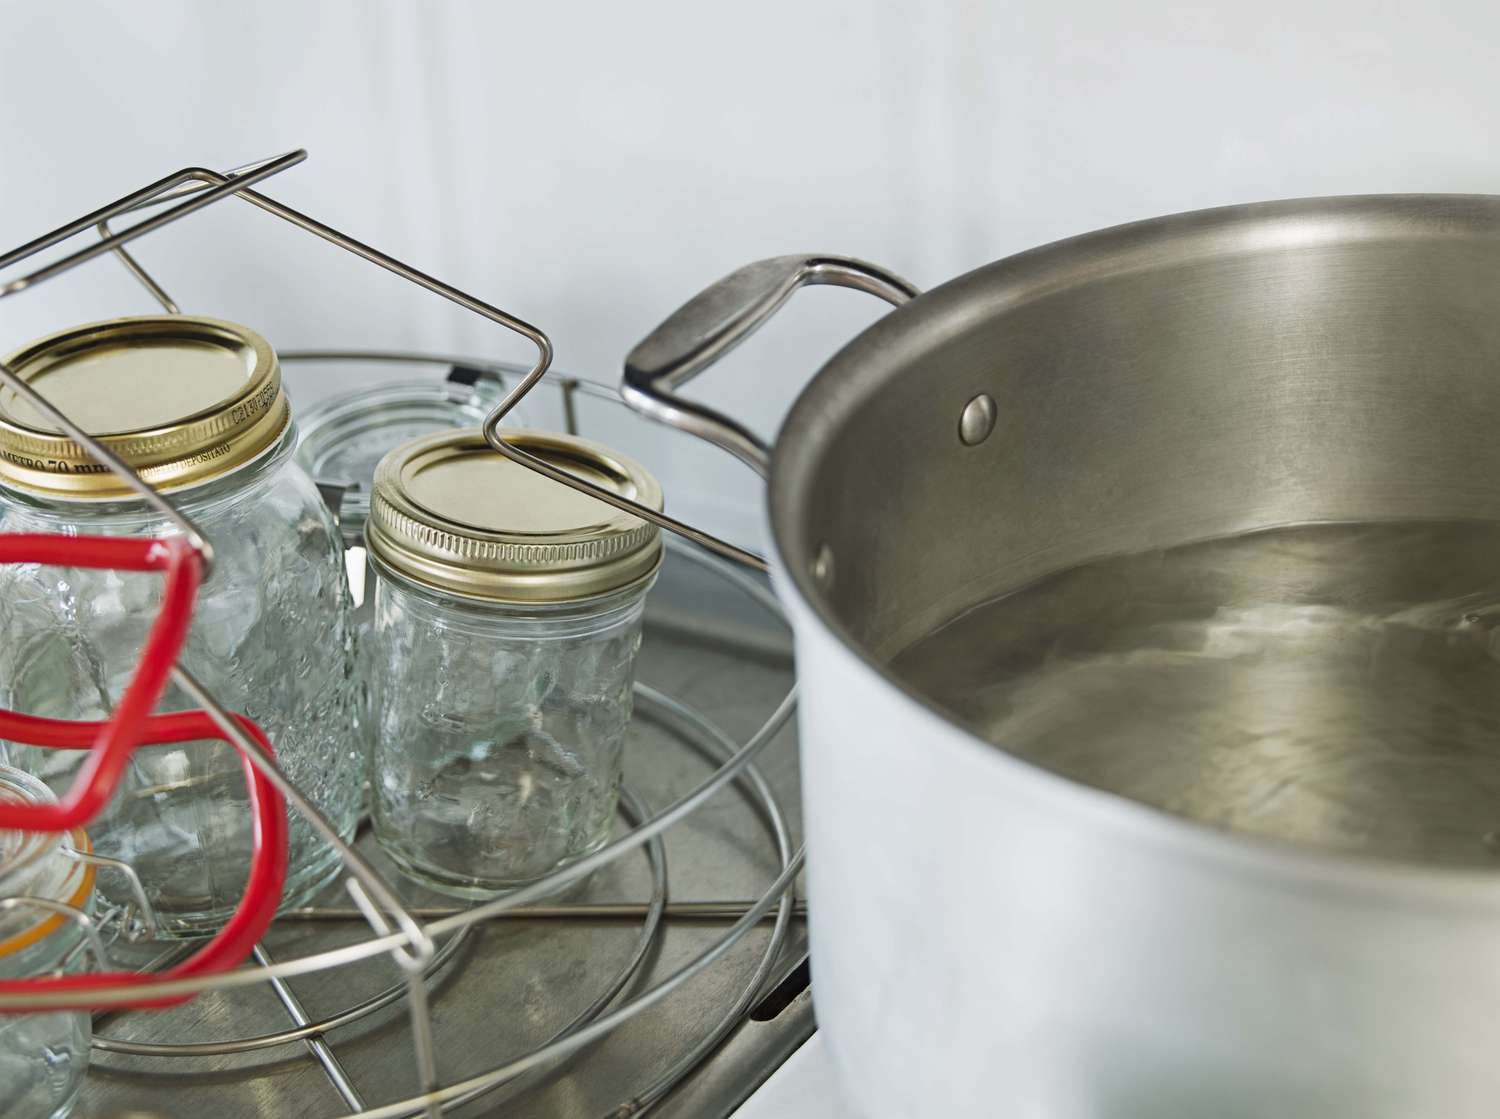
- Prepare Your Jars: Before you begin, make sure your canning jars are clean and dry. Inspect the jars for any cracks or chips, as these can prevent a proper seal.
- Fill the Jars: Fill your jars with the food you want to preserve. Whether it’s fruits, vegetables, or homemade sauces, make sure to leave the appropriate amount of headspace as recommended for the specific food item.
- Seal the Jars: Place the lids and bands on the jars and tighten them securely. This will create a partial seal on the jars before vacuum sealing.
- Use a Vacuum Sealer: Place the jar attachment on your vacuum sealer and follow the manufacturer’s instructions for sealing canning jars. This typically involves placing the attachment over the jar lid and activating the vacuum sealing function.
- Check the Seal: Once the vacuum sealing process is complete, check the jars to ensure they are properly sealed. You should not be able to press down on the center of the lid, indicating a successful vacuum seal.
- Label and Store: Finally, label the sealed jars with the contents and date before storing them in a cool, dark place.
Tips for Success
As with any food preservation method, there are a few tips to keep in mind to ensure successful vacuum sealing:
- Use High-Quality Jars: Investing in high-quality canning jars will ensure a better seal and longer shelf life for your preserved foods.
- Follow Recommended Headspaces: Different foods require different headspace allowances, so be sure to follow the recommended guidelines for each type of food you’re preserving.
- Store Properly: After vacuum sealing, store your jars in a cool, dark place away from direct sunlight and temperature fluctuations.
- Regularly Inspect Seals: Periodically check the seals on your vacuum-sealed jars to ensure they remain intact. If a seal becomes compromised, the food may spoil.
Conclusion
Vacuum sealing canning jars is a fantastic way to preserve your favorite foods and enjoy them for months to come. By following the simple steps outlined in this guide and keeping a few tips in mind, you’ll be well on your way to successfully vacuum sealing your own canning jars. So, roll up your sleeves, gather your supplies, and start preserving your favorite foods with confidence!
Was this page helpful?
Read Next: How To Vacuum Seal Moist Food
