Preserving Your Fresh Strawberries: A Complete Guide to Vacuum Sealing and Freezing
Strawberries are a delightful and versatile fruit that can be enjoyed in a variety of ways. Whether you have an abundant harvest from your garden or you’ve picked up a large batch from the store, preserving strawberries through vacuum sealing and freezing is an excellent way to ensure that you can enjoy their sweet, juicy flavor all year round. In this guide, we’ll walk you through the steps to properly vacuum seal and freeze strawberries, so you can savor their deliciousness long after the harvest season has passed.
Why Vacuum Seal and Freeze Strawberries?
Vacuum sealing and freezing strawberries is an effective method for preserving their freshness and flavor. By removing air from the packaging, vacuum sealing helps to prevent freezer burn and extends the shelf life of the strawberries. This means that when you’re ready to use them, they’ll taste just as delicious as the day you packed them.
Step-by-Step Guide to Vacuum Sealing and Freezing Strawberries
Follow these simple steps to vacuum seal and freeze your strawberries:
- Prepare the Strawberries: Start by washing the strawberries thoroughly and removing the stems. Pat them dry with a clean kitchen towel or paper towel to remove excess moisture.
- Slice or Leave Whole: Depending on your preference, you can choose to leave the strawberries whole or slice them. Sliced strawberries are convenient for adding to smoothies, yogurt, or baked goods, while whole strawberries can be used for decorative purposes or as a standalone snack.
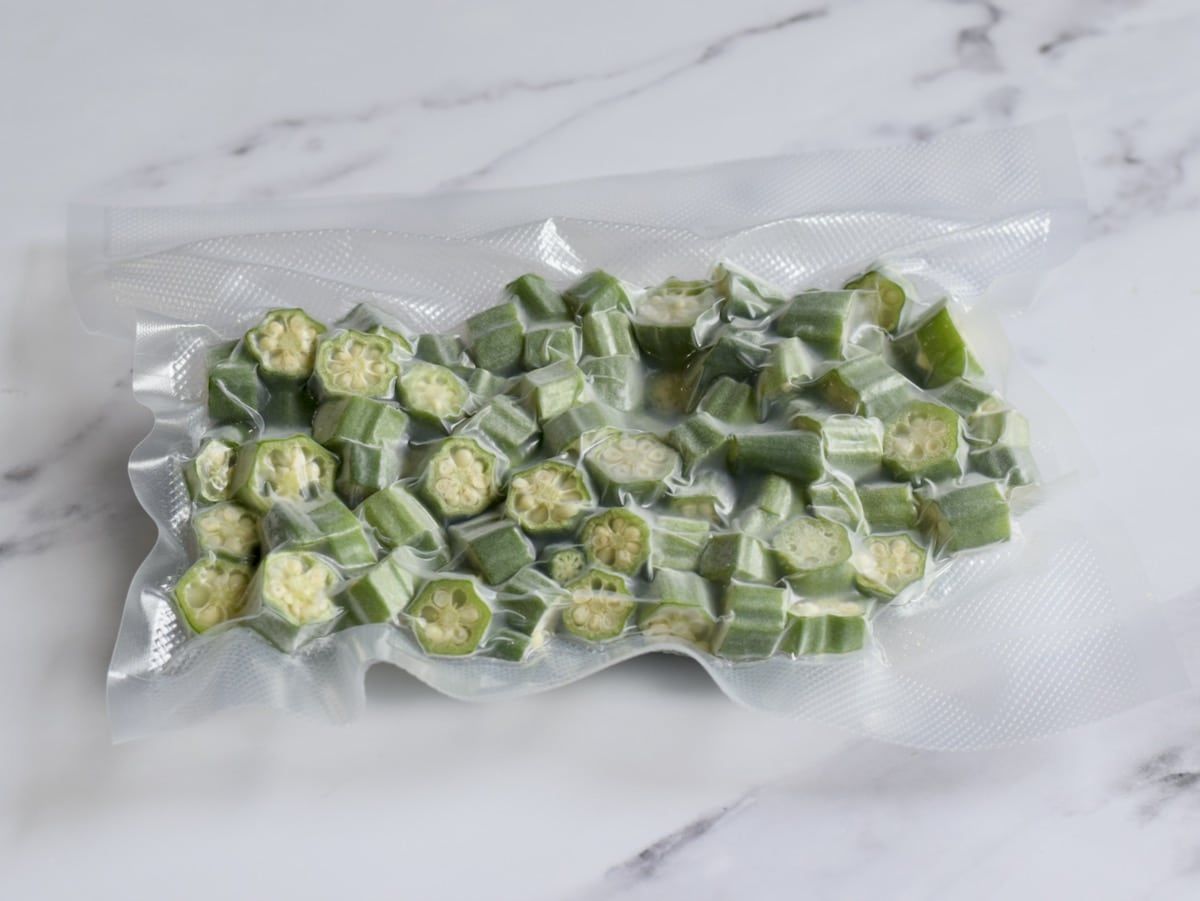
- Vacuum Seal: Place the prepared strawberries in a vacuum-sealable bag or container. Arrange them in a single layer to ensure even sealing. Follow the instructions for your vacuum sealer to remove the air and create a tight seal. Make sure to leave some space at the top of the bag to account for expansion during freezing.
- Label and Freeze: Before placing the sealed strawberries in the freezer, label the bags with the date of packaging. This will help you keep track of their freshness. Lay the bags flat in the freezer to freeze them quickly and efficiently.
Tips for Vacuum Sealing and Freezing Strawberries
Here are some additional tips to ensure the best results when vacuum sealing and freezing strawberries:
- Use Fresh, Ripe Strawberries: Select strawberries that are at the peak of ripeness for the best flavor and texture.
- Remove Excess Air: When vacuum sealing, make sure to remove as much air as possible from the packaging to prevent freezer burn.
- Freeze in Small Portions: Consider portioning the strawberries into smaller packages based on your typical usage. This way, you can thaw only what you need without having to defrost the entire batch.
- Label Clearly: In addition to the date, you can also label the packages with the quantity of strawberries inside for easy reference.
Enjoying Your Frozen Strawberries
Once your strawberries are vacuum sealed and frozen, you can enjoy them in a variety of ways. From adding them to smoothies and desserts to using them as a topping for oatmeal or pancakes, the possibilities are endless. By preserving your strawberries through vacuum sealing and freezing, you can relish the taste of summer all year long.
With these simple steps, you can easily preserve the freshness and flavor of strawberries, making them a convenient and delicious addition to your meals and snacks. So, the next time you have an abundance of strawberries, don’t let them go to waste. Instead, vacuum seal and freeze them to enjoy their delightful taste whenever you please.
Was this page helpful?
Read Next: How To Vacuum Seal Jalapenos
