How to Cut Short Ribs at Home
Short ribs are a flavorful and succulent cut of meat that can be enjoyed in a variety of dishes. Whether you’re making a hearty stew, braising them to perfection, or grilling them to create mouthwatering barbecue, knowing how to properly cut short ribs at home is essential. Here’s a step-by-step guide on how to do it:
1. Choose the Right Ribs
First, it’s important to select the right type of short ribs. There are two main options: English-style and Flanken-style short ribs. English-style ribs are cut parallel to the bone, while flanken-style ribs are cut across the bone. Both styles have their merits, so choose the one that works best for your recipe.
2. Gather the Necessary Tools
Before you begin, ensure you have the proper tools handy. You’ll need a sharp knife, preferably a butcher’s knife or a chef’s knife, a cutting board, and a pair of sturdy kitchen shears. Having the right equipment will make the process much easier and safer.
3. Trim Excess Fat
Prior to cutting the short ribs, you’ll want to trim any excess fat. While some fat adds flavor, too much can make the dish greasy. Use your knife to carefully remove any thick or excessive fat from the ribs.
4. Determine the Desired Size
Decide how large you want your short ribs to be. This will depend on your recipe and personal preference. Short ribs can be cut into individual portions or kept as larger pieces for slow cooking. Aim for pieces that are about 2-3 inches in length for individual servings.
5. Cut Between the Bones
Using your knife or kitchen shears, cut between the bones to separate the short ribs. If you’re using English-style ribs, simply cut parallel to the bone. For flanken-style ribs, cut across the bone, making sure each piece contains a segment of bone.
6. Check for Consistency
After cutting your short ribs, take a moment to check if they are all of a consistent size. This will ensure even cooking and presentation. If necessary, make adjustments by trimming or cutting larger pieces into smaller ones.
7. Store or Cook Immediately
If you don’t plan to cook the short ribs right away, make sure to store them properly. Place the cut ribs in an airtight container or wrap them tightly in plastic wrap to maintain freshness. Keep them refrigerated until you’re ready to use them.
Remember, practicing proper food hygiene and safety is crucial when handling raw meat. Wash your hands thoroughly before and after handling the ribs and clean all utensils and surfaces that come in contact with the raw meat.
Congratulations! You now know how to cut short ribs at home. Enjoy your deliciously prepared short ribs in your favorite recipes or experiment with new culinary creations. The possibilities are endless!
Was this page helpful?
Read Next: How To Cut Spare Ribs After Cooking
Related Articles
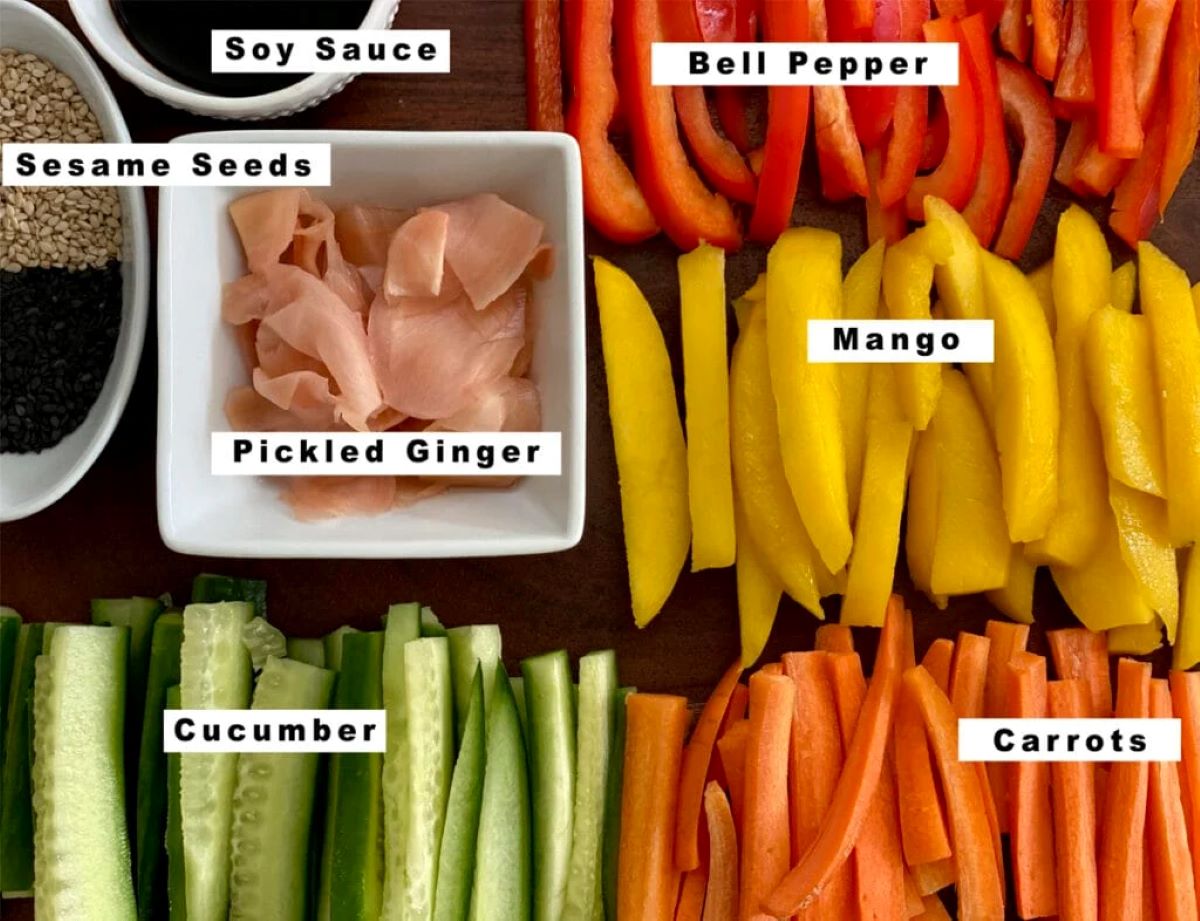
How To Cut Vegetables For Sushi
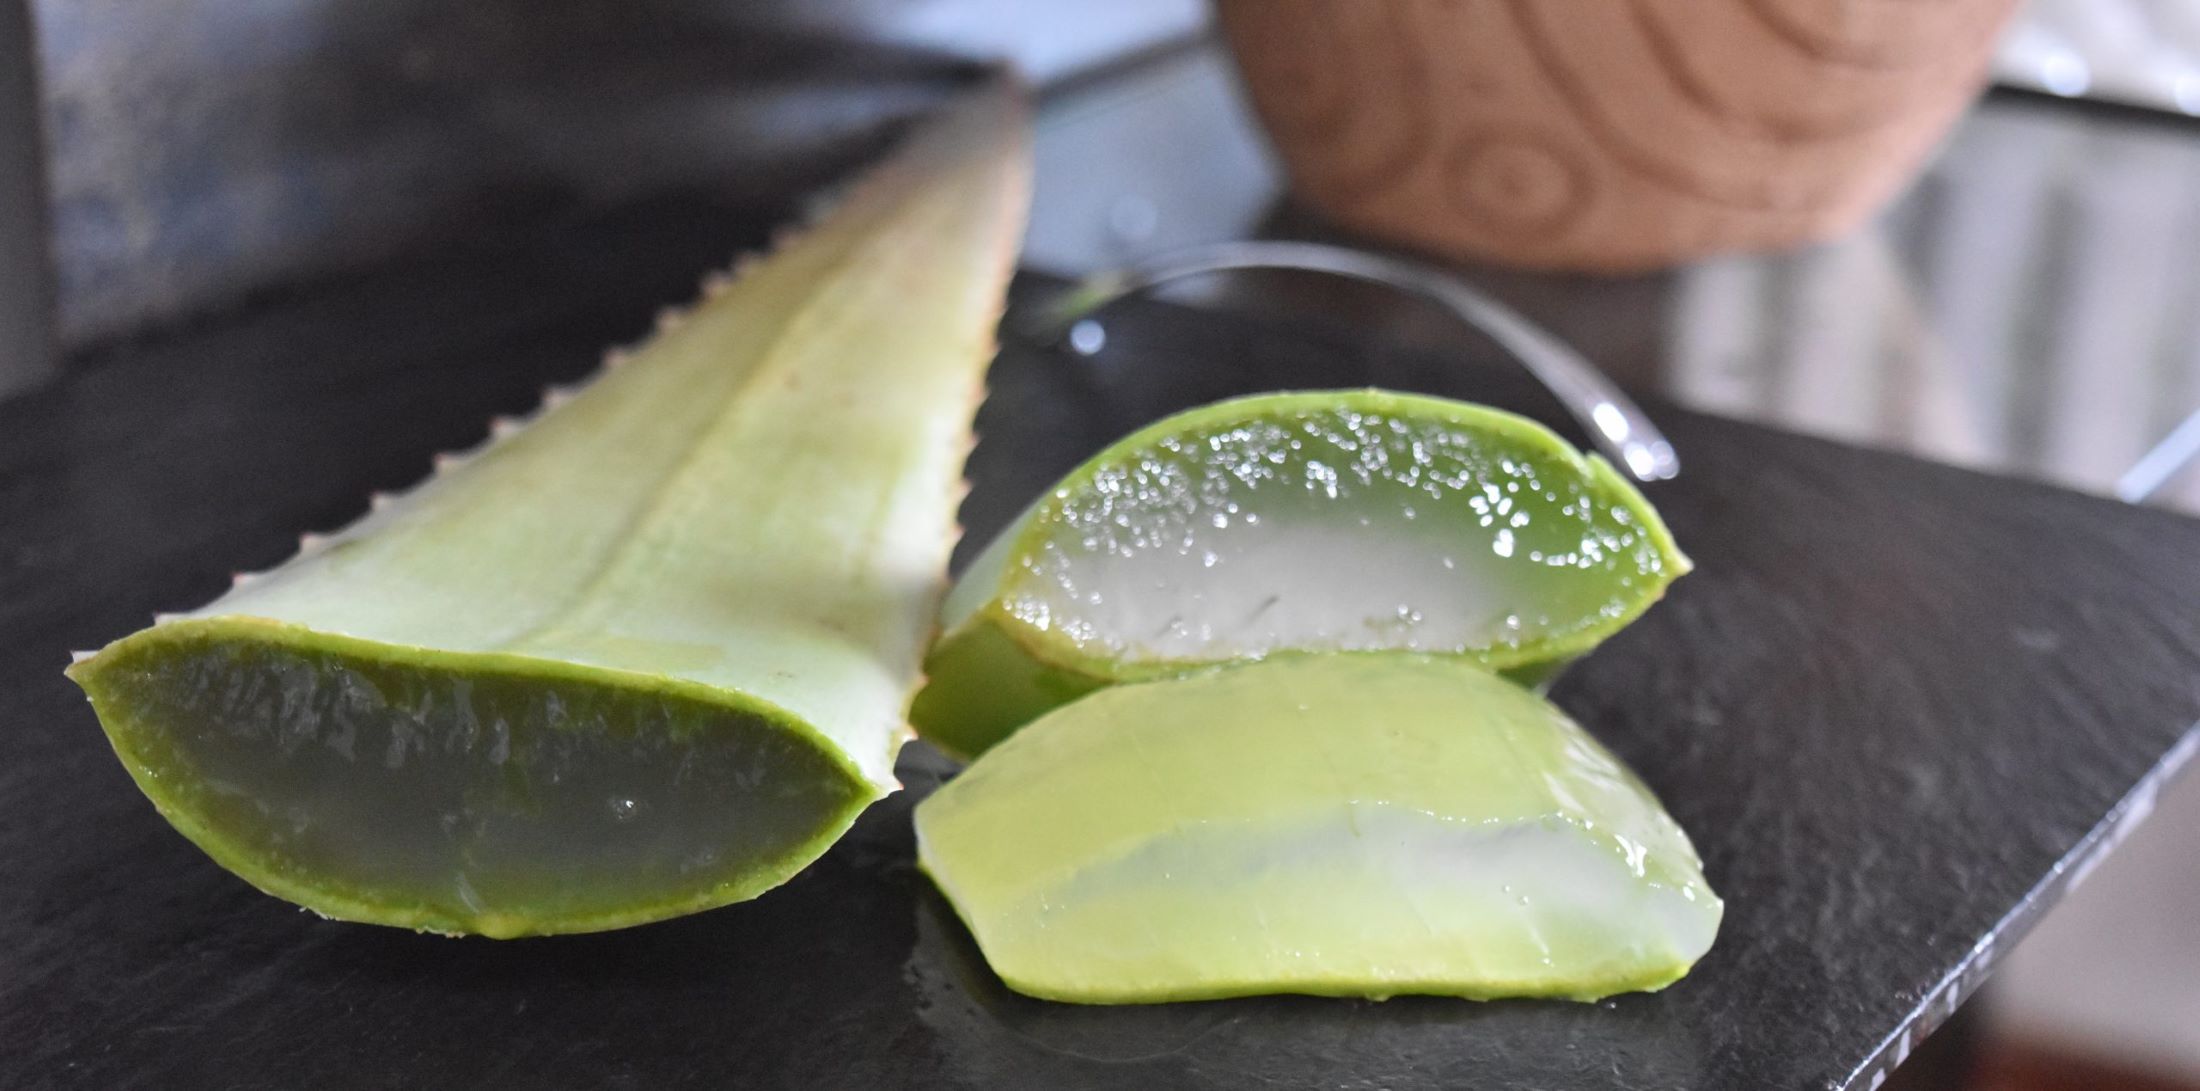
How To Cut Aloe Vera Leaf For Face
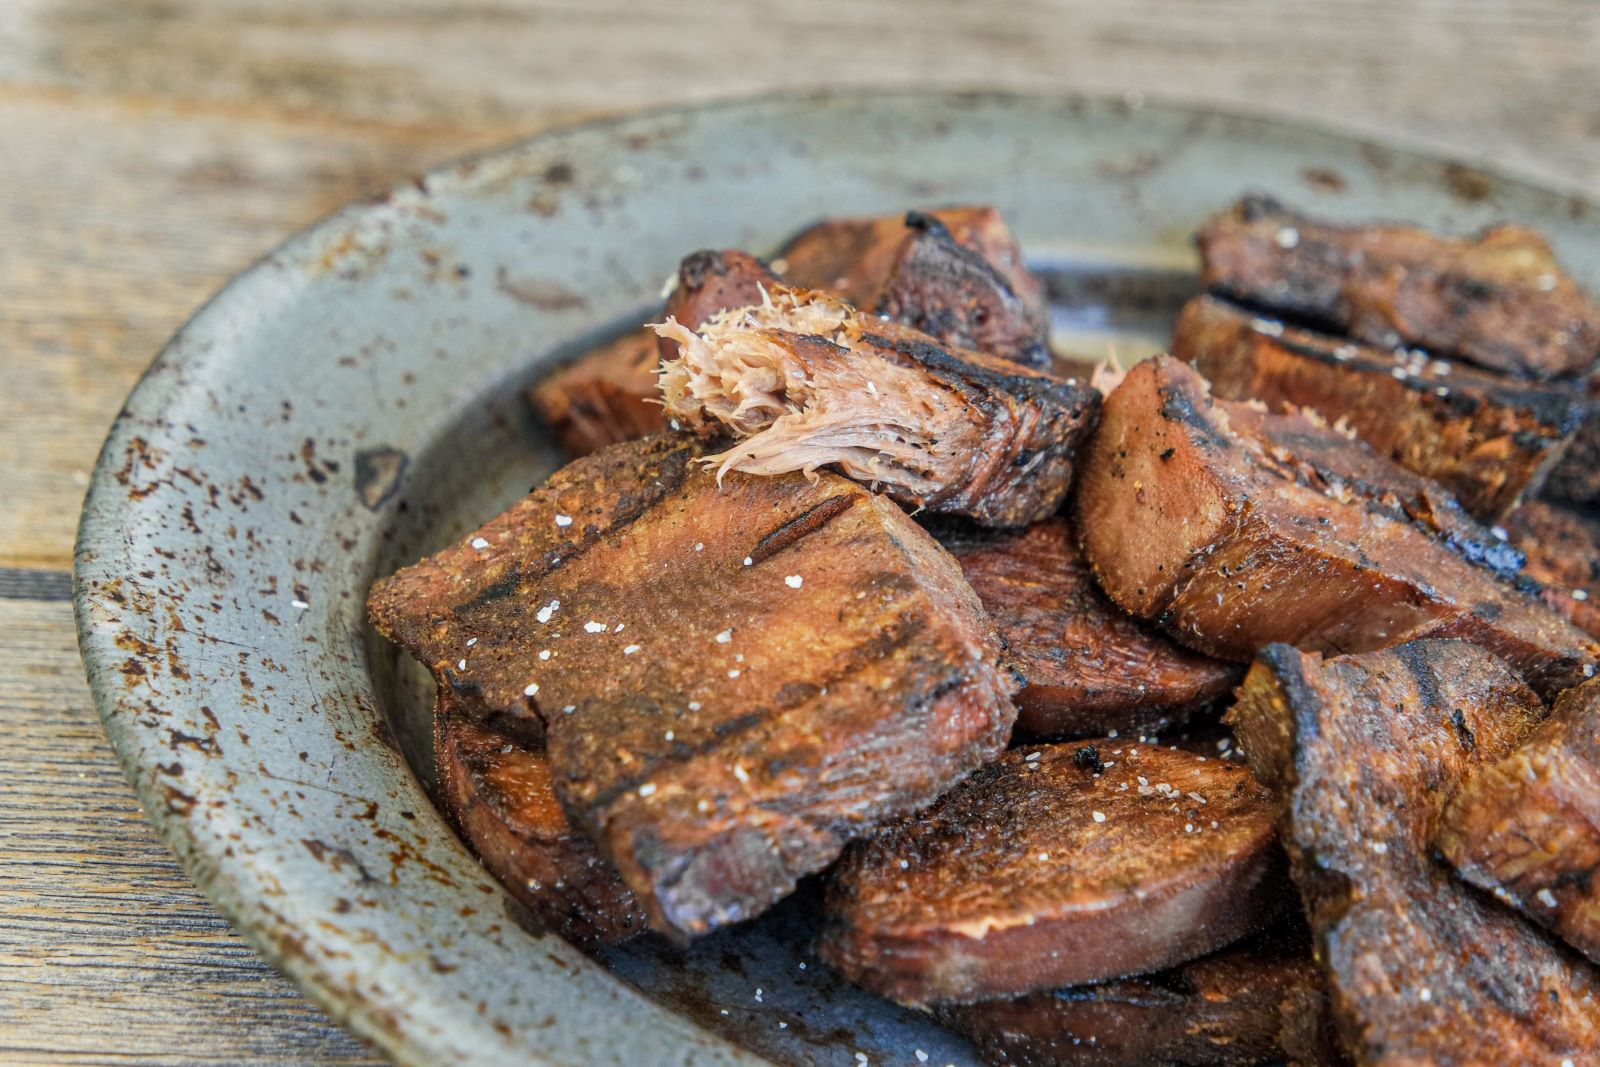
How To Cut Beef Tongue
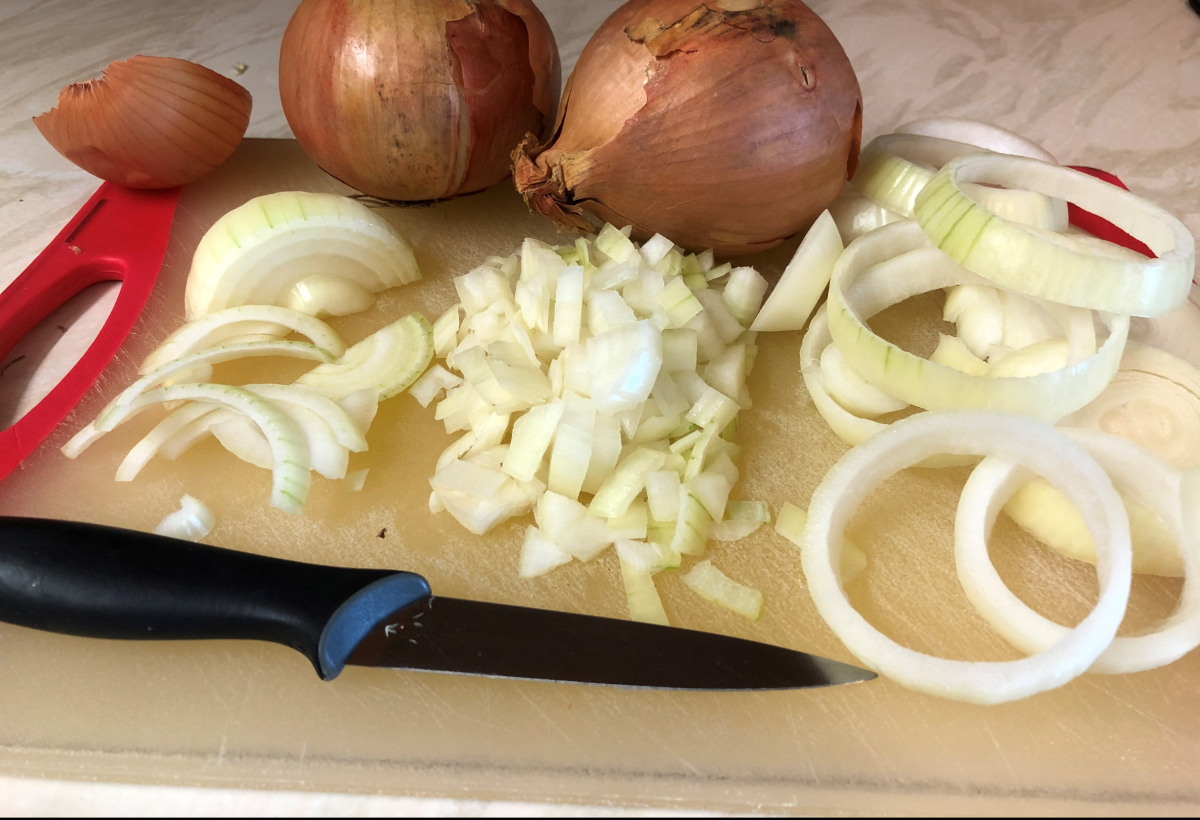
How To Cut An Onion For Soup
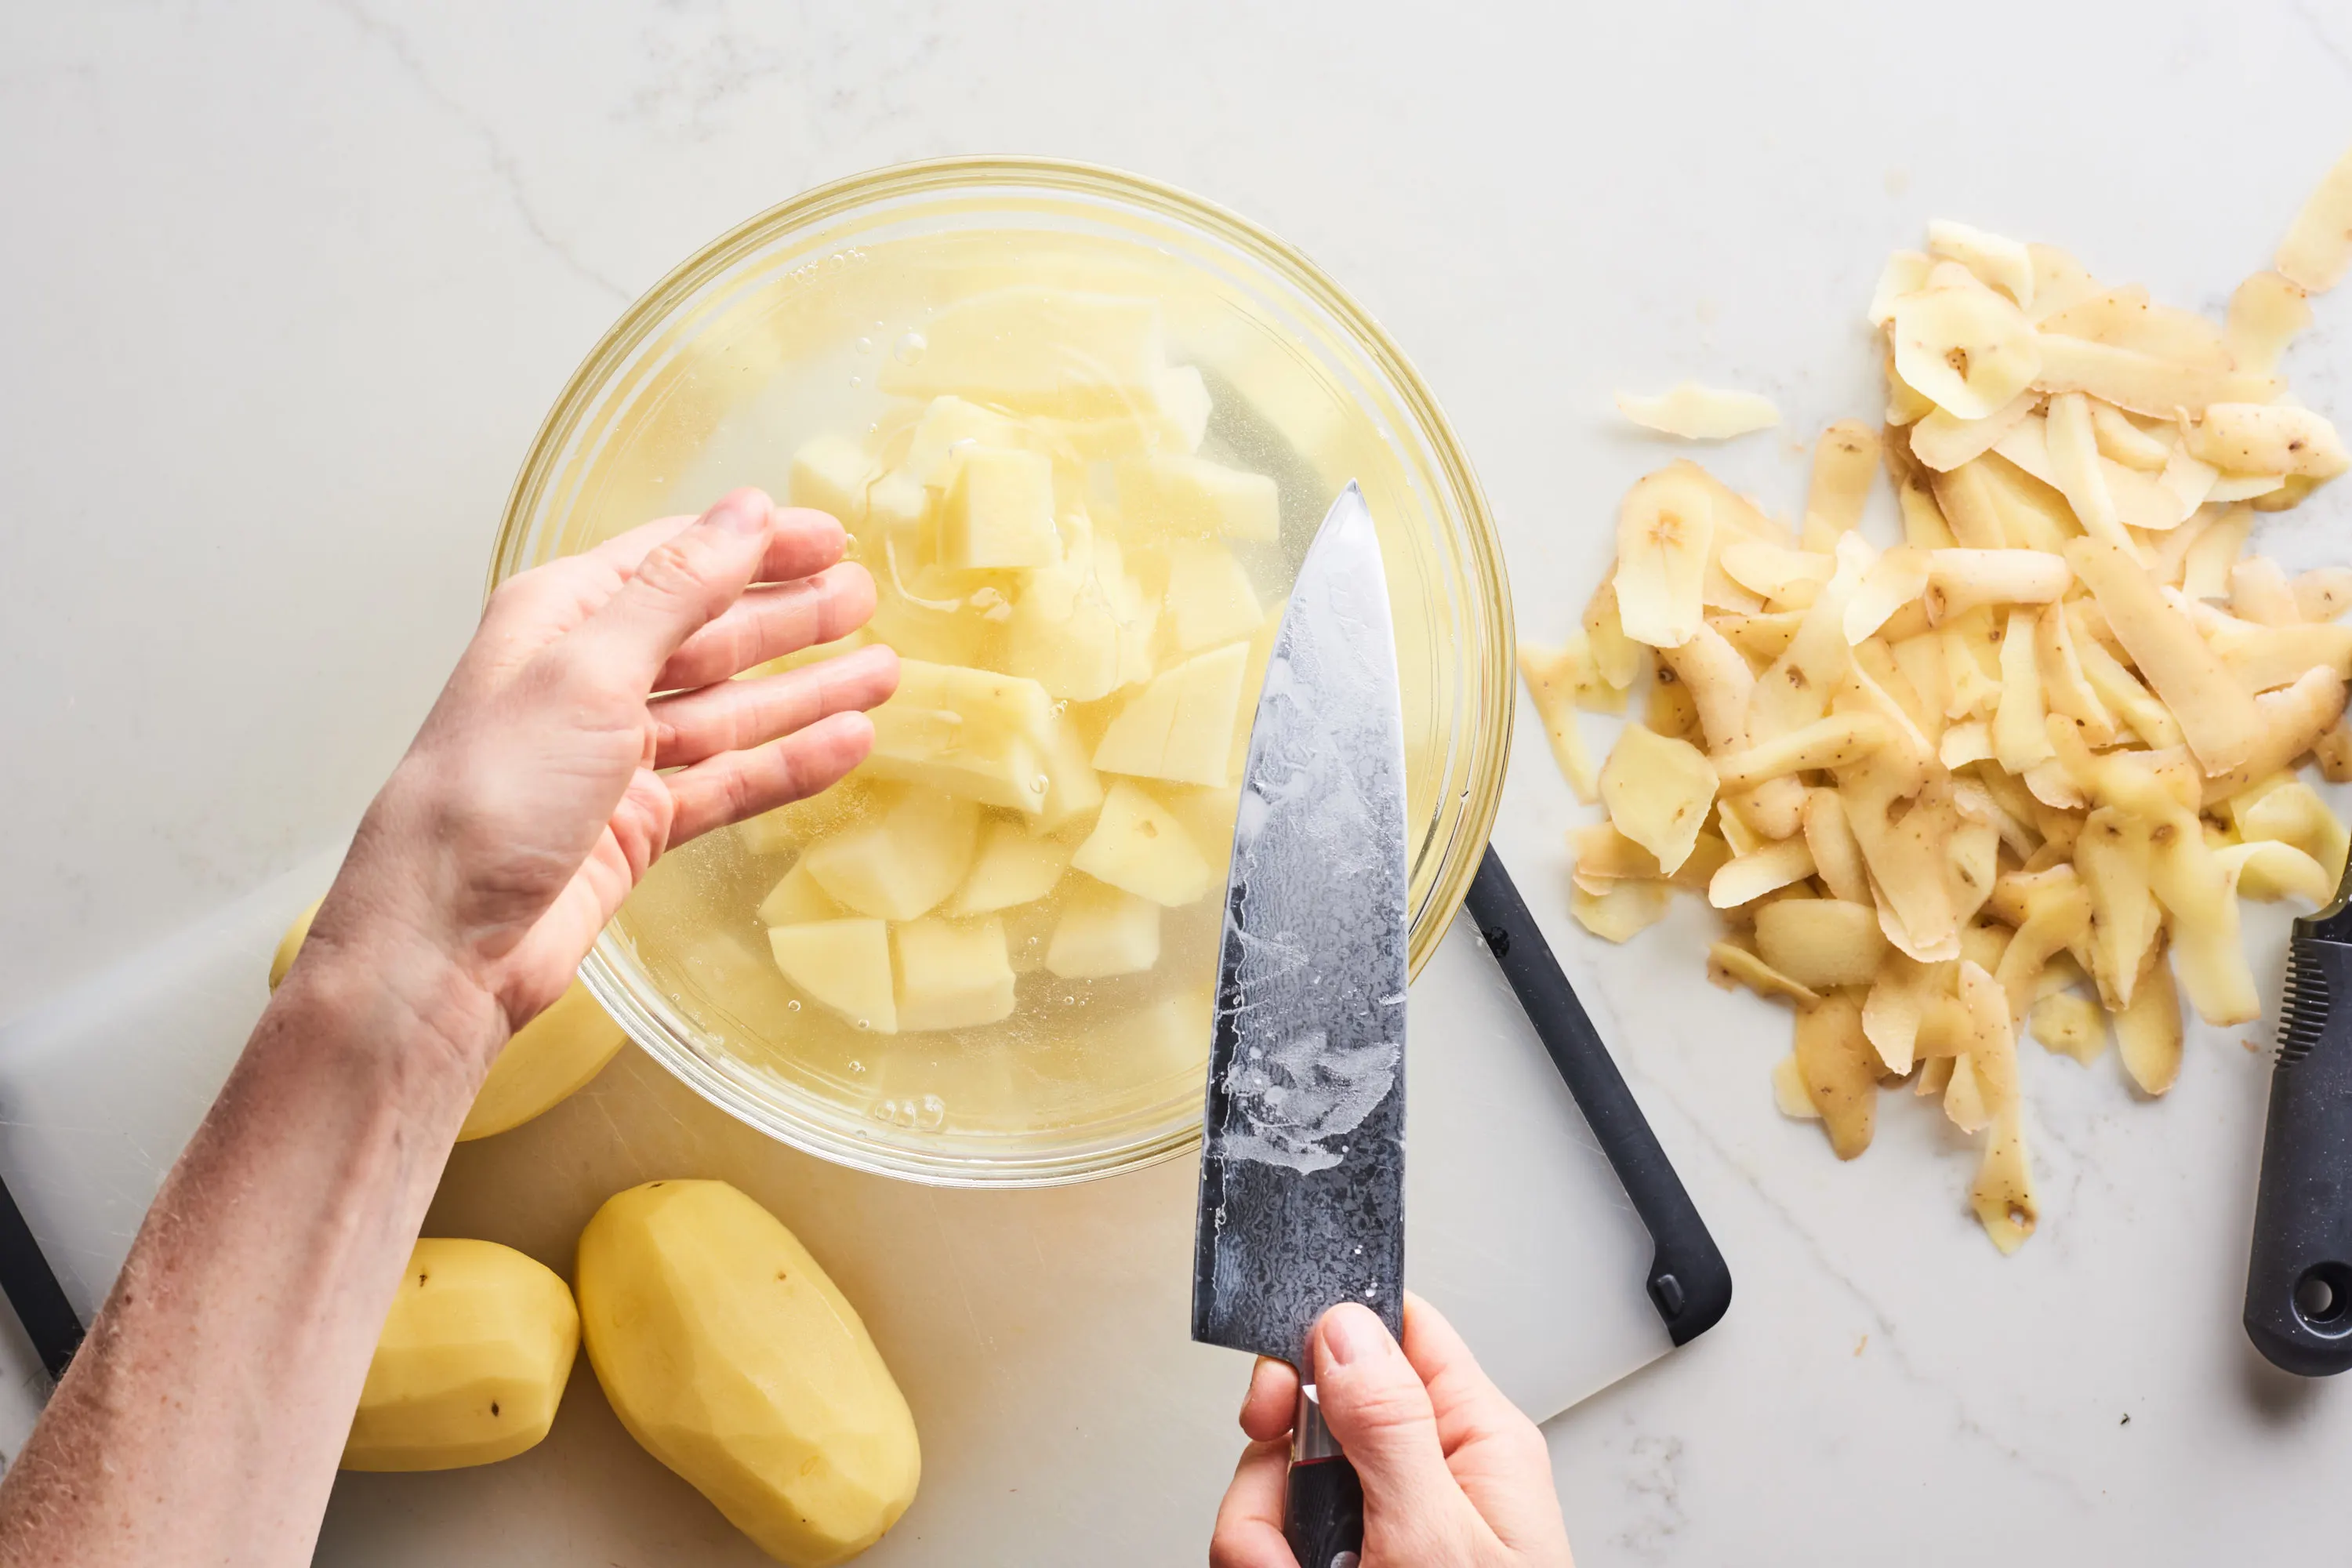
How To Cut Potatoes For Soup
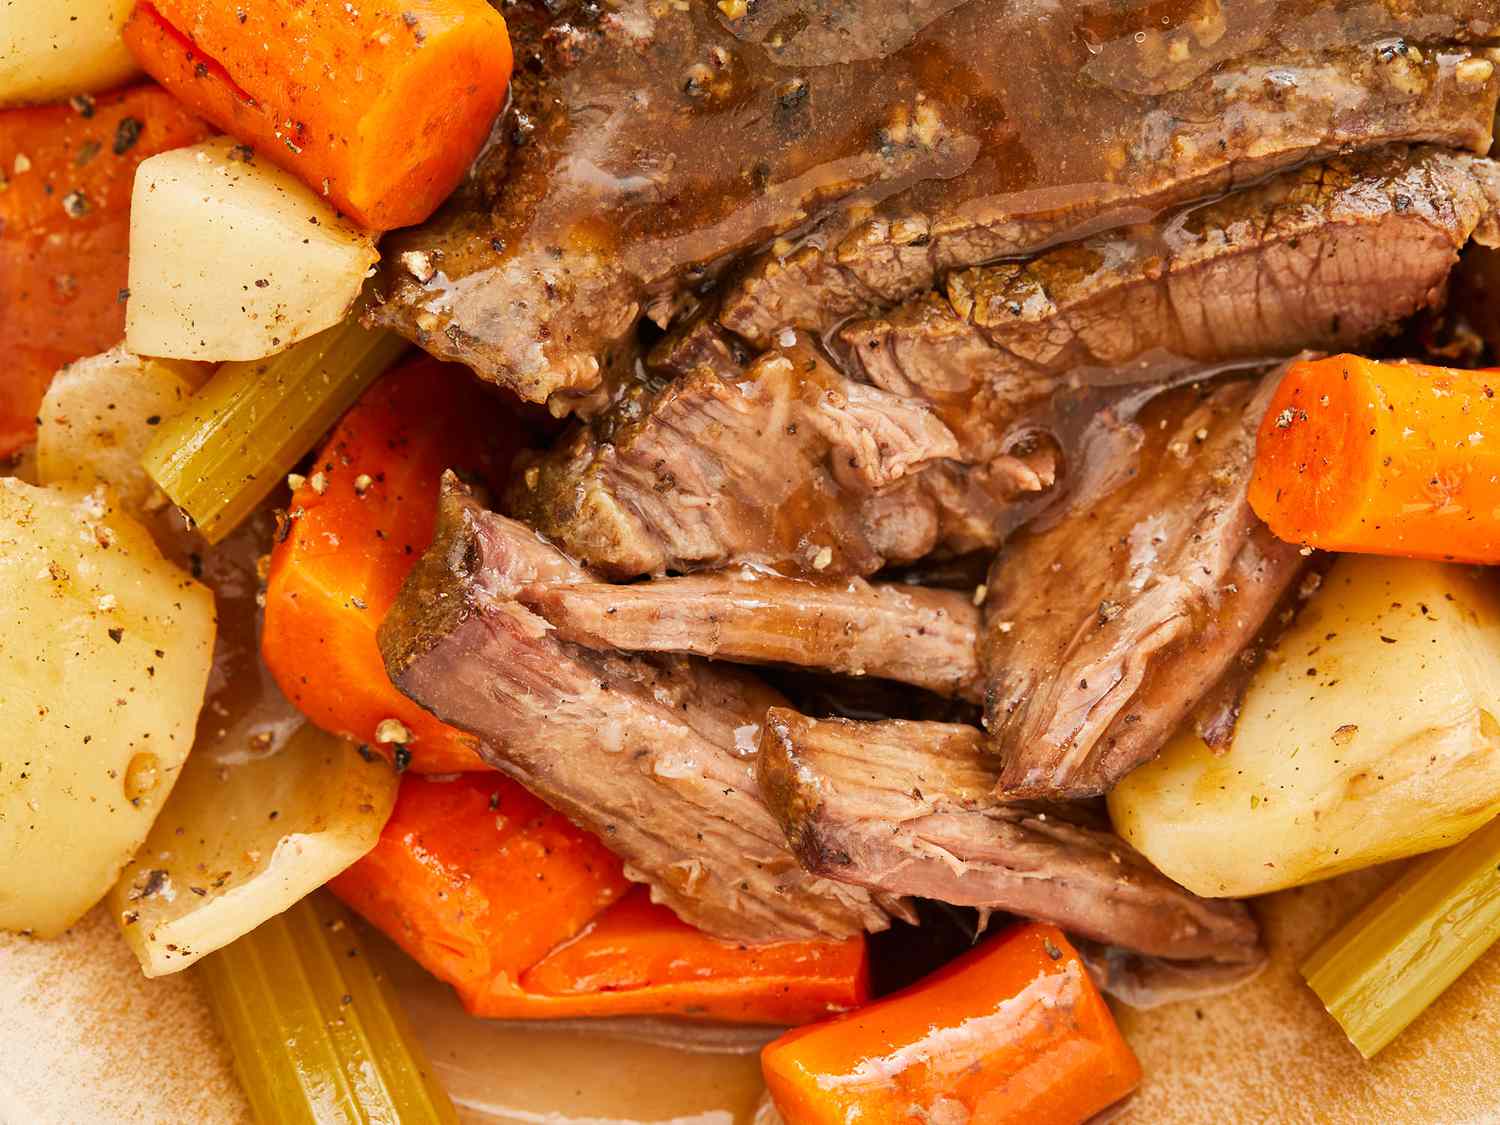
How To Cut Carrots For Pot Roast
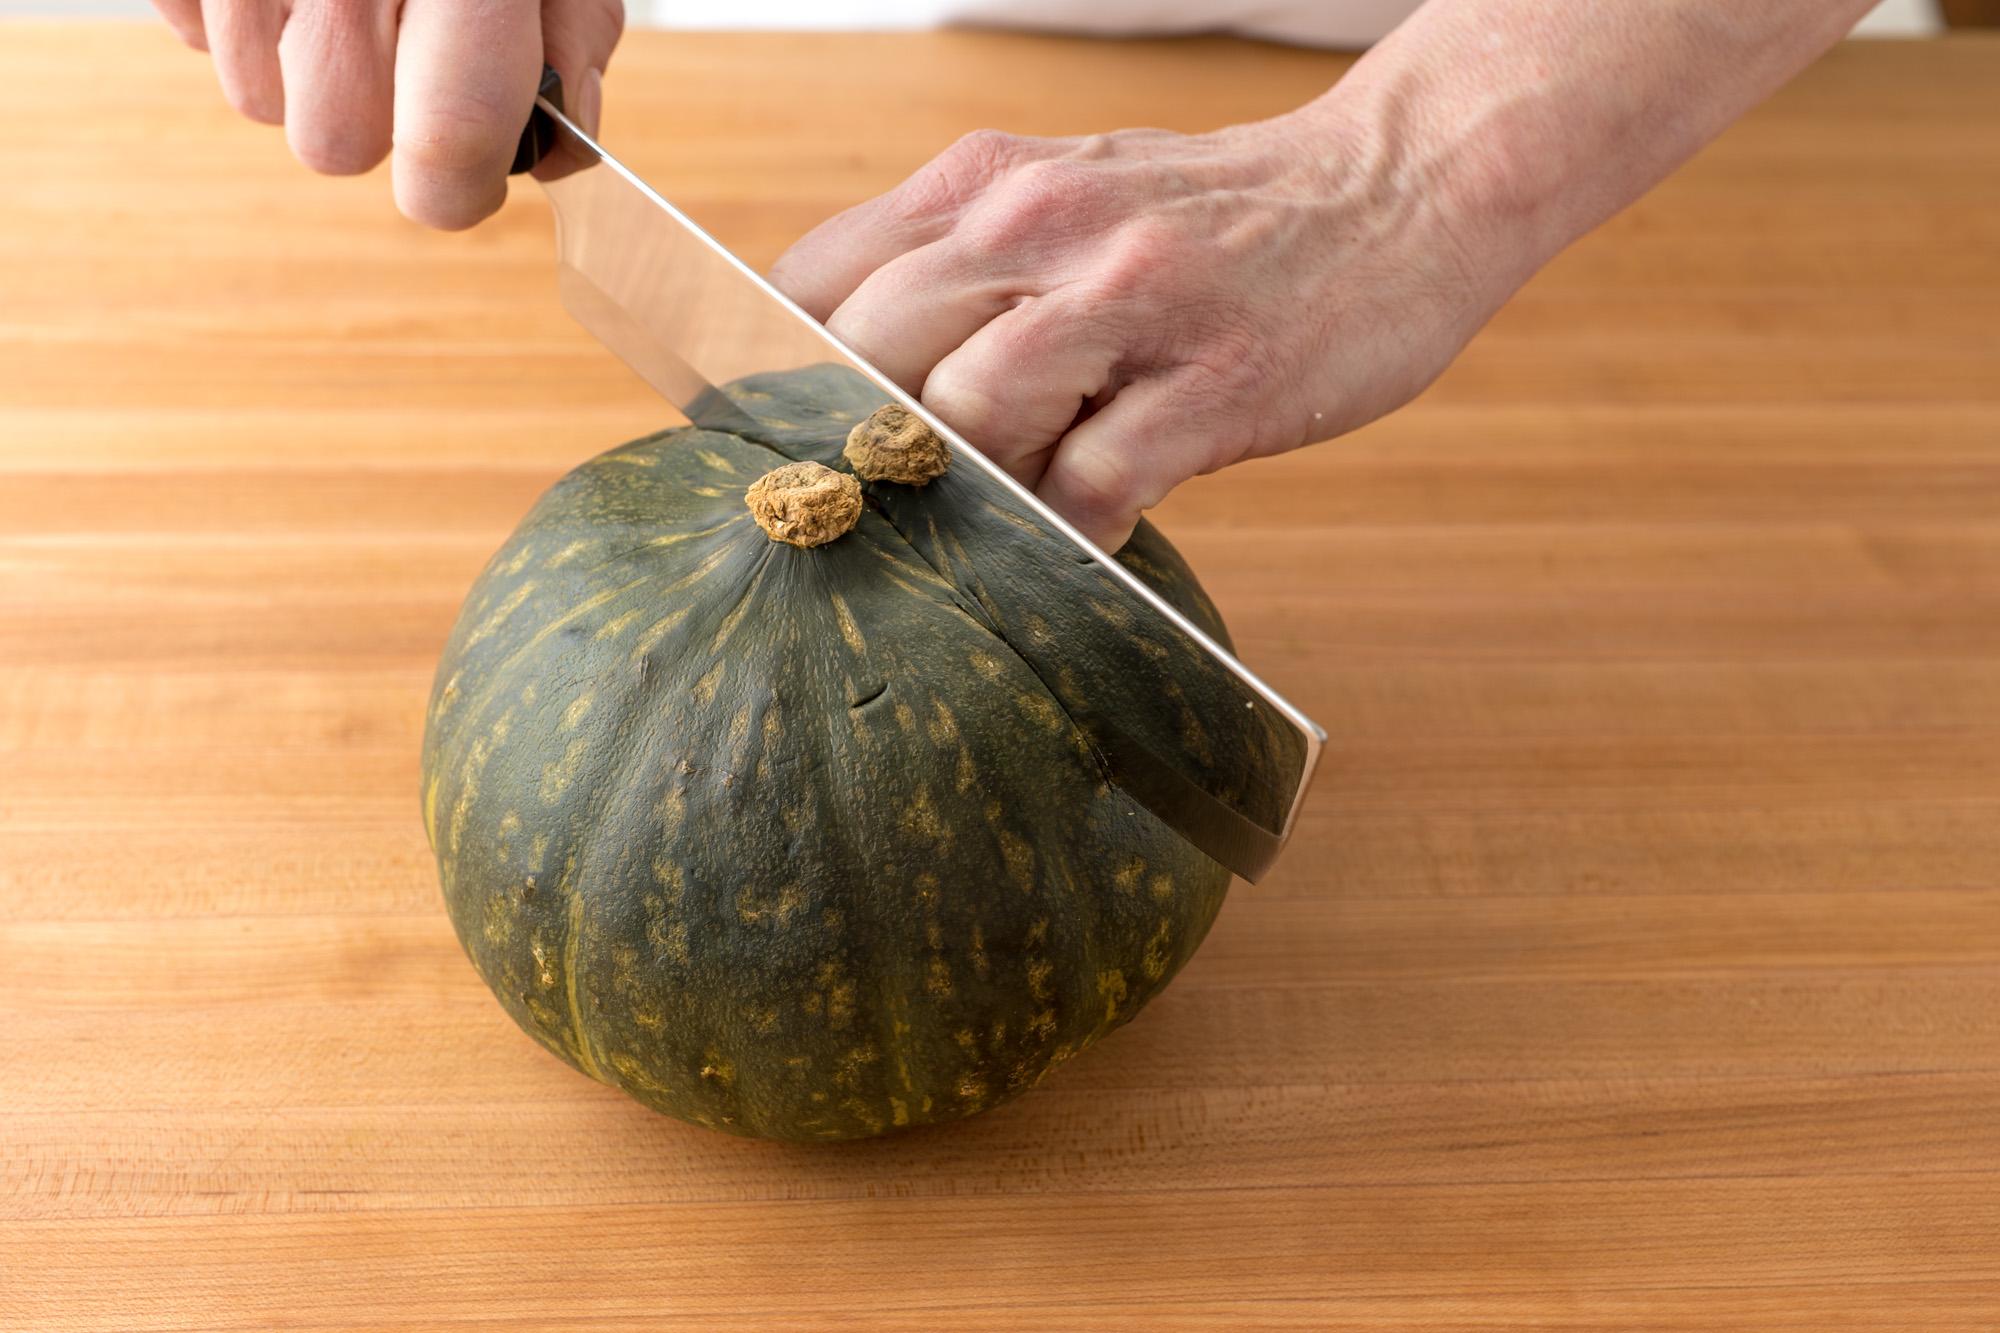
How To Cut Calabaza Squash

How To Cut A Banana For A 9 Month Old
How To Cut Lasagna Noodles
How To Cut Vegetables Like A Chef
How To Cut A Red Dragon Fruit