Cutting Rice Krispie treats into perfect squares or fun shapes doesn't have to be a sticky mess. With a few simple tricks, you can create neatly cut pieces every time. Before diving in, ensure your treats have cooled completely; this makes them easier to slice. Using a sharp, buttered knife or a cookie cutter dipped in warm water will help you glide through the treats with ease, preventing them from sticking and crumbling. For uniform squares, score the surface lightly first, creating a grid as your guide. With these tips, cutting Rice Krispie treats becomes a breeze, turning your kitchen into a hub of sweet, tidy creations.
Essential Ingredients for Perfect Rice Krispie Treats
- 6 cups Rice Krispies cereal
- 3 tablespoons butter
- 1 package (10 oz., about 40) marshmallows OR 4 cups miniature marshmallows
Must-Have Tools for Crafting Rice Krispie Treats
- Sharp knife or pizza cutter
- Wax paper or parchment paper
- Cutting board
- Butter or cooking spray (for greasing)
- Ruler (optional, for precise cuts)
- Microwave-safe bowl (if melting ingredients for making treats)
- Spatula or wooden spoon (for stirring)
- Measuring cups (if making treats from scratch)
For perfect Rice Krispie Treats cuts, use a sharp knife coated with cooking spray. This prevents sticking, ensuring clean slices. Chill treats slightly before cutting for even easier handling.
The Art of Making Rice Krispie Treats: Why It Matters
Cutting Rice Krispie Treats cleanly is all about technique and timing. Using a sharp knife and a bit of butter or cooking spray on the blade can make slices glide through effortlessly, preventing sticking and crumbling. This method ensures each piece looks as good as it tastes, maintaining that perfect texture and shape.
Why we do it? Well, presentation matters just as much as flavor. Neat, uniform pieces not only look more appealing on a plate but also make serving and sharing easier. Plus, mastering this simple skill can boost your confidence in the kitchen, encouraging more homemade treats.
Your Ultimate Guide to Cutting Rice Krispie Treats
-
Prepare your work area by ensuring it's clean and dry. Place a sheet of wax paper or a silicone baking mat on the surface to prevent sticking.
-
Cool Rice Krispie treats completely before attempting to cut. This step is crucial for clean, easy cuts.
-
Select a sharp knife. A serrated knife or a large chef’s knife works best for cutting through the sticky texture without squashing the treats.
-
Grease the knife lightly with cooking spray or a dab of butter. This reduces sticking, making the cutting process smoother.
-
Mark your cutting lines if you desire uniform pieces. Use a ruler and gently score the top of the treats with your knife to create guides.
-
Begin cutting by placing the knife at one end of the scored line and gently sawing through the treat. Apply even pressure and avoid pressing down too hard.
-
Clean the knife after each cut by wiping it with a paper towel or rinsing under hot water. Reapply cooking spray or butter as needed.
-
For smaller pieces, first cut the Rice Krispie sheet into larger squares or rectangles, then cut each piece into the desired size.
-
Store cut treats in an airtight container, separating layers with wax paper to prevent sticking.
Mastering the Art of Rice Krispie Treats
Cutting Rice Krispie treats doesn't have to be a sticky mess. With the right tools, a bit of prep, and some patience, you can create perfectly sized squares or shapes that look as good as they taste. Remember, chilling your treats before cutting can make a big difference in getting clean edges. Using a sharp knife or cookie cutters dipped in hot water helps slice through the marshmallow goodness without pulling or tearing. Don't forget to clean your cutting tools frequently to keep things neat. Whether you're making these treats for a party, a bake sale, or just a fun snack at home, these tips will ensure your Rice Krispie treats are not only delicious but also beautifully presented. Happy cutting, and enjoy sharing your perfectly cut treats with everyone!
All Your Questions About Rice Krispie Treats Answered
How do you make Rice Krispie Treats not stick when cutting?
First off, lightly coat your knife with cooking spray or dip it in water before slicing. This trick helps the knife glide through without dragging and picking up bits of your treats. For even easier cutting, pop your Rice Krispie Treats in the fridge for a bit to firm up.
What's the best knife to use for cutting Rice Krispie Treats?
A serrated knife is your best bet. Its saw-like edge cuts through the sticky mixture much easier than a straight-edged knife, giving you cleaner cuts without squishing the treats.
Can you use cookie cutters to shape Rice Krispie Treats?
Absolutely! Cookie cutters are a fun way to turn ordinary Rice Krispie Treats into fun shapes. Just like with knives, spraying your cookie cutters with a bit of cooking spray can make the process a breeze.
How do you get perfect squares when cutting Rice Krispie Treats?
Start by cutting your slab of treats in half. Then, cut each half into equal parts, depending on how large or small you want your squares. Using a ruler can help keep your lines straight and your squares uniform.
What's the trick to cutting Rice Krispie Treats without them falling apart?
Letting them set properly is key. If you try to cut them too soon, they might crumble or stick. Give them enough time to cool and firm up. Also, a gentle sawing motion with your serrated knife can help keep everything intact.
How do you store cut Rice Krispie Treats to keep them fresh?
After cutting, store your treats in an airtight container. Separate layers with wax paper to prevent them from sticking together. They'll stay fresh at room temperature for a few days or in the fridge for a bit longer.
Can you freeze Rice Krispie Treats after cutting them?
Sure thing! Once cut, place your treats on a baking sheet to freeze individually. After they're solid, transfer them to a freezer bag or container. They'll keep for up to 6 weeks. Just thaw at room temperature before serving.
Was this page helpful?
Read Next: How To Cut Tea Sandwiches
Related Articles
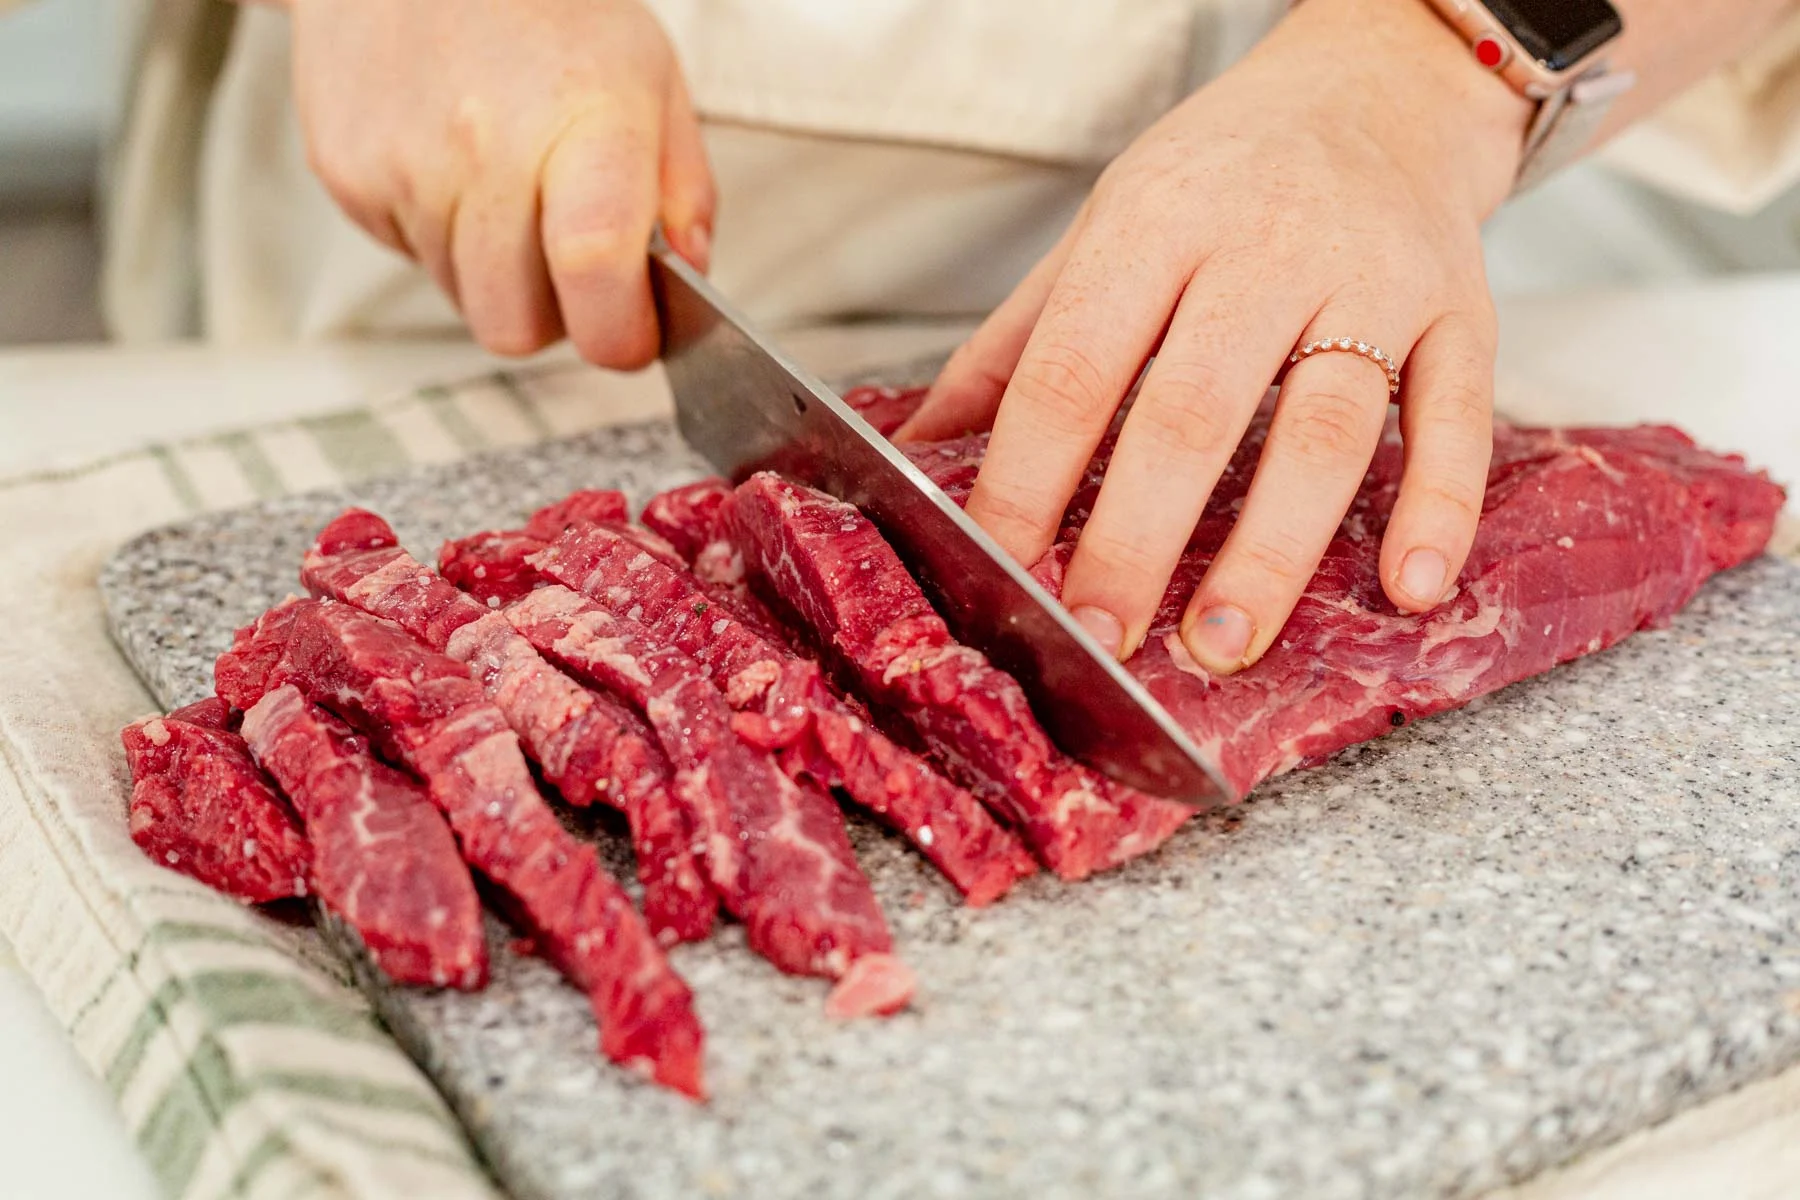
How To Cut Raw Steak
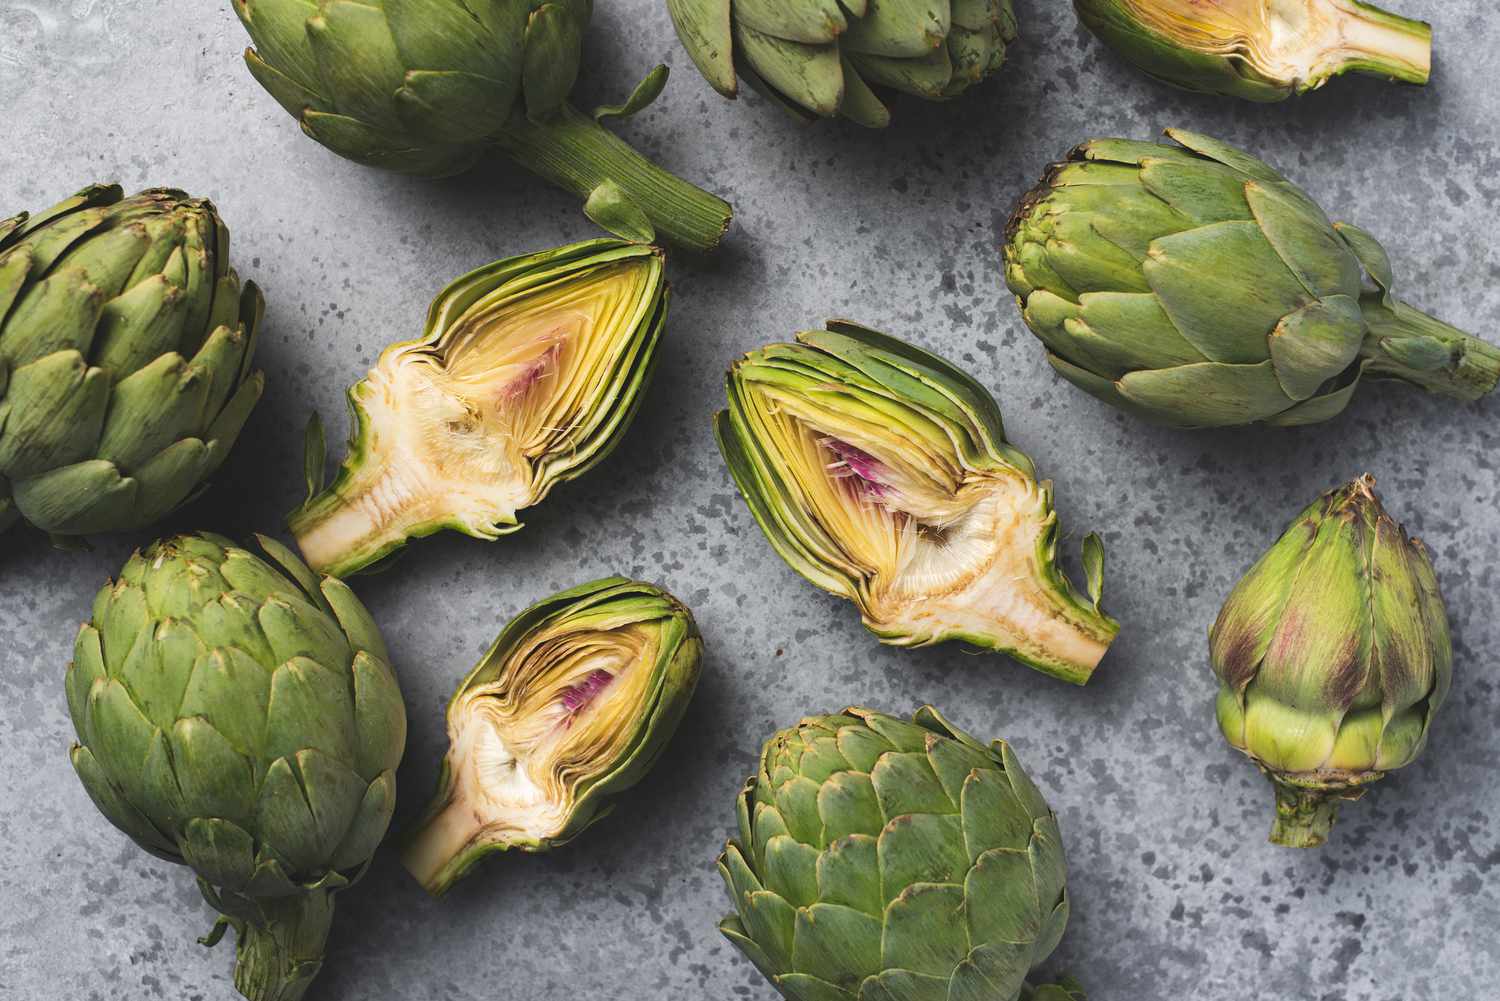
How To Cut Artichoke Hearts From Can
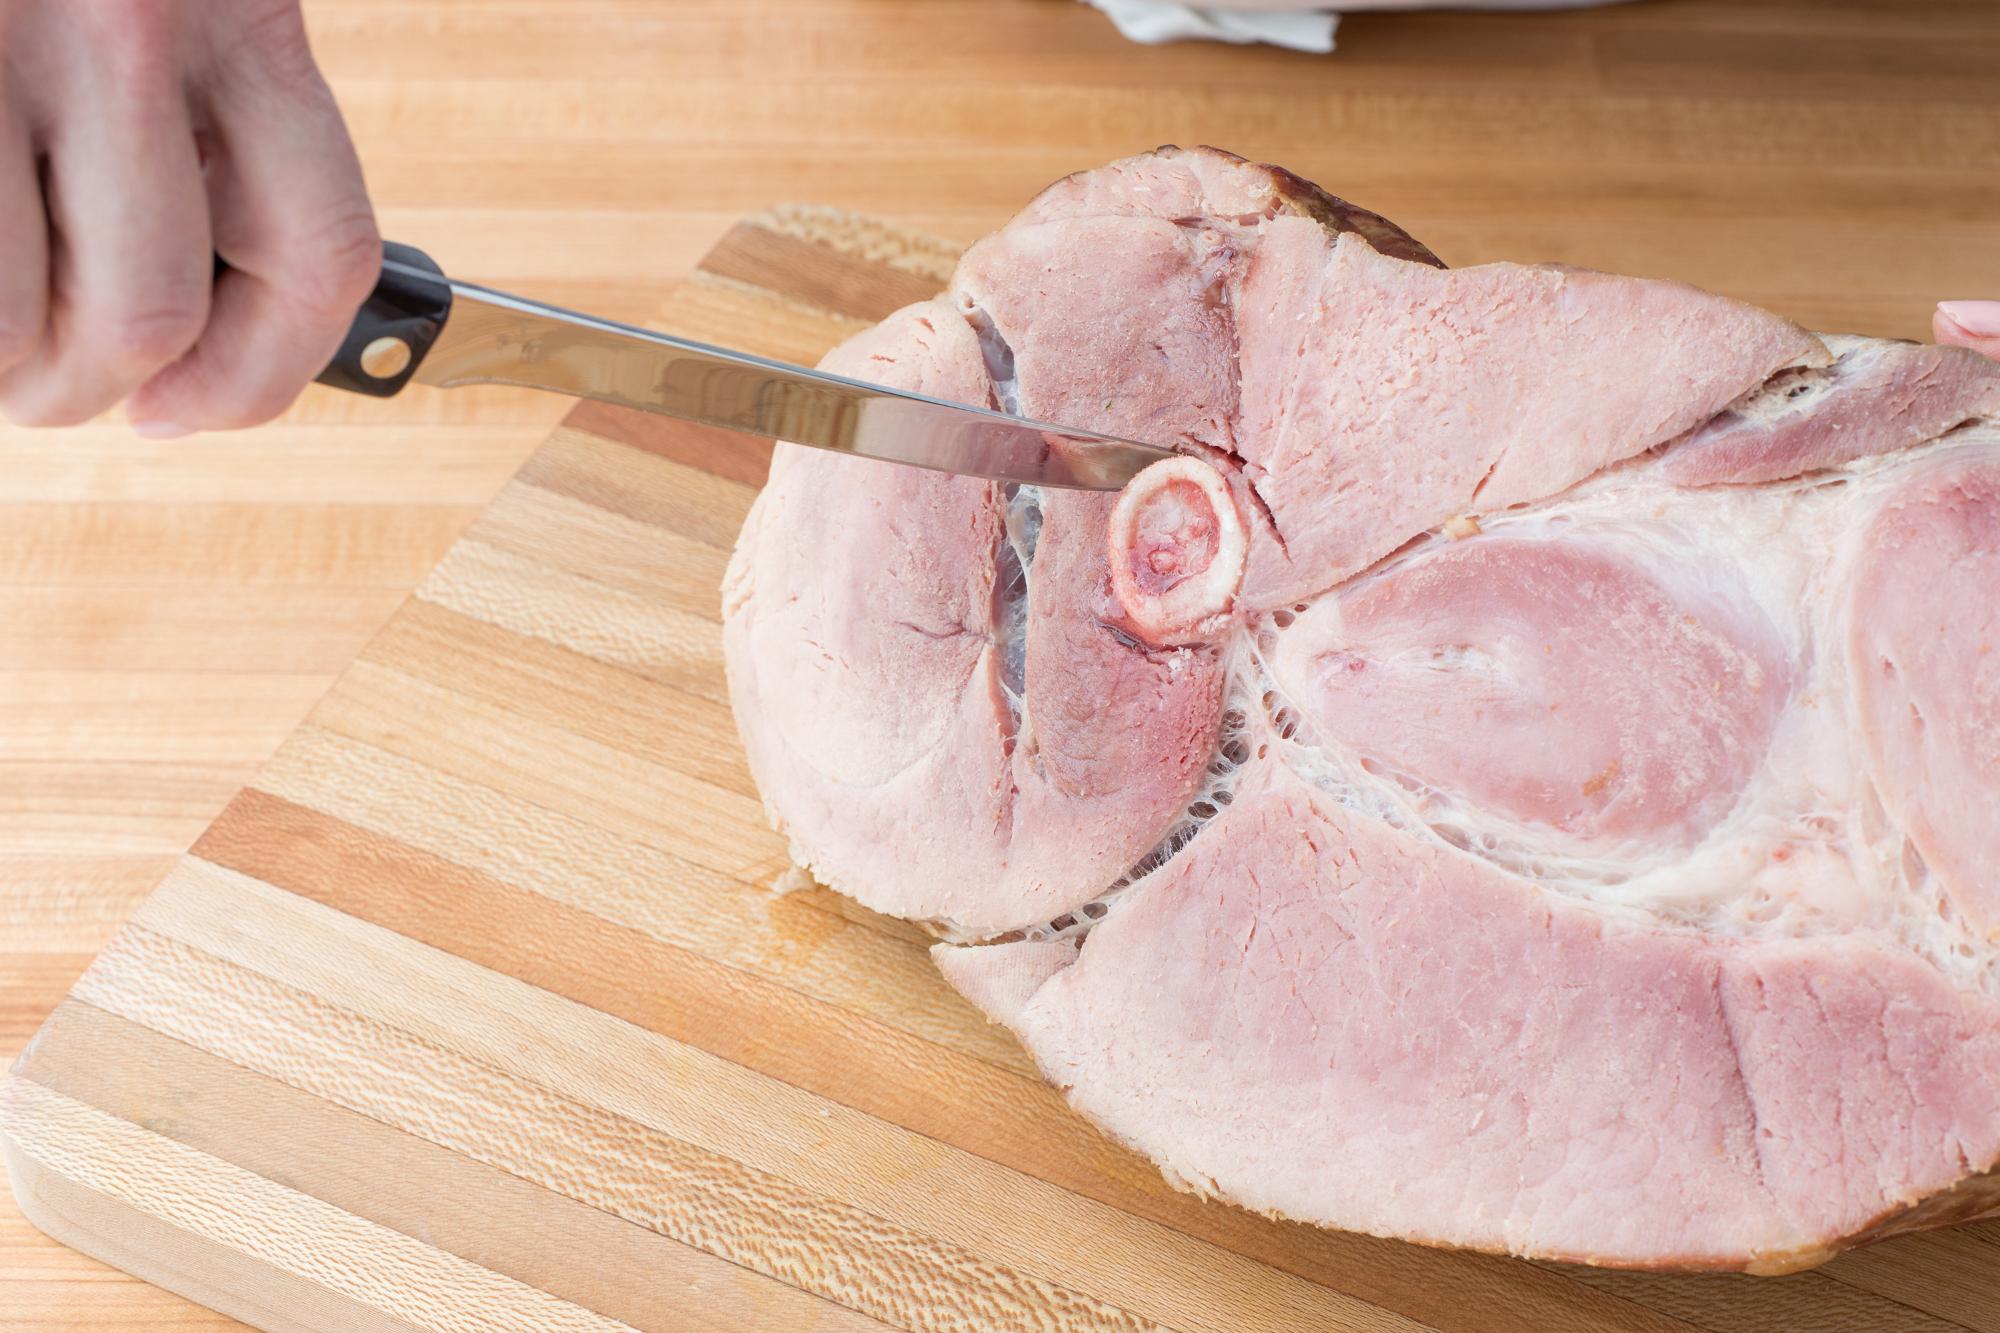
How To Cut Bone In Ham
How To Cut Broccoli Rabe
How To Cut Apples For Apple Crisp
How To Cut Eggplant Into Cubes
How To Cut Sugar Cane
How To Cut The Heat In Chili

How To Cut A Pepper For Stuffed Peppers
How To Cut Brisket Before Cooking
How To Cut Zucchini For Stir Fry