Fondant vs. Buttercream: 10 Wedding Cakes You’ll Absolutely Love
When it comes to wedding cakes, one of the biggest decisions you’ll face is choosing between fondant and buttercream. Both options have their own unique qualities and can create stunning wedding cake designs. In this article, we will dive into the differences between fondant and buttercream and showcase 10 wedding cakes that will leave you absolutely smitten.
The Battle of Fondant vs. Buttercream
Fondant and buttercream are two popular choices for wedding cake icing, each with its own pros and cons. Let’s take a closer look at both:
Fondant:
- Smooth Finish: Fondant provides a flawless, smooth finish that is perfect for creating intricate designs and patterns.
- Versatility: Fondant can be shaped and molded into various decorative elements, making it ideal for creating elaborate cake decorations.
- Lasting Freshness: Due to its thick outer layer, fondant helps seal in the moisture of the cake, keeping it fresh for longer periods.
Buttercream:
- Creamy and Delicious: Buttercream is loved for its rich, creamy texture and delectable flavor. It melts in your mouth and adds a burst of sweetness to every bite.
- Natural Ingredients: Buttercream is typically made with simple ingredients like butter, sugar, and vanilla, giving it a homemade and nostalgic feel.
- Easy to Work With: Buttercream is more forgiving when it comes to creating smooth finishes and intricate designs. It can be easily piped and textured for a personalized touch.
Now that you have a better understanding of the differences between fondant and buttercream, let’s explore 10 stunning wedding cake designs that showcase the beauty of each icing.
1. Classic Elegance

A three-tiered cake adorned with delicate fondant lace patterns, this design exudes timeless elegance.
2. Rustic Charm

Buttercream icing adds a rustic touch to this beautiful cake, featuring fresh flowers and textured buttercream frosting.
3. Modern Minimalism

A sleek and minimalist design, this fondant-covered cake is perfect for contemporary weddings.
4. Whimsical Wonderland

Buttercream ruffles and fondant flowers create a whimsical and dreamy cake that will make your guests swoon.
5. Vintage Glamour

Fondant icing with intricate gold details evokes a sense of vintage glamour, perfect for a glamorous wedding affair.
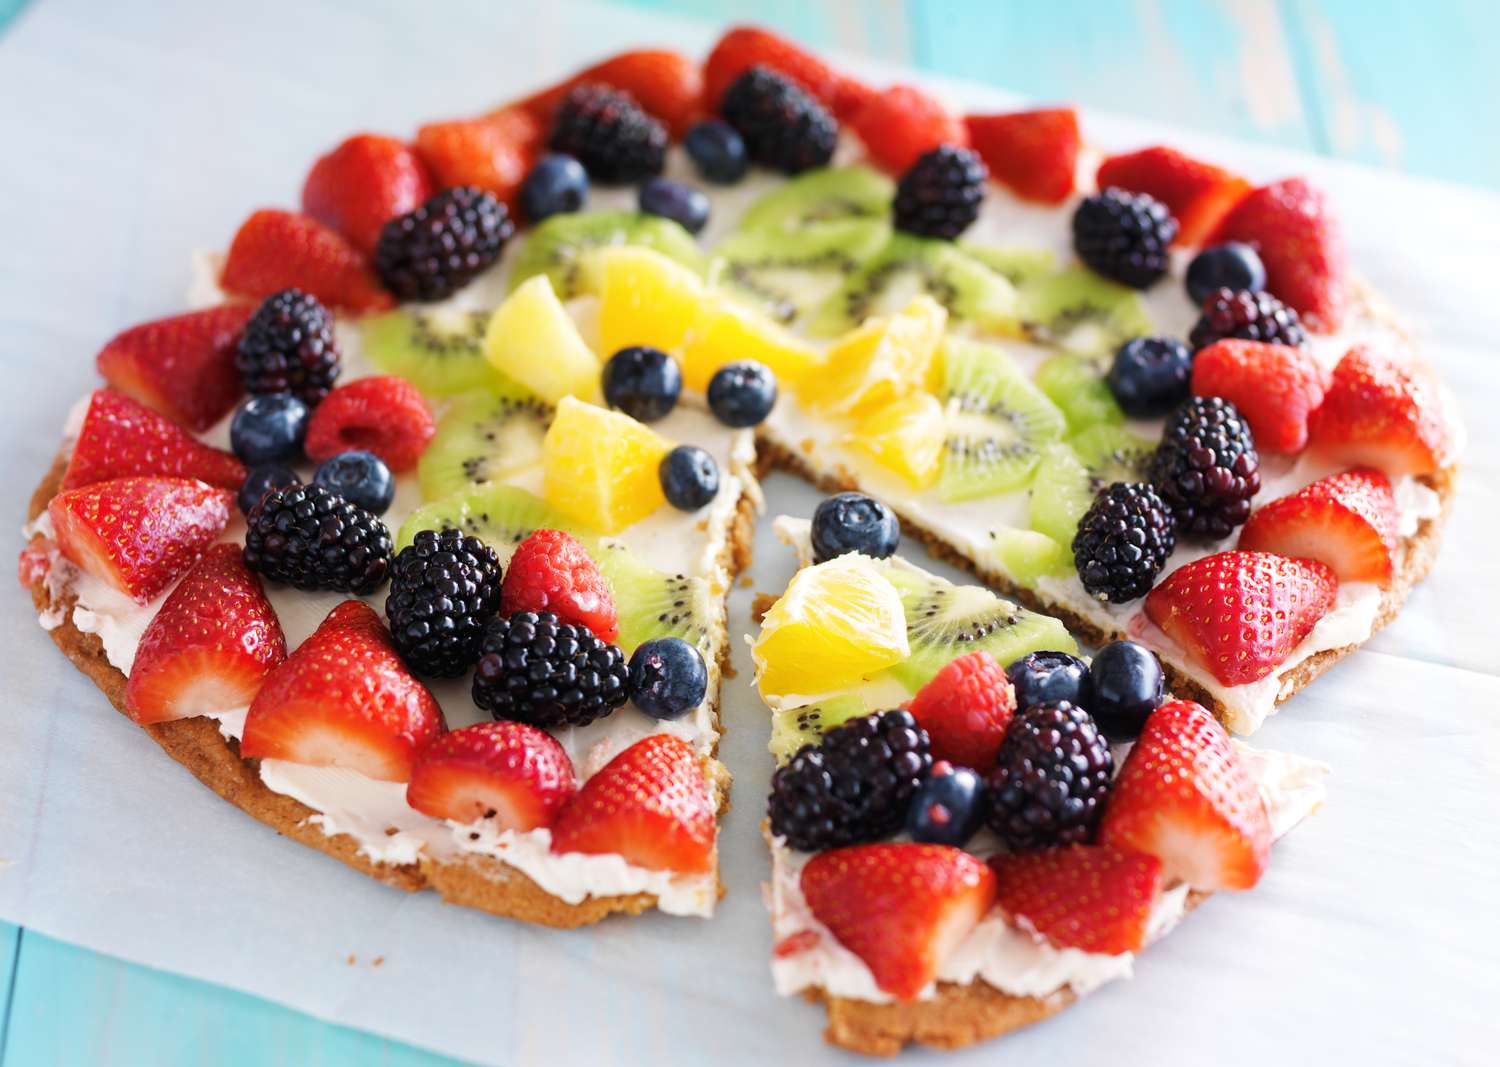
6. Fresh and Floral

A buttercream cake adorned with fresh berries and flowers brings a burst of color and natural beauty to your dessert table.
7. Regal Opulence

This fondant masterpiece, complete with royal piping and edible gold accents, adds a touch of regal opulence to your wedding celebration.
8. Tropical Paradise

Buttercream frosting, reminiscent of sandy beaches, paired with fondant palm trees, makes this cake a tropical paradise for beach weddings.
9. Playful Whirlwind

Fondant ribbons swirling around buttercream tiers create a playful and festive cake that is simply delightful.
10. Boho Chic

A buttercream cake adorned with delicate fondant feathers and flowers adds a bohemian flair to your wedding dessert table.
Whether you choose fondant or buttercream for your wedding cake, remember that it’s ultimately about finding a style that reflects your taste and creates a memorable centerpiece. Both icing options have their own unique charm, and either way, your wedding cake is guaranteed to be a showstopper!
Which style of icing would you choose for your dream wedding cake? Let us know in the comments below!
Was this page helpful?
Related Articles

Top 10 Wedding Cake Ideas
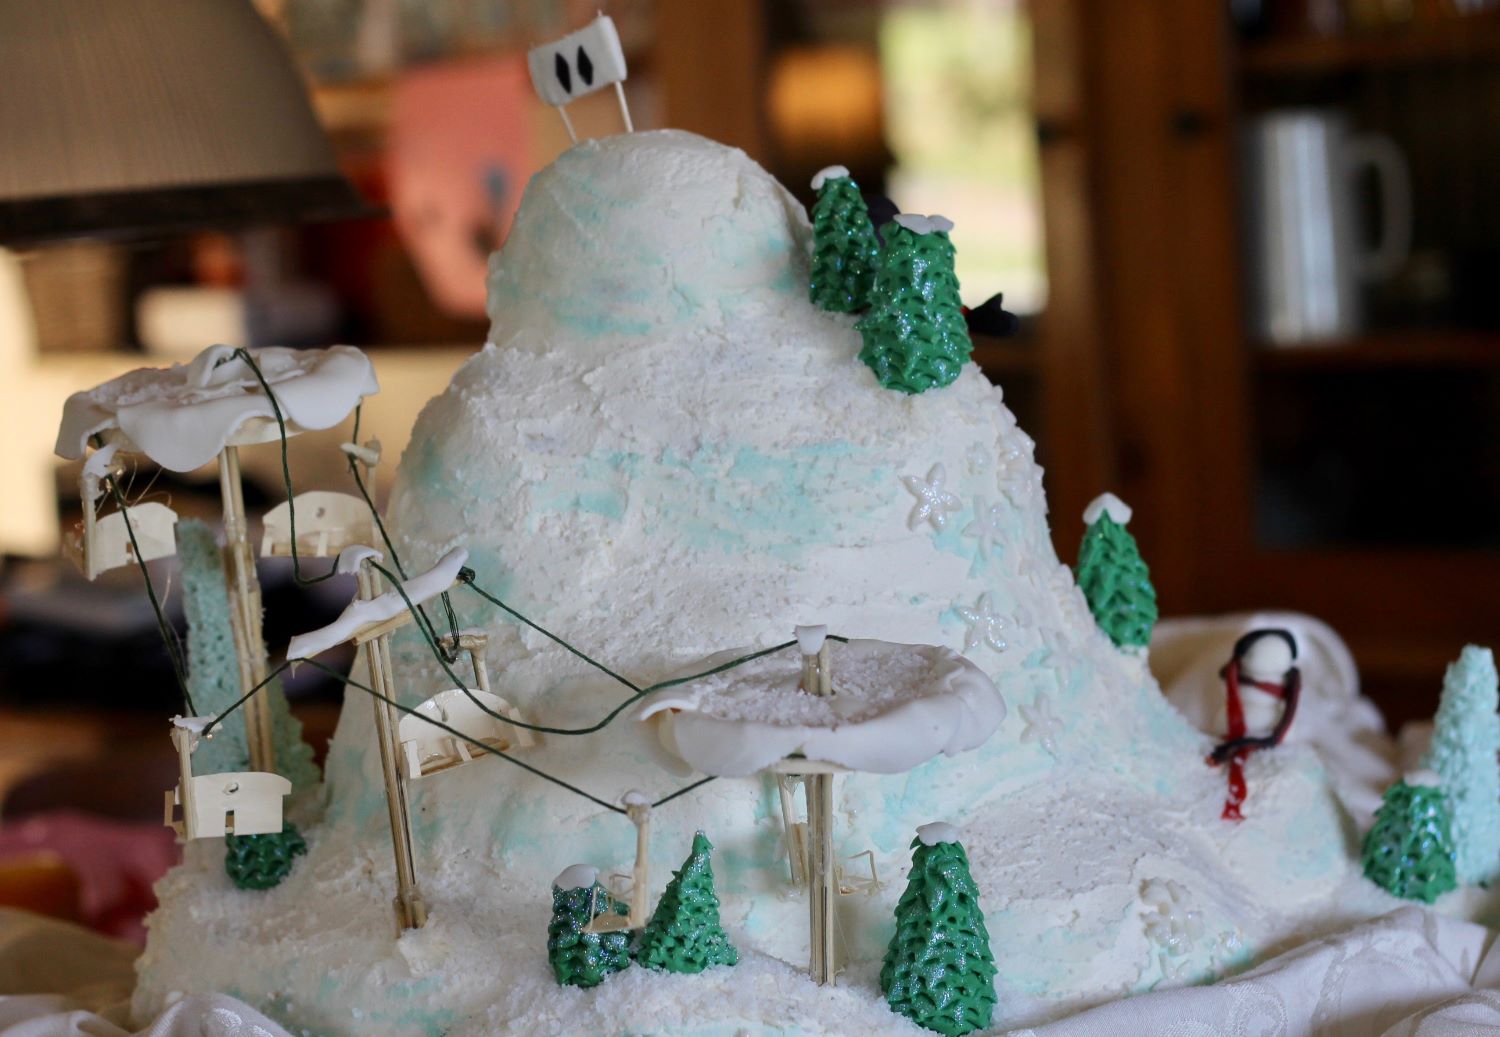
How To Carve A Mountain Out Of Cake
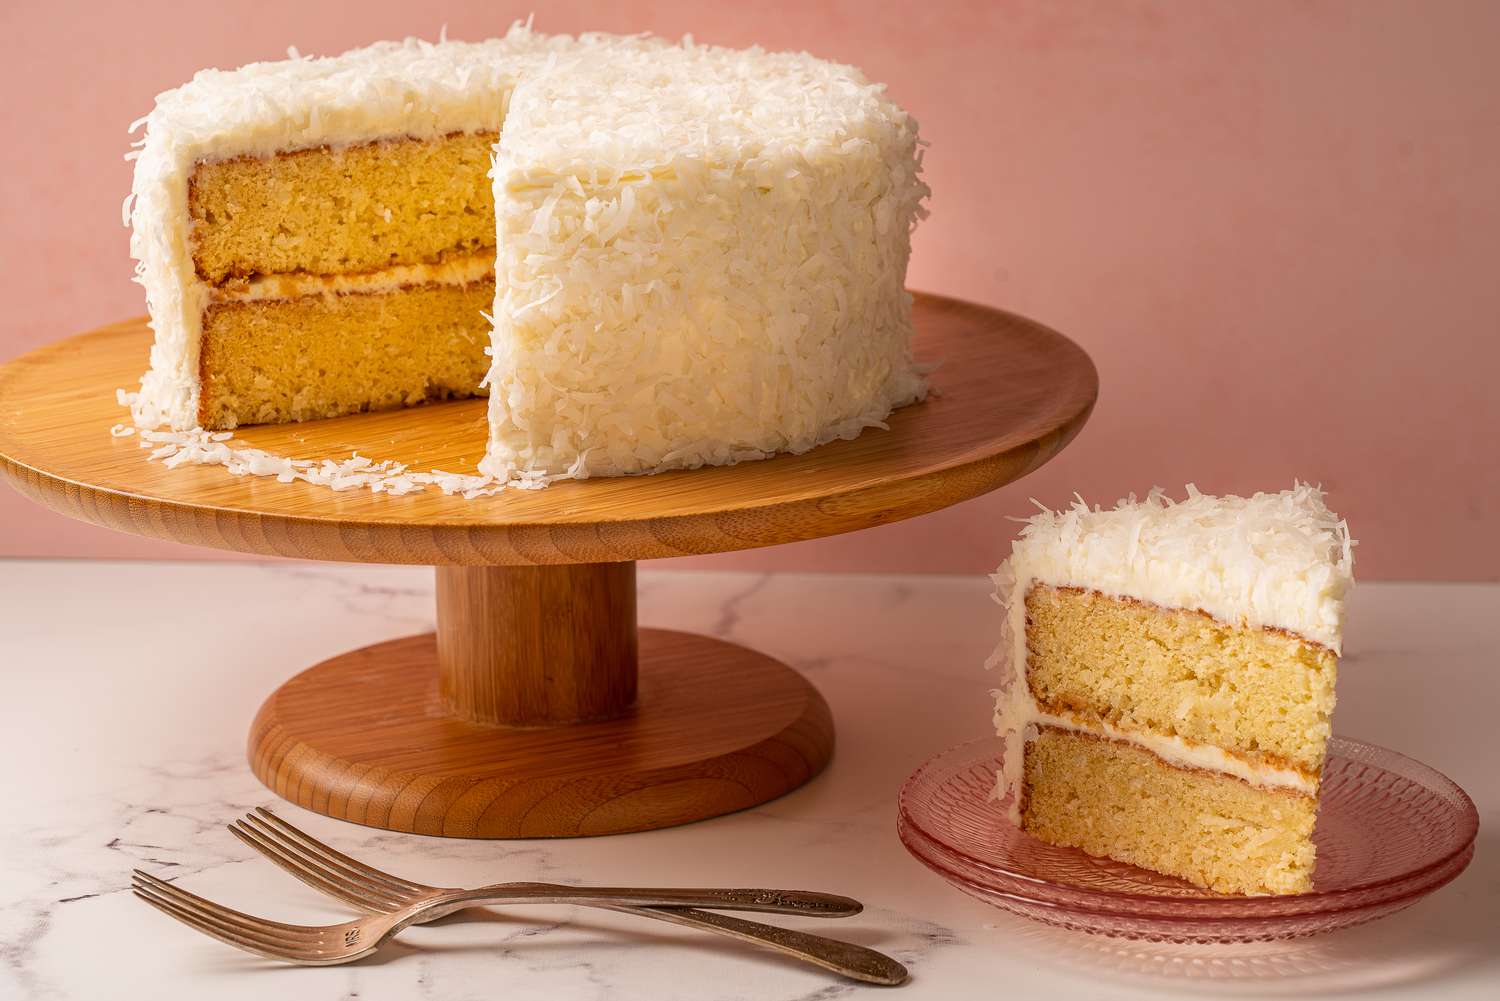
What Is Italian Wedding Cake
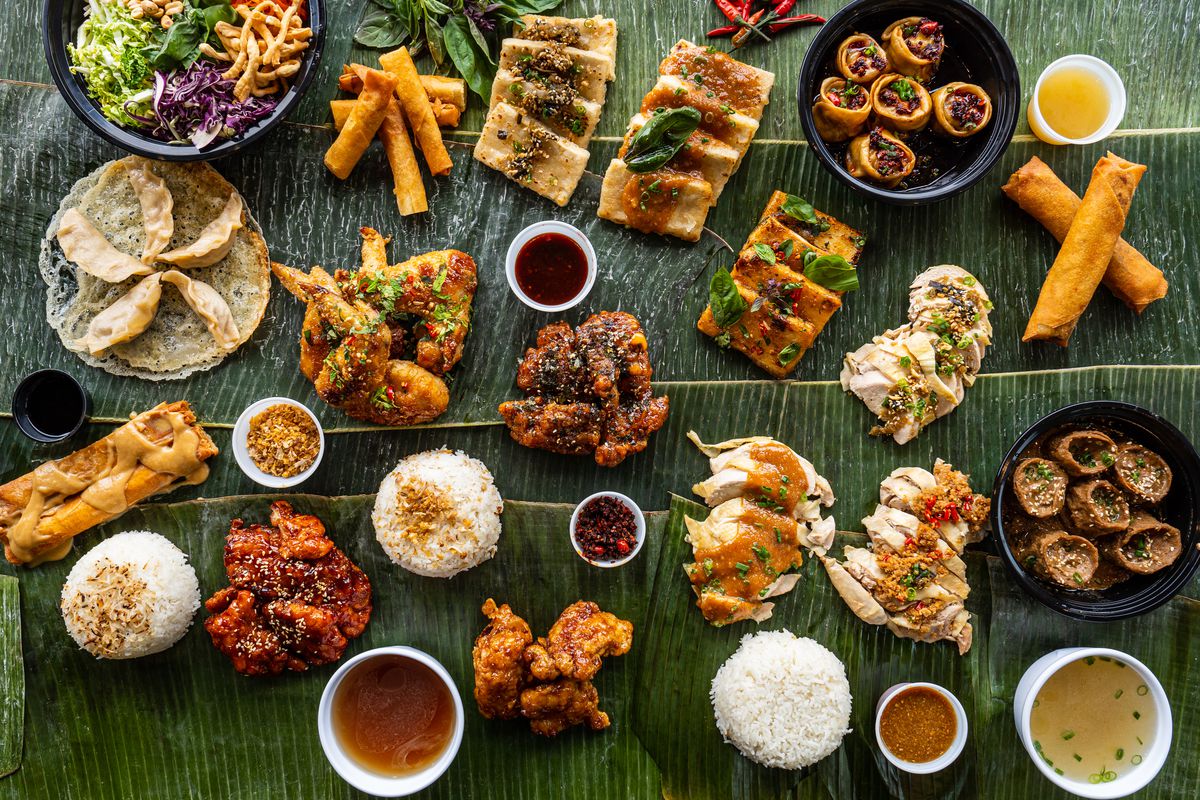
Southeast Asian Menu Guide
Baking Hacks To Steal From Pastry Chefs
Your Guide To 10 Must-Try Cheeses
50 Things To Make With Sprinkles
The Pioneer Woman’s Chicken Fried Steak Menu
Kids Can Make: Healthy Snacks
5 Theme Night Dinners
How Much Food To Serve At A Kid’s Birthday Party